Ingredients
Equipment
Method
Instructions:
- Step 1: Preheat the Oven - Start by preheating your oven to 400°F (200°C). This ensures that your chicken fingers cook evenly and get crispy.
- Step 2: Prepare the Baking Sheet - Line your baking sheet with parchment paper. This will prevent the chicken fingers from sticking and make cleanup a breeze.
- Step 3: Prepare the Coating - In a mixing bowl, combine the gluten-free breadcrumbs, grated Parmesan cheese, garlic powder, onion powder, salt, and pepper. Mix well to ensure that all the dry ingredients are evenly distributed.
- Step 4: Set Up the Breading Station - In a separate bowl, beat the eggs with a whisk or fork until well combined. This will serve as your egg wash to help the coating adhere to the chicken.
- Step 5: Coat the Chicken - Take each chicken strip and dip it into the egg wash, ensuring it is fully coated. Then, transfer it to the breadcrumb mixture, pressing gently to adhere the coating. Place the coated chicken fingers on the prepared baking sheet.
- Step 6: Bake the Chicken Fingers - Once all the chicken strips are coated and arranged on the baking sheet, place them in the preheated oven. Bake for 15-20 minutes, or until they are golden brown and cooked through. You can flip them halfway through for even crispiness.
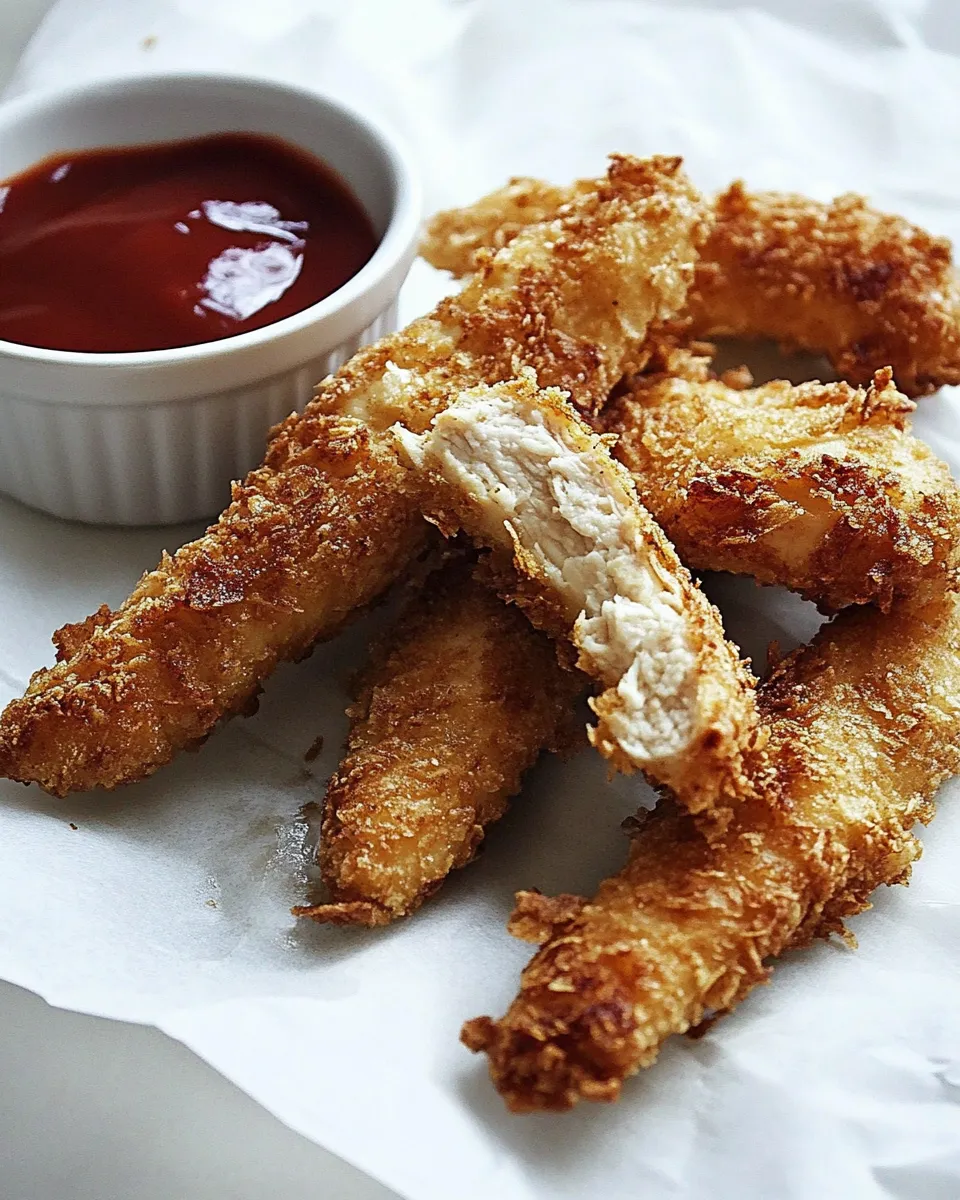
- Step 7: Serve and Enjoy - Once baked, remove the chicken fingers from the oven and let them cool slightly before serving. Pair them with your favorite dipping sauces, such as honey mustard or ranch, and enjoy!
Notes
- Ensure your chicken strips are uniform in size for even cooking.
- Experiment with different seasoning blends to customize the flavor to your liking.
- Let the chicken fingers rest for a couple of minutes after baking to allow the juices to redistribute.