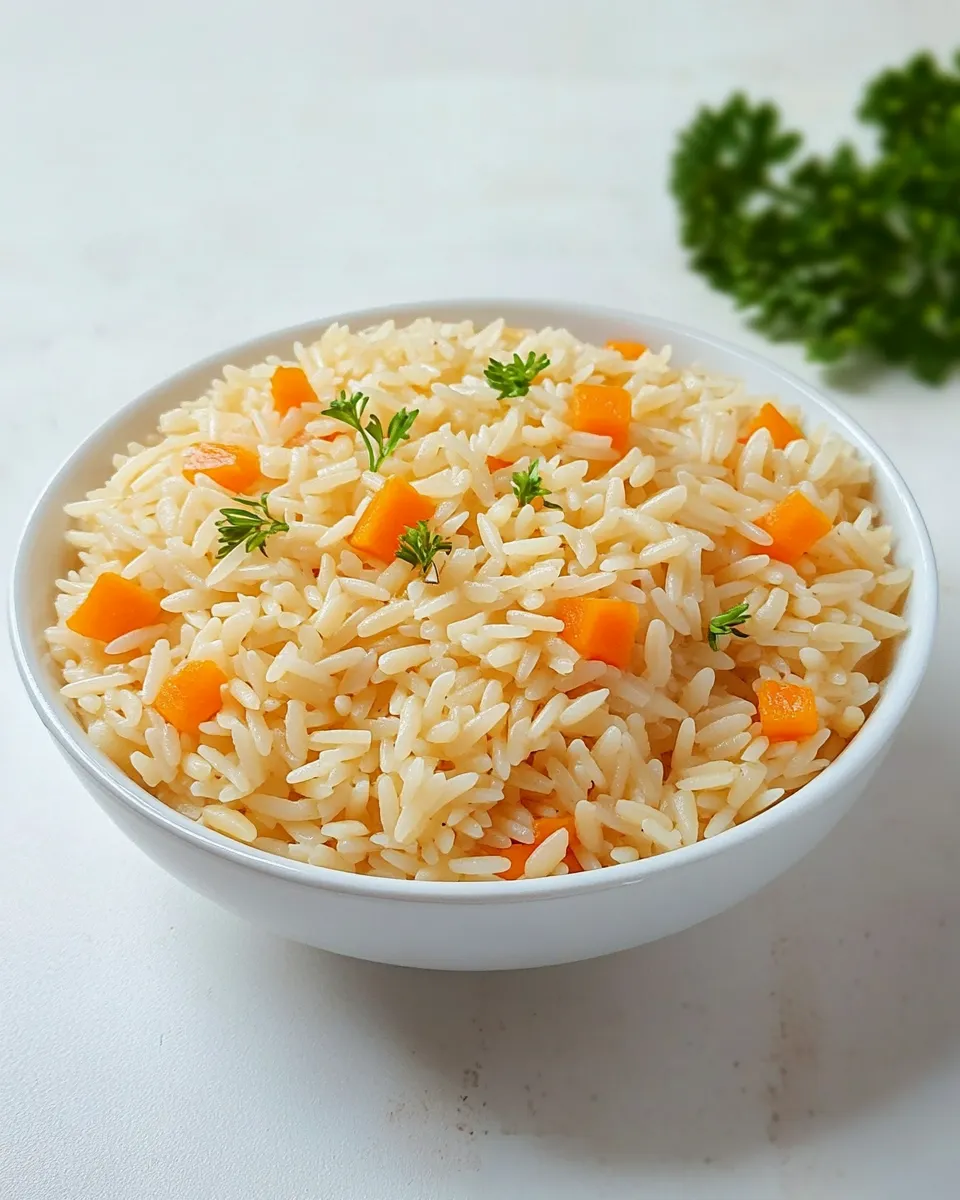
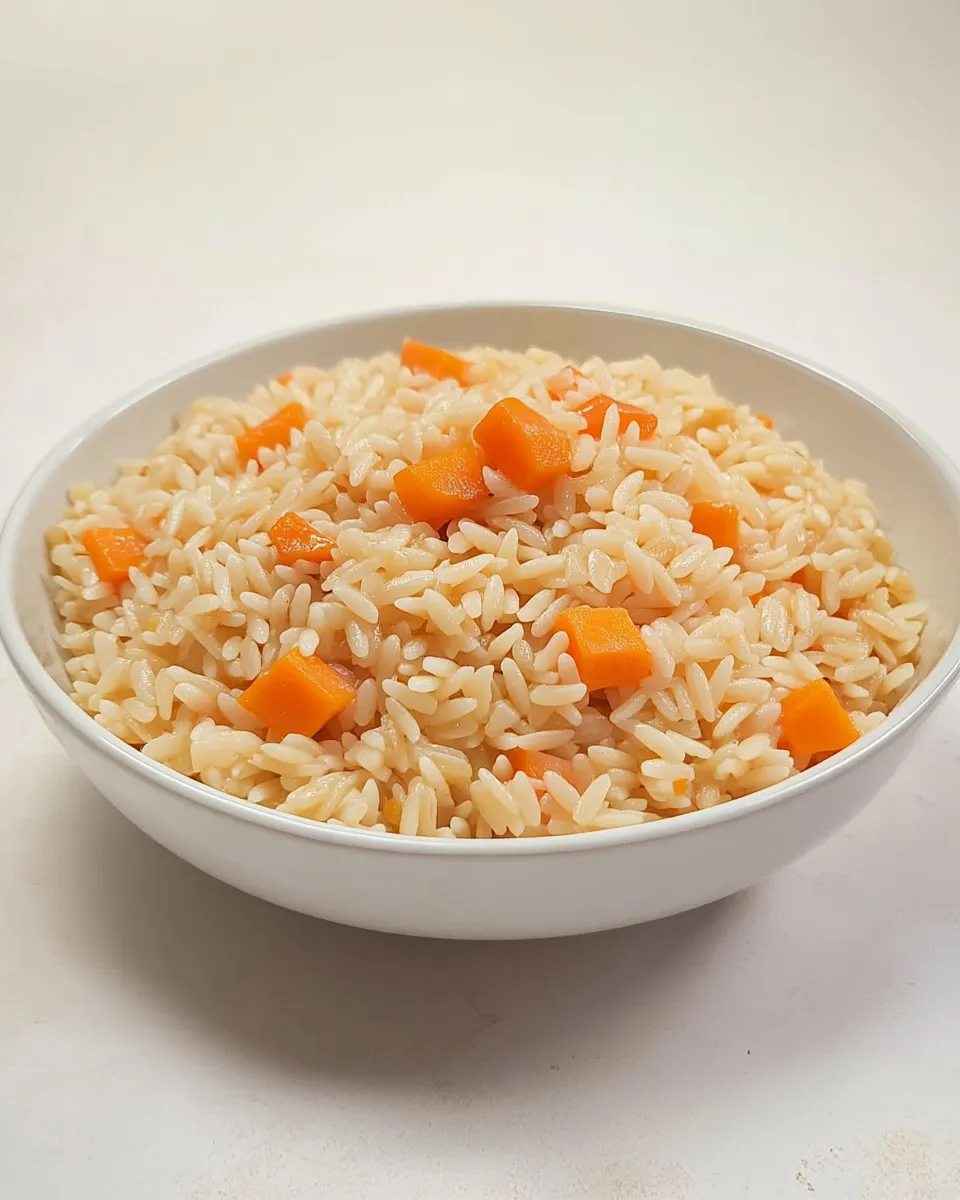
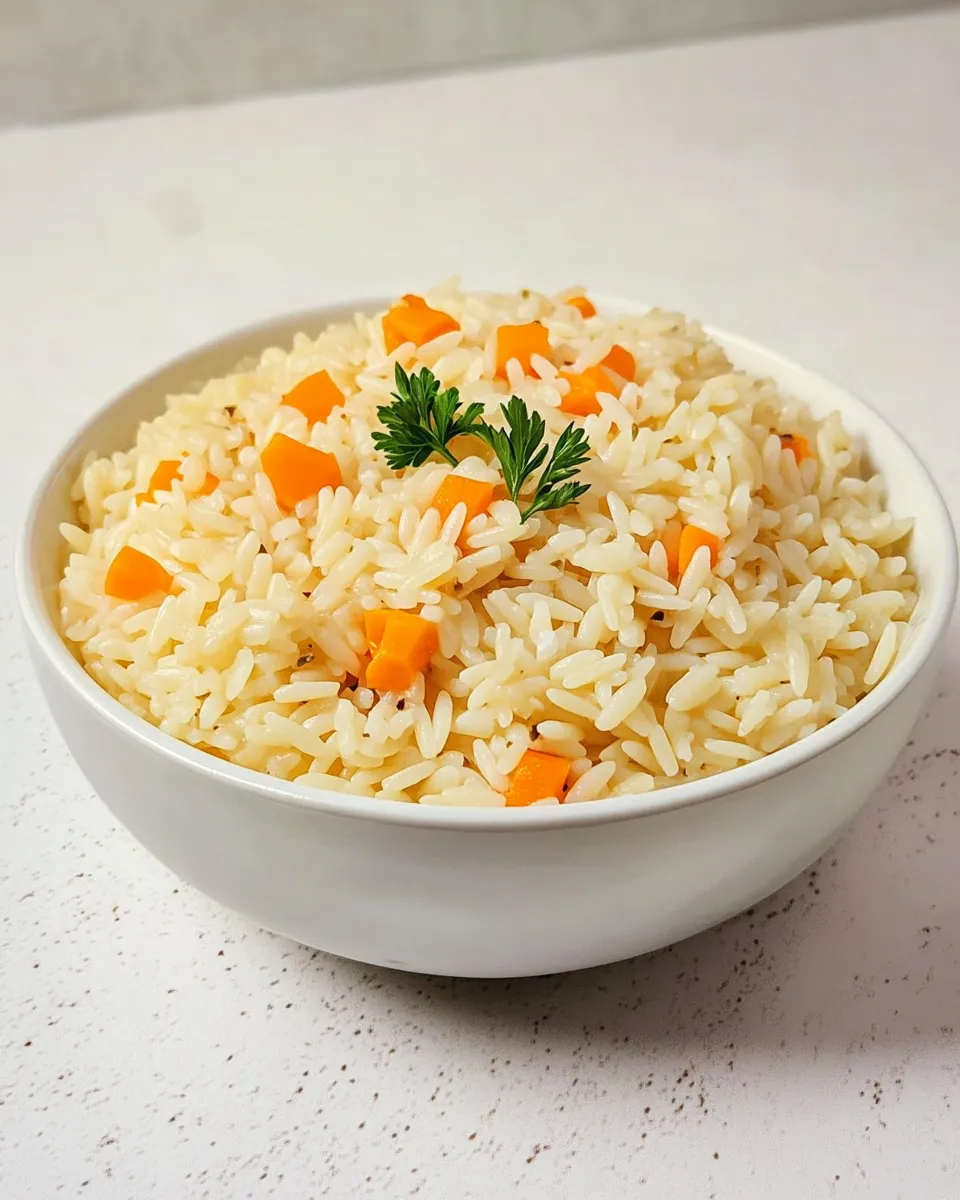
Orzo Rice Pilaf
Orzo Rice Pilaf is one of those delightful dishes that manages to impress with its simplicity. With just a handful of ingredients, this dish transforms into a flavorful side that complements any meal. The unique texture of orzo, resembling rice yet offering a pasta-like quality, makes it a versatile choice for a variety of occasions. Whether you’re hosting a dinner party or looking for a quick weeknight side, Orzo Rice Pilaf is sure to become a staple in your kitchen.
Why You’ll Keep Making It
What makes Orzo Rice Pilaf irresistible is its ability to absorb flavors, creating a rich and satisfying dish. The combination of olive oil and butter provides a rich base that elevates the orzo, while the chicken broth infuses it with a savory depth. Plus, the preparation is incredibly straightforward, making it a perfect choice for both novice cooks and seasoned chefs. It pairs beautifully with proteins like grilled chicken or fish, and it can easily be dressed up with seasonal vegetables or herbs for added flair.
Shopping List
- 1 cup orzo pasta
- 1 cup rice, rinsed and drained
- 2 tablespoons olive oil
- 2 tablespoons butter
- 2 cups hot chicken broth
- 1 teaspoon salt
Equipment Breakdown
- Medium saucepan – Ideal for cooking the orzo and rice together.
- Wooden spoon – Perfect for stirring without scratching your cookware.
- Measuring cups and spoons – Essential for precise ingredient measurement.
- Colander – To rinse and drain the rice effectively.
Make Orzo Rice Pilaf: A Simple Method
Step 1: Prepare Your Ingredients
Start by measuring out your ingredients. Rinse the rice under cold water until the water runs clear, then drain it well. This step helps remove excess starch, preventing the rice from becoming gummy.
Step 2: Heat the Oil and Butter
In a medium saucepan over medium heat, add the olive oil and butter. Allow them to melt together, creating a fragrant base for your orzo and rice.
Step 3: Toast the Orzo and Rice
Add the rinsed rice and orzo to the saucepan. Stir constantly for about 2-3 minutes until they become lightly golden and aromatic. This toasting process enhances the nutty flavor of the grains.
Step 4: Add Broth and Salt
Pour in the hot chicken broth and add the salt. Stir to combine everything, and bring the mixture to a gentle boil.
Step 5: Simmer to Perfectly Cook
Once boiling, reduce the heat to low, cover the saucepan, and let it simmer for about 15-20 minutes. During this time, the orzo and rice will absorb the flavorful broth and cook through.
Step 6: Fluff and Serve
After 20 minutes, check the orzo rice pilaf. If the liquid has been absorbed and the grains are tender, remove it from the heat. Let it sit covered for another 5 minutes, then fluff with a fork before serving.
Variations by Season
- Spring: Add fresh herbs like parsley or dill and peas for a light, fresh taste.
- Summer: Incorporate cherry tomatoes and basil for a vibrant, colorful dish.
- Fall: Mix in roasted butternut squash and sage for a cozy, comforting flavor.
- Winter: Stir in sautéed mushrooms and thyme for an earthy, hearty profile.
Testing Timeline
- Preparation Time: 10 minutes
- Cooking Time: 20 minutes
- Rest Time: 5 minutes
- Total Time: 35 minutes
Keep It Fresh: Storage Guide
Leftover Orzo Rice Pilaf can be stored in an airtight container in the refrigerator for up to 4 days. To reheat, simply place it in a saucepan with a splash of water or broth over low heat, stirring until warmed through. You can also freeze it for up to 3 months. Just ensure it’s completely cooled before transferring to a freezer-safe container.
Reader Q&A
Can I use vegetable broth instead of chicken broth?
Absolutely! Vegetable broth is a great option for a vegetarian version of Orzo Rice Pilaf. It will still provide a rich flavor to the dish.
Can I add vegetables to the pilaf? What are some good options?
Yes! You can add your favorite vegetables. Some great options include bell peppers, zucchini, peas, and spinach. Just sauté them along with the orzo and rice for a delicious twist.
How can I make this dish more filling?
To add protein, consider mixing in cooked chicken, shrimp, or chickpeas. These additions will enhance the nutritional value and make it a heartier meal.
Is there a gluten-free option for this recipe?
Yes! You can substitute the orzo with a gluten-free pasta alternative. There are many varieties available that will work well in this pilaf.
Weekend Projects
- Creamy Roasted Garlic Parmesan Orzo – A decadent, cheesy twist on orzo that makes for a perfect side dish.
- Roasted Broccoli Lemon Parmesan Orzo – A fresh and zesty orzo dish that pairs beautifully with any protein.
- Honey Garlic Chicken Thighs Over Orzo – A complete meal featuring tender chicken served over flavorful orzo.
The Last Word
Orzo Rice Pilaf is a fantastic addition to your cooking repertoire. Its adaptability, simple preparation, and delicious flavor make it a go-to side dish that can be enjoyed year-round. Whether you serve it alongside a lavish feast or for a comforting family dinner, this orzo dish will not disappoint. Embrace the versatility of orzo and let it shine in your kitchen!
Share on Pinterest

Orzo Rice Pilaf
Ingredients
Equipment
Method
- Start by measuring out your ingredients. Rinse the rice under cold water until the water runs clear, then drain it well.
- In a medium saucepan over medium heat, add the olive oil and butter. Allow them to melt together.
- Add the rinsed rice and orzo to the saucepan. Stir constantly for about 2-3 minutes until they become lightly golden and aromatic.
- Pour in the hot chicken broth and add the salt. Stir to combine and bring to a gentle boil.
- Once boiling, reduce the heat to low, cover the saucepan, and let it simmer for about 15-20 minutes.
- After 20 minutes, check the orzo rice pilaf. If the liquid has been absorbed and the grains are tender, remove it from the heat. Let it sit covered for another 5 minutes, then fluff with a fork before serving.
Notes
- Store leftovers in an airtight container in the refrigerator for up to 4 days.
- Reheat with a splash of water or broth over low heat.
- Freeze for up to 3 months; ensure it’s completely cooled before freezing.