Mars Bars
When it comes to indulgent treats, there’s something special about making your own version of beloved candy bars at home. Mars Bars, with their luscious layers of marshmallow fluff, creamy Nutella, and rich chocolate, are a heavenly combination that’s hard to resist. If you’ve ever wanted to recreate the magic of this classic candy, you’re in for a treat. This homemade Mars Bars recipe is not only simple but will also leave you with a delightful dessert that’s perfect for sharing or savoring all on your own. Let’s dive into the deliciousness!
Why You’ll Keep Making It
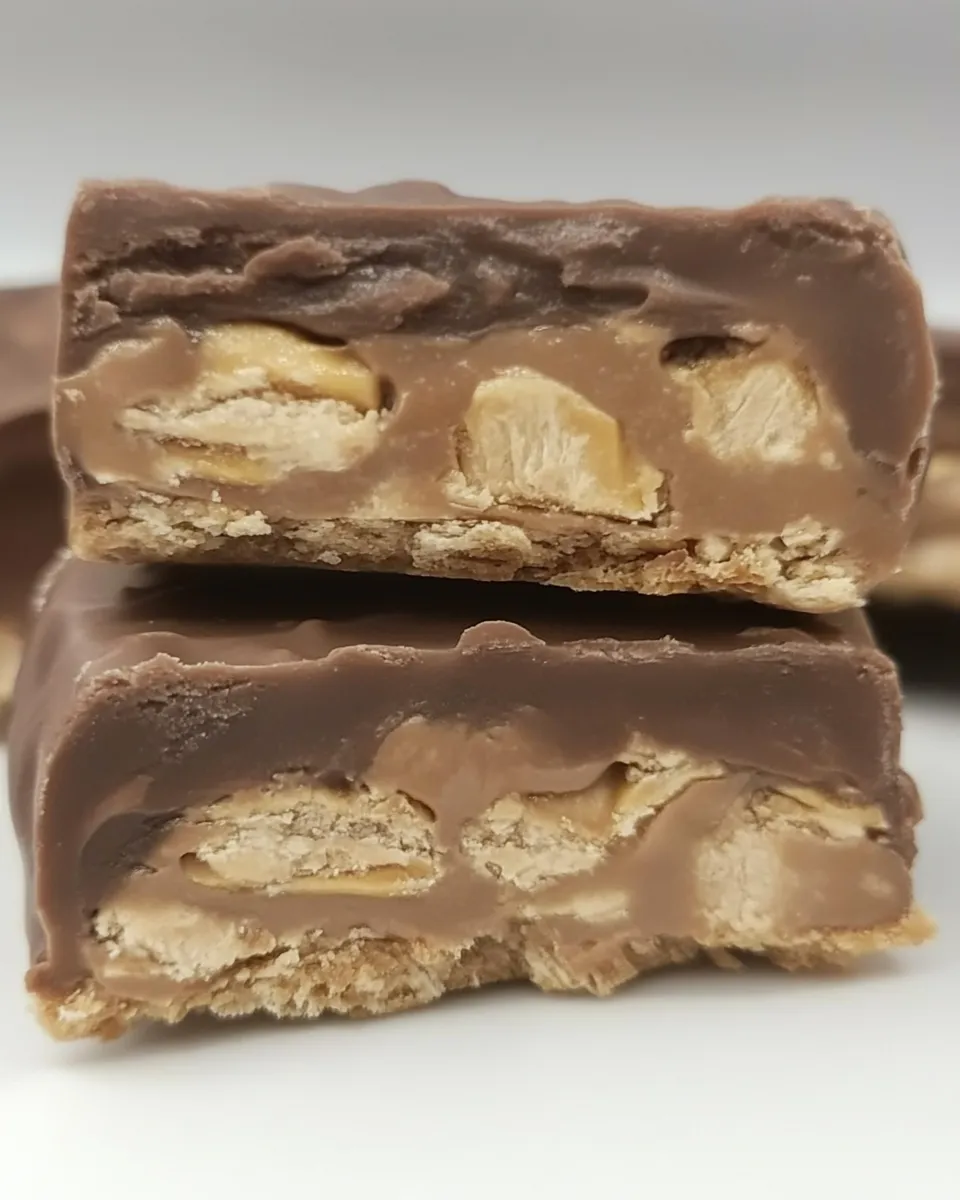
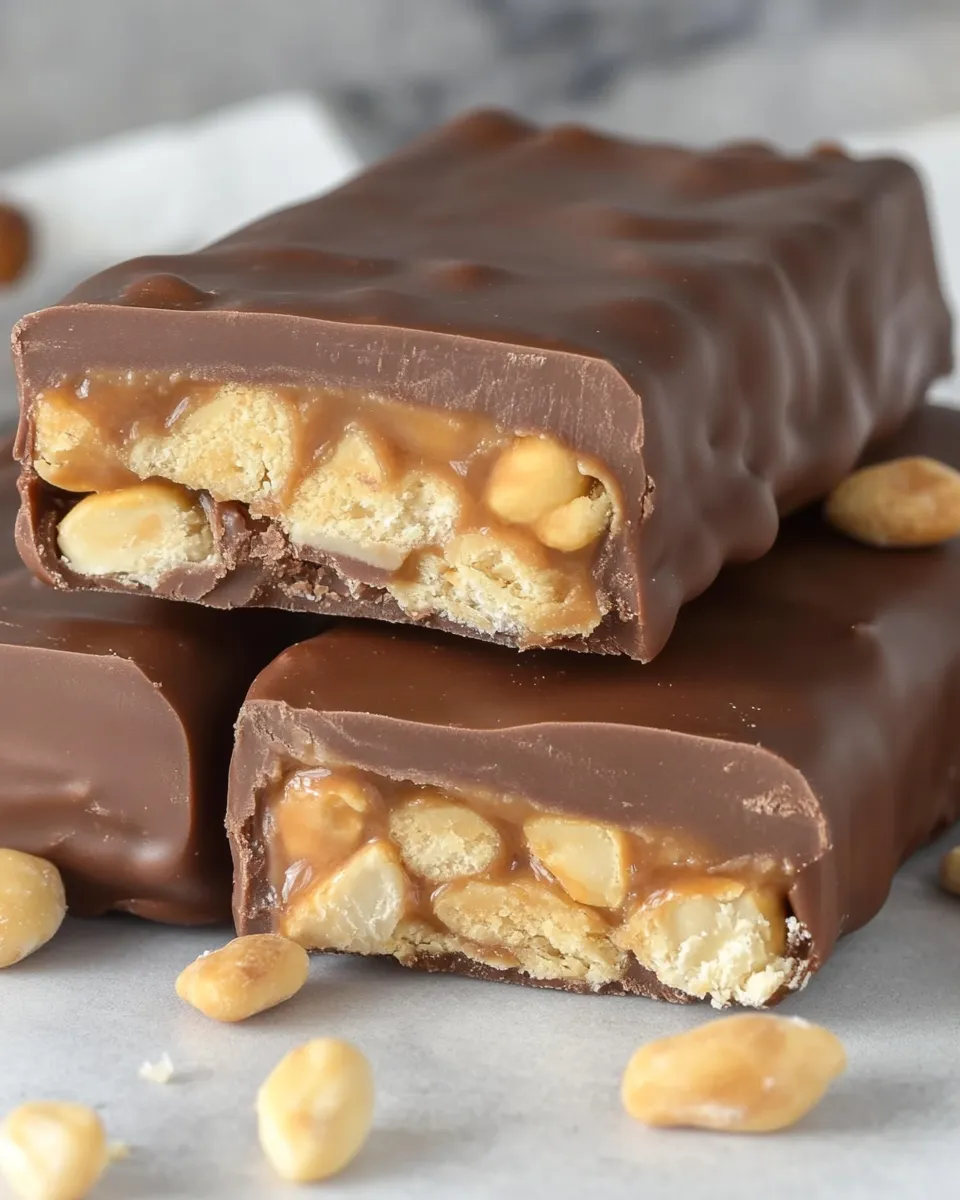
If you’ve ever tasted a Mars Bar, you know the joy that comes with each bite—the smooth caramel, the fluffy nougat, and the rich chocolate coating. Making your own Mars Bars at home means you can customize them to your liking while enjoying the satisfaction of creating something delicious from scratch. This recipe is quick to prepare, requires no baking, and can be made in just a few simple steps. Plus, they’re perfect for celebrations, snack time, or as a sweet gift to friends and family. Once you take that first bite, you’ll understand why this will become a go-to recipe in your kitchen!
Ingredient Notes
To create your own Mars Bars, you’ll need the following ingredients:
- 7 ounces marshmallow fluff – This will give your bars that iconic fluffy filling.
- 2/3 cup Nutella – Adds a rich, chocolate-hazelnut flavor that pairs perfectly with the fluff.
- 12 ounces chocolate (divided) – Use good quality chocolate for coating and drizzling.
- 7 ounces caramels – These will create that sweet, gooey layer that makes Mars Bars so addictive.
- 3 tablespoons milk – Helps to melt the caramels and create a smooth consistency.
Tools of the Trade
To make your Mars Bars, gather the following tools:
- Mixing bowl – For combining the marshmallow fluff and Nutella.
- Double boiler or microwave-safe bowl – For melting chocolate and caramels.
- Spatula – For spreading and mixing ingredients smoothly.
- 9×9-inch baking pan – To set your bars and allow them to cool.
- Parchment paper – For easy removal of the bars from the pan.
Mars Bars: How It’s Done

Step 1: Prepare the Baking Pan
Line a 9×9-inch baking pan with parchment paper, allowing some overhang for easy removal later. This step is essential to ensure your Mars Bars come out without sticking.
Step 2: Make the Marshmallow Layer
In a mixing bowl, combine the 7 ounces of marshmallow fluff and 2/3 cup of Nutella. Stir until well mixed, creating a smooth and creamy layer. Spread this mixture evenly into the prepared baking pan.
Step 3: Prepare the Caramel Layer
In a double boiler or microwave-safe bowl, combine the 7 ounces of caramels and 3 tablespoons of milk. Heat gently, stirring frequently, until the caramels are melted and smooth. Pour the caramel over the marshmallow-Nutella layer, spreading it evenly.
Step 4: Melt the Chocolate
Melt 8 ounces of chocolate using the same method as the caramel—either in a double boiler or in the microwave. Once melted, pour it over the caramel layer and spread it evenly to coat.
Step 5: Chill the Bars
Place the baking pan in the refrigerator for about 2 hours or until the bars are set. This cooling time is crucial for achieving the perfect texture.
Step 6: Cut and Serve
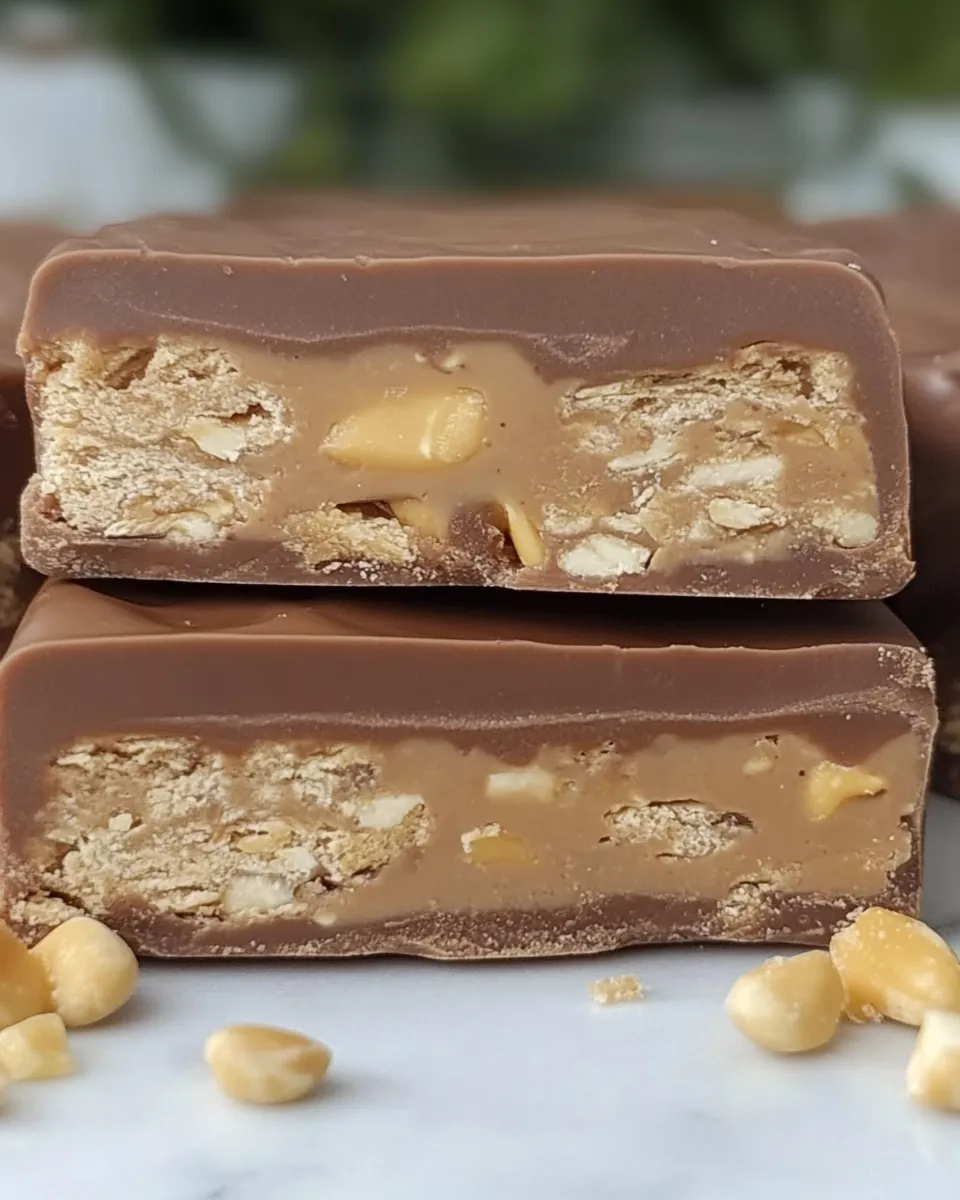
Once set, lift the bars out of the pan using the parchment paper overhang. Cut them into squares or rectangles as desired. You can drizzle the remaining chocolate over the top for an extra touch!
Healthier Substitutions
If you’re looking to lighten up your Mars Bars or cater to specific dietary needs, consider these substitutions:
- Use dark chocolate instead of milk chocolate for a richer flavor and added antioxidants.
- Opt for sugar-free Nutella or a nut butter alternative for a healthier filling.
- Replace caramels with homemade date caramel for a natural sweetener option.
- Use coconut cream in place of marshmallow fluff for a dairy-free alternative.
Pro Tips & Notes
- Make sure to use a good quality chocolate for melting, as it will greatly affect the taste of your Mars Bars.
- Don’t rush the chilling process; letting the bars set properly is key to achieving the right texture.
- For a fun twist, add chopped nuts or pretzels to the marshmallow layer for an added crunch.
- Store any leftovers in an airtight container at room temperature for up to a week.
Save for Later: Storage Tips
To keep your homemade Mars Bars fresh and delicious, follow these storage tips:
- Store bars in an airtight container at room temperature if you plan to eat them within a week.
- If you want to keep them longer, freeze the cut bars in an airtight container, separating layers with parchment paper. They can last up to 2 months in the freezer.
- To thaw, simply leave them at room temperature for a couple of hours before enjoying.
Quick Questions
Can I use regular chocolate instead of dark chocolate?
Absolutely! You can use any type of chocolate you prefer, but dark chocolate adds a nice depth of flavor.
How long do Mars Bars last?
When stored properly, homemade Mars Bars can last up to a week at room temperature or up to two months in the freezer.
Can I make these bars vegan?
Yes! Substitute the chocolate, Nutella, and marshmallow fluff with vegan alternatives, and use coconut cream for a dairy-free option.
What can I do if the caramel is too thick?
If your caramel is too thick, simply add a little more milk and heat gently until it reaches your desired consistency.
One Pan, More Ideas
If you love the idea of making your own candy bars, here are some more delicious recipes to try:
- Peanut Butter Cup Brownies – A rich and decadent treat.
- Chocolate Coconut Balls – A simple no-bake dessert.
- Vegan Chocolate Chip Cookies – Classic cookies that everyone will love.
Final Thoughts
Creating your own Mars Bars at home is not only a fun kitchen activity, but it also results in a delicious treat that can be customized to your taste. With a few simple steps, you’ll have a batch of these delightful bars ready to impress your friends and family—or to keep all to yourself! The combination of marshmallow fluff, Nutella, and chocolate is truly irresistible, making these bars a perfect addition to any dessert table.
Whether you’re celebrating a special occasion or just indulging a craving, this homemade Mars Bars recipe will surely become a favorite. So grab your ingredients, roll up your sleeves, and get ready to create something truly special. Your sweet tooth will thank you!
Mars Bars
Ingredients
Equipment
Method
- Step 1: Prepare the Baking Pan. Line a 9x9-inch baking pan with parchment paper, allowing some overhang for easy removal later.
- Step 2: Make the Marshmallow Layer. In a mixing bowl, combine the marshmallow fluff and Nutella. Stir until well mixed and spread evenly into the prepared pan.
- Step 3: Prepare the Caramel Layer. In a double boiler or microwave-safe bowl, combine caramels and milk. Heat gently until melted and smooth, then pour over the marshmallow layer.
- Step 4: Melt the Chocolate. Melt 8 ounces of chocolate and pour over the caramel layer, spreading evenly.
- Step 5: Chill the Bars. Place the pan in the refrigerator for about 2 hours until set.
- Step 6: Cut and Serve. Lift the bars out using the parchment paper overhang, cut into squares, and drizzle remaining chocolate on top if desired.
Notes
- Use good quality chocolate for melting for the best taste.
- Don't rush the chilling process; it's key for the right texture.
- Add chopped nuts or pretzels to the marshmallow layer for crunch.