How to Hard Boil an Egg
Hard boiling an egg is a fundamental kitchen skill that everyone should master. Perfectly cooked hard-boiled eggs are versatile, nutritious, and make for a great snack, salad topping, or breakfast addition. Whether you’re preparing them for a salad, making deviled eggs, or simply enjoying them as a protein-packed snack, knowing how to hard boil an egg properly can make all the difference. Let’s dive into the art of cooking the perfect hard-boiled egg.
What You’ll Love About This Recipe
– Simple ingredients that you likely already have in your kitchen.
– A foolproof method that guarantees the perfect texture every time.
– The ability to customize cooking times for your ideal yolk consistency.
– Budget-friendly and a great way to meal prep for the week.
– Hard-boiled eggs can be stored in the refrigerator for up to one week!
Ingredient Notes
- 6 large eggs: Fresh eggs are essential for the best flavor and texture. Look for eggs with a clean, uncracked shell.
- Water: Enough to cover the eggs in the pot, typically about 5-6 cups depending on your pot size.
- Ice: Ice cubes will be used to create an ice bath, which helps stop the cooking process and makes peeling easier.
Tools of the Trade
- Medium pot: Choose a pot that can comfortably hold the eggs and enough water to cover them.
- Slotted spoon: Perfect for gently removing eggs from boiling water.
- Ice bath container: A bowl filled with ice and water to cool the eggs quickly.
- Timer: To help keep track of cooking times for perfectly hard-boiled eggs.
How to Hard Boil an Egg Cooking Guide
Step 1: Prepare the Eggs
Start by placing the 6 large eggs in a single layer at the bottom of your medium pot. Make sure they are not stacked on top of each other to avoid cracking.
Step 2: Add Water
Pour enough water into the pot to cover the eggs by about 1 inch. This ensures even cooking.
Step 3: Bring to a Boil
Place the pot on the stove over medium-high heat. Allow the water to come to a rolling boil. Keep an eye on it; you don’t want it to boil over.
Step 4: Cover and Remove from Heat
Once the water reaches a boil, cover the pot with a lid and immediately remove it from the heat. This step is crucial for creating a steaming effect that cooks the eggs evenly.
Step 5: Set a Timer
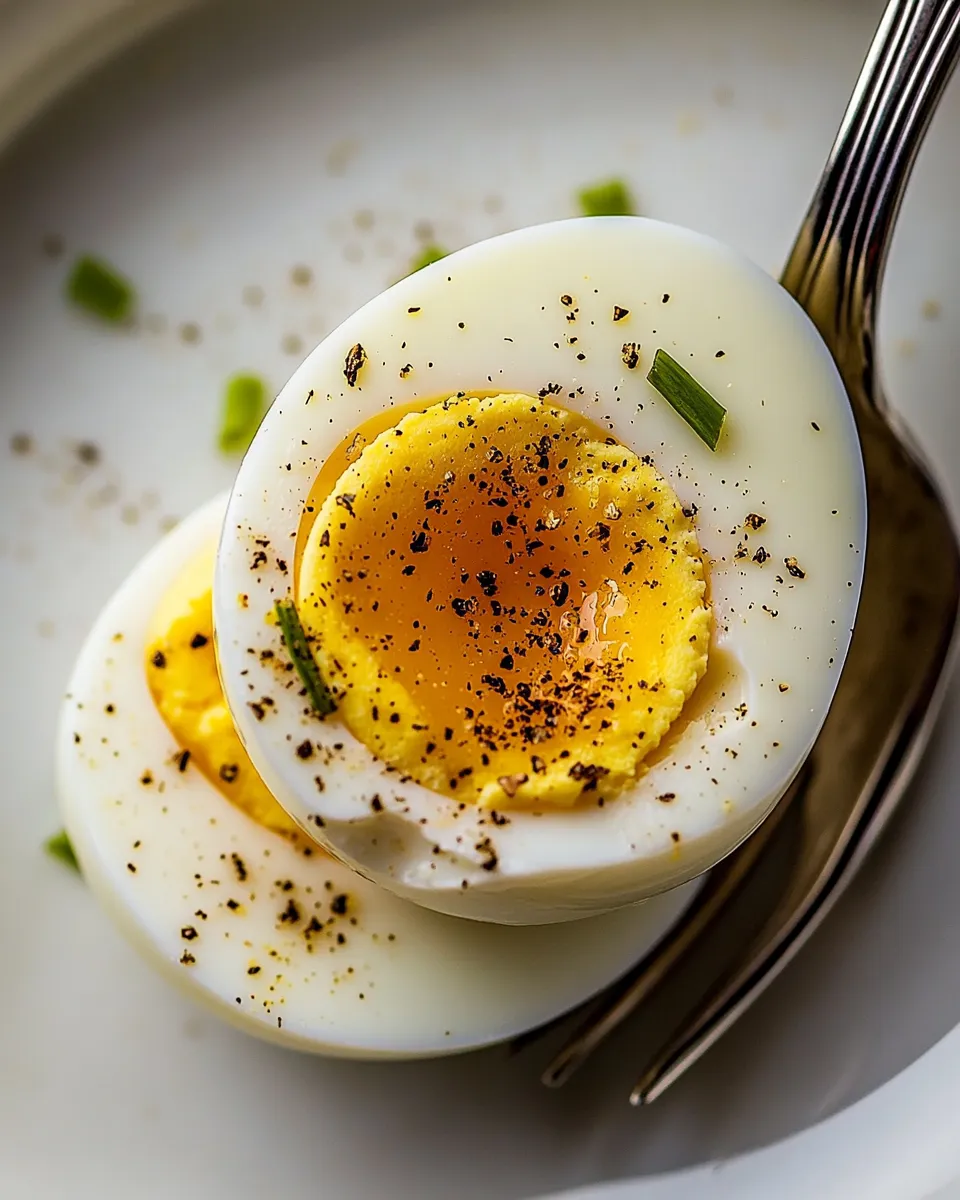
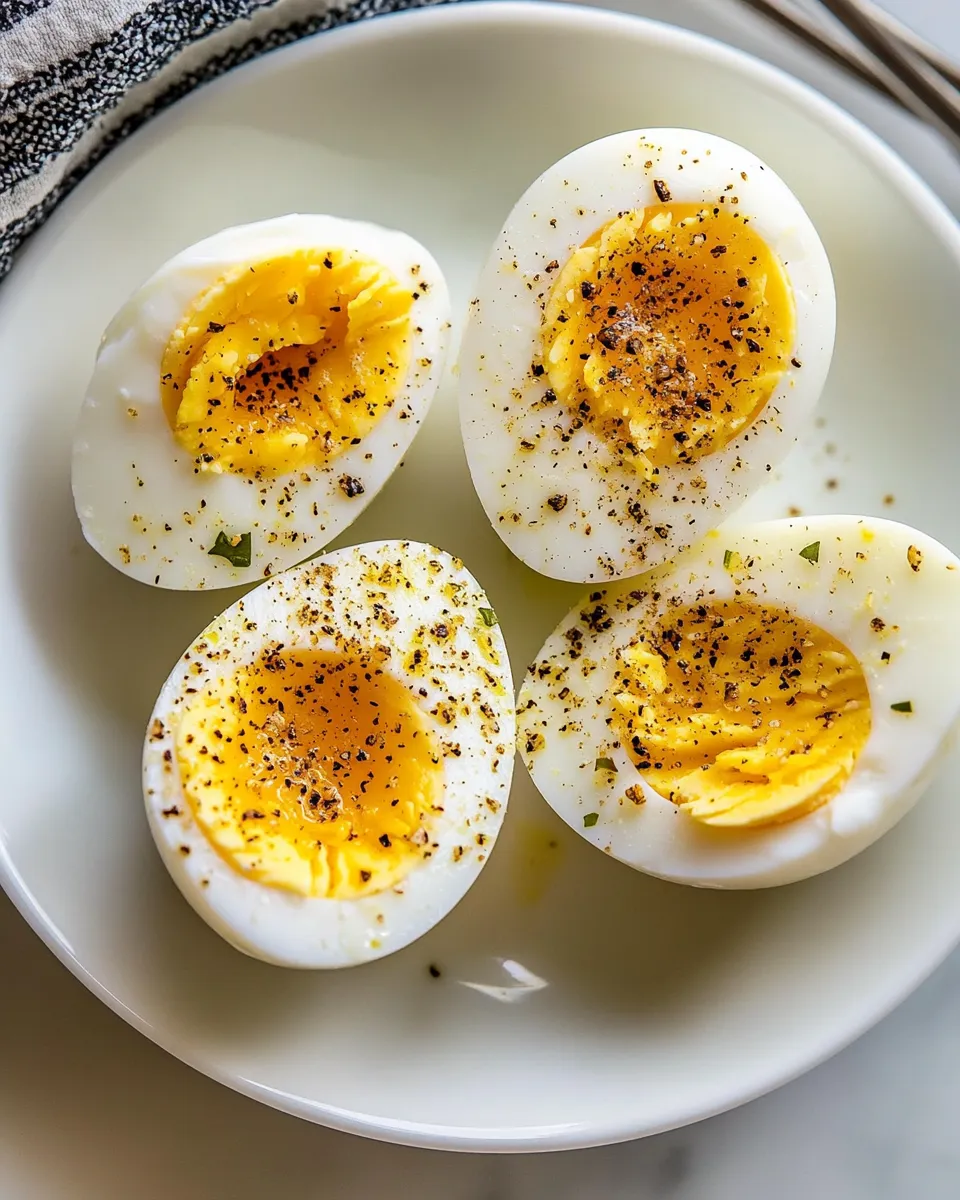
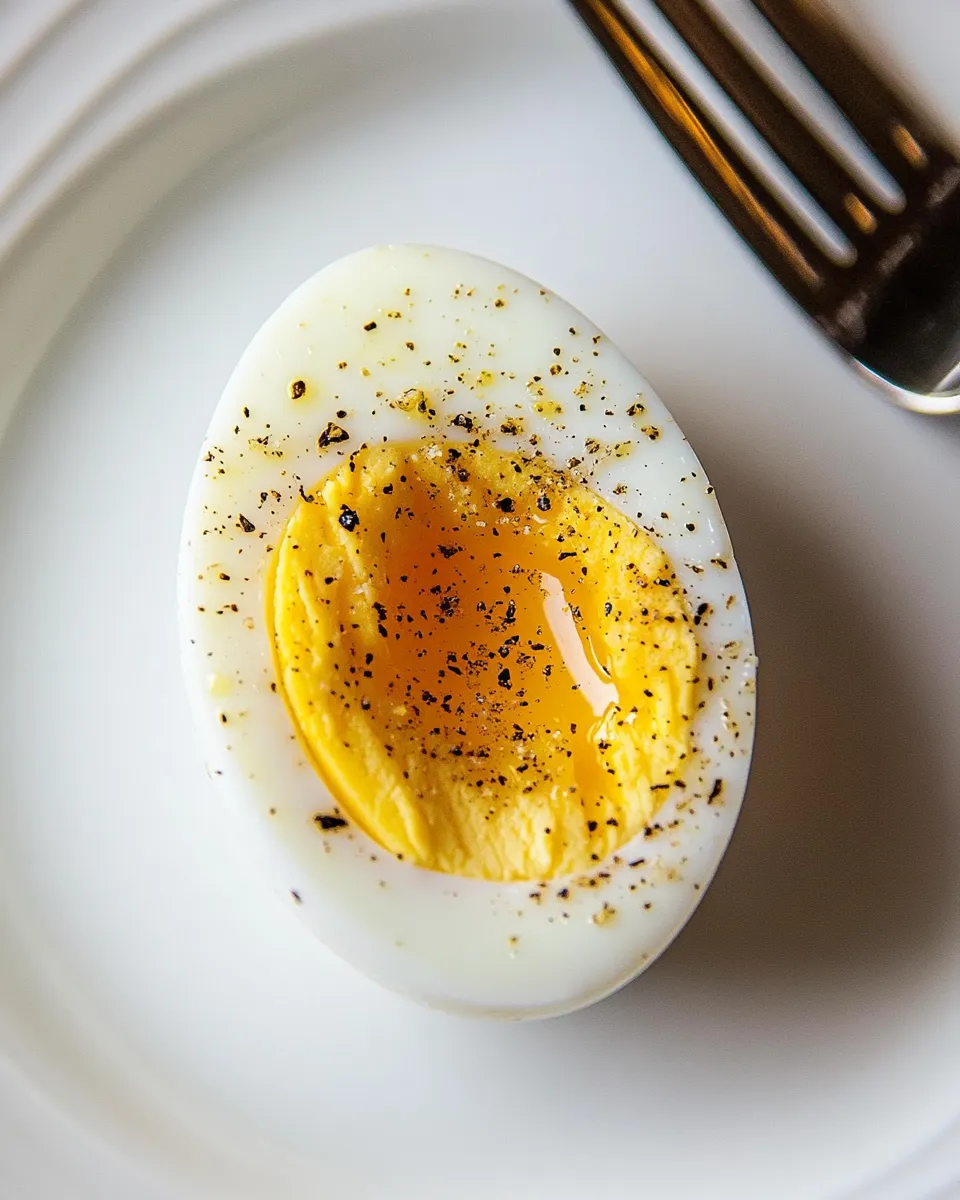
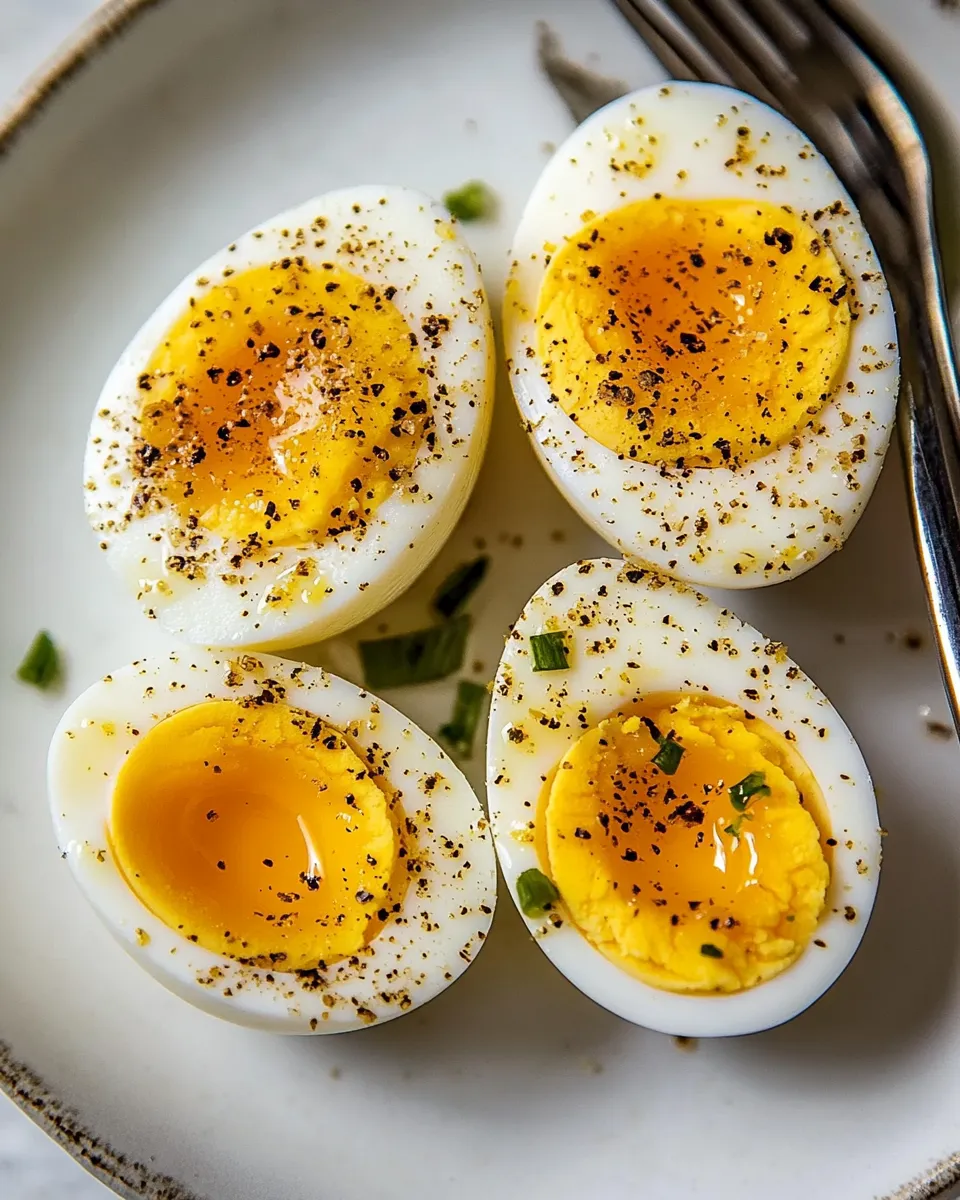
Set your timer for 9-12 minutes, depending on how firm you want the yolks. For slightly softer yolks, aim for 9 minutes; for fully hard-boiled eggs, 12 minutes is ideal.
Step 6: Prepare the Ice Bath
While the eggs are cooking, fill a large bowl with ice and cold water. This will be used to halt the cooking process once the eggs are done.
Step 7: Transfer the Eggs
Once your timer goes off, use a slotted spoon to carefully transfer the eggs from the pot to the ice bath. Let them sit in the ice bath for at least 5-10 minutes.
Step 8: Peel and Enjoy
After cooling, gently tap each egg on the counter to crack the shell, then roll it slightly to loosen. Start peeling from the wider end, where there’s often an air pocket, making it easier to remove the shell. Rinse under cold water if needed to remove any stubborn bits.
International Equivalents
- USA: 6 large eggs are generally about 50 grams each.
- UK: Use large or extra-large eggs, typically around 60-70 grams each.
- Australia: Standard size eggs are similar to medium or large eggs in the US.
Slip-Ups to Skip
- Don’t overcrowd the pot. Avoid stacking eggs to prevent cracking.
- Watch the timer. Overcooking can lead to greenish yolks and a rubbery texture.
- Skip the cold bath, and you risk overcooking the eggs.
- Using old eggs can make peeling a nightmare; fresher eggs peel more easily!
Freezer-Friendly Notes
Hard-boiled eggs can be frozen, but it’s not recommended to freeze them whole. Instead, peel the eggs and slice them, then pack them in an airtight container. They can be stored in the freezer for up to 3 months. However, the texture may change slightly upon thawing, so they’re best used in recipes where appearance isn’t a big concern.
Reader Questions
Can I use a different number of eggs with this method?
Absolutely! You can adjust the number of eggs, but make sure they all fit in a single layer in the pot. Just remember that you may need to adjust the cooking time slightly if you add more eggs.
What if my eggs crack while boiling?
If your eggs crack, don’t worry! They’re still safe to eat. The boiling water will cook the egg whites and yolk, but it may leak a little. Just be cautious of the water temperature when transferring eggs.
How do I store hard-boiled eggs?
Store hard-boiled eggs in their shells in the refrigerator for up to one week. If peeled, keep them in an airtight container submerged in water to keep them moist.
Can I make hard-boiled eggs in the instant pot?
Yes, you can! For instant pot hard-boiled eggs, place the eggs on the rack, add 1 cup of water, and cook on high pressure for 5-7 minutes, followed by a quick release and then an ice bath.
Don’t Miss These
Next Steps
Now that you’ve mastered how to hard boil an egg, the culinary possibilities are endless. Use your perfectly cooked eggs in salads, sandwiches, or as a protein-packed snack on their own. Experiment with seasonings, try making deviled eggs, or whip up a classic egg salad. Enjoy this simple yet satisfying ingredient in a variety of ways, and share your hard-boiled egg creations with friends and family! Happy cooking!
How to Hard Boil an Egg
Ingredients
Equipment
Method
- Step 1: Prepare the Eggs - Place the 6 large eggs in a single layer at the bottom of your medium pot.
- Step 2: Add Water - Pour enough water into the pot to cover the eggs by about 1 inch.
- Step 3: Bring to a Boil - Place the pot on the stove over medium-high heat. Allow the water to come to a rolling boil.
- Step 4: Cover and Remove from Heat - Once the water reaches a boil, cover the pot with a lid and immediately remove it from the heat.
- Step 5: Set a Timer - Set your timer for 9-12 minutes, depending on how firm you want the yolks.
- Step 6: Prepare the Ice Bath - Fill a large bowl with ice and cold water.
- Step 7: Transfer the Eggs - Use a slotted spoon to carefully transfer the eggs from the pot to the ice bath.
- Step 8: Peel and Enjoy - Once cooled, gently tap each egg on the counter to crack the shell and peel.
Notes
- Don’t overcrowd the pot to prevent cracking.
- Watch the timer; overcooking can lead to rubbery texture.
- Use fresh eggs for easier peeling.