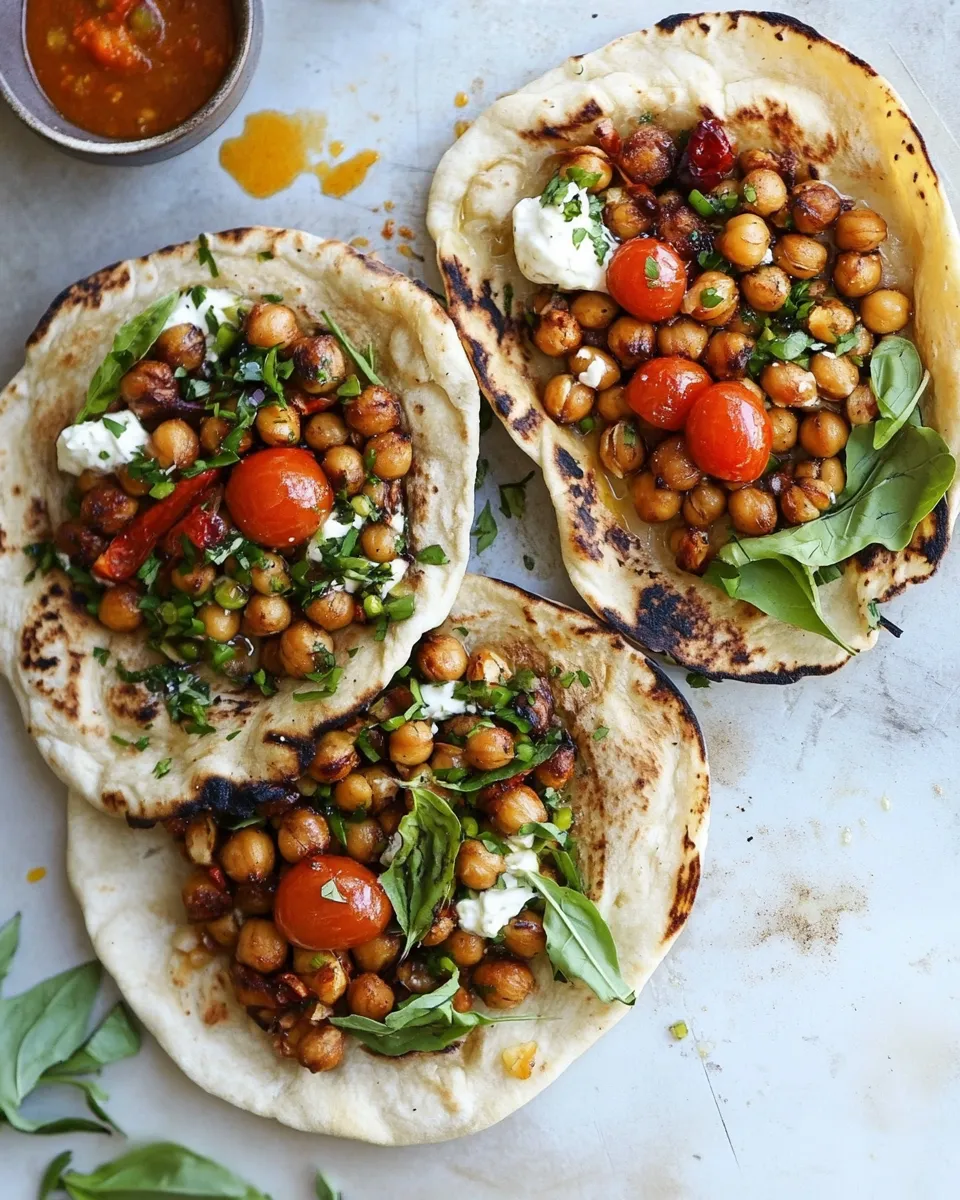
Crunchy Roasted Chickpea Pitas.
Crunchy Roasted Chickpea Pitas are the perfect combination of crispy, savory, and satisfying. This dish is not just a meal; it’s an experience. Whether you’re looking for a quick lunch, a light dinner, or a fun appetizer, these pitas are sure to impress. The crispy roasted chickpeas add a delightful crunch, while the fresh toppings and creamy hummus bring everything together. Serve them at gatherings, enjoy them on a cozy night in, or pack them for lunch – the versatility of this dish is endless!
Top Reasons to Make Crunchy Roasted Chickpea Pitas.

- Nutritious: Chickpeas are packed with protein and fiber, making these pitas a healthy choice.
- Quick and Easy: With minimal prep time and simple ingredients, you can whip them up in no time!
- Customizable: Feel free to add your favorite veggies or spices for a personal touch.
- Kid-Friendly: The crunchy chickpeas are fun to eat, making this dish a hit with kids.
- Perfect for Meal Prep: These pitas store well, making them great for lunches throughout the week.
What to Buy
- 2 cans chickpeas: Ensure they are drained and rinsed for the best texture.
- Olive oil: For roasting the chickpeas and drizzling on top.
- Spices: Salt, pepper, smoked paprika, garlic powder, brown sugar, and allspice for seasoning the chickpeas.
- Cherry or grape tomatoes: Choose the freshest ones for a burst of flavor.
- Hummus: Your favorite variety to serve as a dip.
- Feta cheese: Crumbled for a salty, creamy topping.
- Fresh herbs: Dill and oregano for garnishing.
- Active dry yeast: For making the pitas from scratch.
- Flour: Whole wheat flour and all-purpose flour for the pita dough.
- Honey: To feed the yeast and add a hint of sweetness.
- Canola oil: For brushing the pitas before baking.
Tools & Equipment Needed
- Baking sheet: For roasting the chickpeas.
- Mixing bowls: For combining ingredients.
- Whisk: To mix the dry ingredients for the pitas.
- Rolling pin: For rolling out the pita dough.
- Oven: Essential for baking the pitas and roasting the chickpeas.
- Stovetop: For warming the pitas.
Crunchy Roasted Chickpea Pitas., Made Easy
Step 1: Prepare the Chickpeas
Start by preheating your oven to 400°F (200°C). Drain and rinse the chickpeas thoroughly, then pat them dry with a paper towel. This step is crucial as it helps them crisp up nicely in the oven.
Step 2: Season the Chickpeas
In a mixing bowl, combine the chickpeas with 1 tablespoon of olive oil, 1/4 teaspoon of salt, 1/4 teaspoon of pepper, 1/2 teaspoon of smoked paprika, 1/2 teaspoon of garlic powder, 1/2 teaspoon of brown sugar, and a pinch of allspice. Toss everything together until the chickpeas are evenly coated with the seasoning.
Step 3: Roast the Chickpeas
Spread the seasoned chickpeas in a single layer on a baking sheet. Roast them in the preheated oven for about 25-30 minutes, shaking the pan halfway through, until they are golden brown and crispy.
Step 4: Prepare the Pita Dough
In a small bowl, combine 1 cup of warm water, 2 1/4 teaspoons of active dry yeast, and 1 tablespoon of honey. Let it sit for about 5 minutes until it becomes frothy. In a large mixing bowl, whisk together 1 1/2 cups of whole wheat flour, 1 cup of all-purpose flour, and 1/2 teaspoon of salt.
Step 5: Make the Pita Dough
Pour the yeast mixture into the flour mixture and stir until a dough forms. Knead the dough on a floured surface for about 5-7 minutes, until smooth and elastic. Place the dough in a greased bowl, cover it with a towel, and let it rise in a warm place for about 1 hour, or until doubled in size.
Step 6: Roll Out the Pitas
Once the dough has risen, punch it down and divide it into 6-8 equal pieces. Roll each piece into a ball and then use a rolling pin to flatten each ball into a circle about 1/4 inch thick.
Step 7: Cook the Pitas
Heat a skillet or griddle over medium-high heat. Brush one side of the pitas with canola oil and place them in the hot skillet, oiled side down. Cook for about 2-3 minutes on each side until puffy and lightly golden.
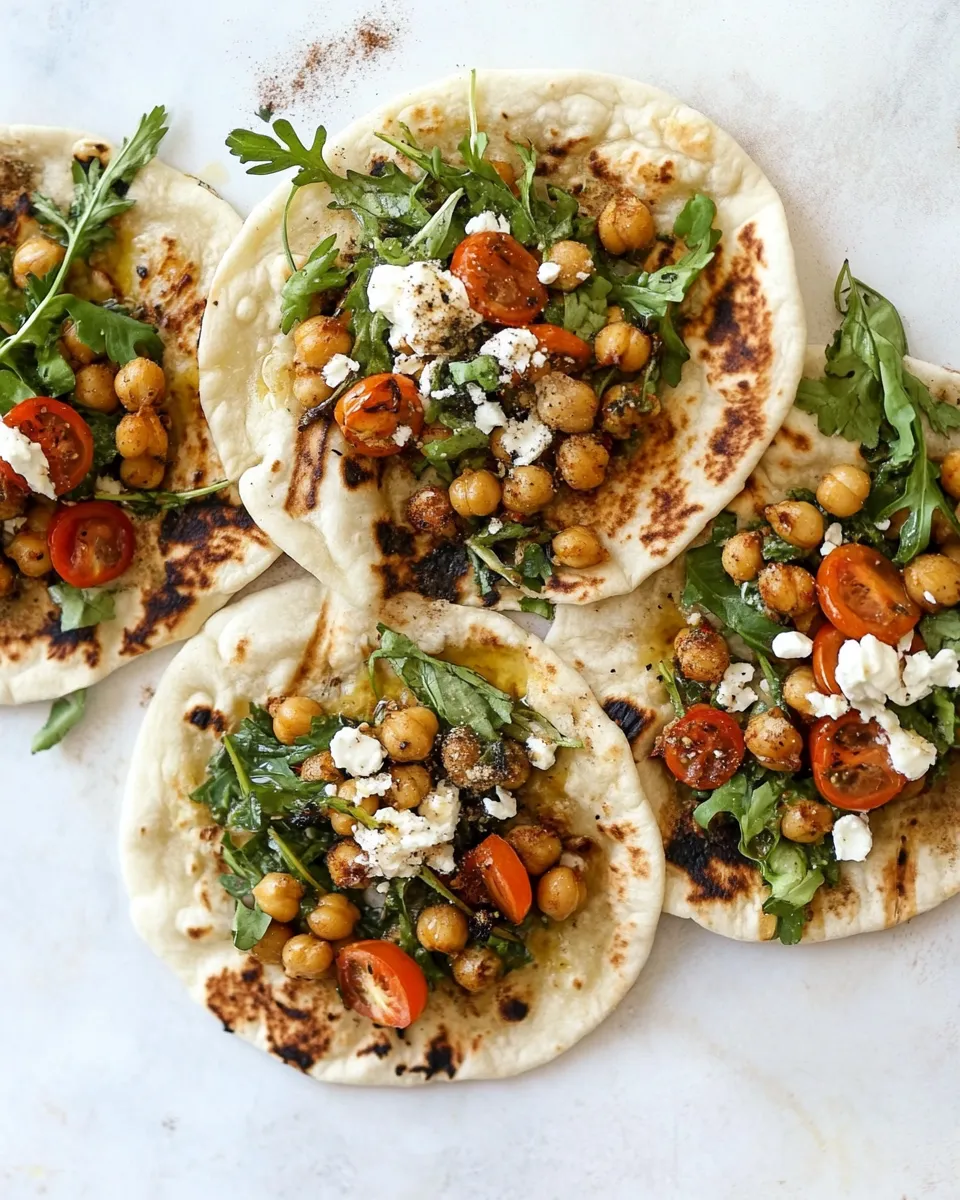
Step 8: Assemble the Pitas
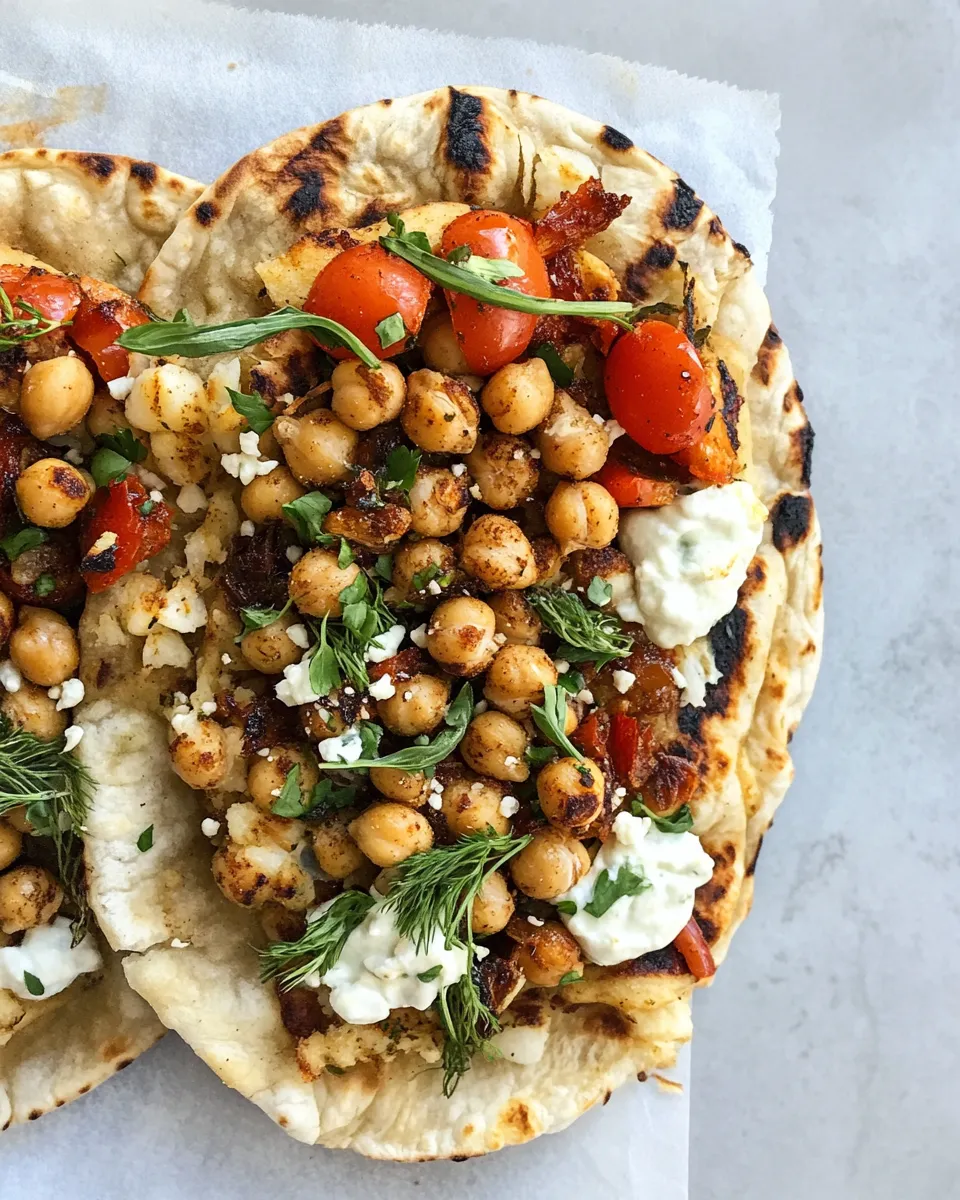
Once the chickpeas are done roasting, it’s time to assemble your Crunchy Roasted Chickpea Pitas. Spread a generous amount of your favorite hummus inside each pita. Top with roasted chickpeas, halved cherry or grape tomatoes, crumbled feta cheese, and a sprinkle of fresh dill and oregano. Drizzle with a little olive oil for extra flavor.
Season-by-Season Upgrades
- Spring: Add fresh cucumbers and radishes for a refreshing crunch.
- Summer: Incorporate grilled zucchini or bell peppers for a smoky flavor.
- Fall: Mix in roasted sweet potatoes or butternut squash for a seasonal twist.
- Winter: Toss in some sautéed kale or spinach for added nutrition.
Pro Perspective
- For extra crispy chickpeas, make sure to dry them thoroughly before roasting.
- Experiment with different spices like cumin or chili powder to customize the flavor of your chickpeas.
- Let the pitas cool completely before storing them to maintain their texture.
- Feel free to swap the feta for a vegan cheese alternative if desired.
Storage Pro Tips
Store leftover roasted chickpeas in an airtight container at room temperature for up to 3 days. If they lose their crunch, you can pop them back in the oven for a few minutes to re-crisp them. The pitas can be stored in the fridge for up to a week. To freeze, wrap them individually and store in a freezer-safe bag for up to 2 months. Just reheat in a skillet or oven when you’re ready to enjoy them again!
Common Questions
Can I use dried chickpeas instead of canned?
Yes! If using dried chickpeas, soak them overnight, then cook them according to package instructions before seasoning and roasting.
What can I substitute for feta cheese?
For a dairy-free option, try using a vegan cheese alternative or simply skip it altogether. The dish will still be delicious!
Can I make the pitas ahead of time?
Absolutely! You can prepare the pita dough in advance and store it in the refrigerator for up to 24 hours before cooking.
What other toppings can I add to my pitas?
You can add sliced olives, avocado, or even pickled vegetables for extra flavor and texture.
What to Make After This
- Roasted Red Pepper Hummus – A perfect dip to pair with your pitas!
- Easy Chickpea Curry – Another delightful way to enjoy chickpeas.
- Easy Vegan Taco Salad – A fresh, filling meal that’s also simple to prepare.
Next Steps
Now that you have the recipe for Crunchy Roasted Chickpea Pitas, gather your ingredients and start cooking! Don’t forget to experiment with different toppings and spices to make this dish your own. Enjoy the process, share with friends and family, and relish every crunchy bite. Happy cooking!
Crunchy Roasted Chickpea Pitas.
Ingredients
Equipment
Method
- Preheat your oven to 400°F (200°C). Drain and rinse the chickpeas thoroughly, then pat them dry with a paper towel.
- In a mixing bowl, combine the chickpeas with olive oil, salt, pepper, smoked paprika, garlic powder, brown sugar, and allspice. Toss until evenly coated.
- Spread the seasoned chickpeas on a baking sheet and roast for about 25-30 minutes, shaking halfway through.
- In a small bowl, combine warm water, active dry yeast, and honey. Let it sit for about 5 minutes until frothy.
- In a large mixing bowl, whisk together whole wheat flour, all-purpose flour, and salt. Pour the yeast mixture into the flour mixture and stir until a dough forms.
- Knead the dough on a floured surface for 5-7 minutes until smooth. Place in a greased bowl, cover, and let rise for about 1 hour.
- Once risen, punch down the dough, divide into 6-8 pieces, and roll each into circles about 1/4 inch thick.
- Heat a skillet over medium-high heat. Brush one side of the pitas with canola oil and cook, oiled side down, for 2-3 minutes on each side.
- Assemble the pitas by spreading hummus inside each, topping with roasted chickpeas, tomatoes, feta, and fresh herbs. Drizzle with olive oil.
Notes
- For extra crispy chickpeas, dry them thoroughly before roasting.
- Experiment with spices like cumin or chili powder for different flavors.
- Store pitas in the fridge for up to a week or freeze for up to 2 months.