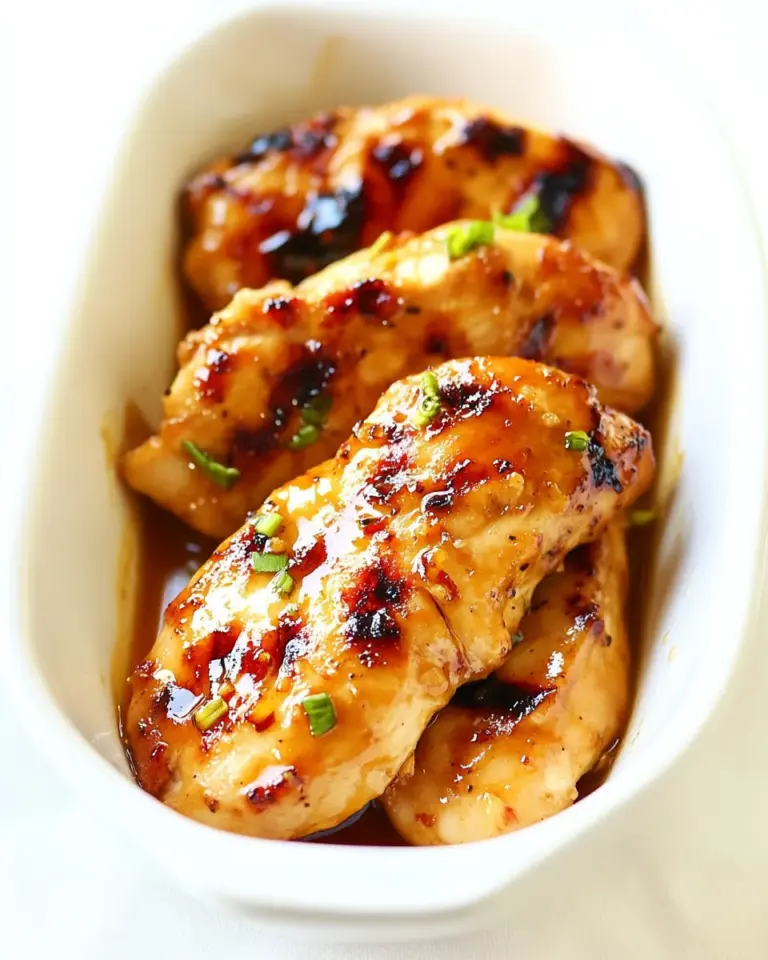
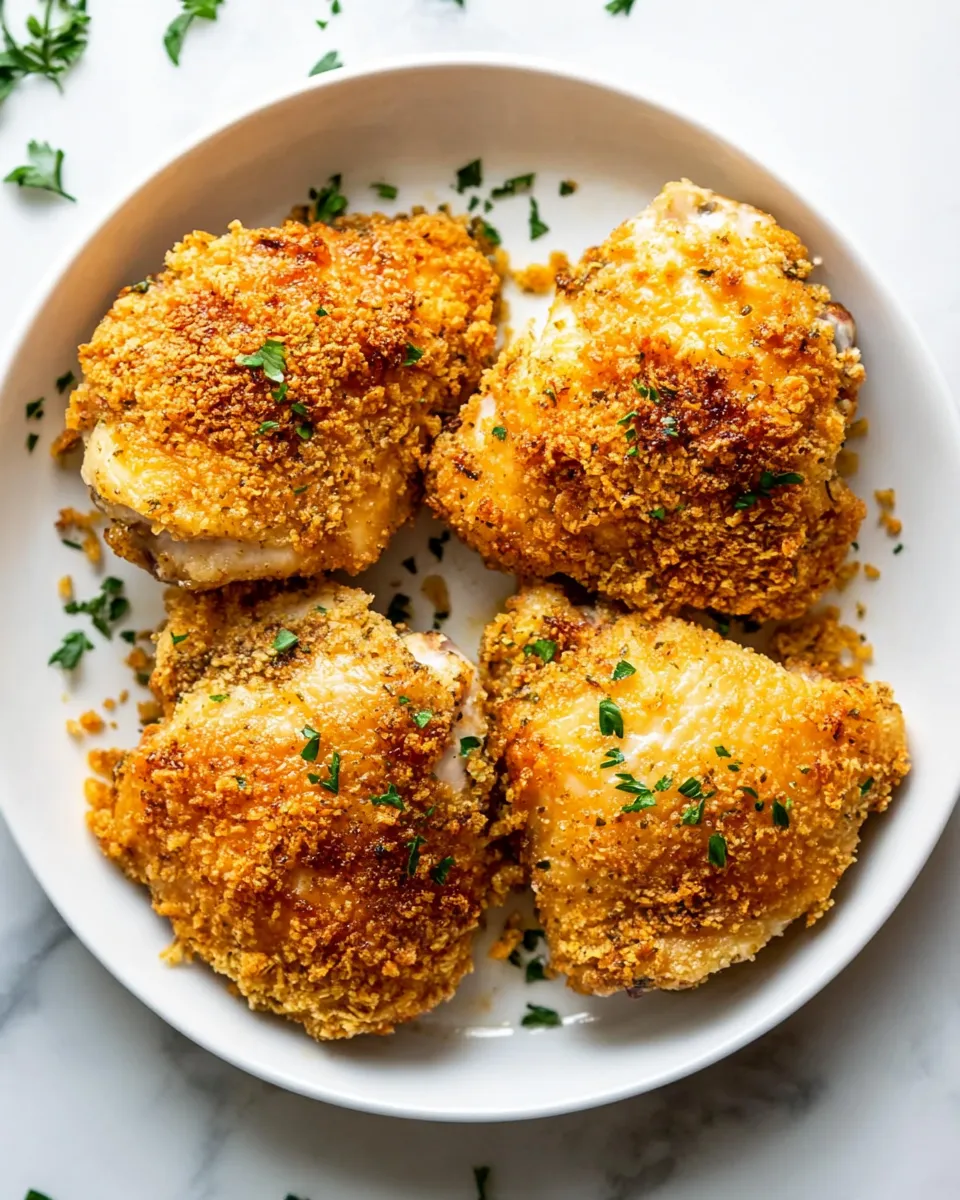
Crispy Baked Chicken Thighs
Crispy Baked Chicken Thighs are a delightful twist on a classic dish that everyone in the family will love. With their crunchy exterior and juicy interior, these thighs are the perfect balance of textures and flavors. It’s a recipe that not only pleases the palate but also fills the home with an irresistible aroma. Let’s dive into how you can make perfect crispy chicken thighs in your own kitchen.
Why It’s Crowd-Pleasing

There’s something about chicken thighs that makes them a favorite for gatherings and family dinners. Their rich flavor, combined with a crispy coating, makes them a hit among both kids and adults. The beauty of this recipe is its simplicity. With just a few pantry staples and a little bit of time, you can create a dish that tastes like it came straight from a restaurant. Plus, who can resist that satisfying crunch with each bite?
Ingredient Rundown
To make these crispy baked chicken thighs, you’ll need the following ingredients:
- 1 cup all-purpose flour
- 1 teaspoon salt, divided
- 1 teaspoon ground black pepper
- 2 large eggs
- 2 tablespoons water
- 2 cups Panko bread crumbs
- 1 teaspoon paprika
- 1 teaspoon garlic powder
- 1 teaspoon onion powder
- 2-2 pounds boneless, skinless chicken thighs
- 2 tablespoons olive oil
Setup & Equipment
Before you begin cooking, make sure you have the following equipment ready:
- Large baking sheet: This will hold the chicken as it bakes.
- Mixing bowls: For preparing the flour and egg mixtures.
- Whisk: To beat the eggs and combine the wet ingredients.
- Measuring cups and spoons: For accurate ingredient measurements.
- Tongs: For flipping and handling the chicken safely.
Step-by-Step: Crispy Baked Chicken Thighs

Step 1: Preheat the Oven
Start by preheating your oven to 425°F (220°C). This high temperature is key to achieving that crispy exterior.
Step 2: Prepare the Coating
In one mixing bowl, combine the all-purpose flour, ½ teaspoon of salt, and black pepper. In another bowl, whisk together the eggs and water until well combined. In a third bowl, mix the Panko bread crumbs, paprika, garlic powder, onion powder, and the remaining ½ teaspoon of salt.
Step 3: Coat the Chicken Thighs
Take each chicken thigh and first dip it into the flour mixture, coating it evenly. Shake off any excess flour, then dip it into the egg mixture, allowing any excess to drip off. Finally, press it into the Panko mixture, ensuring it’s well-coated. Repeat this process for all the chicken thighs.
Step 4: Arrange and Drizzle
Place the coated chicken thighs on the prepared baking sheet. Drizzle the olive oil over the chicken thighs to help them crisp up nicely in the oven.
Step 5: Bake
Bake in the preheated oven for 30-35 minutes, or until the chicken is golden brown and the internal temperature reaches 165°F (75°C). For extra crispiness, you can broil them for an additional 2-3 minutes at the end.
Season-by-Season Upgrades
To keep things exciting, consider these seasonal upgrades to your crispy baked chicken thighs:
- Spring: Add fresh herbs like rosemary and thyme to the Panko mixture for a fragrant touch.
- Summer: Serve with a side of grilled vegetables or a fresh salad to complement the flavors.
- Fall: Incorporate a touch of dried rosemary and sage into the breading for a seasonal twist.
- Winter: Pair with mashed potatoes and gravy for a cozy, comforting meal.
Slip-Ups to Skip
To ensure your crispy baked chicken thighs turn out perfectly, avoid these common slip-ups:
- Skipping the flour coat: The flour helps the egg and Panko adhere better, resulting in a crunchier texture.
- Using regular bread crumbs: Panko is lighter and provides a much better crunch compared to regular bread crumbs.
- Not preheating the oven: A hot oven is essential for that crispy exterior, so don’t skip this step!
- Overcrowding the baking sheet: Give the chicken space to cook evenly and get crispy all around.
Storage Pro Tips
If you have leftovers (which is rare, but it happens!), here’s how to store them properly:
Allow the chicken to cool completely before storing. Place the chicken thighs in an airtight container and refrigerate for up to 3 days. To reheat, place them in a preheated oven at 350°F (175°C) for about 15-20 minutes, or until heated through.
You can also freeze the cooked chicken thighs. Wrap them tightly in plastic wrap and then in aluminum foil to prevent freezer burn. They will last for about 2 months in the freezer.
Quick Questions
Can I use chicken breasts instead of thighs?
Yes, you can use chicken breasts, but they may not be as juicy as thighs. Adjust the cooking time to ensure they don’t dry out.
What can I serve with crispy baked chicken thighs?
These pair wonderfully with a wide variety of sides such as mashed potatoes, roasted vegetables, or a simple green salad.
Can I make this recipe gluten-free?
Absolutely! Substitute the all-purpose flour with a gluten-free flour blend and use gluten-free Panko breadcrumbs.
How can I add more flavor to the chicken thighs?
For added flavor, marinate the chicken thighs in a mix of olive oil, lemon juice, and your favorite herbs for a few hours before coating them.
If you enjoyed this recipe, you might want to try your hand at these delicious alternatives:
Ready, Set, Cook
Now that you have all the details, it’s time to get cooking! Gather your ingredients, set up your kitchen, and let the aroma of crispy baked chicken thighs fill your home. This recipe promises to be a hit, whether you’re serving it for a casual weeknight dinner or a gathering with friends. Enjoy every bite of this crispy delight!
Share on Pinterest

Crispy Baked Chicken Thighs
Ingredients
Equipment
Method
- Step 1: Preheat the Oven - Start by preheating your oven to 425°F (220°C). This high temperature is key to achieving that crispy exterior.
- Step 2: Prepare the Coating - In one mixing bowl, combine the all-purpose flour, ½ teaspoon of salt, and black pepper. In another bowl, whisk together the eggs and water until well combined. In a third bowl, mix the Panko bread crumbs, paprika, garlic powder, onion powder, and the remaining ½ teaspoon of salt.
- Step 3: Coat the Chicken Thighs - Take each chicken thigh and first dip it into the flour mixture, coating it evenly. Shake off any excess flour, then dip it into the egg mixture, allowing any excess to drip off. Finally, press it into the Panko mixture, ensuring it's well-coated. Repeat this process for all the chicken thighs.
- Step 4: Arrange and Drizzle - Place the coated chicken thighs on the prepared baking sheet. Drizzle the olive oil over the chicken thighs to help them crisp up nicely in the oven.
- Step 5: Bake - Bake in the preheated oven for 30-35 minutes, or until the chicken is golden brown and the internal temperature reaches 165°F (75°C). For extra crispiness, you can broil them for an additional 2-3 minutes at the end.
Notes
- Allow the chicken to cool completely before storing in an airtight container.
- Reheat leftovers in a preheated oven at 350°F (175°C) for about 15-20 minutes.
- For freezing, wrap the chicken tightly to prevent freezer burn.