Black-Eyed Pea Salad (Easy!)
If you’re searching for a fresh, vibrant, and incredibly simple dish to brighten up your meals, look no further than this Black-Eyed Pea Salad (Easy!). Packed with protein, fiber, and a rainbow of vegetables, this salad is not only delicious but also incredibly nutritious. Whether you’re looking for a quick lunch, a side for your dinner, or a dish to bring to a potluck, this salad is a perfect choice. Plus, it comes together in just a few minutes, making it ideal for busy days. Let’s dive into the details!
Why Black-Eyed Pea Salad (Easy!) is Worth Your Time
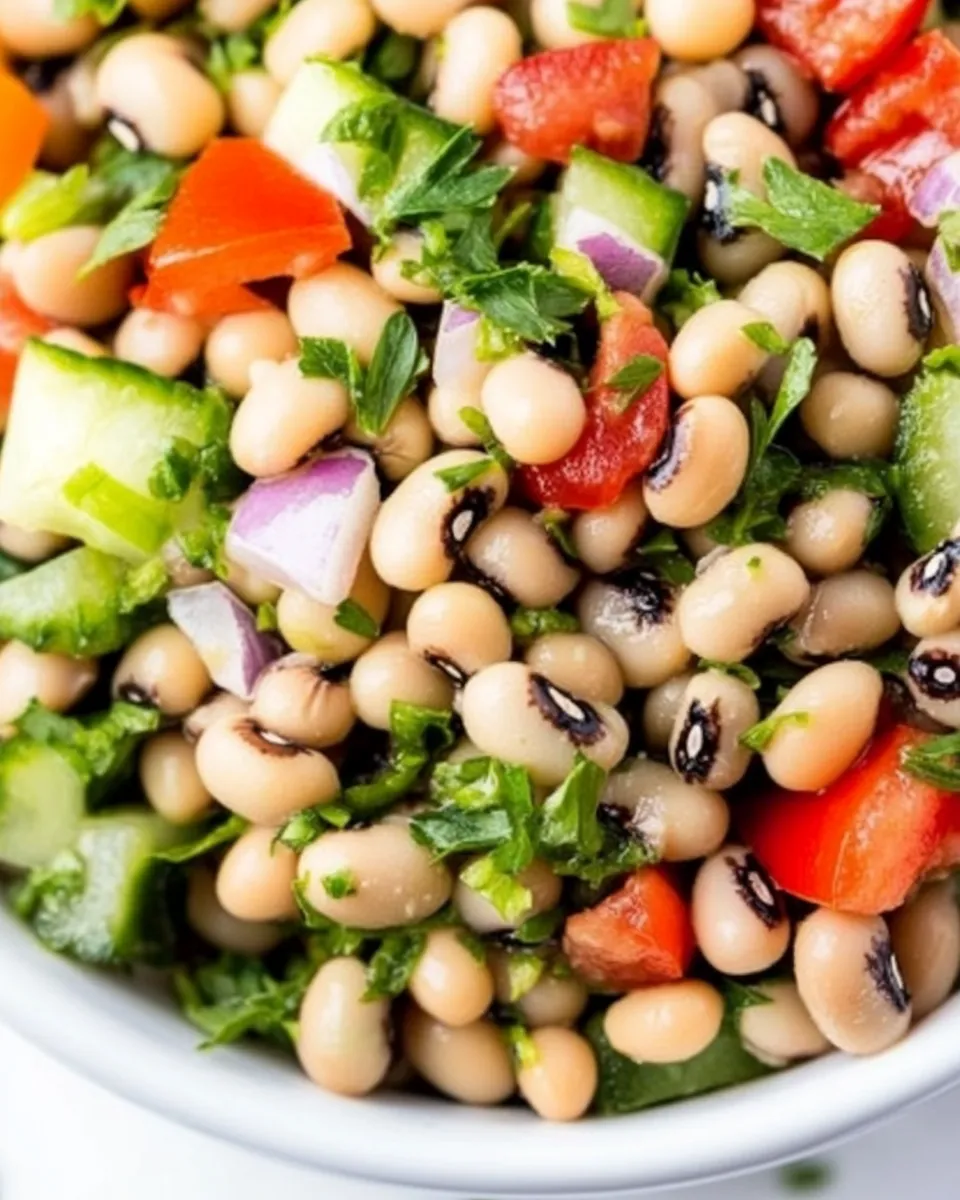
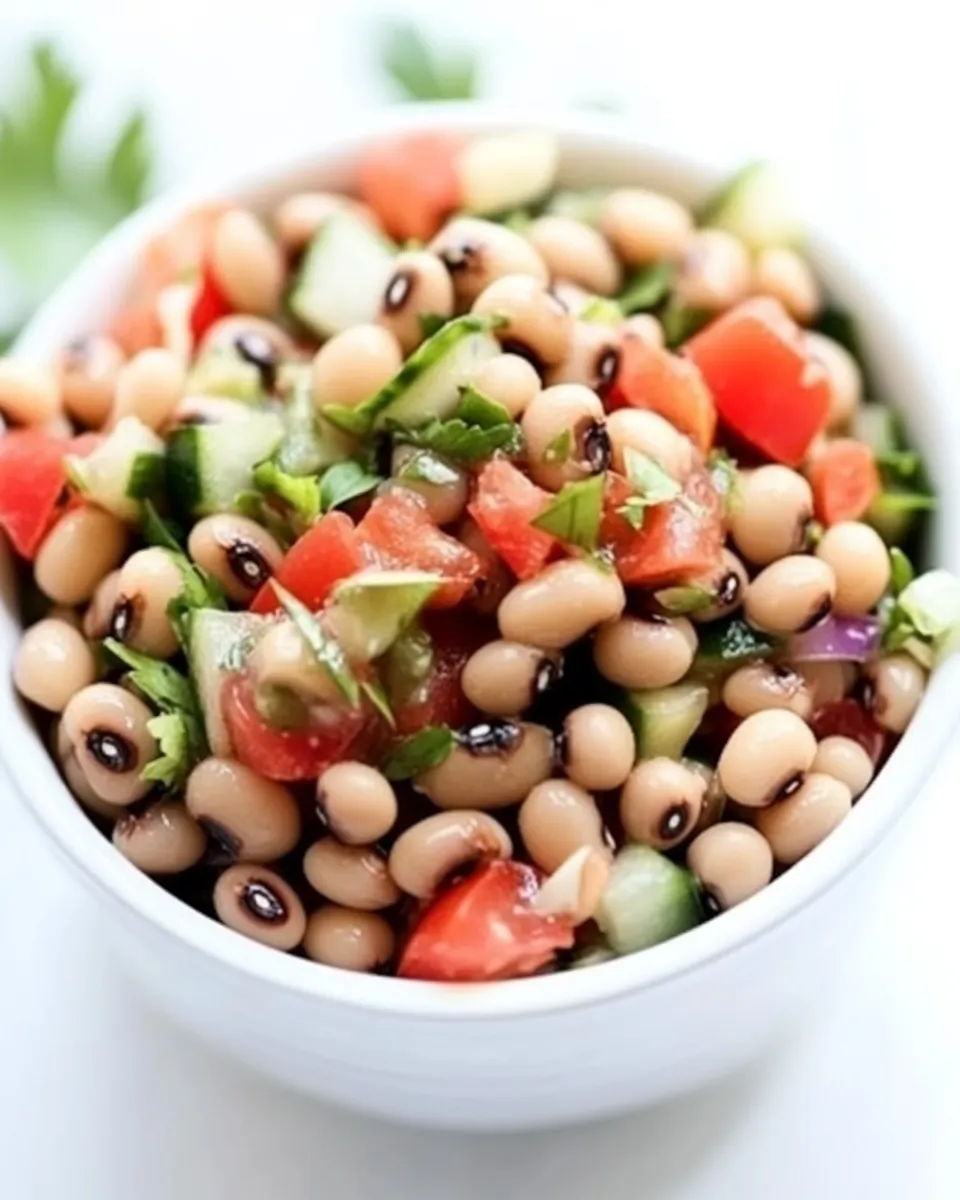
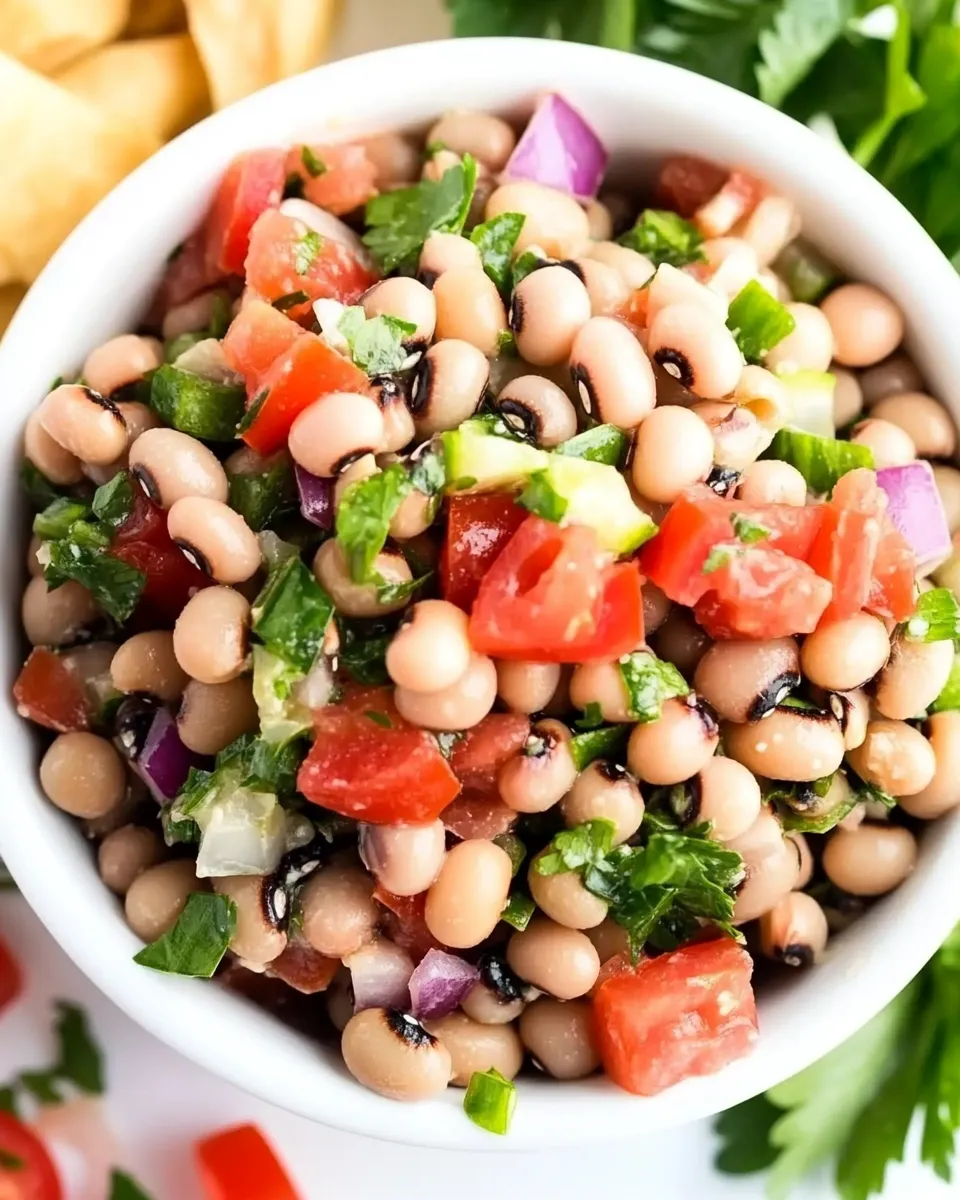
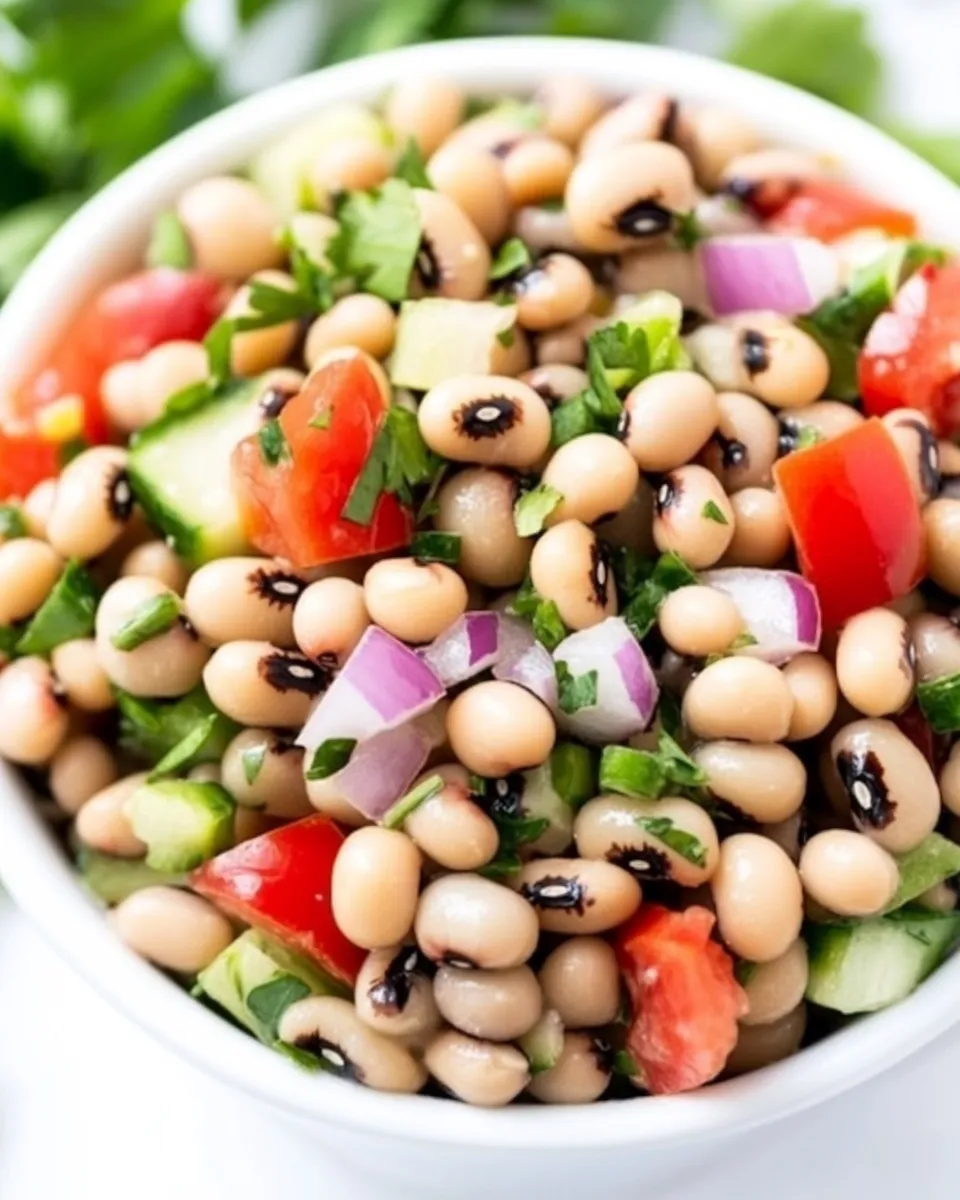
This Black-Eyed Pea Salad (Easy!) is a delightful combination of flavors and textures. The nutty taste of black-eyed peas mingles beautifully with the sweetness of roasted red pepper, the crunch of cucumber, and the juicy burst of grape tomatoes. Toss in some fresh parsley for a hint of brightness, and you have a dish that’s both satisfying and refreshing.
But that’s not all! Black-eyed peas are known for their health benefits, offering a great source of protein and fiber while being low in fat. With the added vegetables, this salad becomes a powerhouse of nutrients. Not only is it easy to prepare, but it also holds up well in the fridge, making it a great option for meal prep.
Ingredient Breakdown
To make this Black-Eyed Pea Salad (Easy!), you’ll need the following ingredients:
- 15 oz can black-eyed peas: The star of the salad, these legumes are rich in protein and fiber.
- 1 roasted red pepper: Adds sweetness and a smoky flavor. You can roast your own or buy it jarred.
- 1/2 English cucumber: Provides a refreshing crunch.
- 1/4 cup red onion: Offers a sharp bite that complements the other flavors.
- 4 oz grape tomatoes: Their juicy sweetness brightens the salad.
- 1/4 cup fresh parsley: Adds a fresh, herbal note.
- 1/4 cup rice vinegar: Gives a tangy kick; feel free to substitute with another vinegar if desired.
- 2 tsp stone-ground mustard (or Dijon): Provides a depth of flavor and a bit of zing.
- 1 1/2 tsp pure maple syrup: Balances the acidity of the vinegar.
- 1 clove garlic, minced: Adds an aromatic punch.
- 1/4 tsp salt: Enhances all the flavors.
Hardware & Gadgets
To prepare this Black-Eyed Pea Salad (Easy!), you’ll need a few simple tools:
- Cutting board: For chopping your vegetables.
- Sharp knife: To easily dice the ingredients.
- Mixing bowl: A large bowl to combine all the ingredients.
- Measuring cups and spoons: For accurate ingredient measurements.
- Can opener: To open the can of black-eyed peas.
Directions: Black-Eyed Pea Salad (Easy!)
Step 1: Prepare the Ingredients
Begin by draining and rinsing the can of black-eyed peas under cold water. This helps to remove excess sodium and any canning liquid. Set aside to drain well.
Step 2: Chop the Vegetables
While the peas are draining, chop the roasted red pepper into small pieces. Slice the English cucumber in half lengthwise and then chop it into half-moon shapes. Dice the red onion finely and halve the grape tomatoes.
Step 3: Combine in a Bowl
In a large mixing bowl, combine the black-eyed peas, chopped roasted red pepper, cucumber, red onion, grape tomatoes, and fresh parsley. Toss gently to combine.
Step 4: Make the Dressing
In a small bowl, whisk together the rice vinegar, stone-ground mustard, pure maple syrup, minced garlic, and salt. Taste and adjust seasoning if necessary.
Step 5: Dress the Salad
Pour the dressing over the salad mixture and toss thoroughly to ensure all ingredients are well coated.
Step 6: Chill and Serve
For the best flavor, let the salad chill in the refrigerator for at least 30 minutes before serving. This allows the flavors to meld together beautifully.
In-Season Swaps
If you want to elevate your Black-Eyed Pea Salad (Easy!) or use seasonal ingredients, consider these swaps:
- Fresh bell peppers: Use different colors for a vibrant look.
- Cherry tomatoes: Swap grape tomatoes for sweeter cherry tomatoes.
- Fresh herbs: Basil or cilantro can be delicious alternatives to parsley.
- Red wine vinegar: Use this for a different tangy flavor profile.
Pro Perspective
This Black-Eyed Pea Salad (Easy!) is not only a versatile dish but also a fantastic way to add more plant-based protein to your diet. It holds up well in the fridge, making it a great option for meal prep. You can enjoy it as a standalone dish or serve it as a side with grilled chicken or fish. The possibilities are endless!
Save It for Later
If you’re planning to make this Black-Eyed Pea Salad (Easy!) ahead of time, it’s best to store it in an airtight container in the refrigerator. It will last up to 3 days. Just be aware that the vegetables may soften a little, but the flavors will continue to develop, making it even more tasty over time!
Helpful Q&A
Can I use dried black-eyed peas instead of canned?
Yes! If you prefer using dried black-eyed peas, be sure to soak and cook them according to package instructions before adding them to the salad.
What can I serve with this salad?
This salad pairs well with grilled meats, tacos, or as part of a picnic spread. It’s also great on its own for a light lunch!
How can I make this salad spicier?
Add some diced jalapeños or a pinch of red pepper flakes to the dressing for an extra kick!
Can I add cheese to this salad?
Absolutely! Crumbled feta or goat cheese would add a delicious creaminess to the salad.
Similar Recipes
- Balanced Bean Salad
- Quinoa Salad with Veggies
- Mediterranean Chickpea Salad
- Veggie-Packed Pasta Salad
That’s a Wrap
This Black-Eyed Pea Salad (Easy!) is not just a meal; it’s a celebration of fresh ingredients and vibrant flavors. With its simplicity and versatility, it’s bound to become a favorite in your household. Whether you enjoy it on a warm summer day or as a hearty side during colder months, this salad will undoubtedly brighten your table. Gather your ingredients, and let’s get mixing! Enjoy the delightful explosion of flavors in every bite.
Black-Eyed Pea Salad (Easy!)
Ingredients
Equipment
Method
- Step 1: Prepare the Ingredients. Begin by draining and rinsing the can of black-eyed peas under cold water. This helps to remove excess sodium and any canning liquid. Set aside to drain well.
- Step 2: Chop the Vegetables. While the peas are draining, chop the roasted red pepper into small pieces. Slice the English cucumber in half lengthwise and then chop it into half-moon shapes. Dice the red onion finely and halve the grape tomatoes.
- Step 3: Combine in a Bowl. In a large mixing bowl, combine the black-eyed peas, chopped roasted red pepper, cucumber, red onion, grape tomatoes, and fresh parsley. Toss gently to combine.
- Step 4: Make the Dressing. In a small bowl, whisk together the rice vinegar, stone-ground mustard, pure maple syrup, minced garlic, and salt. Taste and adjust seasoning if necessary.
- Step 5: Dress the Salad. Pour the dressing over the salad mixture and toss thoroughly to ensure all ingredients are well coated.
- Step 6: Chill and Serve. For the best flavor, let the salad chill in the refrigerator for at least 30 minutes before serving. This allows the flavors to meld together beautifully.
Notes
- Store leftovers in an airtight container in the refrigerator for up to 3 days.
- Feel free to swap in seasonal vegetables for added freshness.
- This salad can be enjoyed on its own or as a side dish with grilled meats.