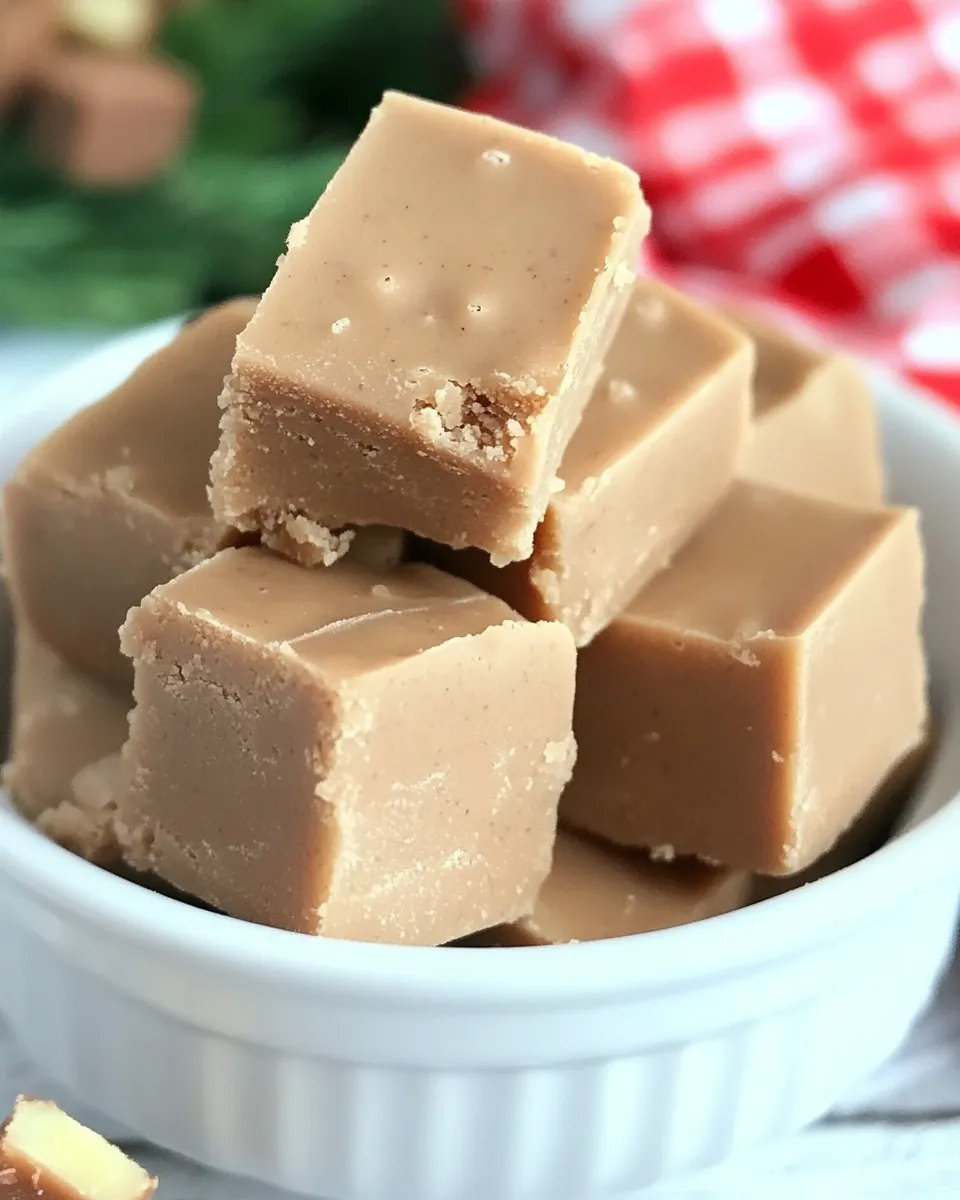
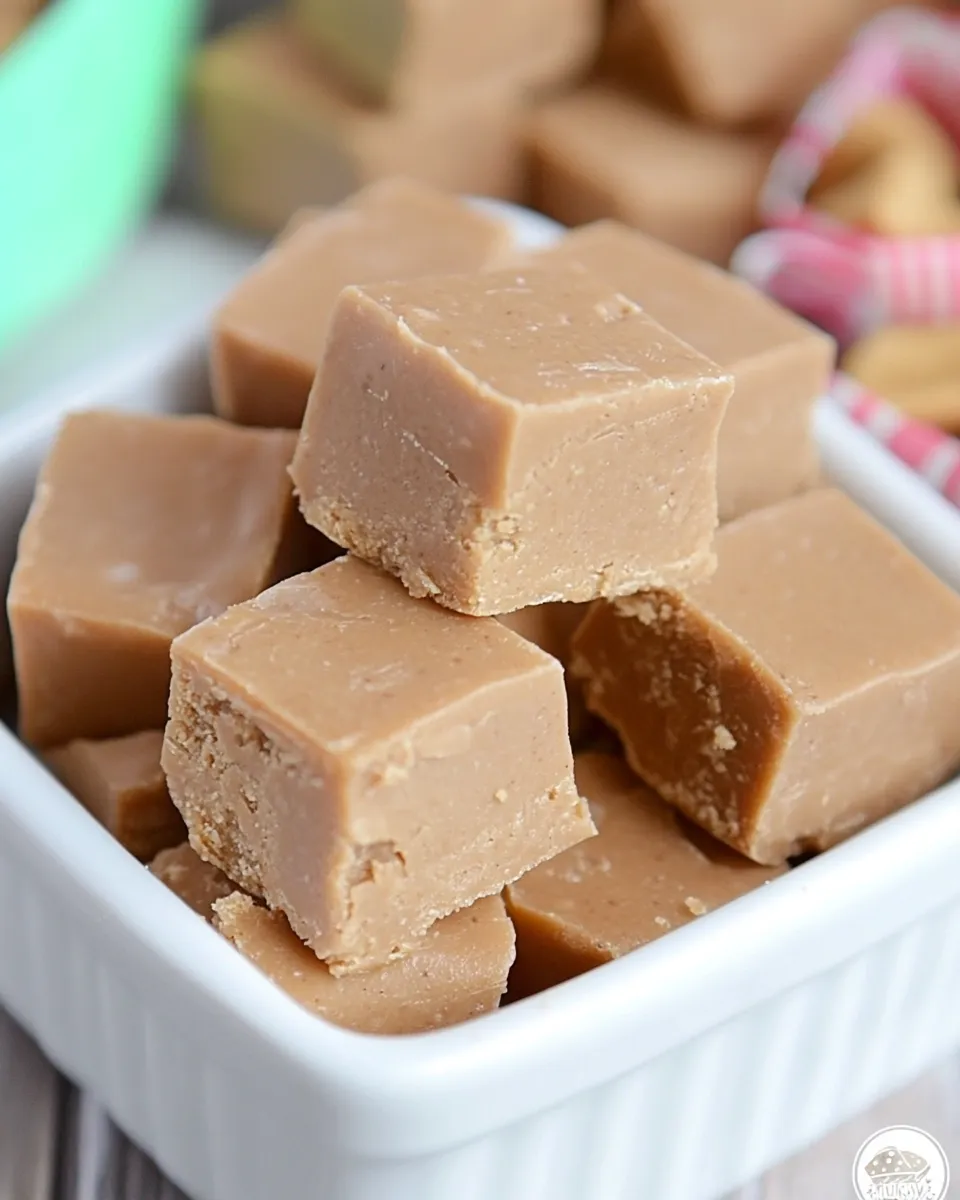
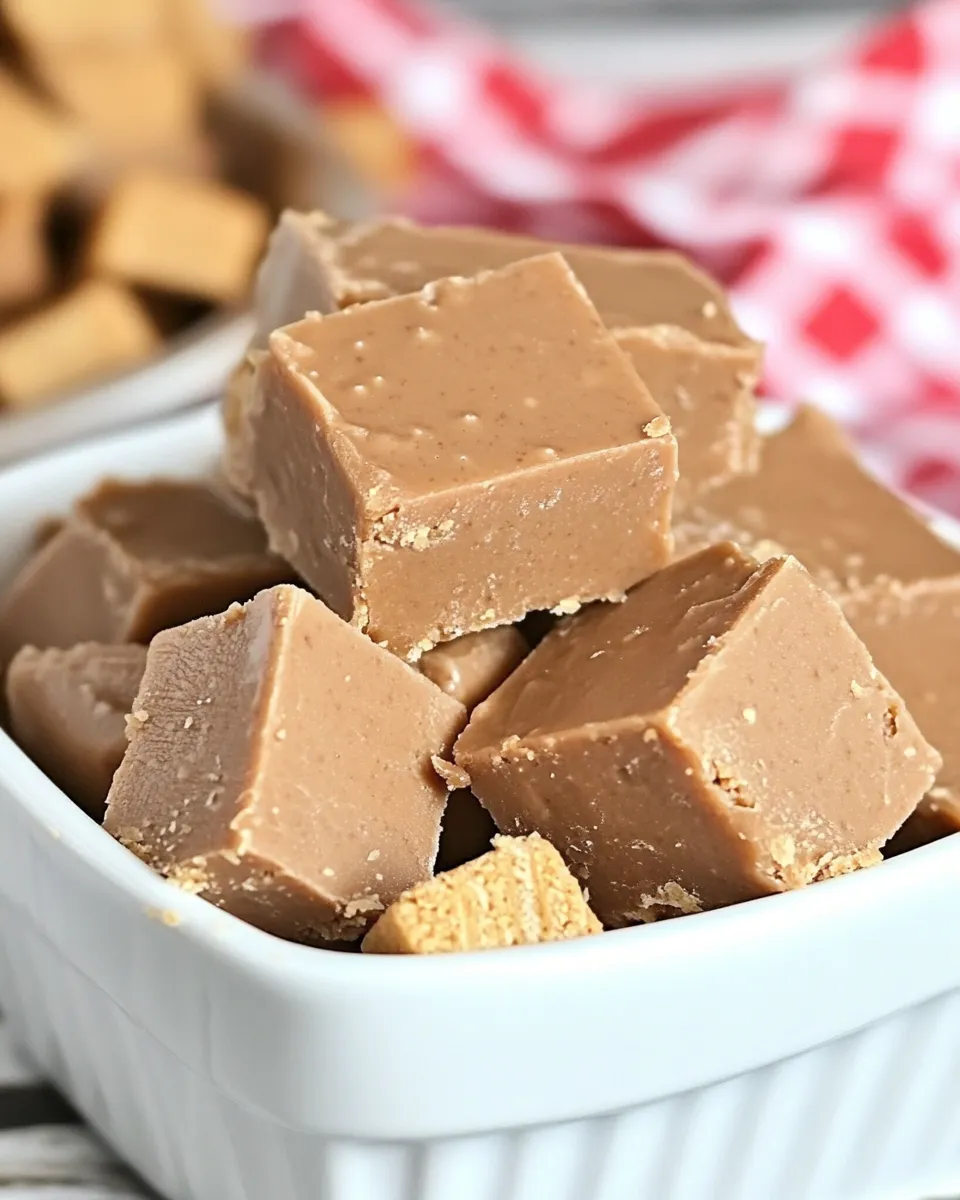
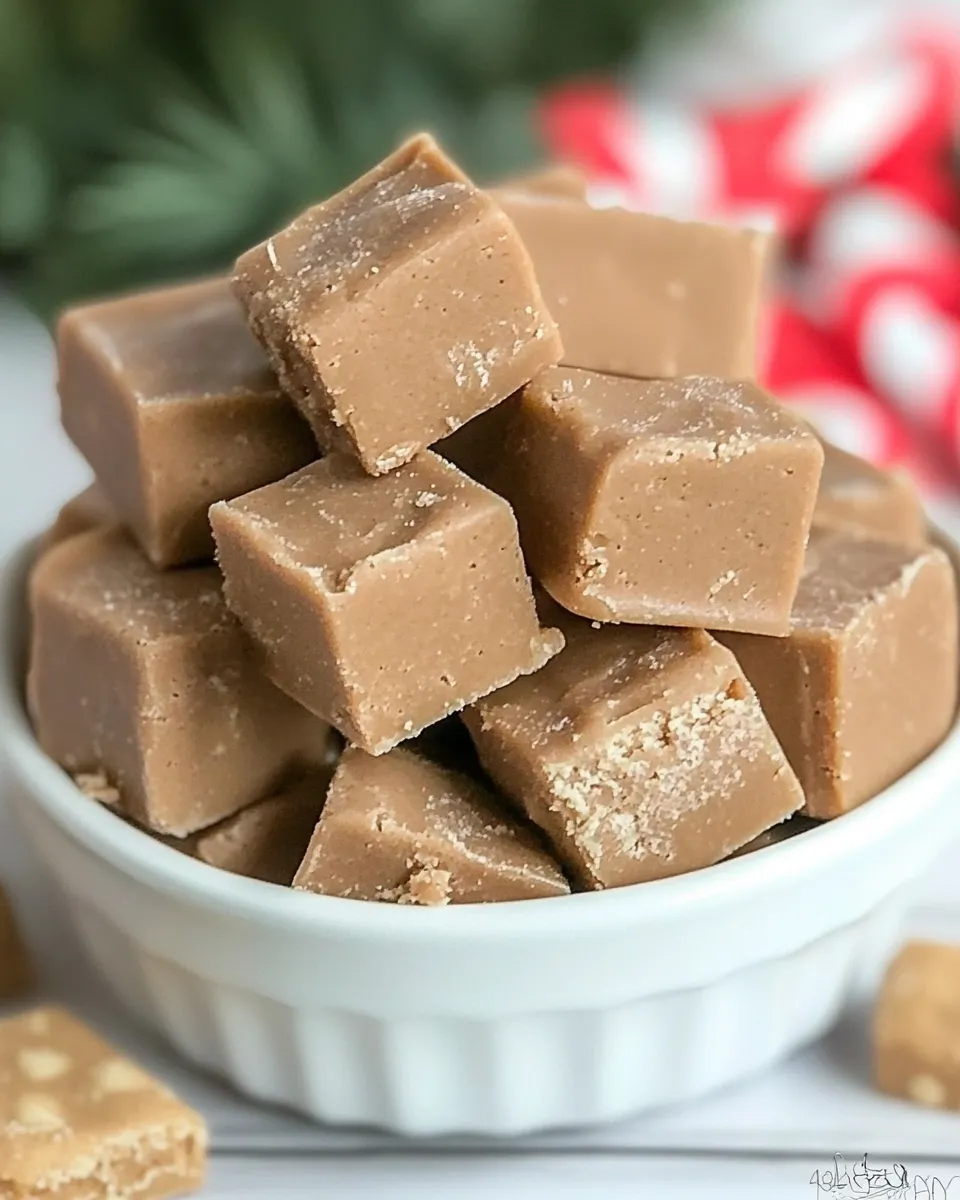
Biscoff Fudge
Indulging in the rich, creamy world of fudge just got a whole lot better with the introduction of Biscoff. This Biscoff Fudge combines the velvety texture of frosting with the irresistible flavor of Biscoff spread, creating a delightful treat that’s perfect for any occasion. Whether you’re hosting a gathering or simply craving something sweet, this easy-to-make fudge will have everyone coming back for more. Let’s dive into why this fudge should be your next kitchen adventure.
Top Reasons to Make Biscoff Fudge
- Decadent Flavor: The warm, spiced notes of Biscoff spread perfectly complement the sweetness of vanilla frosting.
- Quick and Easy: With minimal ingredients and no baking required, this fudge is a breeze to whip up.
- Perfect for Gift Giving: Cut it into bite-sized pieces and package it beautifully for friends and family.
- Customizable: Mix in your favorite toppings or add a drizzle of chocolate for an extra special touch.
Ingredient Notes
- 11 lb container Pillsbury vanilla frosting: The base for your fudge, providing sweetness and creaminess.
- 2 3/4 cups Biscoff spread: The star ingredient, contributing its signature caramelized flavor and smooth texture.
Recommended Tools
- Microwave-safe bowl: For easily melting the frosting and Biscoff spread.
- Spatula: To mix everything together thoroughly.
- 9×9 inch baking dish: For setting your fudge; line it with parchment paper for easy removal.
- Refrigerator: For chilling the fudge until it sets perfectly.
Biscoff Fudge: How It’s Done
Step 1: Prepare Your Dish
Begin by lining a 9×9 inch baking dish with parchment paper. This will ensure that your fudge can be easily removed and cut into perfect squares.
Step 2: Microwave the Frosting
In a microwave-safe bowl, scoop out the entire 11 lb container of Pillsbury vanilla frosting. Microwave it in 30-second intervals, stirring in between, until it becomes smooth and slightly melted.
Step 3: Mix in the Biscoff Spread
Once the frosting is melted, add in the 2 3/4 cups of Biscoff spread. Stir well until the mixture is fully combined and creamy.
Step 4: Pour into the Dish
Pour the fudge mixture into the prepared baking dish. Use a spatula to spread it evenly into the corners.
Step 5: Chill the Fudge
Place the baking dish in the refrigerator for at least 2 hours, or until the fudge is completely set.
Step 6: Cut and Serve
Once set, remove the fudge from the dish using the parchment paper. Cut into small squares and enjoy your delicious Biscoff Fudge!
Ingredient Flex Options
- Frosting: You can use any brand of vanilla frosting if you prefer a different flavor or brand.
- Biscoff Spread: Speculoos cookie butter can be used as a substitute for a similar flavor profile.
- Add-ins: Consider folding in crushed nuts, chocolate chips, or a sprinkle of sea salt for added texture and flavor.
Common Errors (and Fixes)
- Fudge is too soft: Ensure you have chilled it long enough. If it’s still soft, return it to the fridge for additional time.
- Fudge is too hard: This can happen if it’s over-chilled. Allow it to sit at room temperature for a few minutes before cutting.
- Uneven texture: Make sure to mix thoroughly to avoid lumps of frosting or Biscoff spread.
Keep-It-Fresh Plan
To keep your Biscoff Fudge fresh, store it in an airtight container at room temperature for up to a week. If you anticipate not finishing it within that time, consider refrigerating it. The fudge can also be frozen for up to three months; just ensure it’s wrapped tightly to avoid freezer burn.
Questions People Ask
Can I use homemade frosting instead of store-bought?
Absolutely! Homemade frosting can add a personal touch to your Biscoff Fudge. Just ensure it has a similar consistency for the best results.
How do I know when the fudge is set?
The fudge is set when it is firm to the touch and does not leave an impression when pressed. It should be easy to cut into squares.
Can I add toppings to my Biscoff Fudge?
Yes! Consider topping it with crushed Biscoff cookies, drizzling with melted chocolate, or adding a sprinkle of sea salt before it sets.
What’s the best way to cut fudge?
Using a sharp knife that has been warmed under hot water can help create clean cuts. Wipe the knife between cuts for the best results.
Because You Liked This
- Sally’s Baking Addiction: Explore more delightful recipes that will satisfy your sweet tooth.
- Pinch of Yum: Check out this blog for a mix of savory and sweet treats that are sure to impress.
- Minimalist Baker: Find simple, delicious recipes with a focus on plant-based ingredients.
Time to Try It
Now that you know how to make this enchanting Biscoff Fudge, it’s time to gather your ingredients and give it a whirl! With its dreamy flavor and creamy texture, this fudge is bound to become a favorite in your home. Whether you’re enjoying it yourself or sharing it with loved ones, this treat offers a delightful taste experience that’s hard to resist. So roll up your sleeves, and let’s get fudge-making! You won’t regret it!
Biscoff Fudge
Ingredients
Equipment
Method
- Step 1: Prepare Your Dish - Line a 9x9 inch baking dish with parchment paper for easy removal.
- Step 2: Microwave the Frosting - Scoop the entire frosting container into a microwave-safe bowl. Microwave in 30-second intervals, stirring until smooth.
- Step 3: Mix in the Biscoff Spread - Add the Biscoff spread to the melted frosting and stir until fully combined and creamy.
- Step 4: Pour into the Dish - Pour the fudge mixture into the prepared baking dish and spread it evenly.
- Step 5: Chill the Fudge - Place the dish in the refrigerator for at least 2 hours until set.
- Step 6: Cut and Serve - Once set, remove the fudge using the parchment paper and cut it into small squares.
Notes
- Store the fudge in an airtight container at room temperature for up to a week.
- For longer storage, refrigerate or freeze the fudge wrapped tightly.
- Try adding crushed nuts or chocolate chips for extra texture!