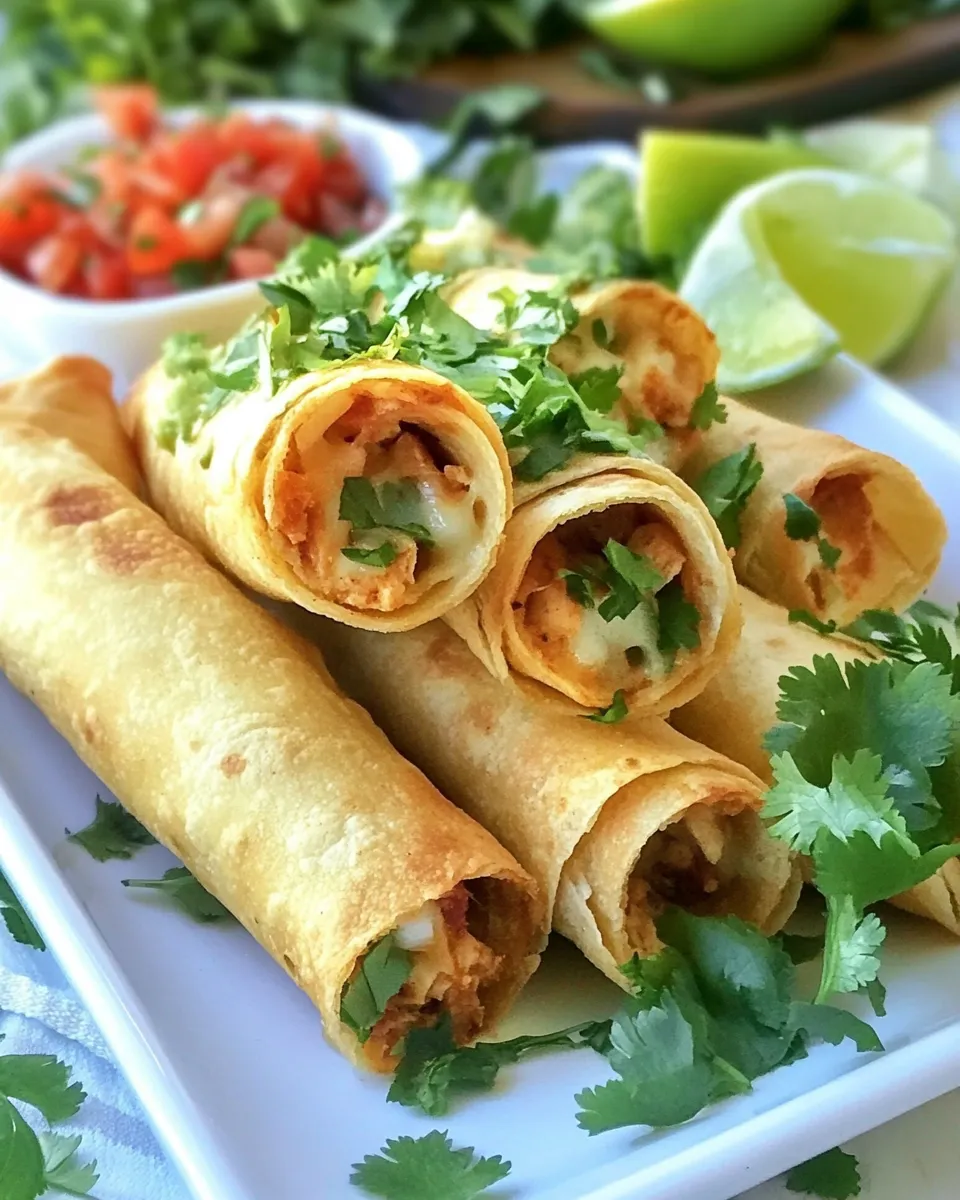
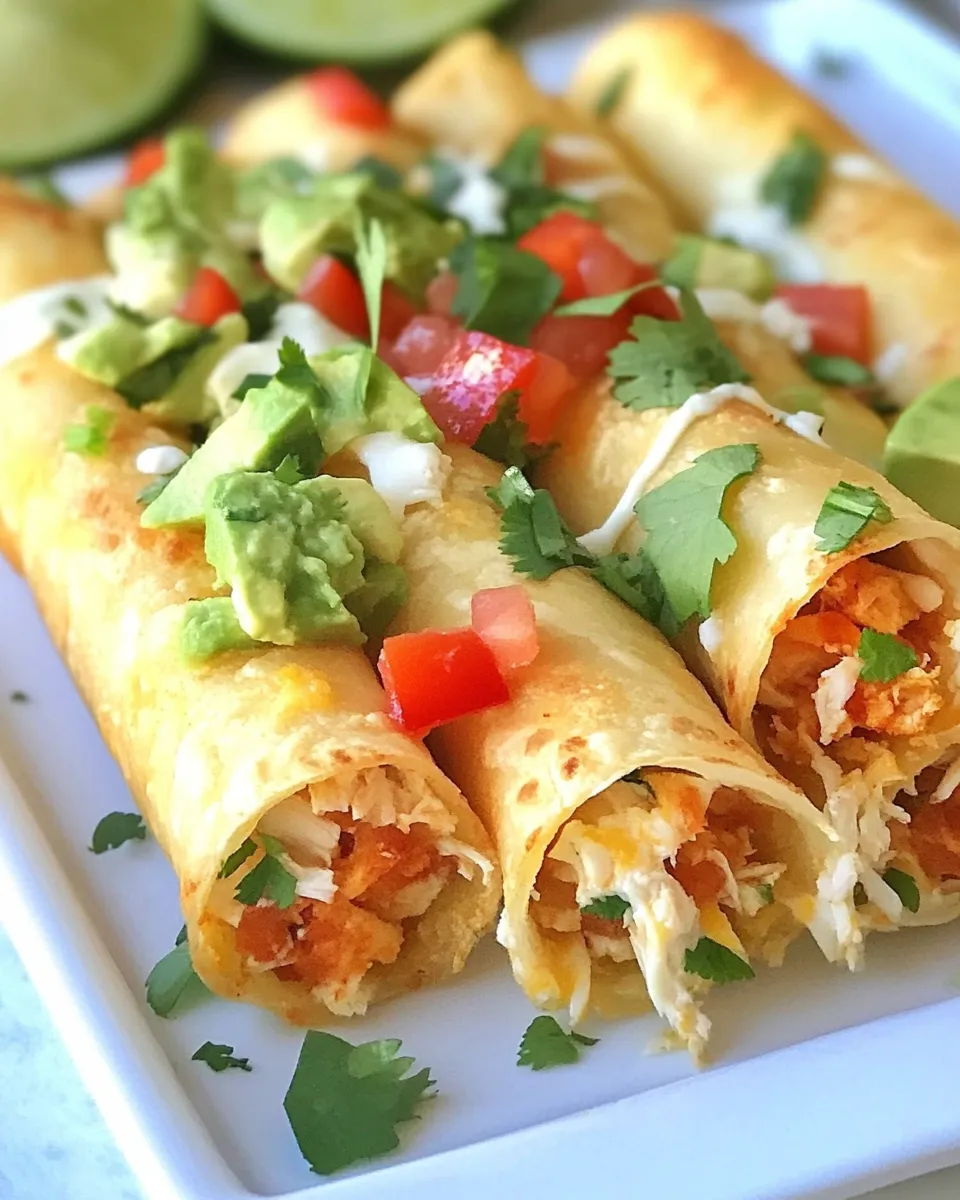
Baked Taquitos Filled with Pre-Made Chicken and Cheese
If you’re looking for a delicious, easy-to-make snack or dinner option, these Baked Taquitos Filled with Pre-Made Chicken and Cheese are a perfect choice. This recipe combines the convenience of pre-cooked rotisserie chicken with the satisfying crunch of baked taquitos, making it a weeknight superstar. The best part? You can whip these up in no time, and they’re perfect for sharing with family or friends. Let’s dive into the world of taquitos that are as tasty as they are simple to prepare.
Why This Baked Taquitos Filled with Pre-Made Chicken and Cheese Stands Out
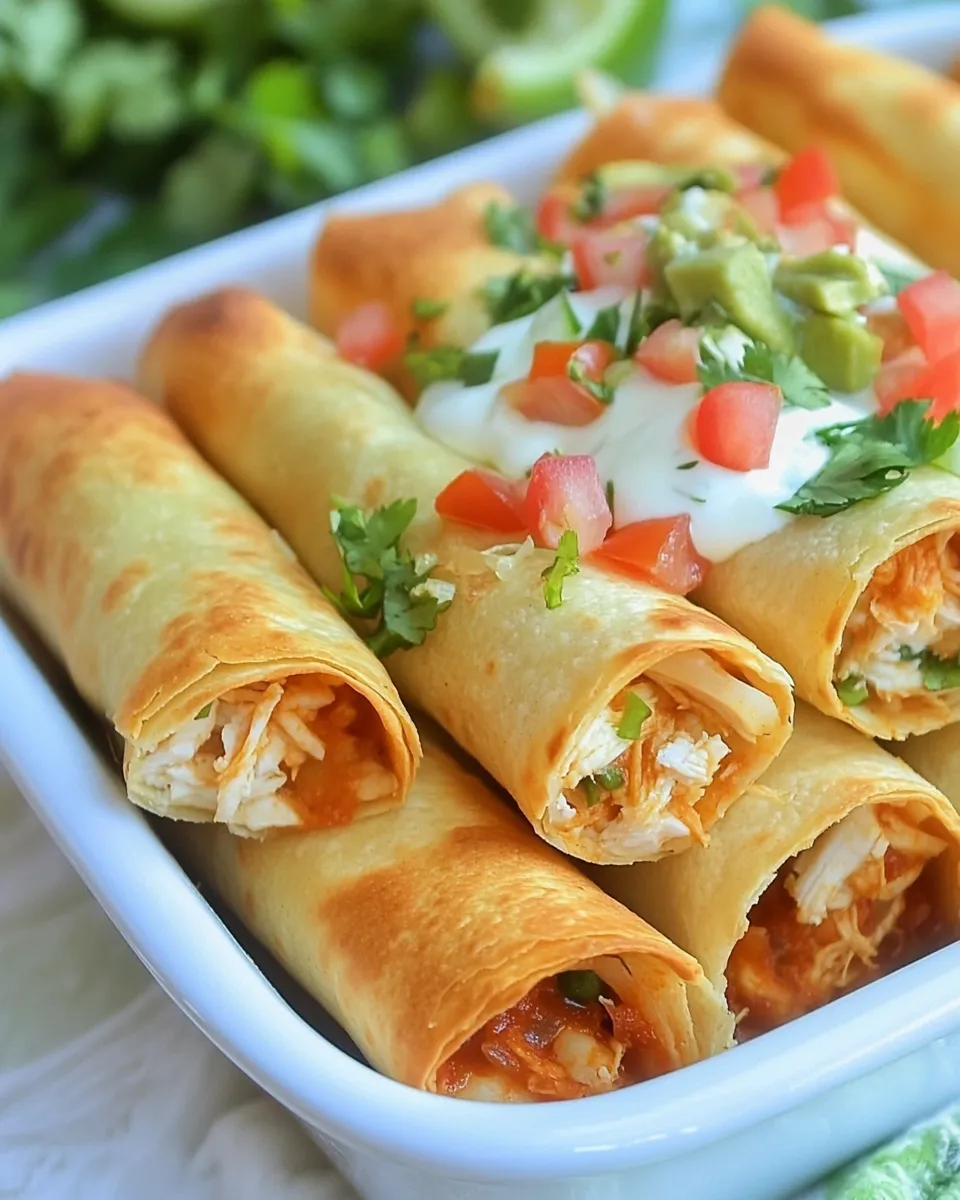
These taquitos are not just another snack; they are a flavor-packed delight wrapped in a crispy tortilla. The combination of seasoned chicken and gooey cheese creates a filling that is both satisfying and indulgent. The fact that they are baked instead of fried means you can enjoy them guilt-free, without sacrificing taste. Plus, they are incredibly versatile—perfect for game day, movie night, or even as a quick dinner option.
What We’re Using
- 3 cups pre-cooked rotisserie chicken: Shredded and ready to go, this saves you time and effort.
- 1 teaspoon cumin: Adds a warm, earthy flavor.
- 1 teaspoon garlic powder: For that irresistible aroma and taste.
- 1 teaspoon chili powder: Gives the filling a nice kick.
- 1/2 teaspoon pepper: To enhance the overall flavor.
- 1/2 cup Mexican-style cheese blend: The melty goodness that holds everything together.
- 12 corn tortillas: The perfect vessel for our delicious filling.
- Oil for coating tortillas: We recommend avocado oil for a healthy touch.
- Toppings: Shredded lettuce, diced tomatoes, salsa, guacamole, and crema (optional).
Gear Checklist
- Baking sheet: For crisping up those taquitos.
- Parchment paper: Optional, but helps with cleanup.
- Mixing bowl: To combine the chicken and spices.
- Pastry brush: For coating the tortillas with oil.
- Spatula: To flip those taquitos halfway through baking.
Mastering Baked Taquitos Filled with Pre-Made Chicken and Cheese: How-To
Step 1: Preheat Your Oven
Start by preheating your oven to 425°F (220°C). This will ensure that your taquitos are perfectly crispy once baked.
Step 2: Prepare the Filling
In a mixing bowl, combine the shredded rotisserie chicken, cumin, garlic powder, chili powder, pepper, and 1/2 cup of Mexican-style cheese. Mix everything until the chicken is well coated with the spices and cheese.
Step 3: Warm the Tortillas
To make rolling the tortillas easier, warm them slightly. You can do this in a dry skillet over medium heat for about 30 seconds on each side or wrap them in a damp paper towel and microwave for 20 seconds.
Step 4: Assemble the Taquitos
Take a tortilla and place about 2 tablespoons of the chicken mixture near one end. Roll it up tightly and place it seam-side down on a baking sheet. Repeat this process with the remaining tortillas and filling.
Step 5: Coat with Oil
Using a pastry brush, lightly coat the tops of the taquitos with avocado oil. This will help them become golden and crispy in the oven.
Step 6: Bake the Taquitos
Place the baking sheet in the preheated oven and bake for about 20-25 minutes, or until the taquitos are golden brown and crispy. Be sure to flip them halfway through for even crispiness.
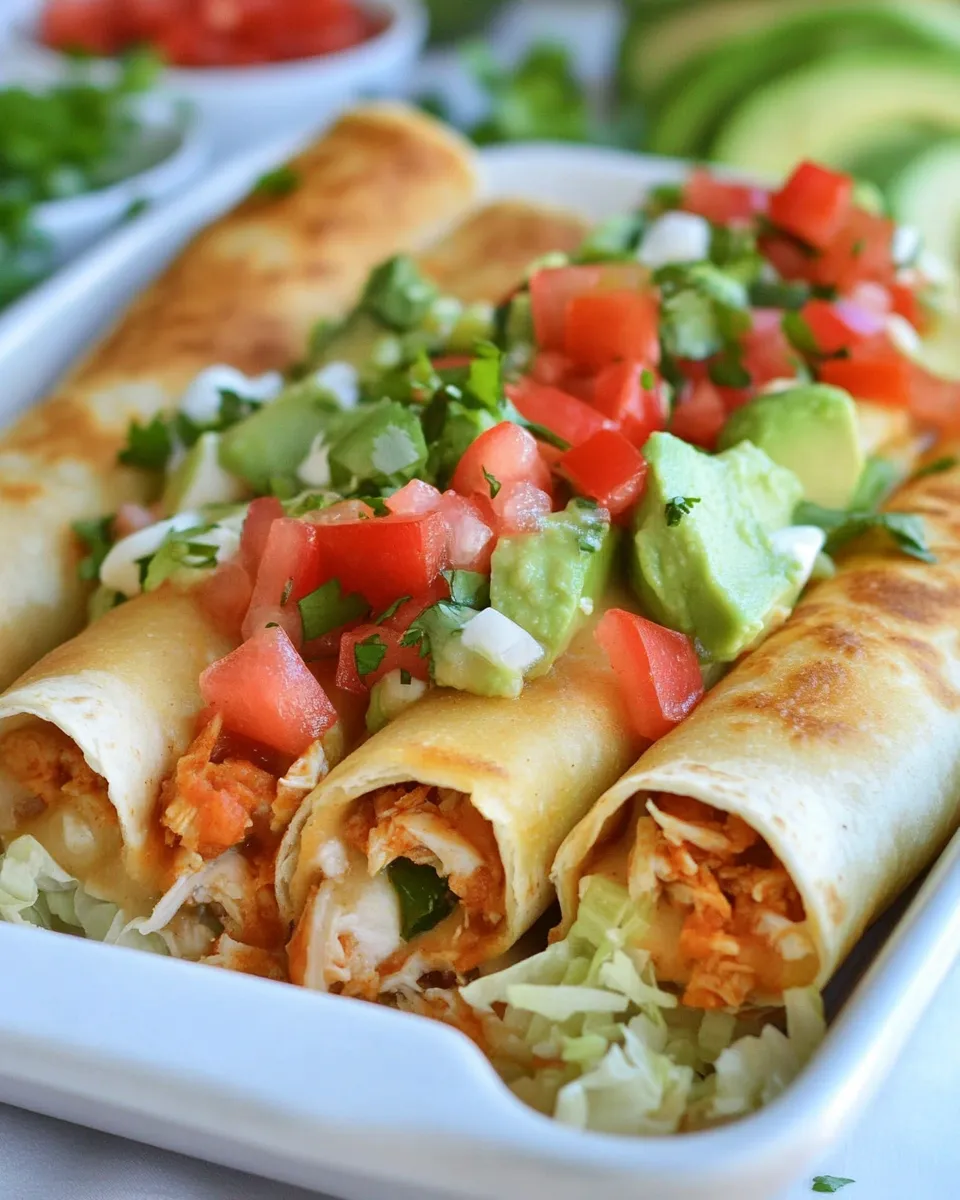
Step 7: Serve with Toppings
Once baked, remove the taquitos from the oven and let them cool slightly. Serve with shredded lettuce, diced tomatoes, salsa, guacamole, and crema for dipping. Enjoy your delicious creation!
Dairy-Free/Gluten-Free Swaps
- Dairy-free cheese: Use a plant-based cheese alternative.
- Gluten-free tortillas: Opt for corn tortillas that are certified gluten-free.
- Additional spices: Enhance flavor without dairy using spices like nutritional yeast.
Watch Outs & How to Fix
- Too soggy taquitos: Ensure tortillas are warmed but not overly steamed. They should be pliable but not wet.
- Filling spilling out: Don’t overfill the tortillas; 2 tablespoons is just right.
- Not crispy enough: Make sure to coat with enough oil and bake at the correct temperature.
Shelf Life & Storage
The Baked Taquitos Filled with Pre-Made Chicken and Cheese can be stored in an airtight container in the fridge for up to 3 days. To reheat, place them in the oven at 350°F (175°C) until warmed through for that fresh-out-of-the-oven crunch.
- Freezing: You can freeze unbaked taquitos. Just place them on a baking sheet until frozen, then transfer to a freezer bag. Bake from frozen, adding a few extra minutes to the cooking time.
Reader Questions
Can I use other types of meat for the filling?
Absolutely! Feel free to substitute the rotisserie chicken with shredded beef, pork, or even beans for a vegetarian option.
How do I make these taquitos spicier?
If you like heat, try adding diced jalapeños to the filling or using spicy salsa as a topping. You can also increase the amount of chili powder or add cayenne pepper.
Can I make these taquitos ahead of time?
Yes! You can assemble the taquitos ahead of time and store them in the refrigerator. Just bake them when you’re ready to serve.
What’s the best way to serve these taquitos?
These taquitos are perfect for a fun appetizer platter! Pair them with various toppings and dips, so everyone can customize their own.
Healthy-ish Favorites
- Quinoa Stuffed Bell Peppers
- Vegetable Enchiladas
- Baked Sweet Potato Fries
- Zucchini Noodles with Avocado Sauce
Final Bite
These Baked Taquitos Filled with Pre-Made Chicken and Cheese are an exciting way to enjoy a flavorful meal with minimal fuss. Their crispiness and cheesy goodness are sure to please everyone at the table. Plus, the versatility of this recipe means you can experiment with different fillings and toppings, making it a go-to dish for any occasion. So gather your ingredients, roll up your sleeves, and get ready to indulge in a comforting treat that you’ll want to make again and again. Enjoy!
Baked Taquitos Filled with Pre-Made Chicken and Cheese
Ingredients
Equipment
Method
- Step 1: Preheat Your Oven - Start by preheating your oven to 425°F (220°C). This will ensure that your taquitos are perfectly crispy once baked.
- Step 2: Prepare the Filling - In a mixing bowl, combine the shredded rotisserie chicken, cumin, garlic powder, chili powder, pepper, and 1/2 cup of Mexican-style cheese. Mix everything until the chicken is well coated with the spices and cheese.
- Step 3: Warm the Tortillas - To make rolling the tortillas easier, warm them slightly. You can do this in a dry skillet over medium heat for about 30 seconds on each side or wrap them in a damp paper towel and microwave for 20 seconds.
- Step 4: Assemble the Taquitos - Take a tortilla and place about 2 tablespoons of the chicken mixture near one end. Roll it up tightly and place it seam-side down on a baking sheet. Repeat this process with the remaining tortillas and filling.
- Step 5: Coat with Oil - Using a pastry brush, lightly coat the tops of the taquitos with avocado oil. This will help them become golden and crispy in the oven.
- Step 6: Bake the Taquitos - Place the baking sheet in the preheated oven and bake for about 20-25 minutes, or until the taquitos are golden brown and crispy. Be sure to flip them halfway through for even crispiness.
- Step 7: Serve with Toppings - Once baked, remove the taquitos from the oven and let them cool slightly. Serve with shredded lettuce, diced tomatoes, salsa, guacamole, and crema for dipping. Enjoy your delicious creation!
Notes
- For a healthier option, use whole wheat tortillas.
- Feel free to experiment with different fillings like beans or veggies.
- Leftover taquitos can be reheated in the oven for a crisp texture.