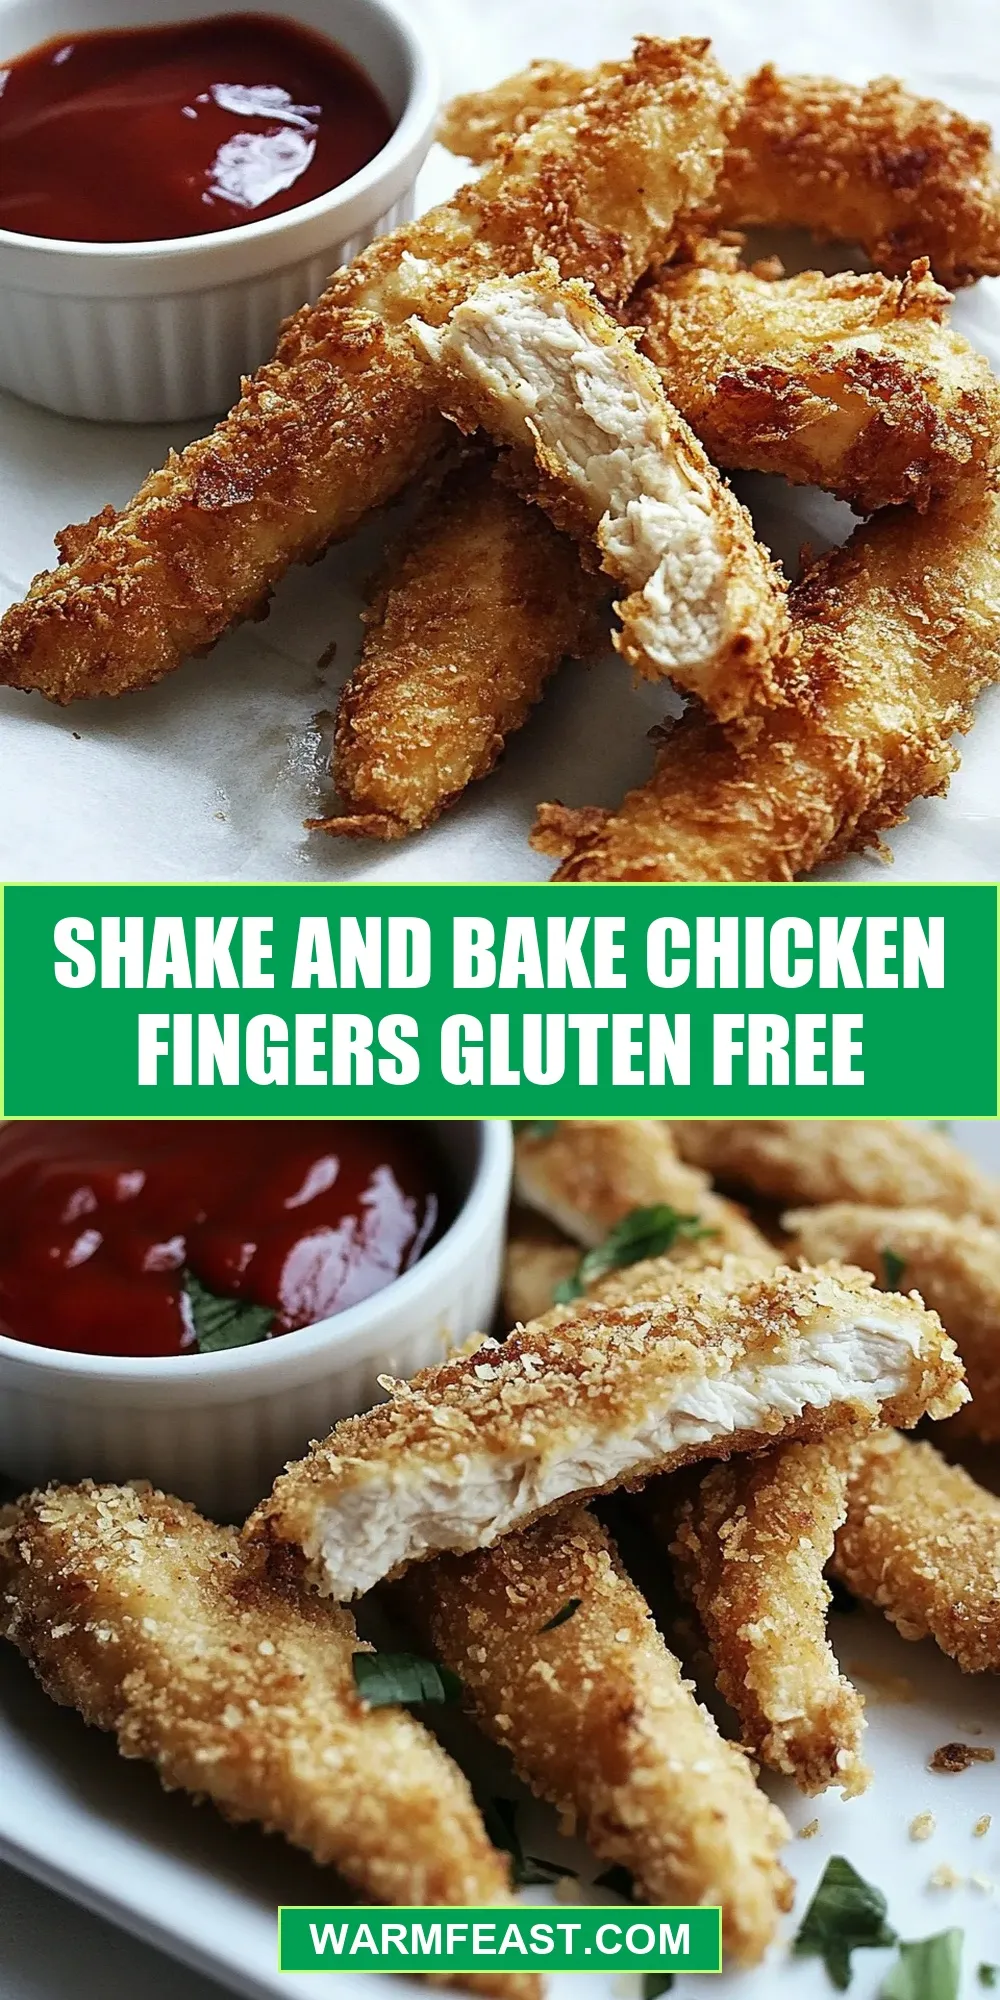
Shake and Bake Chicken Fingers Gluten Free
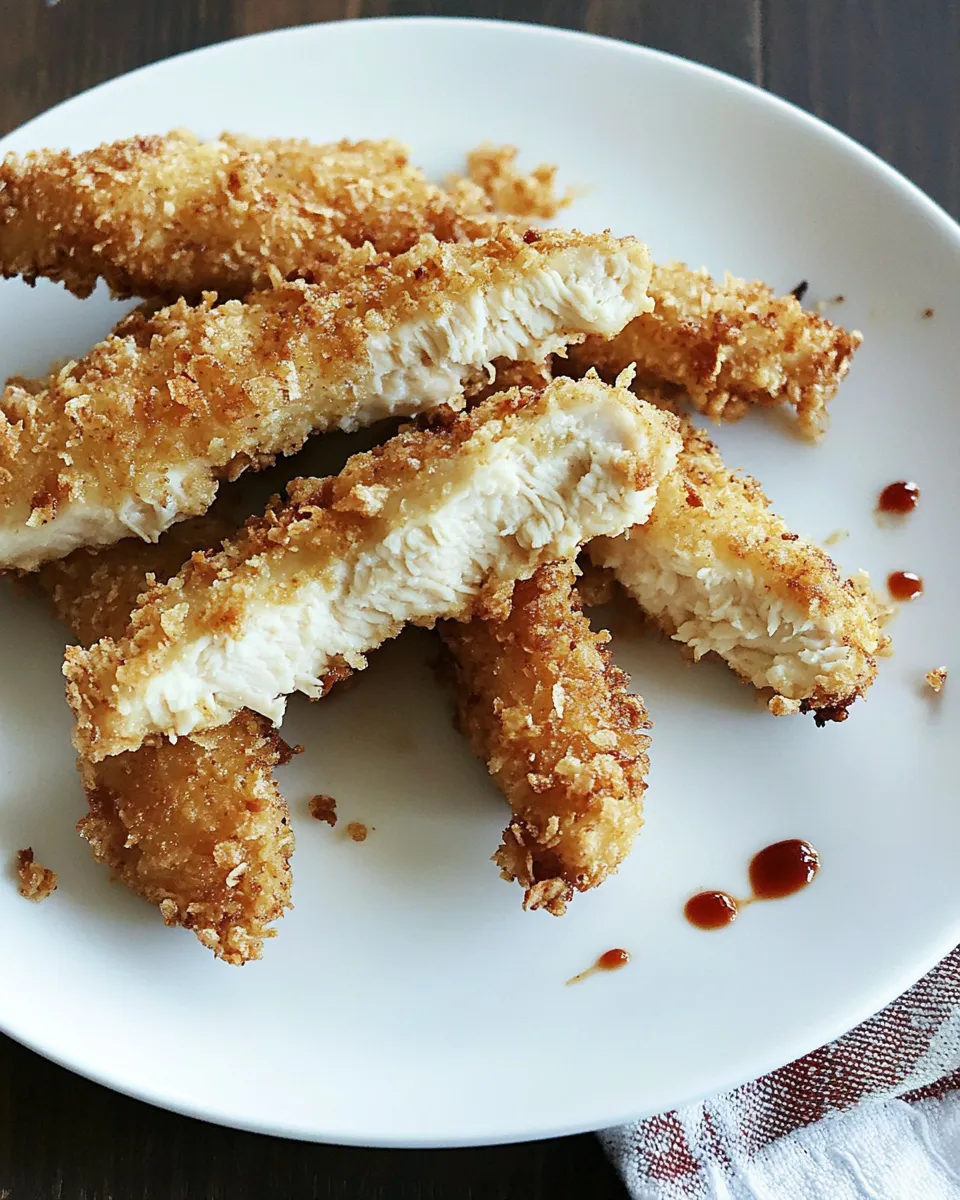
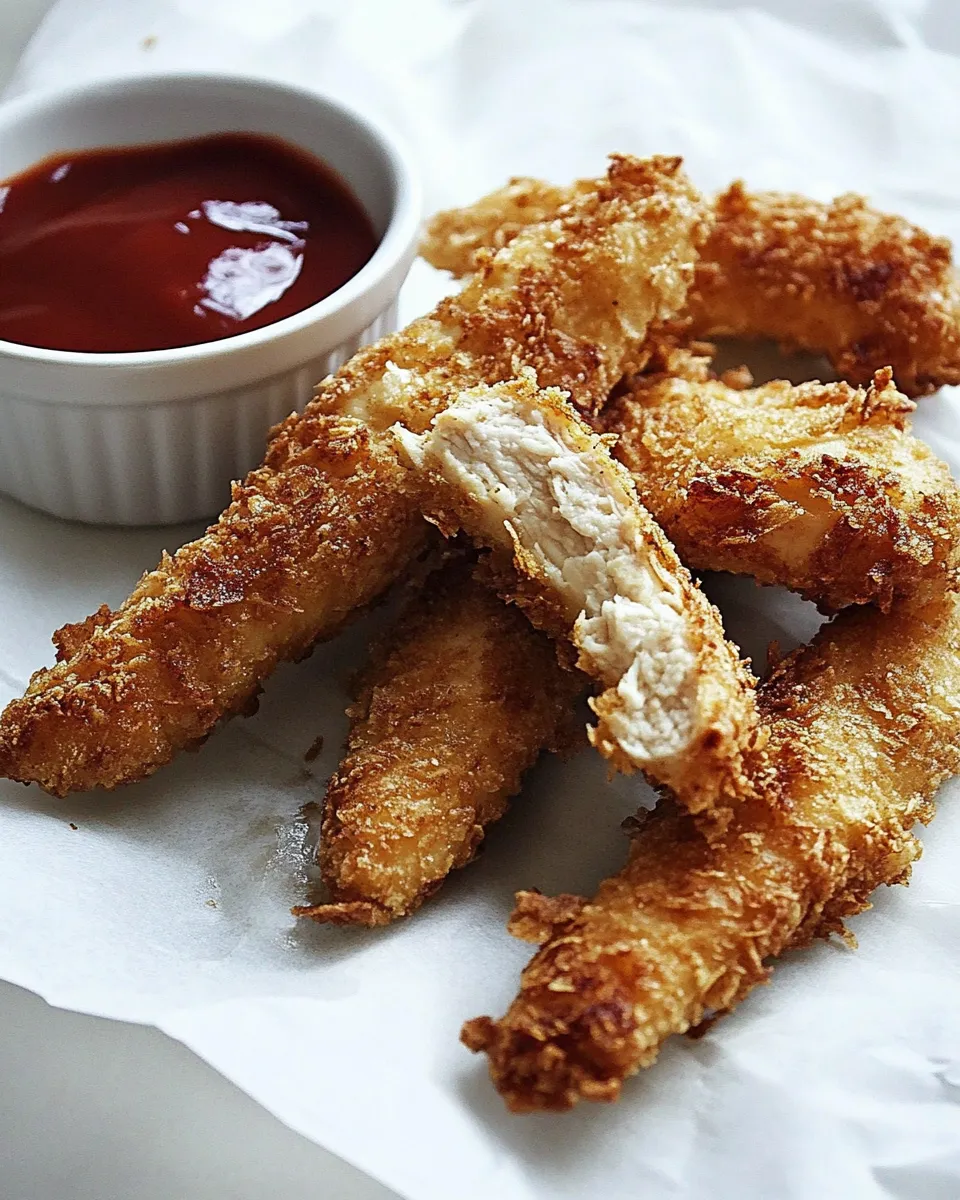
When it comes to family-friendly meals, nothing quite hits the spot like Shake and Bake Chicken Fingers Gluten Free. These crispy, golden bites are not only easy to prepare but also incredibly delicious. With a satisfying crunch on the outside and tender, juicy chicken on the inside, they’re a surefire hit with both kids and adults alike. Whether served with your favorite dipping sauce or tossed into a salad, these chicken fingers are versatile enough to please even the pickiest eaters. Let’s dive into how to make these delightful morsels from scratch!
Why It’s Crowd-Pleasing
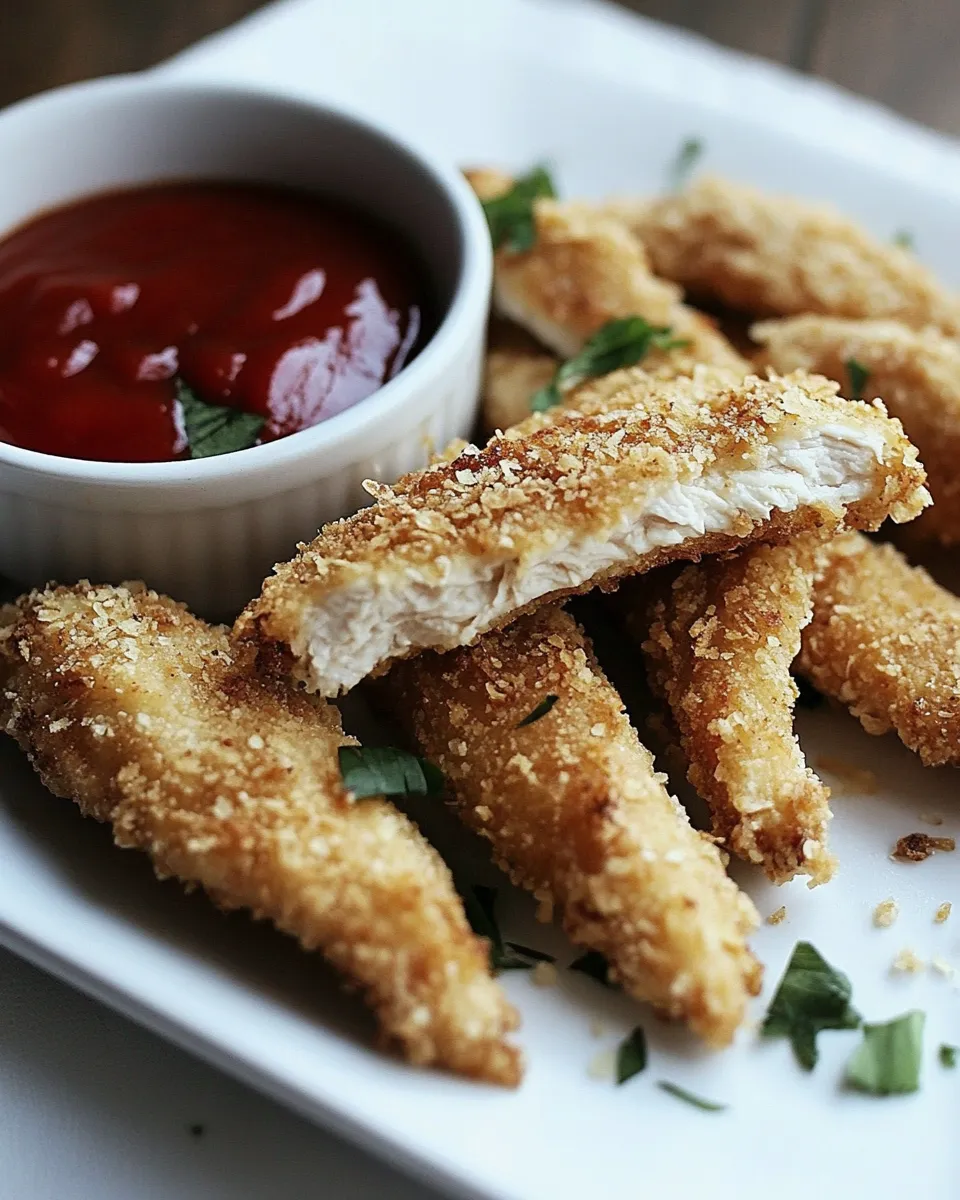
Shake and Bake Chicken Fingers Gluten Free are the perfect solution for busy weeknights or casual gatherings. Their crispy texture and flavorful coating make them an instant favorite among all ages. Plus, they are baked rather than fried, making them a healthier alternative without sacrificing taste. The best part? With just a few simple ingredients, you can whip up a batch that will leave everyone coming back for seconds.
What’s in the Bowl
To create these delicious Shake and Bake Chicken Fingers Gluten Free, you’ll need the following ingredients:
- Chicken breast: Cut into strips for easy handling and cooking.
- Gluten-free breadcrumbs: These provide the perfect crunchy coating.
- Parmesan cheese: Grated, for added flavor and richness.
- Garlic powder: For a burst of savory goodness.
- Onion powder: Adds depth to the flavor profile.
- Salt and pepper: Essential seasonings to enhance the dish.
- Eggs: For binding the breadcrumb mixture to the chicken.
Gear Checklist
Before you get started, make sure you have the following kitchen tools on hand:
- Baking sheet: A large, flat surface for baking the chicken fingers.
- Parchment paper: To line the baking sheet for easy cleanup.
- Mixing bowls: For combining the breadcrumb mixture and egg wash.
- Whisk or fork: To beat the eggs smoothly.
- Tongs: For easy handling of the chicken fingers.
Build Shake and Bake Chicken Fingers Gluten Free Step by Step
Step 1: Preheat the Oven
Start by preheating your oven to 400°F (200°C). This ensures that your chicken fingers cook evenly and get crispy.
Step 2: Prepare the Baking Sheet
Line your baking sheet with parchment paper. This will prevent the chicken fingers from sticking and make cleanup a breeze.
Step 3: Prepare the Coating
In a mixing bowl, combine the gluten-free breadcrumbs, grated Parmesan cheese, garlic powder, onion powder, salt, and pepper. Mix well to ensure that all the dry ingredients are evenly distributed.
Step 4: Set Up the Breading Station
In a separate bowl, beat the eggs with a whisk or fork until well combined. This will serve as your egg wash to help the coating adhere to the chicken.
Step 5: Coat the Chicken
Take each chicken strip and dip it into the egg wash, ensuring it is fully coated. Then, transfer it to the breadcrumb mixture, pressing gently to adhere the coating. Place the coated chicken fingers on the prepared baking sheet.
Step 6: Bake the Chicken Fingers
Once all the chicken strips are coated and arranged on the baking sheet, place them in the preheated oven. Bake for 15-20 minutes, or until they are golden brown and cooked through. You can flip them halfway through for even crispiness.
Step 7: Serve and Enjoy
Once baked, remove the chicken fingers from the oven and let them cool slightly before serving. Pair them with your favorite dipping sauces, such as honey mustard or ranch, and enjoy!
Vegan & Vegetarian Swaps
If you’re looking for alternatives to make this recipe vegan or vegetarian, consider the following options:
- Chickpeas: Use cooked and mashed chickpeas shaped into strips for a protein-packed vegetarian option.
- Tofu: Firm tofu cut into strips can also be a great substitute, just be sure to press it to remove excess moisture.
- Plant-based egg substitute: Use a flaxseed meal or a commercial egg replacer instead of eggs to bind the breadcrumbs.
Little Things that Matter
Creating the perfect Shake and Bake Chicken Fingers Gluten Free involves some little tips that can make a big difference:
- Ensure your chicken strips are uniform in size for even cooking.
- Experiment with different seasoning blends to customize the flavor to your liking.
- Let the chicken fingers rest for a couple of minutes after baking to allow the juices to redistribute.
Freezer-Friendly Notes
If you want to prepare these chicken fingers ahead of time, they freeze well! Here’s how:
- After breading, place the chicken fingers on a baking sheet and freeze for 1-2 hours until solid.
- Transfer the frozen chicken fingers to a zip-top freezer bag and store for up to 3 months.
- To cook from frozen, simply bake at 400°F (200°C) for an extra 5-10 minutes until cooked through.
Reader Questions
Can I use chicken thighs instead of breasts?
Absolutely! Chicken thighs will yield a juicier result, but ensure they are boneless and skinless for best results.
What dipping sauces pair well with these chicken fingers?
Some great options include honey mustard, ranch dressing, barbecue sauce, or even a spicy sriracha mayo for a kick!
Can I make these chicken fingers in an air fryer?
Yes! Preheat your air fryer to 400°F (200°C) and cook the chicken fingers for about 10-12 minutes, flipping halfway through.
How can I make these chicken fingers spicier?
Add cayenne pepper or chili powder to the breadcrumb mixture for an extra kick or serve with a spicy dipping sauce.
If you enjoyed this recipe, you might also like:
Time to Try It
Now that you have the recipe for Shake and Bake Chicken Fingers Gluten Free, it’s time to gather your ingredients and get cooking! With their crunchy exterior and juicy interior, these chicken fingers are sure to become a staple in your household. Enjoy them at family dinners, parties, or simply as a quick snack. Happy cooking!
Share on Pinterest
Shake and Bake Chicken Fingers Gluten Free
Ingredients
Equipment
Method
- Step 1: Preheat the Oven - Start by preheating your oven to 400°F (200°C). This ensures that your chicken fingers cook evenly and get crispy.
- Step 2: Prepare the Baking Sheet - Line your baking sheet with parchment paper. This will prevent the chicken fingers from sticking and make cleanup a breeze.
- Step 3: Prepare the Coating - In a mixing bowl, combine the gluten-free breadcrumbs, grated Parmesan cheese, garlic powder, onion powder, salt, and pepper. Mix well to ensure that all the dry ingredients are evenly distributed.
- Step 4: Set Up the Breading Station - In a separate bowl, beat the eggs with a whisk or fork until well combined. This will serve as your egg wash to help the coating adhere to the chicken.
- Step 5: Coat the Chicken - Take each chicken strip and dip it into the egg wash, ensuring it is fully coated. Then, transfer it to the breadcrumb mixture, pressing gently to adhere the coating. Place the coated chicken fingers on the prepared baking sheet.
- Step 6: Bake the Chicken Fingers - Once all the chicken strips are coated and arranged on the baking sheet, place them in the preheated oven. Bake for 15-20 minutes, or until they are golden brown and cooked through. You can flip them halfway through for even crispiness.
- Step 7: Serve and Enjoy - Once baked, remove the chicken fingers from the oven and let them cool slightly before serving. Pair them with your favorite dipping sauces, such as honey mustard or ranch, and enjoy!
Notes
- Ensure your chicken strips are uniform in size for even cooking.
- Experiment with different seasoning blends to customize the flavor to your liking.
- Let the chicken fingers rest for a couple of minutes after baking to allow the juices to redistribute.