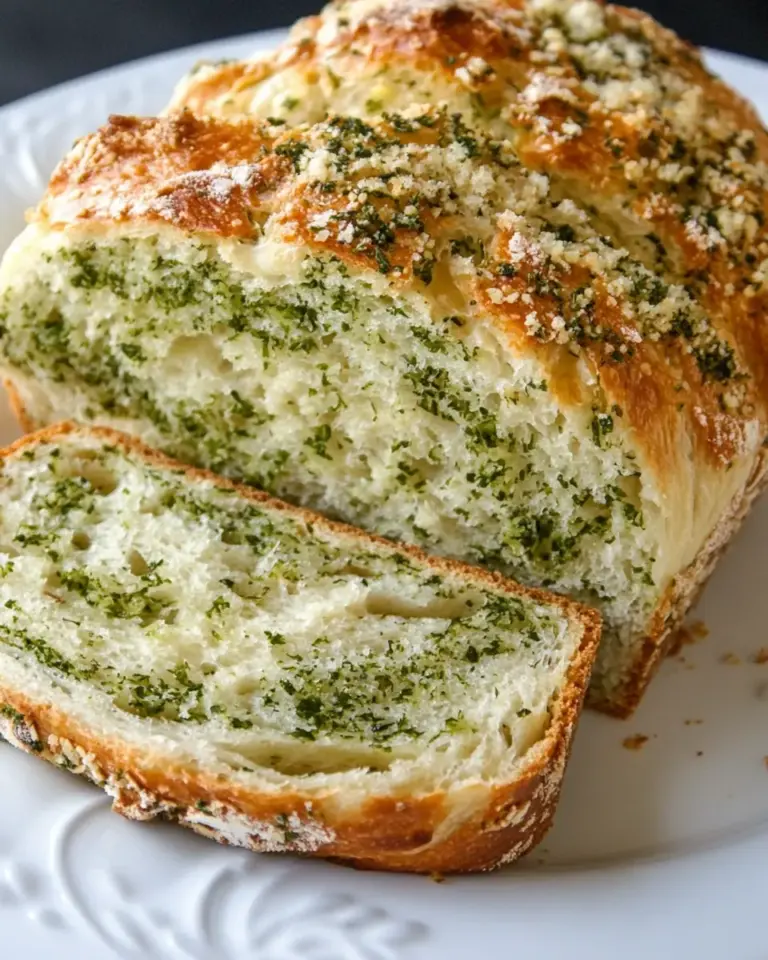
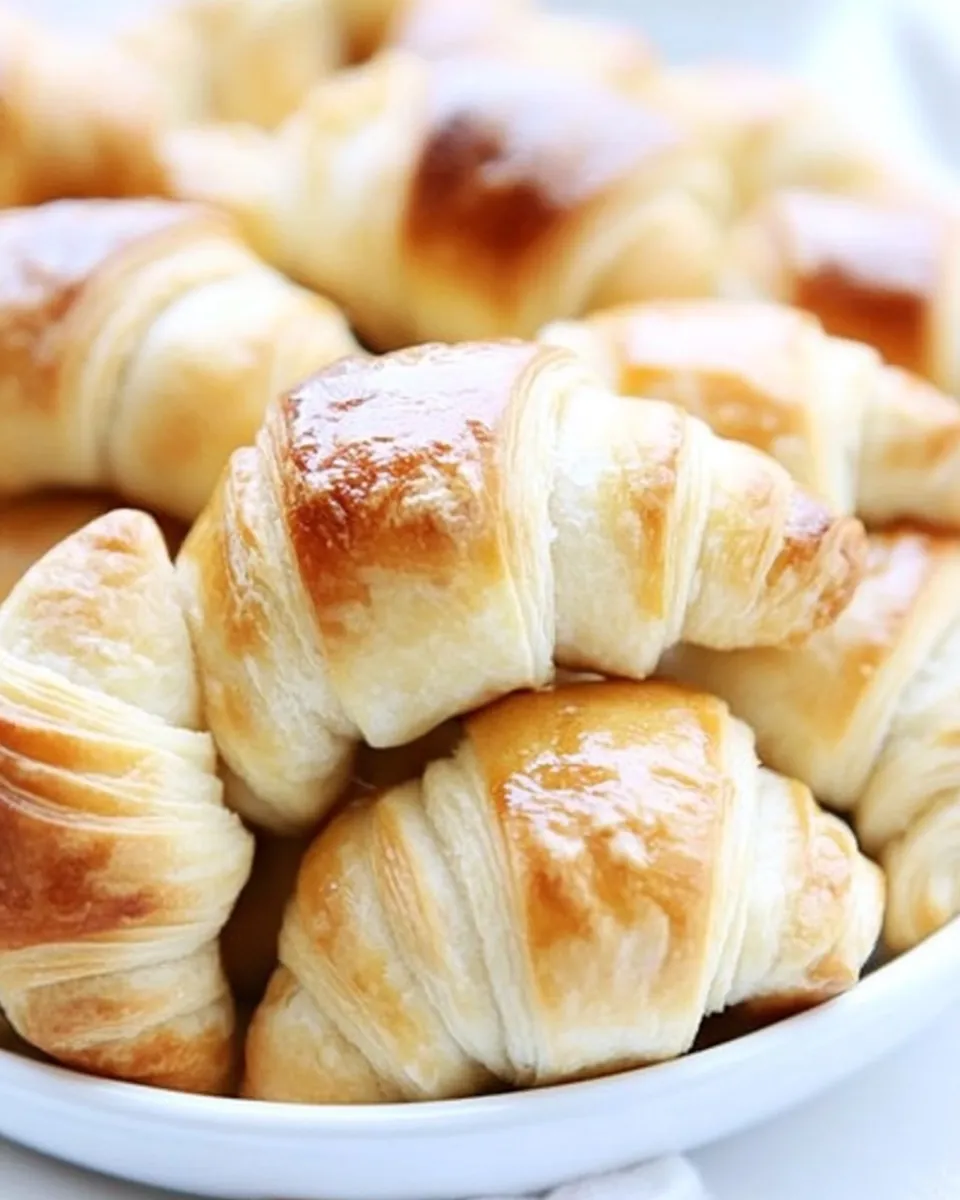
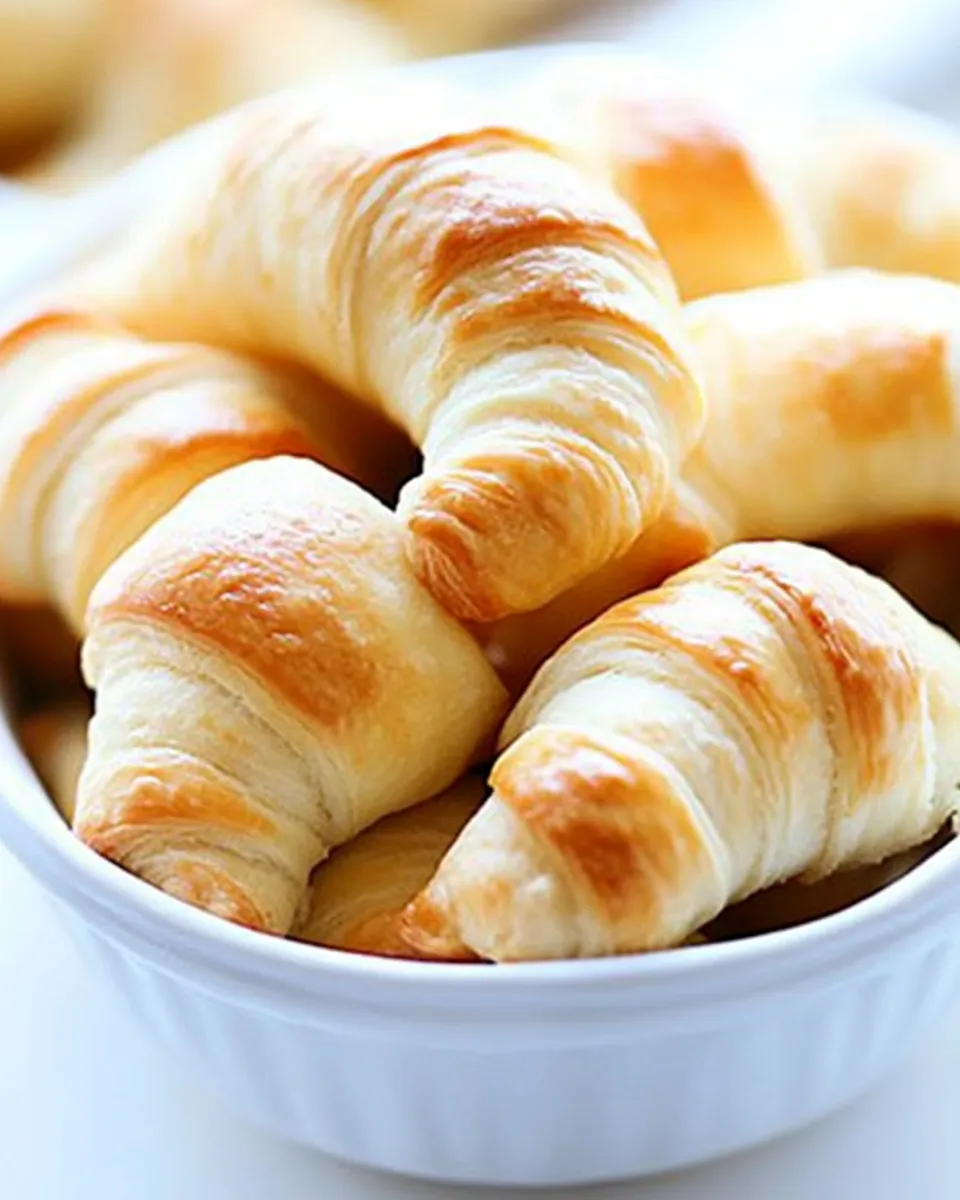
Easy Crescent Rolls
There’s something undeniably comforting about the smell of freshly baked bread wafting through your kitchen. Easy Crescent Rolls are not only a delightful treat but also a fantastic addition to any meal. Whether served warm with butter, used as a sandwich base, or enjoyed as a snack, these rolls are sure to please. With just a handful of ingredients and a little bit of time, you can create these flaky, buttery rolls that will have everyone coming back for seconds.
Why This Recipe Belongs in Your Rotation

Easy Crescent Rolls are versatile and can be enjoyed in countless ways. Their flaky texture and buttery flavor make them a perfect side for soups, salads, or holiday dinners. Plus, they are easy enough for beginners, yet impressive enough to serve at gatherings. You can customize them with various fillings or toppings, making them a staple recipe you’ll want to keep on hand.
Ingredient Rundown
This recipe requires simple ingredients that you might already have in your pantry. Here’s what you’ll need:
- 3 1/2 cups all-purpose flour – The base for our rolls, providing structure and a lovely texture.
- 25g (1 oz) active dry yeast – Essential for that wonderful rise and fluffiness.
- 1/3 cup warm water – Activates the yeast, ensuring your rolls rise beautifully.
- 3/4 cup warm milk – Adds richness and flavor to the dough.
- 1 1/2 tablespoons sugar – A hint of sweetness to balance the savory notes.
- 2 eggs – Adds richness and helps bind the dough together.
- 1 teaspoon salt – Enhances the overall flavor of the rolls.
- 4 tablespoons softened butter – Makes the dough tender and adds a lovely buttery flavor.
- 1 1/2 tablespoons melted butter – For brushing on top before baking, giving the rolls a golden finish.
Setup & Equipment
Before you start making your Easy Crescent Rolls, gather the following equipment:
- Mixing bowl – For combining your ingredients.
- Whisk or spoon – To mix the dough and incorporate ingredients.
- Rolling pin – For rolling out the dough into a circle.
- Baking sheet – To bake the rolls on; line with parchment paper for easy cleanup.
- Kitchen towel – To cover the dough while it rises.
The Method for Easy Crescent Rolls
Now, let’s dive into the step-by-step process to create these delightful Easy Crescent Rolls.
Step 1: Activate the Yeast
In a small bowl, combine the warm water and active dry yeast. Let it sit for about 5-10 minutes until it becomes frothy. This indicates that the yeast is active and ready to use.
Step 2: Combine Wet Ingredients
In a large mixing bowl, combine the warm milk, sugar, and softened butter. Stir until the butter is melted and the mixture is well combined. Add the frothy yeast mixture and eggs, mixing until fully integrated.
Step 3: Mix the Dry Ingredients
In a separate bowl, whisk together the all-purpose flour and salt. Gradually add the dry ingredients to the wet mixture, stirring until a dough begins to form.
Step 4: Knead the Dough
Transfer the dough to a lightly floured surface and knead for about 5-7 minutes until it becomes smooth and elastic. If the dough is too sticky, add a little more flour as needed.
Step 5: First Rise
Place the kneaded dough in a greased bowl, turning it to coat. Cover it with a kitchen towel and let it rise in a warm place for about 1 hour, or until it has doubled in size.
Step 6: Shape the Rolls
Once risen, punch down the dough to release the air. Roll it out into a large circle, about 1/4 inch thick. Cut the circle into triangles (like a pizza) – you should have around 12-16 triangles.
Step 7: Form the Crescents
Starting from the wide end, roll each triangle toward the point to create a crescent shape. Place the rolled crescents on a baking sheet lined with parchment paper, ensuring they have space to expand.
Step 8: Second Rise
Cover the shaped rolls with a kitchen towel and let them rise again for about 30 minutes. Preheat your oven to 375°F (190°C) during this time.
Step 9: Brush with Butter & Bake
Before baking, brush the tops of the rolls with melted butter for a beautiful golden finish. Bake in the preheated oven for 12-15 minutes or until they are golden brown and sound hollow when tapped.
Step 10: Cool and Enjoy
Once baked, remove the rolls from the oven and let them cool on a wire rack for a few minutes before serving. Enjoy them warm with a pat of butter or your favorite spread!
Flavor-Forward Alternatives
If you want to elevate your Easy Crescent Rolls, consider these flavor variations:
- Garlic Butter: Add minced garlic to the melted butter for a delicious garlic bread twist.
- Herbed Rolls: Mix dried herbs like rosemary or thyme into the dough for a fragrant addition.
- Cheese-Stuffed: Place a slice of cheese in the center of each triangle before rolling for cheesy goodness.
- Sweet Rolls: Add cinnamon and sugar to the dough, and fill with a mixture of brown sugar and cinnamon for a sweet variation.
Insider Tips
- Make sure your yeast is fresh; expired yeast can lead to flat rolls.
- Check the temperature of your water and milk; too hot can kill the yeast, while too cold will not activate it.
- For a softer texture, let the dough rise longer, especially if your kitchen is cooler.
- Feel free to experiment with different fillings or toppings to suit your taste.
Keep-It-Fresh Plan
These Easy Crescent Rolls are best enjoyed fresh, but you can store leftovers in an airtight container at room temperature for up to 2 days. To keep them longer, freeze the unbaked rolls before the second rise. Just thaw and let them rise before baking when you’re ready to enjoy them!
FAQ
Can I use instant yeast instead of active dry yeast?
Yes, you can use instant yeast in place of active dry yeast. Skip the activation step and mix it directly with the dry ingredients.
What if I don’t have warm milk?
If you don’t have warm milk, you can use water or a dairy-free milk alternative. Just make sure it’s warm, not hot.
Can I make these rolls ahead of time?
Absolutely! You can prepare the dough ahead of time and refrigerate it overnight. Just allow it to come to room temperature before proceeding with shaping and baking.
How can I make these rolls gluten-free?
You can experiment with a gluten-free all-purpose flour blend, but be aware that the texture may vary. Look for a blend that includes xanthan gum to help with structure.
One Pan, More Ideas
If you love these Easy Crescent Rolls, you might also enjoy trying:
- Cheesy Breadsticks – Perfect for dipping and sharing!
- Herb Focaccia – A fragrant, Italian-style bread.
- Pull-Apart Bread – Great for gatherings and parties.
- Easy Bagels – A fun twist on your breakfast routine.
In Closing
Making Easy Crescent Rolls from scratch is not only rewarding but also incredibly simple. With just a few basic ingredients and a little time, you can create warm, flaky rolls that will impress your family and friends. Whether you serve them as a side dish, use them for sandwiches, or simply enjoy them on their own with a smear of butter, these rolls are sure to become a beloved staple in your kitchen. So gather your ingredients, roll up your sleeves, and let’s get baking!

Easy Crescent Rolls
Ingredients
Equipment
Method
- Step 1: Activate the Yeast - In a small bowl, combine the warm water and active dry yeast. Let it sit for about 5-10 minutes until it becomes frothy.
- Step 2: Combine Wet Ingredients - In a large mixing bowl, combine the warm milk, sugar, and softened butter. Stir until the butter is melted. Add the frothy yeast mixture and eggs.
- Step 3: Mix the Dry Ingredients - In a separate bowl, whisk together the all-purpose flour and salt. Gradually add it to the wet mixture, stirring until a dough forms.
- Step 4: Knead the Dough - Transfer the dough to a floured surface and knead for about 5-7 minutes until smooth and elastic.
- Step 5: First Rise - Place the dough in a greased bowl, cover with a towel, and let it rise in a warm place for about 1 hour.
- Step 6: Shape the Rolls - Roll the dough into a large circle, cut into triangles, and roll each triangle into a crescent shape.
- Step 7: Second Rise - Cover the shaped rolls with a towel and let them rise again for about 30 minutes while preheating your oven to 375°F (190°C).
- Step 8: Brush with Butter & Bake - Brush the tops with melted butter and bake for 12-15 minutes or until golden brown.
- Step 9: Cool and Enjoy - Let the rolls cool on a wire rack for a few minutes before serving.
Notes
- Ensure your yeast is fresh for best results.
- Check the temperature of your liquids to avoid killing the yeast.
- For softer rolls, let the dough rise longer in a cooler kitchen.