How to Make Easy Reeses Pieces Fudge Recipe
If you’re on the lookout for a quick and delicious treat that combines the rich flavors of chocolate and the irresistible crunch of peanut butter candy, then this Easy Reeses Pieces Fudge Recipe is the perfect solution! With just a handful of simple ingredients, you can whip up a batch of fudge that’s not only delightful to the taste buds but also super fun to make. Whether you’re preparing for a party, a potluck, or just a cozy night in, this fudge is sure to impress. Let’s dive into how to make this delectable dessert!
Why It Works Every Time

This Easy Reeses Pieces Fudge Recipe works wonders because it relies on a chocolate cake mix to create a rich, chocolatey base that is both easy to mix and bake. The combination of powdered sugar and butter adds a creamy texture and sweetness that balances perfectly with the crunchy, nutty flavor of Reese’s Pieces. Using simple ingredients means that you can easily whip this up even on a busy day, and the method ensures that you get fudge that is rich, indulgent, and full of texture.
What Goes In
To make this delightful fudge, you’ll need the following ingredients:
- 2 cups chocolate cake mix – Any brand will do; this forms the base of the fudge.
- 2 cups powdered sugar – For sweetness and to help achieve that fudge-like texture.
- 1/2 cup butter – Melted, to bind everything together and add richness.
- 1/4 cup milk – To create a smooth consistency.
- 3/4 cup Reese’s Pieces – Plus an extra handful to sprinkle on top for decoration and extra crunch!
Gear Checklist
Before you get started, gather the following kitchen tools:
- Mixing bowl – For combining the ingredients.
- Spatula – To mix and ensure everything is well blended.
- 9×9 inch baking pan – Ideal for setting the fudge.
- Parchment paper – To line the baking pan for easy removal.
- Measuring cups and spoons – For accurate ingredient measurements.
Cook How to Make Easy Reeses Pieces Fudge Recipe Like This
Step 1: Prepare Your Pan
Start by lining your 9×9 inch baking pan with parchment paper. This will help you lift the fudge out easily once it’s set.
Step 2: Melt the Butter
In a small saucepan over low heat, melt the butter. Once melted, remove it from the heat and allow it to cool slightly.
Step 3: Combine Dry Ingredients
In a large mixing bowl, combine the chocolate cake mix and powdered sugar. Mix well to ensure there are no lumps.
Step 4: Add Wet Ingredients
Pour the melted butter and milk into the dry ingredients. Use your spatula to stir everything together until fully combined. The mixture should be thick and slightly fudgy.
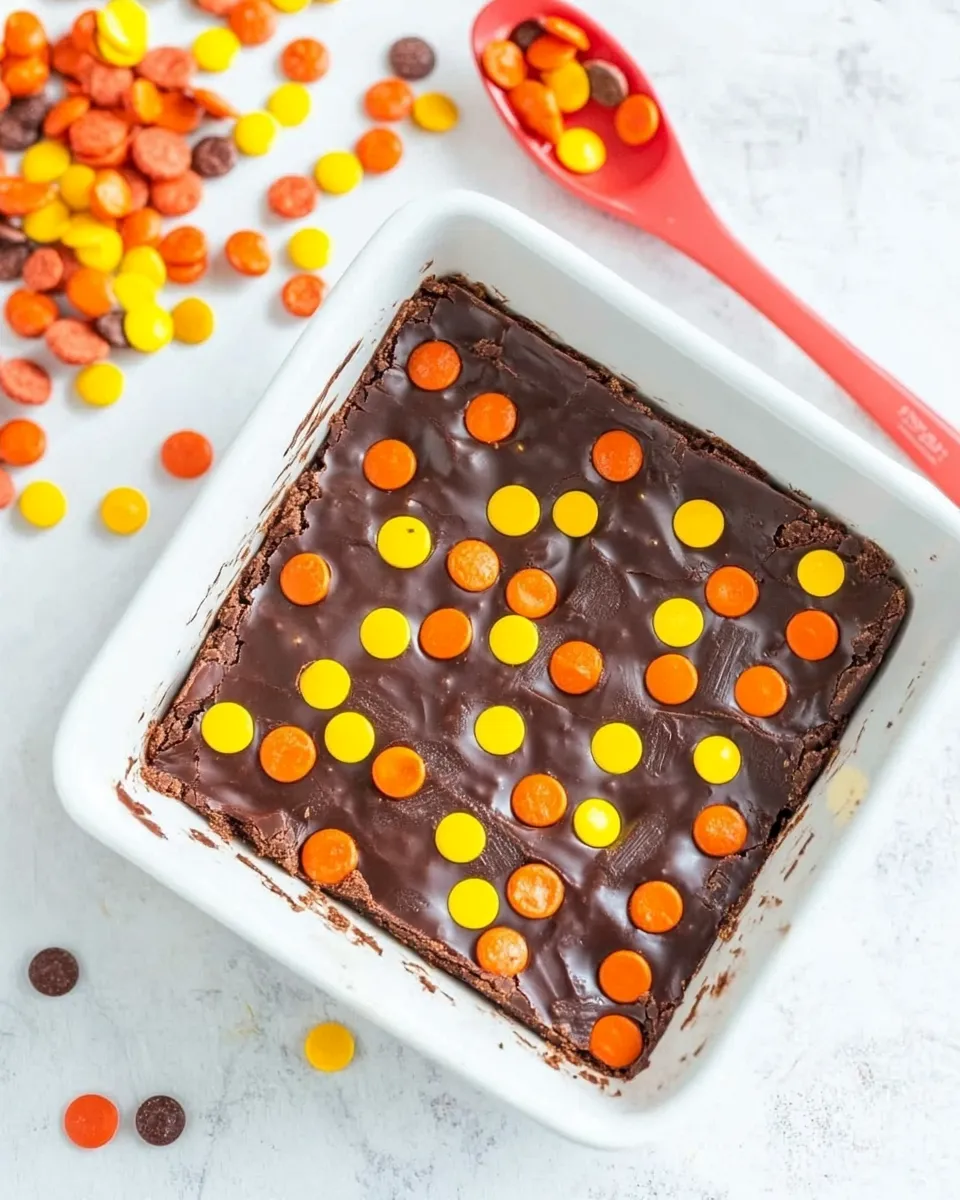
Step 5: Fold in the Reese’s Pieces
Gently fold in 3/4 cup of Reese’s Pieces into the batter, ensuring they are evenly distributed throughout the mixture.
Step 6: Spread in the Pan
Transfer the fudge mixture into the lined baking pan, using your spatula to spread it evenly. Press down slightly to ensure it’s compact.
Step 7: Top with Extra Reese’s Pieces
Sprinkle a handful of Reese’s Pieces on top of the fudge mixture, pressing them in slightly.
Step 8: Chill Until Set
Place the pan in the refrigerator and let the fudge chill for at least 2 hours or until it is set.
Step 9: Cut and Serve
Once set, lift the fudge out of the pan using the parchment paper. Cut into squares and enjoy your delicious Easy Reeses Pieces Fudge!
Holiday & Seasonal Touches

Make this fudge extra special for holidays or special occasions by trying out these fun ideas:
- Add festive sprinkles on top to match the season.
- Incorporate different types of candy, like M&M’s or chopped nuts.
- Drizzle melted white chocolate over the top for a beautiful presentation.
- Wrap in colorful cellophane and give as gifts during the holiday season.
Problems & Prevention
Even though this recipe is straightforward, here are some common issues and how to avoid them:
- Fudge is too soft: Make sure to chill it for enough time. If it’s still too soft, try placing it in the freezer for a short while.
- Fudge is too hard: If you accidentally added too much powdered sugar or didn’t use enough milk, the fudge can become hard. Adjust the liquid next time.
- Mix is too thick: If your mixture feels too thick to spread, add a splash more milk to loosen it up.
Meal Prep & Storage Notes
This Easy Reeses Pieces Fudge Recipe is perfect for meal prep! Here are some tips for storing it:
- Store the fudge in an airtight container in the refrigerator for up to a week.
- For longer storage, you can freeze the fudge for up to 3 months. Just cut it into squares and place them in a freezer-safe container.
- When ready to enjoy, simply thaw in the refrigerator overnight.
Troubleshooting Q&A
What if my fudge doesn’t set properly?
If the fudge is not setting, it may need more chilling time. Make sure to refrigerate for at least 2 hours. If it’s still soft, consider placing it in the freezer for a short time.
Can I use a different type of cake mix?
Absolutely! While chocolate cake mix gives the best flavor, you can experiment with other flavors like vanilla or red velvet for a unique twist.
I don’t have Reese’s Pieces. Can I use something else?
Yes! Feel free to substitute with other candies like M&M’s, chopped peanut butter cups, or even nuts for a different texture.
How do I know when the fudge is ready to cut?
The fudge is ready to cut when it feels firm to the touch and has cooled completely. If it still feels soft, give it more time in the fridge.
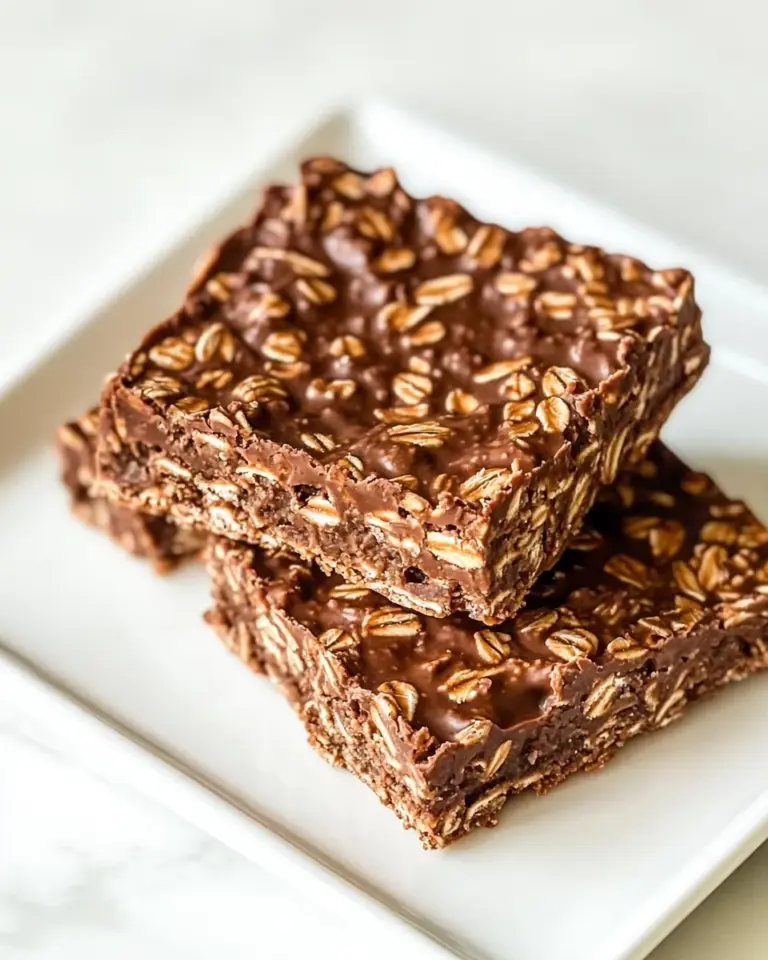
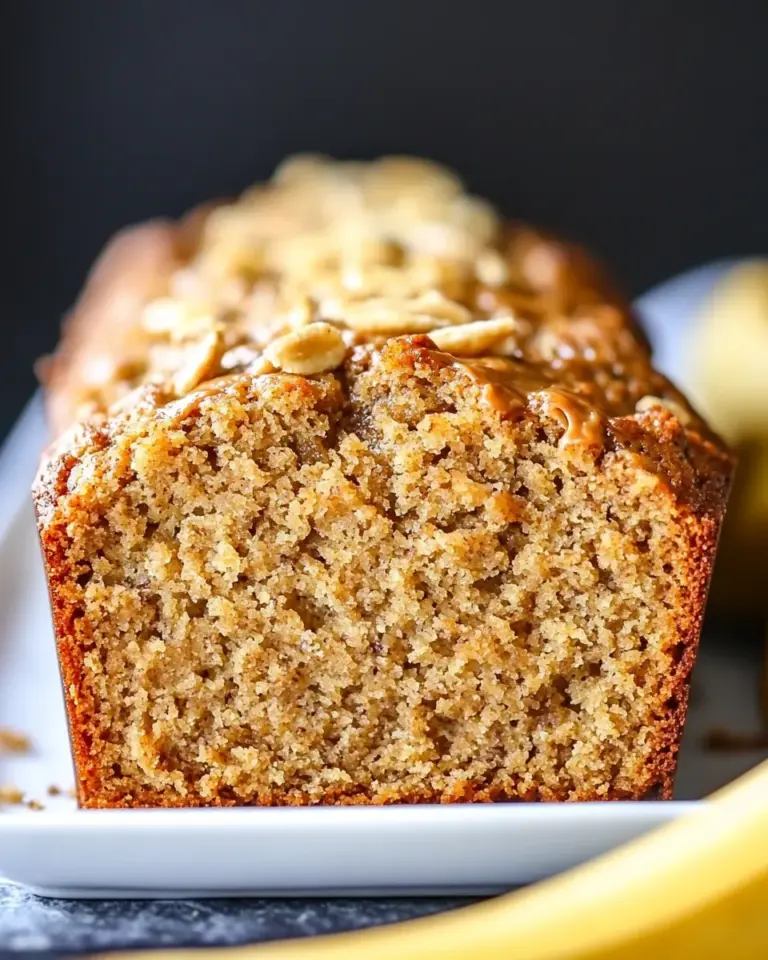
More Recipes You’ll Love
If you enjoyed this Easy Reeses Pieces Fudge Recipe, here are more sweet treats you might want to try:
That’s a Wrap
Now that you know how to make this Easy Reeses Pieces Fudge Recipe, it’s time to gather your ingredients and get started! This fudge is a delightful treat that’s perfect for any occasion, and the best part is that it’s incredibly simple to prepare. With its creamy texture and the crunch of candy-coated peanut butter, it’s sure to be a hit with family and friends.
Whip up a batch of this fudge, and you’ll have a delicious dessert that everyone will love. Enjoy the process, and don’t forget to share your beautiful fudge creations with others!

How to Make Easy Reeses Pieces Fudge Recipe
Ingredients
Equipment
Method
- Step 1: Prepare Your Pan - Line your 9x9 inch baking pan with parchment paper.
- Step 2: Melt the Butter - In a small saucepan over low heat, melt the butter and let it cool slightly.
- Step 3: Combine Dry Ingredients - In a large mixing bowl, combine chocolate cake mix and powdered sugar.
- Step 4: Add Wet Ingredients - Pour melted butter and milk into the dry ingredients and mix until fully combined.
- Step 5: Fold in the Reese's Pieces - Gently fold in 3/4 cup of Reese's Pieces into the batter.
- Step 6: Spread in the Pan - Transfer the mixture into the lined baking pan and spread it evenly.
- Step 7: Top with Extra Reese's Pieces - Sprinkle a handful of Reese's Pieces on top of the fudge mixture.
- Step 8: Chill Until Set - Place the pan in the refrigerator for at least 2 hours or until set.
- Step 9: Cut and Serve - Once set, lift the fudge out and cut into squares.
Notes
- Store in an airtight container in the refrigerator for up to a week.
- Freeze for up to 3 months, thawing in the refrigerator overnight when ready to enjoy.
- Experiment with different candy types for unique flavors!