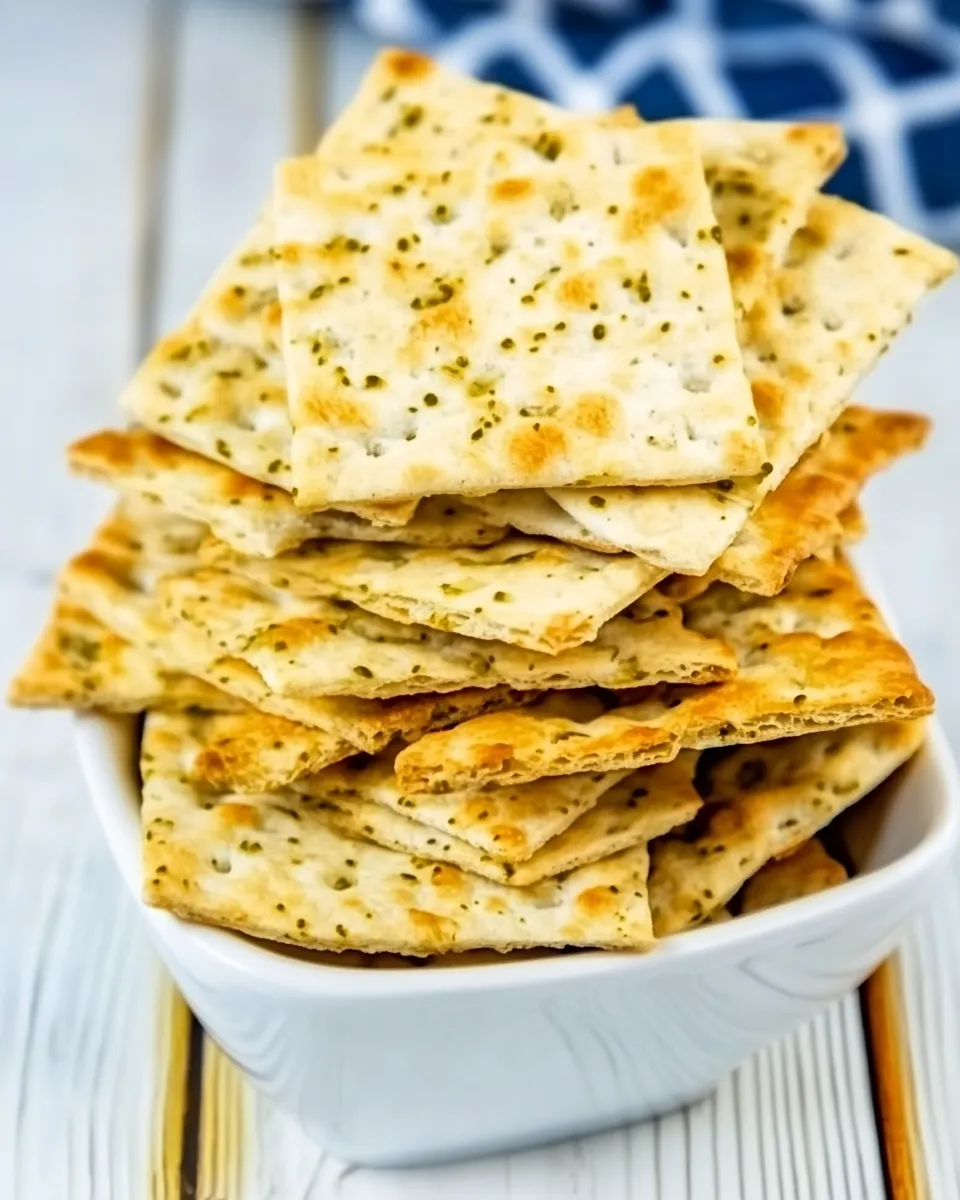
Dill Pickle Saltines
If you’re a fan of bold flavors, then you’re going to fall in love with these Dill Pickle Saltines. Crunchy, tangy, and oh-so-delicious, they’re the perfect snack for any occasion. Whether you’re having friends over for game night or just looking to satisfy that afternoon munchies, these crackers will not disappoint. With just a handful of ingredients, you can whip up a batch that will keep you coming back for more.
What Sets This Recipe Apart
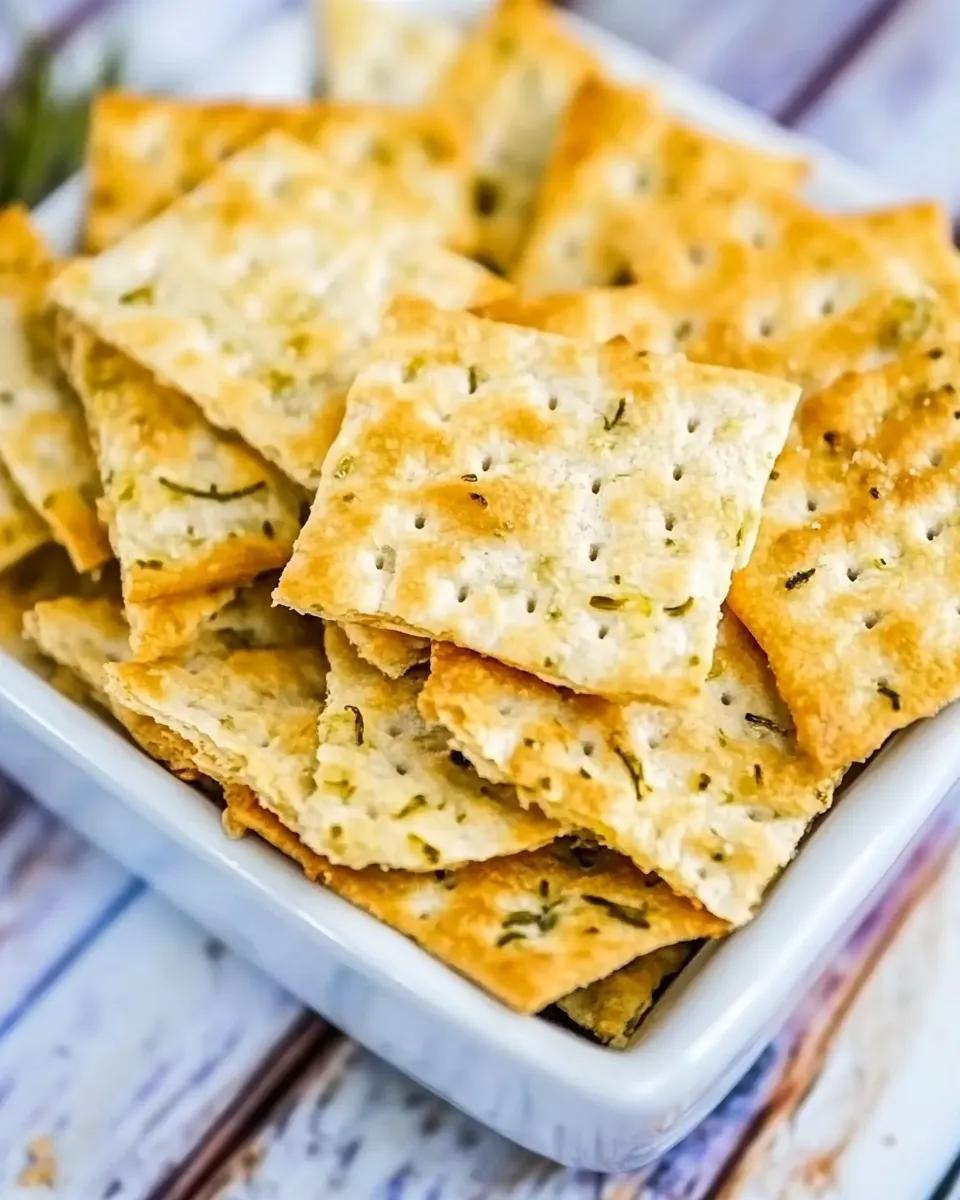
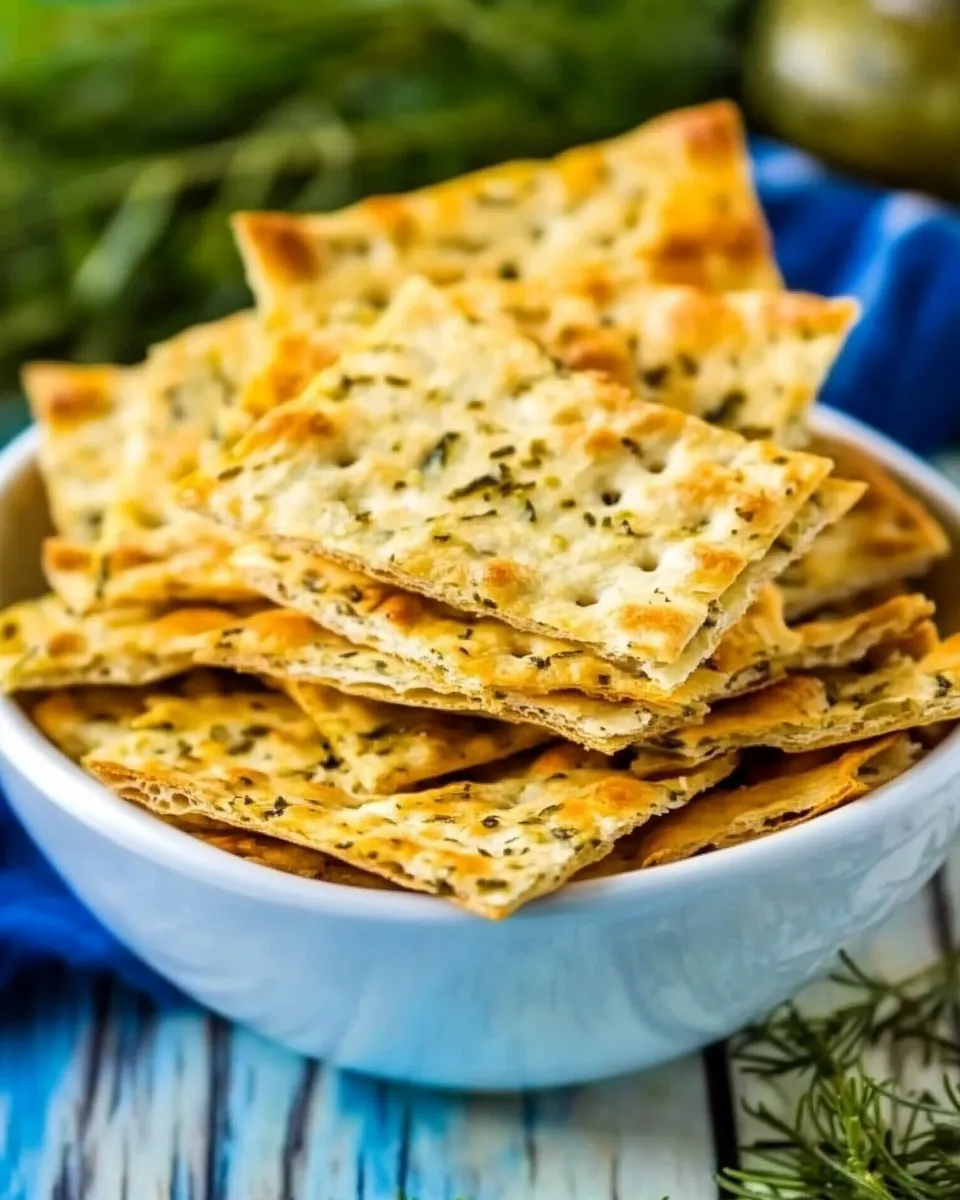
What makes these Dill Pickle Saltines truly special is the unique combination of flavors that dance on your palate. The creamy richness of melted butter pairs beautifully with the zesty tang of dill pickle juice and the savory notes of Ranch seasoning. Each cracker is infused with a delightful crunch, making them the ideal snack to accompany your favorite dip, or just to enjoy on their own. Plus, they’re incredibly easy to make, which means you can have a delicious party snack ready in no time!
What’s in the Bowl
To create these mouthwatering Dill Pickle Saltines, you’ll need the following ingredients:
- 4 sleeves Saltine crackers: The foundation of this recipe – crispy and perfect for holding all that flavor.
- 1 stick butter, melted: This adds richness and helps everything stick together.
- 2 tablespoons Ranch seasoning: For that classic, savory flavor that everyone loves.
- 1 tablespoon dill pickle juice: The star of the show that brings a tangy kick.
- 1 heaping teaspoon dried dill: To enhance the dill flavor and give it that fresh taste.
- 1 teaspoon garlic powder: A hint of garlic adds depth to the flavor profile.
- ½ teaspoon crushed red pepper flakes: Optional, but it gives a nice spicy kick!
Gear Up: What to Grab
Before you start cooking, gather these essential items:
- Large mixing bowl: For combining all your ingredients.
- Baking sheet: To spread out your seasoned crackers for baking.
- Parchment paper: Optional, but it helps with easy cleanup.
- Spatula or spoon: For mixing your ingredients together.
- Oven: Preheat to ensure your crackers bake evenly.
Stepwise Method: Dill Pickle Saltines
Step 1: Preheat the Oven
Start by preheating your oven to 350°F (175°C). This will ensure that your Dill Pickle Saltines bake evenly and get that perfect crunch.
Step 2: Melt the Butter
In a large mixing bowl, melt the stick of butter. You can do this in the microwave or on the stovetop. Let it cool slightly once melted.
Step 3: Add Flavorings
To the melted butter, add the Ranch seasoning, dill pickle juice, dried dill, garlic powder, and crushed red pepper flakes (if using). Stir well until all the ingredients are fully combined.
Step 4: Coat the Crackers
Gently place the Saltine crackers into the bowl with the butter mixture. Carefully fold the crackers into the mixture until they are well-coated. Be gentle to avoid breaking the crackers.
Step 5: Arrange on Baking Sheet
Line a baking sheet with parchment paper, if desired, and evenly spread the coated crackers onto the sheet in a single layer.
Step 6: Bake
Place the baking sheet in the preheated oven and bake for 10 to 15 minutes, or until the crackers are golden and fragrant. Be sure to check them frequently to avoid over-baking.
Step 7: Cool and Enjoy
Once baked, remove the crackers from the oven and let them cool completely on the baking sheet. This will help them crisp up even more. Enjoy your Dill Pickle Saltines straight from the pan or store them for later!
Tailor It to Your Diet
If you have specific dietary preferences or restrictions, consider these adjustments:
- Gluten-Free: Use gluten-free crackers to make this snack suitable for those with gluten intolerance.
- Low-Sodium: Opt for low-sodium butter and Ranch seasoning to reduce overall salt intake.
- Vegan: Substitute the butter with a plant-based alternative to make this recipe vegan-friendly.
Learn from These Mistakes
Creating the perfect Dill Pickle Saltines can be a breeze, but here are some common pitfalls to avoid:
- Overmixing: Be gentle when coating the crackers. Overmixing can lead to broken pieces.
- Skipping the Cooling: Allowing the crackers to cool completely after baking is key for achieving that delightful crunch.
- Not Checking for Doneness: Keep an eye on them while baking; they can quickly go from perfectly golden to burnt.
Prep Ahead & Store
These Dill Pickle Saltines are perfect for make-ahead snacking! Here’s how to prep and store them:
- Make Ahead: You can prepare the crackers in advance and store them in an airtight container once cooled.
- Storage: Keep the crackers at room temperature in an airtight container to maintain their crunch. They should stay fresh for up to a week.
Frequently Asked Questions
Can I use a different type of cracker?
Absolutely! While Saltine crackers are traditional, feel free to use your favorite type of cracker for a unique twist.
How can I make these less spicy?
To reduce the heat, simply omit the crushed red pepper flakes from the recipe. You can also substitute with another seasoning that is milder.
Can I add other spices or herbs?
Yes! This recipe is very adaptable. You can experiment with other seasonings, such as onion powder or smoked paprika, to find your favorite flavor combination.
What should I serve these with?
Dill Pickle Saltines are fantastic on their own, but they also pair well with dips like ranch dressing, hummus, or even a spicy cheese spread!
Quick Weeknight Wins
Looking for other quick and easy snacks to whip up? Check out these tasty options:
The Last Word
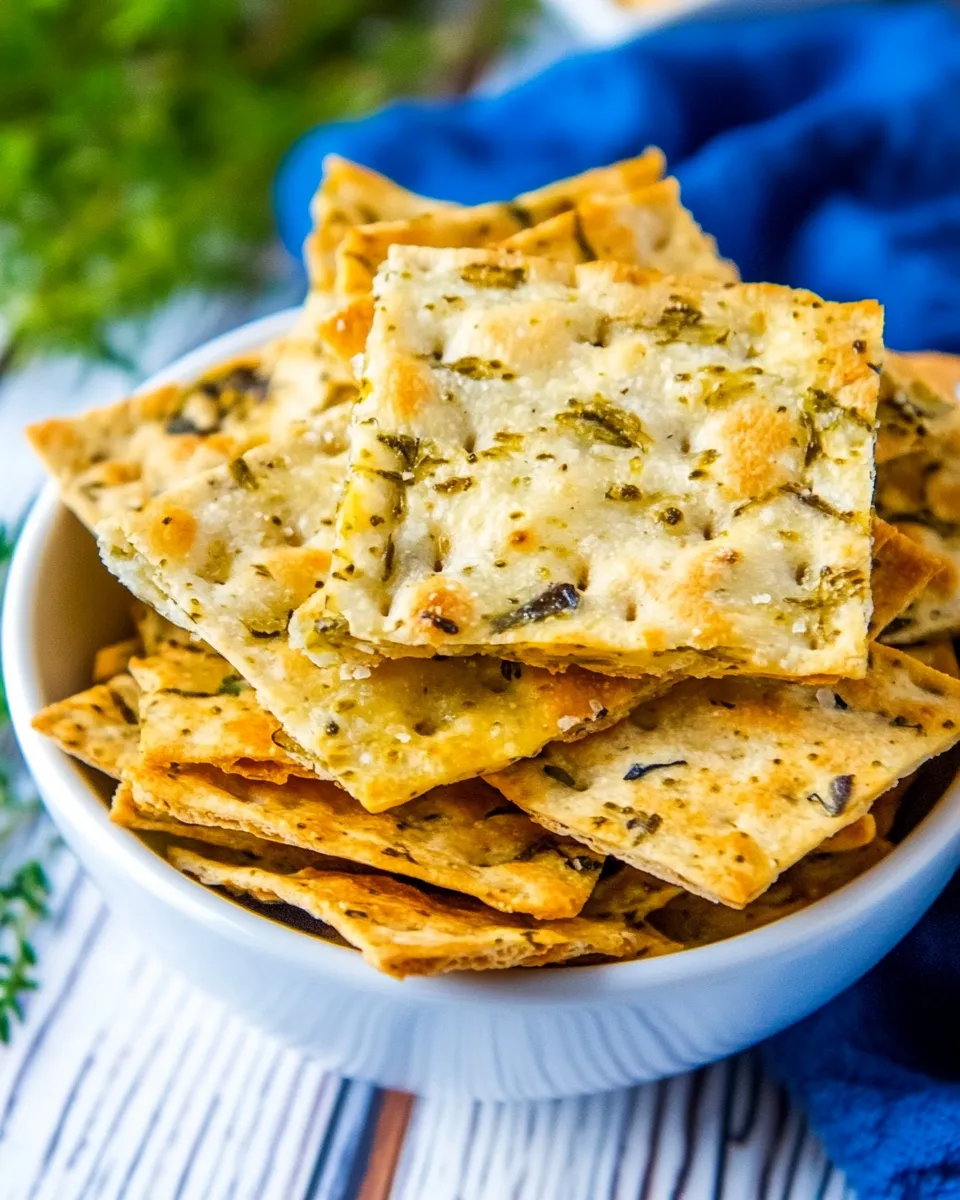
Dill Pickle Saltines are a delightful twist on a classic snack that brings together the tanginess of dill pickles with the savory goodness of Ranch flavor. This quick and easy recipe is not only perfect for parties but also makes for a satisfying midday snack. With just a few simple ingredients and minimal prep time, you can create a crunchy treat that’s sure to impress. So gather your ingredients, preheat that oven, and get ready to indulge in these addictive bites.
Snacking has never been so flavorful! Enjoy your Dill Pickle Saltines and watch them disappear in no time.
Dill Pickle Saltines
Ingredients
Equipment
Method
- Step 1: Preheat the Oven - Start by preheating your oven to 350°F (175°C).
- Step 2: Melt the Butter - In a large mixing bowl, melt the stick of butter. Let it cool slightly once melted.
- Step 3: Add Flavorings - To the melted butter, add the Ranch seasoning, dill pickle juice, dried dill, garlic powder, and crushed red pepper flakes (if using). Stir well until all the ingredients are fully combined.
- Step 4: Coat the Crackers - Gently place the Saltine crackers into the bowl with the butter mixture. Carefully fold the crackers into the mixture until they are well-coated.
- Step 5: Arrange on Baking Sheet - Line a baking sheet with parchment paper, if desired, and evenly spread the coated crackers onto the sheet in a single layer.
- Step 6: Bake - Place the baking sheet in the preheated oven and bake for 10 to 15 minutes, or until the crackers are golden and fragrant.
- Step 7: Cool and Enjoy - Once baked, remove the crackers from the oven and let them cool completely on the baking sheet.
Notes
- Make sure to check the crackers frequently while baking to avoid over-baking.
- These crackers can be stored in an airtight container for up to a week.
- Feel free to experiment with different seasonings to suit your taste!