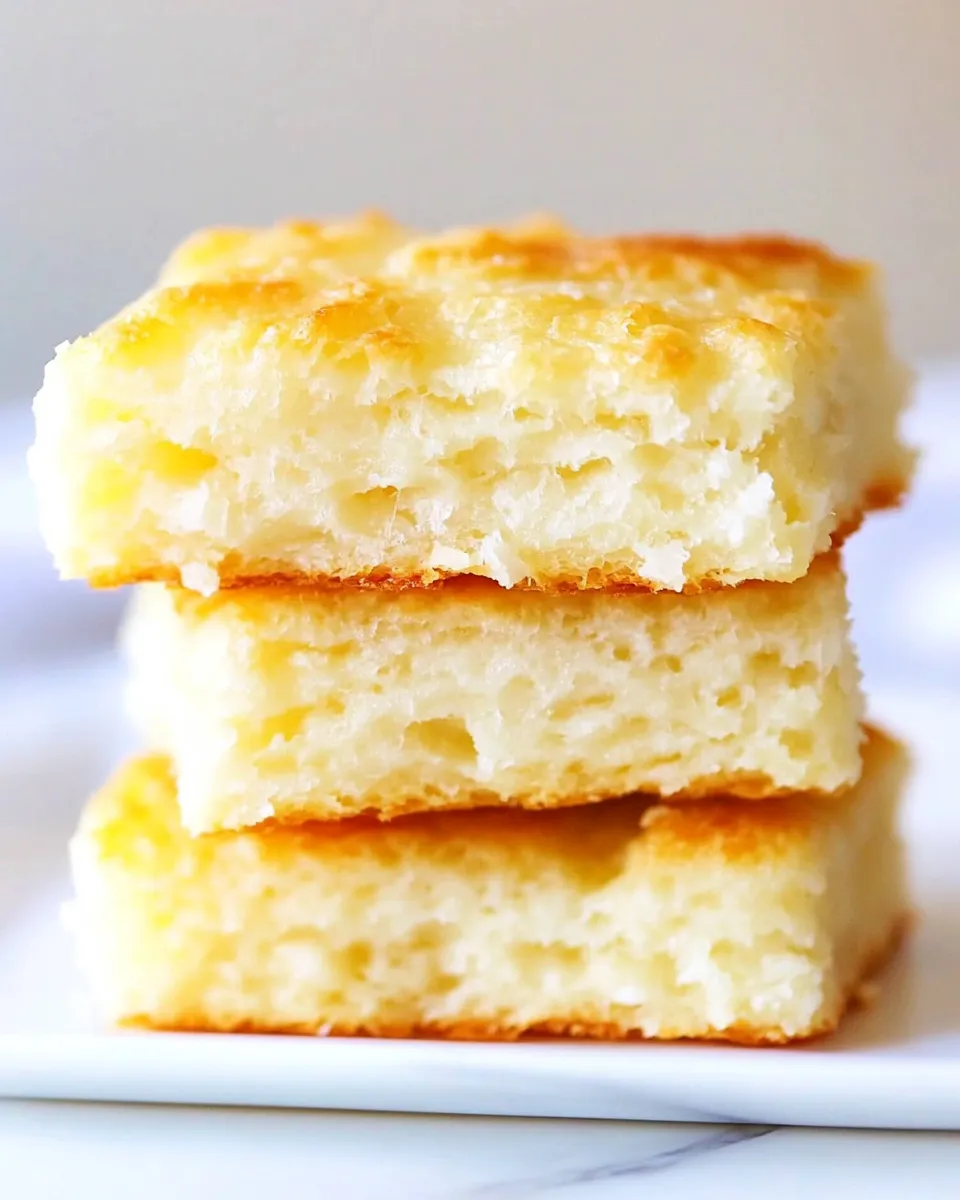
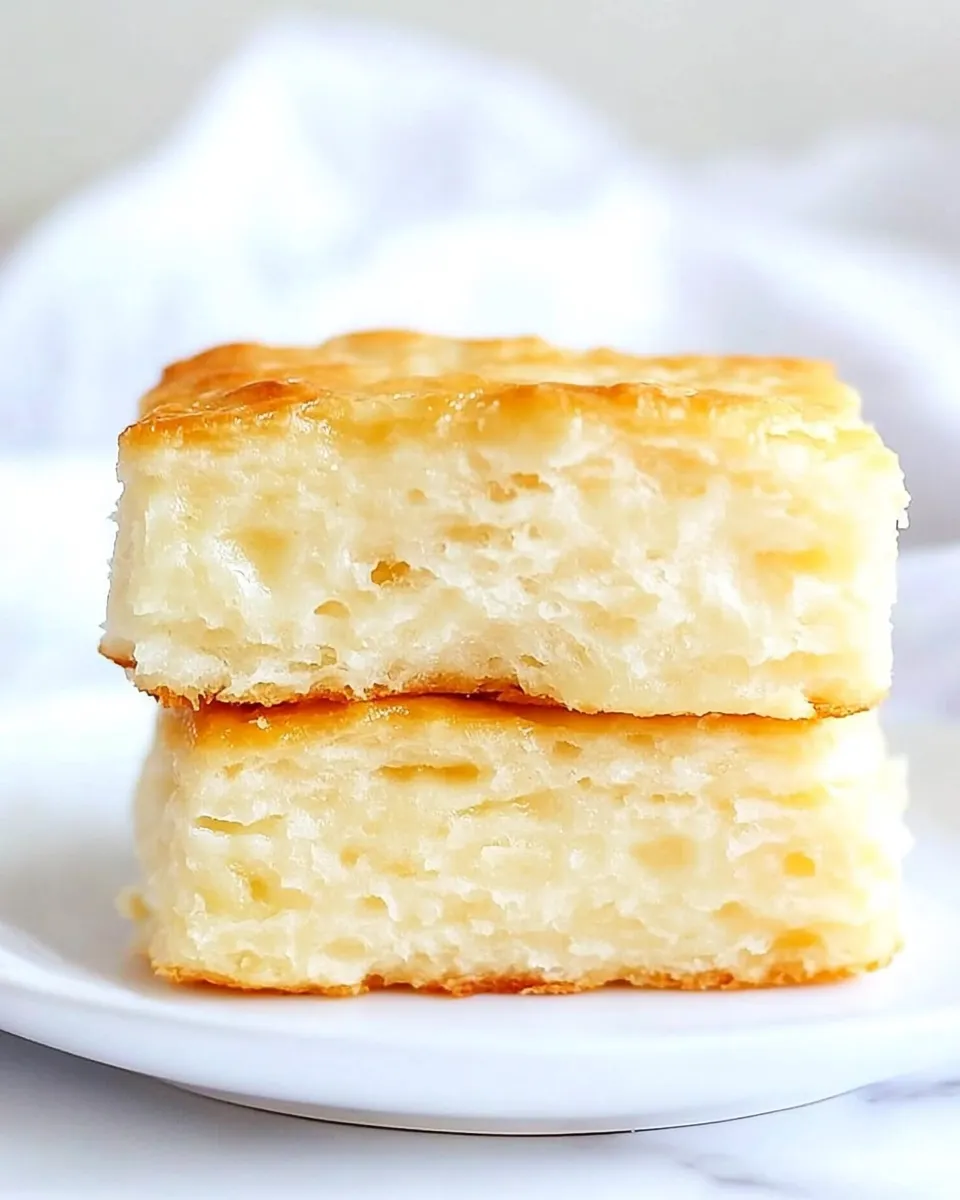
7-UP Biscuits Recipe (from scratch)
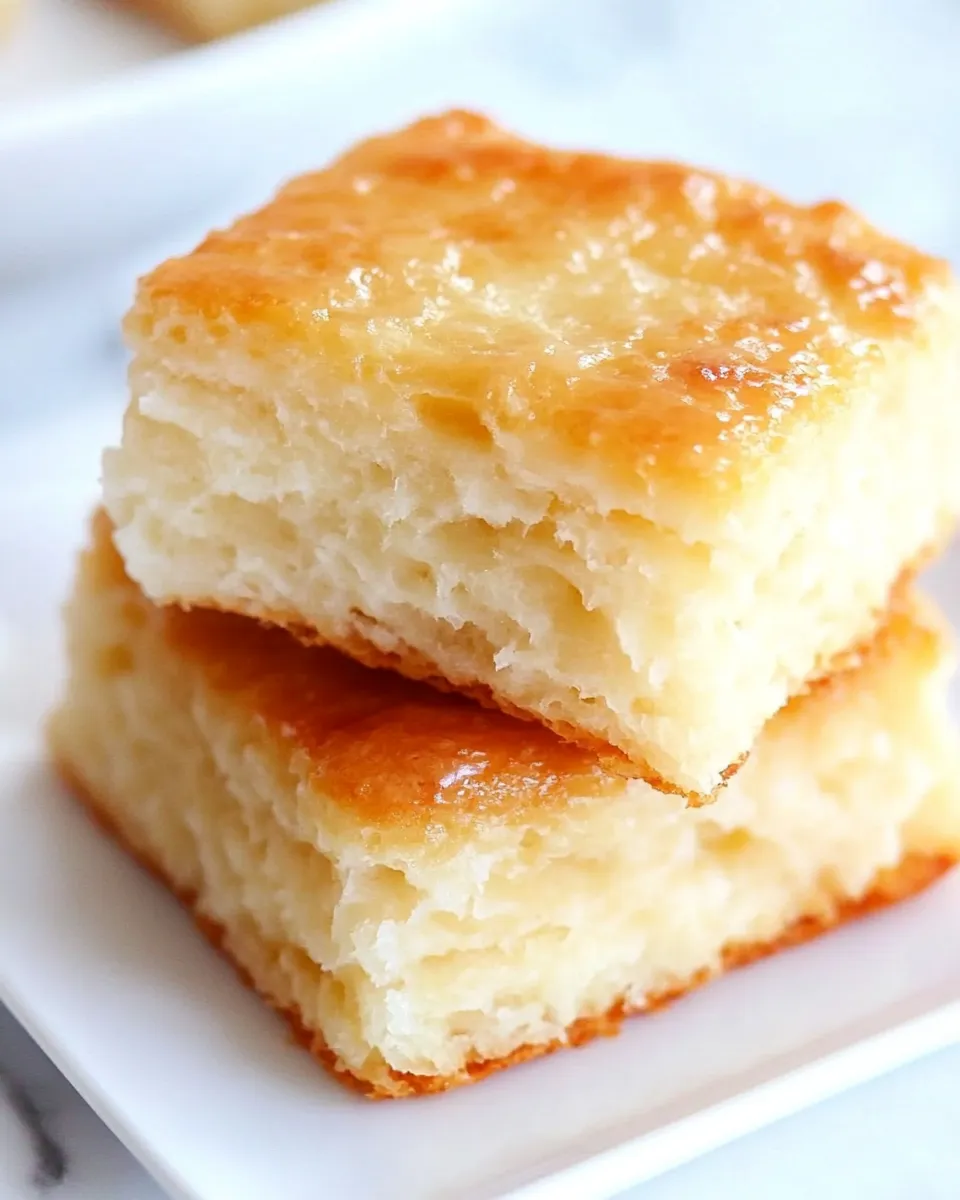
If you’re on the hunt for a delightful and easy biscuit recipe that will leave your family and friends begging for seconds, look no further than these fluffy and tender 7-UP Biscuits. This 7-UP Biscuits Recipe (from scratch) is a game-changer in the world of quick breads, combining the magic of soda with simple pantry staples to create a comfort food classic. Perfect for breakfast, brunch, or as a side for dinner, these biscuits are sure to impress with their light, airy texture and subtle hint of sweetness. Let’s dive into the details of making these delicious treats from scratch!
The Upside of 7-UP Biscuits Recipe (from scratch)
Why choose a 7-UP Biscuits Recipe (from scratch)? The answer lies in their incredible lightness and unique flavor profile. The addition of 7-UP soda not only adds a touch of sweetness but also serves as a leavening agent, giving the biscuits a wonderful rise. The acidic nature of the soda works harmoniously with the baking powder and sour cream, creating a tender crumb that melts in your mouth. They are incredibly versatile and can be enjoyed with butter, jam, or even as a base for savory dishes.
Ingredient Notes
- All-purpose flour: The foundation of your biscuits, providing structure.
- Baking powder: This is what gives your biscuits their lift, so make sure it’s fresh for the best results.
- Salt: Enhances the overall flavor of the biscuits.
- Shortening: Adds flakiness to the biscuit texture. You can also use a plant-based shortening if you prefer.
- Sour cream: Contributes to the moisture and richness, while also adding a slight tang.
- 7-UP soda: The star ingredient that adds both flavor and carbonation, making the biscuits light and airy.
- Butter: Melted and brushed on top just before serving for a rich, buttery finish.
Kitchen Gear Checklist
- Mixing bowl: For combining your dry ingredients.
- Measuring cups and spoons: Essential for accurate measurements.
- Pastry cutter or fork: Useful for cutting in the shortening.
- Baking sheet: To bake your biscuits evenly.
- Parchment paper: Optional, but helps with easy cleanup.
- Cooling rack: For letting your biscuits cool after baking.
7-UP Biscuits Recipe (from scratch) Made Stepwise
Step 1: Preheat your oven
Begin by preheating your oven to 450°F (230°C). This high temperature is key to getting those biscuits perfectly golden and fluffy.
Step 2: Mix the dry ingredients
In a large mixing bowl, whisk together 2 cups of all-purpose flour, 1 tablespoon of baking powder, and 1 teaspoon of salt. This creates the perfect base for your biscuits.
Step 3: Cut in the shortening
Using a pastry cutter or a fork, cut in the shortening until the mixture resembles coarse crumbs. This step is crucial for achieving that desirable flaky texture.
Step 4: Add the wet ingredients
Stir in 1 cup of sour cream and 1 cup of room temperature 7-UP soda. Mix until just combined; be careful not to overmix, or the biscuits may become tough.
Step 5: Shape the biscuits
Turn the dough out onto a floured surface. Gently pat it into a 1-inch thick rectangle. Using a biscuit cutter or a glass, cut out biscuits and place them on a baking sheet lined with parchment paper.
Step 6: Bake the biscuits
Bake the biscuits in your preheated oven for 10-12 minutes, or until they are golden brown on top. The aroma will fill your kitchen, making it hard to wait!
Step 7: Brush with melted butter
As soon as they come out of the oven, brush the tops with melted butter for an extra layer of flavor and shine. Let the biscuits cool for a few minutes on a cooling rack before serving.
Holiday & Seasonal Touches

- For a festive touch, add a sprinkle of cinnamon or nutmeg to the dry ingredients.
- During the fall, consider folding in some shredded cheese and chopped jalapeños for a savory twist.
- Serve them alongside your Thanksgiving turkey or Christmas ham for a delightful addition to your holiday table.
- Top with cranberry sauce during the holidays for a sweet and tart pairing.
Behind-the-Scenes Notes
Making 7-UP biscuits from scratch is not only simple but also a fun activity to involve the family. Kids love helping out with mixing and cutting the biscuits. You can also experiment with different flavors by incorporating herbs or spices into the dough. These biscuits are best enjoyed fresh but can be made ahead of time and reheated.
- For a lighter biscuit, try substituting half the shortening with Greek yogurt.
- Feel free to customize the size of your biscuits depending on your preference—just adjust the baking time accordingly.
Storing, Freezing & Reheating
These 7-UP biscuits are best served fresh, but they can be stored in an airtight container at room temperature for up to 2 days. If you want to keep them longer, consider freezing them. Just wrap each biscuit tightly in plastic wrap and place them in a freezer-safe bag. They can last up to 3 months in the freezer. To reheat, simply pop them in a 350°F (175°C) oven for about 10 minutes or until warmed through.
FAQ
Can I use a different type of soda for this recipe?
Yes, you can experiment with other citrus-flavored sodas if you prefer, such as Sprite or Sierra Mist, though the flavor will slightly change.
What can I serve with 7-UP biscuits?
These biscuits pair wonderfully with butter, honey, jam, or gravy. They also make a great accompaniment to soups and stews.
Can I make the dough ahead of time?
Yes, you can prepare the dough and refrigerate it for up to 24 hours before baking. Just allow it to come to room temperature before cutting and baking.
Why are my biscuits tough?
Overmixing the dough or using too much flour can lead to tough biscuits. Always mix until just combined for the best texture.
Similar Recipes
Bring It to the Table
There’s something undeniably special about a freshly baked batch of biscuits that can elevate any meal. Whether you’re hosting a brunch, enjoying a cozy family dinner, or simply treating yourself to a comforting snack, this 7-UP Biscuits Recipe (from scratch) is sure to please. The combination of simple ingredients and easy preparation makes it approachable for everyone, from novice bakers to seasoned pros. So, roll up your sleeves, gather your ingredients, and get ready to whip up something truly delicious. Trust me, once you try this recipe, you will want to keep it in your rotation for years to come!
7-UP Biscuits Recipe (from scratch)
Ingredients
Equipment
Method
- Step 1: Preheat your oven to 450°F (230°C) for golden and fluffy biscuits.
- Step 2: In a large mixing bowl, whisk together the flour, baking powder, and salt.
- Step 3: Cut in the shortening until the mixture resembles coarse crumbs.
- Step 4: Stir in the sour cream and 7-UP until just combined.
- Step 5: Turn the dough onto a floured surface, pat into a 1-inch thick rectangle, and cut out biscuits.
- Step 6: Bake for 10-12 minutes or until golden brown on top.
- Step 7: Brush with melted butter and let cool slightly before serving.
Notes
- Experiment with flavors by adding herbs or spices.
- Store in an airtight container for up to 2 days.
- For freezing, wrap each biscuit and store in a freezer-safe bag.