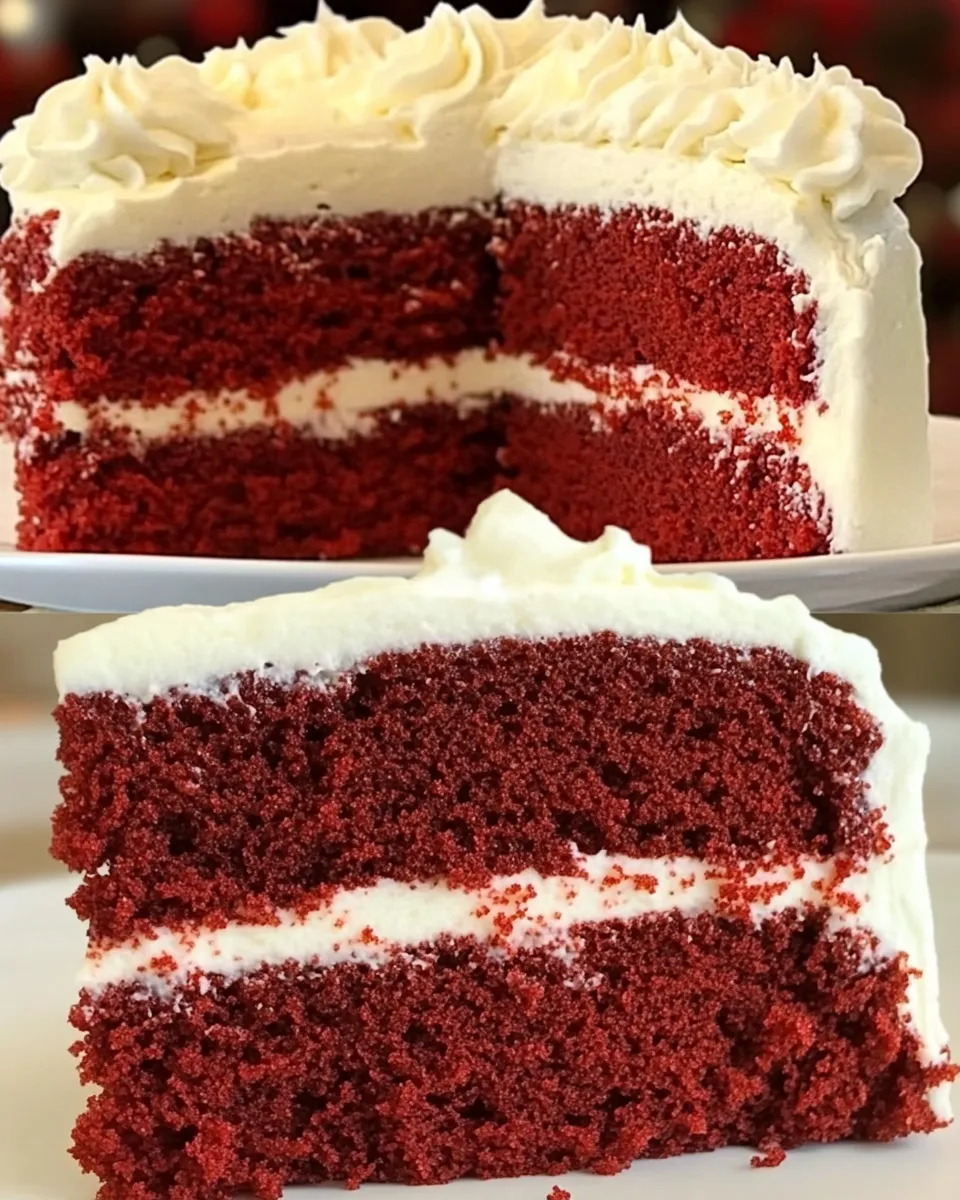
Vegan Red Velvet Cake
Are you ready to indulge in a slice of velvety goodness that’s both vibrant and utterly delightful? This Vegan Red Velvet Cake is not just a feast for the eyes; it’s a treat for the palate, too! With its rich cocoa flavor, tender crumb, and striking crimson hue, it’s perfect for any celebration or just a casual afternoon treat. Plus, it’s made with wholesome ingredients, ensuring that your dessert is just as nourishing as it is delicious. Let’s dive in and bring this stunning cake to life!
Why This Vegan Red Velvet Cake Stands Out
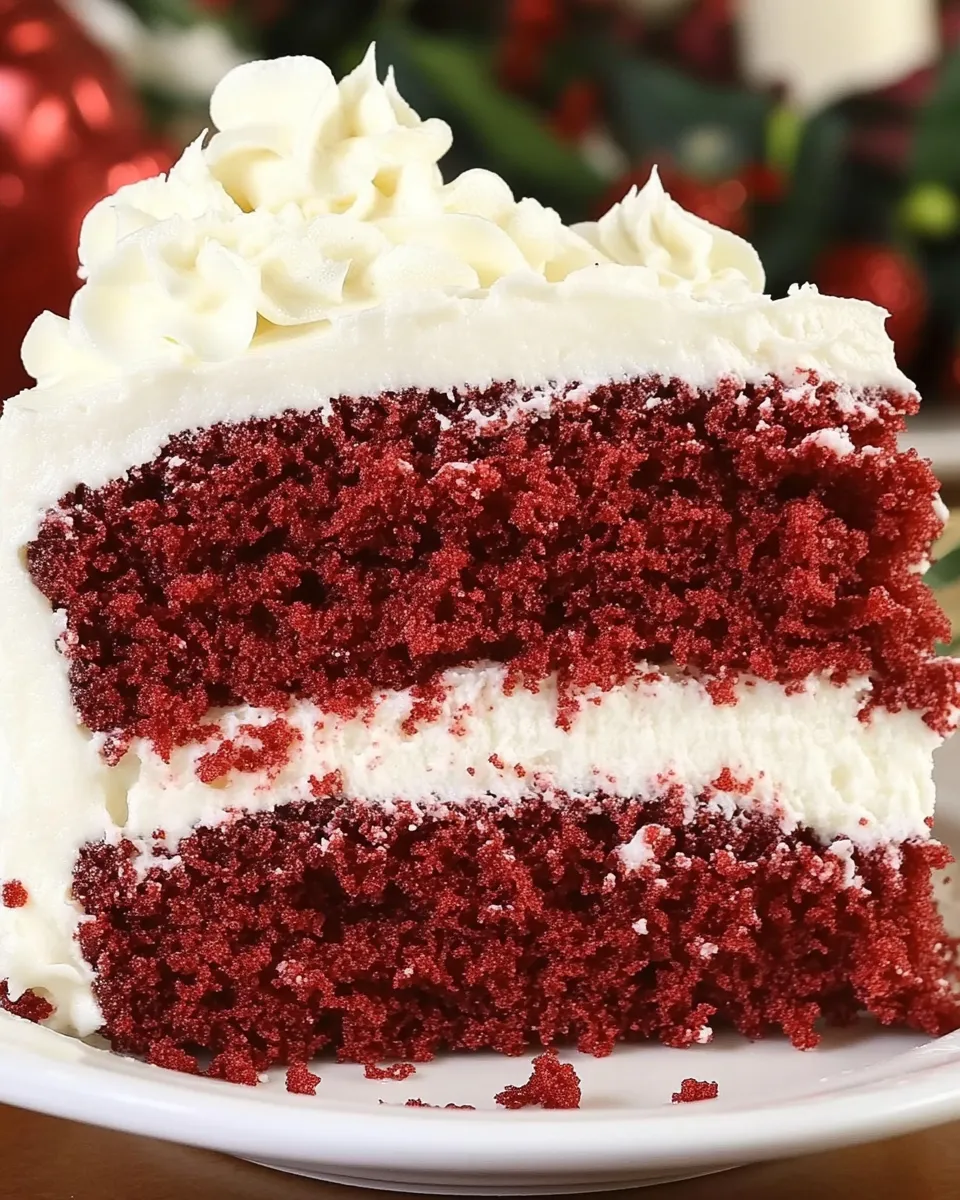
This Vegan Red Velvet Cake is a showstopper for several reasons. First, it embraces the classic red velvet flavor profile while being entirely plant-based. The rich chocolate notes from the cocoa powder complement the subtle tang of the applesauce, creating a perfect balance. Not only does it look fabulous, but it’s also versatile enough for various dietary preferences. Whether you want to go low-carb or sugar-free, this recipe can accommodate your needs. It’s the ultimate dessert that doesn’t compromise on taste!
What’s in the Bowl
To create this vegan masterpiece, gather these simple yet effective ingredients:
- 2 cups flour (For a low-carb version, try this Keto Cake Recipe)
- 3/4 cup cocoa powder
- 1 tsp baking soda
- 1 tsp salt
- 1 1/2 cups sugar (or xylitol for a sugar-free option)
- 1/2 cup applesauce (or banana or vegan yogurt)
- 1/2 cup oil (or almond butter for a nutty twist)
- 1 1/2 tbsp pure vanilla extract
- 1 1/3 cup water
- 2 tbsp vegan red food coloring
- 1 tsp white vinegar (omit if using yogurt)
Gear Up: What to Grab
Before you start baking, make sure you have the following kitchen tools on hand:
- Mixing bowls: For combining dry and wet ingredients.
- Whisk: To ensure even mixing of the batter.
- Measuring cups and spoons: Precision is key in baking!
- Spatula: For scraping down the bowl and folding the batter.
- Cake pans: Two 9-inch round pans work perfectly for this recipe.
- Cooling rack: Essential for cooling the cakes before frosting.
- Oven: Preheat to 350°F (175°C) to get started on your cake journey.
From Start to Finish: Vegan Red Velvet Cake
Now, let’s get baking! Follow these simple steps to create your Vegan Red Velvet Cake:
Step 1: Preheat and Prep
Preheat your oven to 350°F (175°C). Grease and flour your cake pans to prevent sticking.
Step 2: Combine Dry Ingredients
In a large mixing bowl, whisk together the flour, cocoa powder, baking soda, and salt until well combined.
Step 3: Mix Wet Ingredients
In another bowl, combine the sugar (or xylitol), applesauce (or banana/yogurt), oil (or almond butter), vanilla extract, water, red food coloring, and white vinegar (if using). Mix well until the mixture is smooth.
Step 4: Combine Wet and Dry Mixtures
Pour the wet mixture into the bowl of dry ingredients. Using a spatula, gently fold the batter together until just combined. Be careful not to overmix; a few lumps are perfectly fine!
Step 5: Bake the Cakes
Divide the batter evenly between the prepared cake pans. Bake for 25-30 minutes, or until a toothpick inserted into the center comes out clean.
Step 6: Cool the Cakes
Remove the pans from the oven and let them cool in the pans for about 10 minutes. Then, turn the cakes out onto a cooling rack to cool completely.
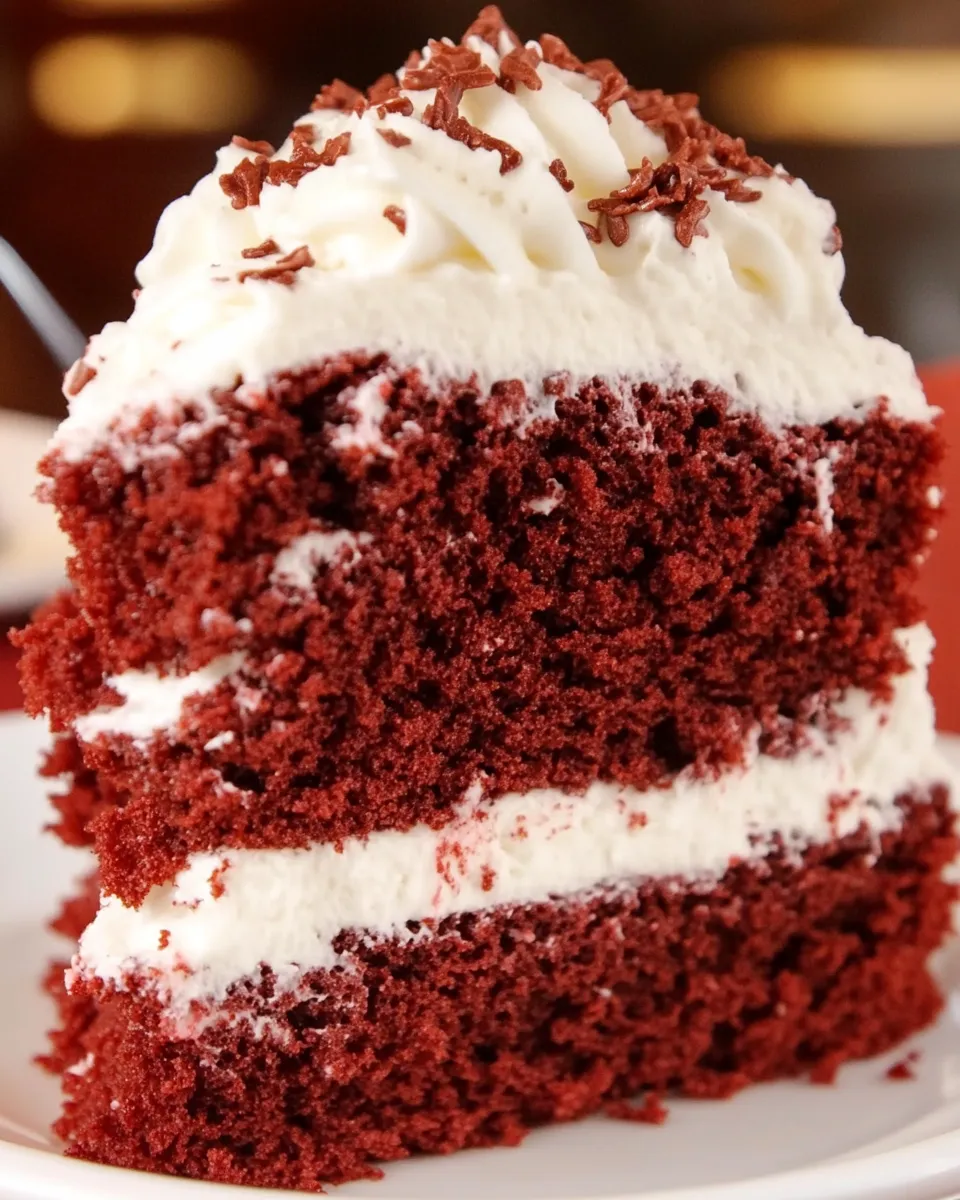
Step 7: Frost and Assemble
Once the cakes are completely cool, frost with your favorite vegan frosting. A classic cream cheese frosting or a simple vegan buttercream would pair beautifully with the red velvet flavor.
Spring to Winter: Ideas
This Vegan Red Velvet Cake can be enjoyed year-round with these creative ideas:
- Add a layer of vegan cream cheese frosting between the cake layers for extra richness.
- Top with fresh berries or edible flowers for a spring-inspired look.
- Incorporate spices like cinnamon or nutmeg for a cozy winter twist.
- Use it as a base for a holiday trifle by layering with vegan whipped cream and fruit.
Easy-to-Miss Gotchas
When baking, it’s easy to overlook a few important details. Keep these tips in mind:
- Ensure your baking soda is fresh for the best rise.
- Don’t skip the vinegar; it reacts with baking soda for a fluffy texture.
- Let the cakes cool completely before frosting to prevent melting.
- Check your oven temperature with an oven thermometer for accurate baking.
Prep Ahead & Store
Want to make this cake ahead of time? Here are some tips for prepping and storing:
You can prepare the cake layers a day in advance. Once cooled, wrap them tightly in plastic wrap and store in the refrigerator. Frosting can also be made ahead and stored in an airtight container. Just give it a good stir before using.
- Store the frosted cake in the refrigerator for up to 5 days.
- For longer storage, freeze the cake layers, unfrosted, for up to 3 months.
- Thaw in the fridge overnight before frosting and serving.
Vegan Red Velvet Cake Q&A
Can I substitute the flour for a gluten-free option?
Absolutely! You can use a gluten-free all-purpose flour blend to make this cake gluten-free. Just ensure that it contains xanthan gum for the best texture.
What can I use instead of applesauce?
If you don’t have applesauce on hand, mashed bananas or vegan yogurt work perfectly as substitutes. Each option will add its own unique flavor!
Is this recipe suitable for special occasions?
Can I make this cake into cupcakes?
Yes! This batter works wonderfully for cupcakes. Just reduce the baking time to about 18-20 minutes, and watch them closely!
Similar Recipes
If you loved making this Vegan Red Velvet Cake, you might also enjoy these delightful treats:
- Vegan Chocolate Cake
- Gluten-Free Carrot Cake
- Almond Flour Banana Bread
- Vegan Lemon Blueberry Muffins
Make It Tonight
Now that you have everything you need to create this stunning Vegan Red Velvet Cake, it’s time to get baking! Whether you’re celebrating a special occasion or just treating yourself, this cake is sure to bring joy to your table. With its beautiful color and rich flavor, it’s the perfect dessert to share with family and friends. So gather your ingredients, roll up your sleeves, and let the baking magic begin! Enjoy every bite of this Vegan Red Velvet Cake and the smiles it brings!
Vegan Red Velvet Cake
Ingredients
Equipment
Method
- Preheat your oven to 350°F (175°C). Grease and flour your cake pans to prevent sticking.
- In a large mixing bowl, whisk together the flour, cocoa powder, baking soda, and salt until well combined.
- In another bowl, combine the sugar (or xylitol), applesauce (or banana/yogurt), oil (or almond butter), vanilla extract, water, red food coloring, and white vinegar (if using). Mix well until the mixture is smooth.
- Pour the wet mixture into the bowl of dry ingredients. Using a spatula, gently fold the batter together until just combined. Be careful not to overmix; a few lumps are perfectly fine!
- Divide the batter evenly between the prepared cake pans. Bake for 25-30 minutes, or until a toothpick inserted into the center comes out clean.
- Remove the pans from the oven and let them cool in the pans for about 10 minutes. Then, turn the cakes out onto a cooling rack to cool completely.
- Once the cakes are completely cool, frost with your favorite vegan frosting. A classic cream cheese frosting or a simple vegan buttercream would pair beautifully with the red velvet flavor.
Notes
- You can prepare the cake layers a day in advance. Wrap them tightly in plastic wrap and store in the refrigerator.
- Frosting can also be made ahead and stored in an airtight container. Just give it a good stir before using.
- For longer storage, freeze the cake layers, unfrosted, for up to 3 months.