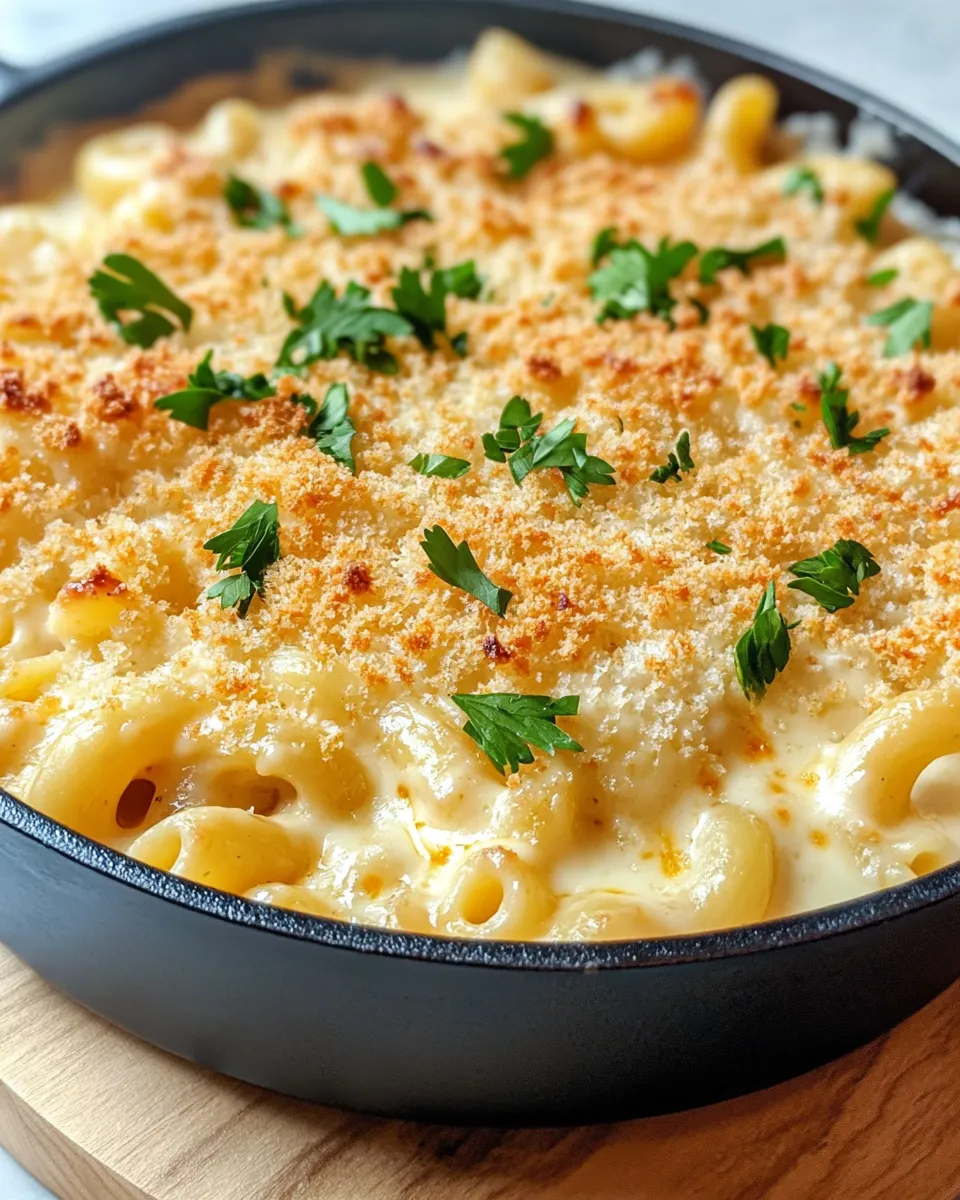
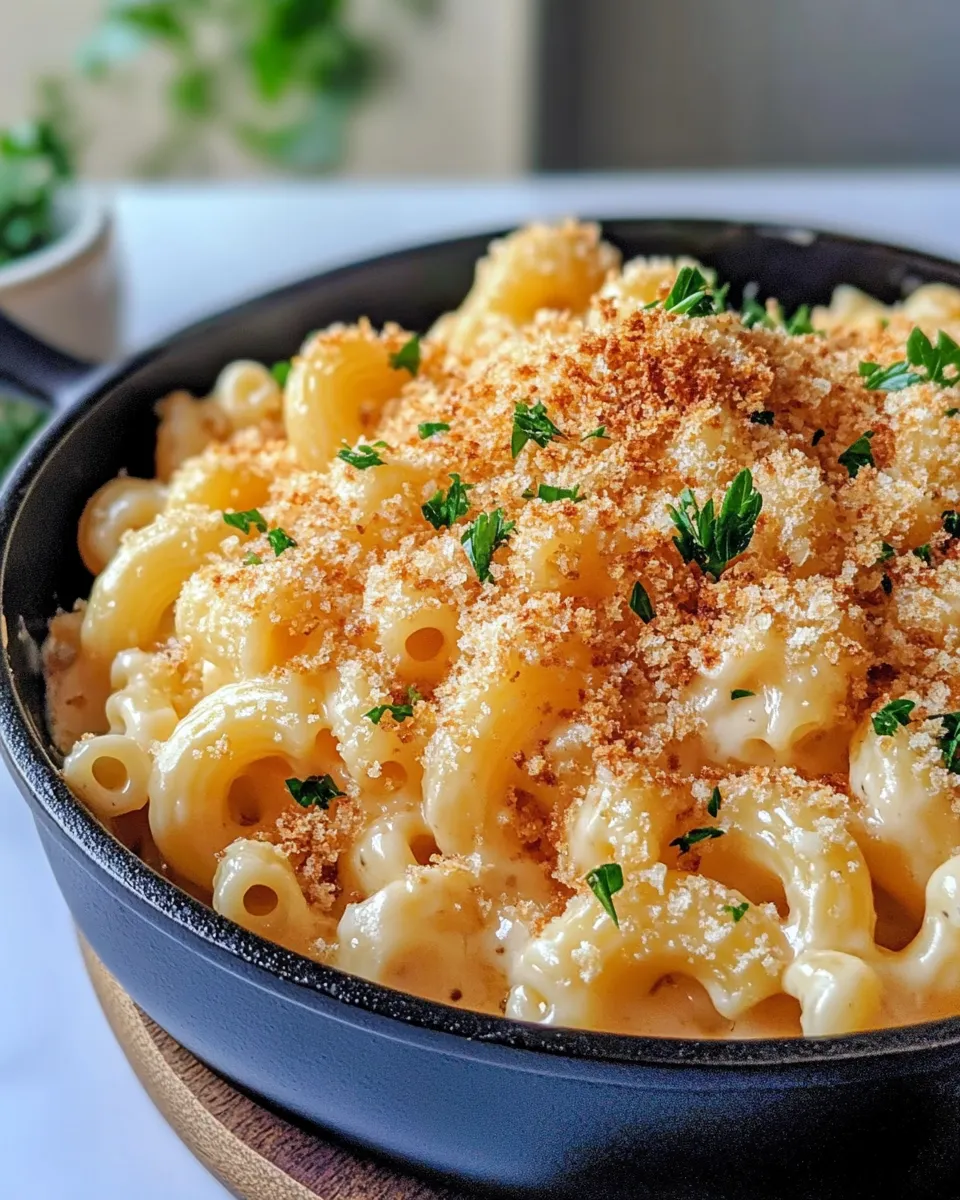
Skillet Baked Mac and Cheese (Extra-Crispy Top)
If comfort food had a crown jewel, it would surely be Skillet Baked Mac and Cheese (Extra-Crispy Top). This dish takes the creamy, cheesy goodness of traditional mac and cheese and elevates it with a beautifully golden, crunchy topping that adds the perfect contrast in texture. Imagine tender elbow macaroni bathed in a luscious sharp cheddar and mozzarella cheese sauce, all baked to bubbling perfection right in your skillet. The best part? That irresistible extra-crispy top layer that makes every bite a little celebration. Whether you’re feeding a crowd or indulging in a cozy night in, this recipe is your new go-to for a rich, satisfying meal that’s sure to impress.
Why This Skillet Baked Mac and Cheese (Extra-Crispy Top) Stands Out
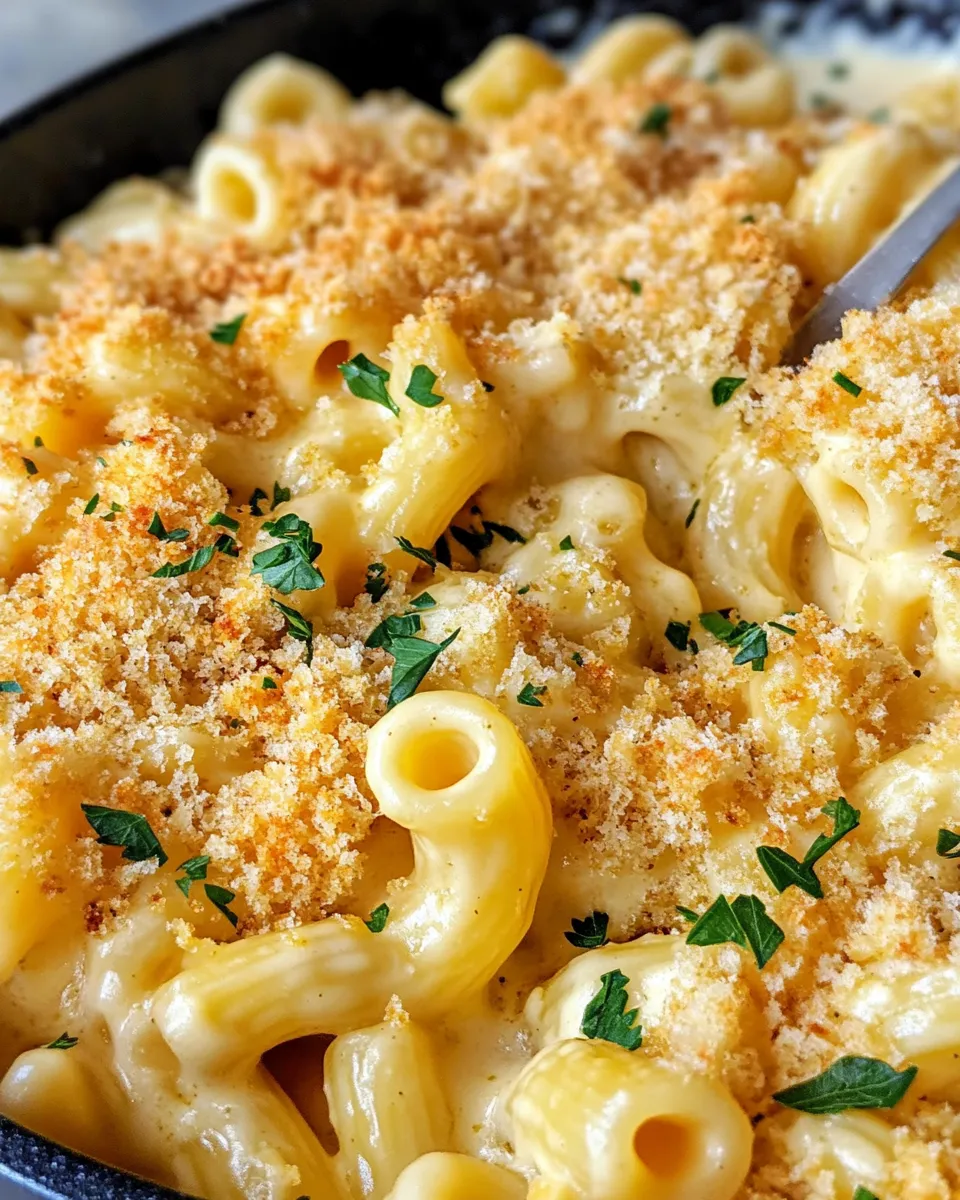
This version of mac and cheese is more than just creamy pasta—it’s a textural masterpiece. The secret lies in the extra-crispy top layer, achieved by toasting panko breadcrumbs with olive oil before scattering them over the cheesy pasta. Baking everything in a skillet ensures even cooking and makes cleanup a breeze. The blend of sharp cheddar and mozzarella hits the perfect balance between bold flavor and gooey pull, while the warm spices like garlic powder, onion powder, and paprika add depth without overpowering the dish. Plus, cooking the roux and cheese sauce right in your skillet means fewer dishes and a restaurant-worthy presentation straight from oven to table.
If you love the idea of creamy pasta with a golden crust, you might also enjoy the Roasted Broccoli Cheddar Macaroni, which adds a fresh vegetable twist to your cheesy cravings!
Ingredient Notes
- Elbow Macaroni (8 ounces): Classic pasta shape for mac and cheese, providing the perfect tube to hold cheese sauce. Use good-quality dried pasta for the best texture.
- Unsalted Butter (2 tablespoons): Essential for making the roux, which thickens the cheese sauce. Unsalted lets you control the saltiness precisely.
- All-Purpose Flour (2 tablespoons): Used with butter to create the roux base that thickens the creamy sauce.
- Whole Milk (2 cups): Adds richness and creaminess. Whole milk is ideal, but you can substitute with 2% milk in a pinch for a lighter version.
- Garlic Powder (1 teaspoon): Adds a subtle savory depth without overwhelming the cheese flavor.
- Onion Powder (1 teaspoon): Enhances the savory notes and complements the garlic perfectly.
- Paprika (1 teaspoon): Brings a smoky warmth and beautiful color to the cheese sauce.
- Sharp Cheddar Cheese (2 cups shredded): The star cheese with bold, tangy flavor that melts beautifully.
- Mozzarella Cheese (1 cup shredded): Adds gooey stretch and mild creaminess, balancing the sharpness of cheddar.
- Panko Breadcrumbs (1 cup): Key for the extra-crispy topping; these Japanese-style breadcrumbs toast up light and crunchy.
- Olive Oil (1 tablespoon): Helps crisp the panko breadcrumbs to golden perfection.
- Salt and Pepper: Season to taste, enhancing the overall flavor.
- Chopped Parsley (optional): For a fresh, colorful garnish to brighten the rich dish.
Gear Up: What to Grab
- Oven-safe Skillet: A 10- to 12-inch skillet works perfectly to cook and bake the mac and cheese. Cast iron or stainless steel preferred for even heat.
- Whisk: For making a smooth roux and cheese sauce without lumps.
- Measuring Cups & Spoons: To get precise ingredient amounts.
- Cheese Grater: Freshly shredded cheese melts better than pre-shredded.
- Wooden Spoon or Silicone Spatula: For stirring pasta and sauce.
- Oven Mitts: To safely handle the hot skillet coming out of the oven.
Skillet Baked Mac and Cheese (Extra-Crispy Top) Made Stepwise
Step 1: Cook the Pasta
Bring a large pot of salted water to a boil. Add 8 ounces of elbow macaroni and cook according to package instructions until al dente, usually about 7-8 minutes. Drain and set aside.
Step 2: Make the Roux
In your oven-safe skillet, melt 2 tablespoons of unsalted butter over medium heat. Once melted, sprinkle in 2 tablespoons of all-purpose flour and whisk continuously for about 1-2 minutes to cook the flour taste out and form a smooth paste.
Step 3: Add Milk and Seasonings
Slowly pour in 2 cups of whole milk while whisking to avoid lumps. Stir in 1 teaspoon each of garlic powder, onion powder, and paprika. Continue to cook, whisking frequently, until the sauce thickens and coats the back of a spoon—about 5 minutes.
Step 4: Melt the Cheese
Lower the heat to medium-low and gradually add 2 cups shredded sharp cheddar and 1 cup shredded mozzarella cheese, stirring constantly until fully melted and smooth. Season with salt and pepper to taste.
Step 5: Combine Pasta and Cheese Sauce
Add the cooked and drained macaroni to the skillet and gently stir to combine, making sure every piece is coated in that luscious cheese sauce.
Step 6: Prepare the Crispy Topping
In a small bowl, toss 1 cup panko breadcrumbs with 1 tablespoon olive oil until evenly coated. Sprinkle the panko mixture evenly over the mac and cheese in the skillet.
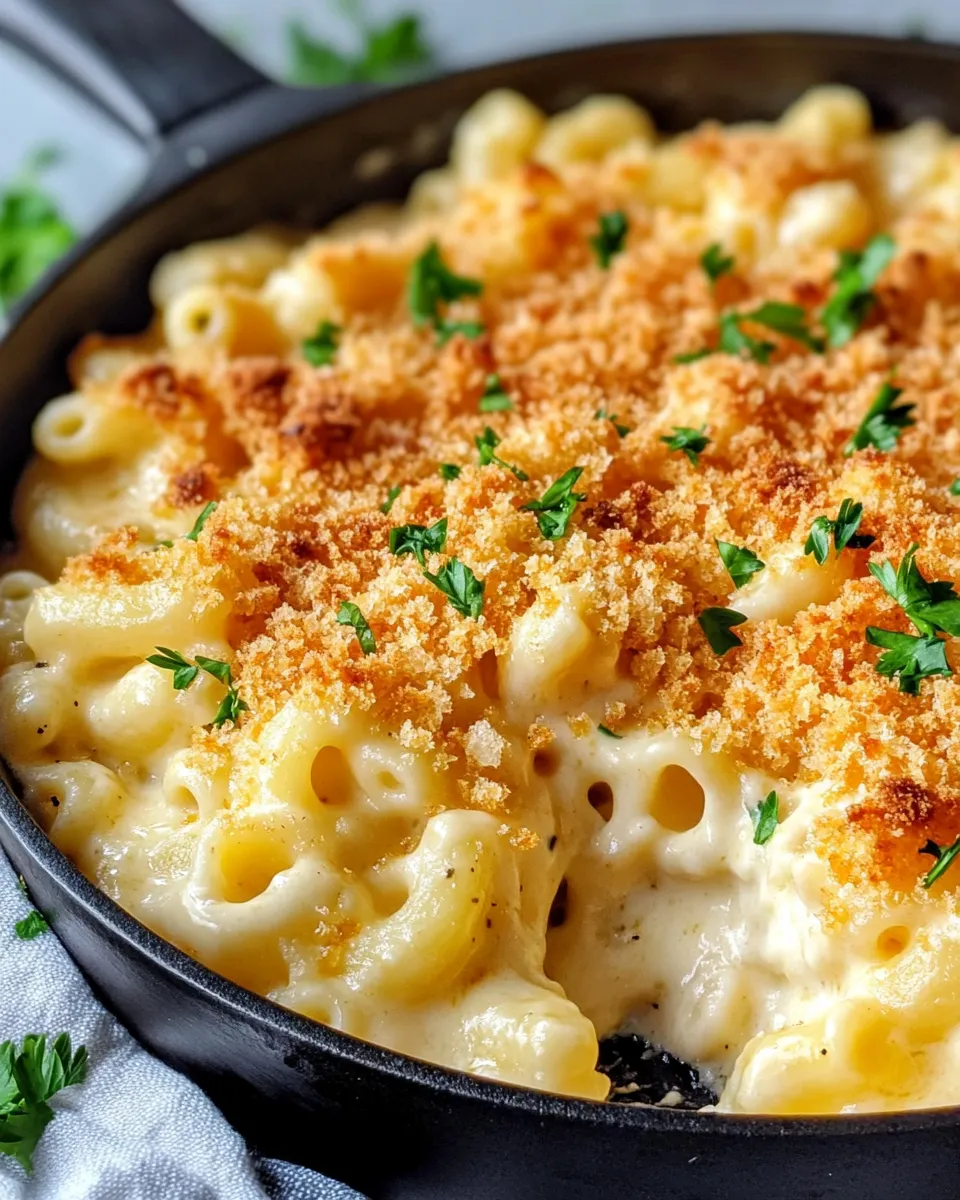
Step 7: Bake Until Golden
Preheat your oven to 375°F (190°C). Place the skillet in the oven and bake for 20-25 minutes, or until the top is golden brown and extra crispy.
Step 8: Garnish and Serve
Remove from the oven and sprinkle with chopped parsley if desired for a pop of color and freshness. Serve hot and enjoy the perfect blend of creamy and crispy textures!
For a different twist on baked cheesy dishes, check out this Baked Four Cheese Lasagna Roll Ups that share the same comforting vibe but with a classic Italian flair.
Swap Guide
- Pasta: Substitute elbow macaroni with cavatappi, shells, or penne for a different shape that holds sauce well.
- Milk: Use almond milk or oat milk for a dairy-free alternative, though the texture will be less creamy.
- Cheese: Try gouda, Monterey Jack, or a blend of cheeses for a unique flavor profile.
- Bread Crumbs: Use crushed cornflakes or crushed crackers for a gluten-free or different textured topping.
- Butter: Swap for vegan butter or margarine if avoiding dairy.
Behind the Recipe
This Skillet Baked Mac and Cheese (Extra-Crispy Top) recipe was inspired by the desire to combine the creaminess of stovetop mac and cheese with the delightful crunch of baked breadcrumbs. Baking in a skillet not only simplifies the process but enhances the rustic charm of the dish, making it ideal for home cooks who want both ease and elegance. The spice trio of garlic powder, onion powder, and paprika adds layers of flavor without complicating the recipe, keeping it approachable yet flavorful. This dish is a modern take on a timeless classic, perfect for weeknight dinners or weekend gatherings.
Refrigerate, Freeze, Reheat
Store any leftover mac and cheese in an airtight container and refrigerate for up to 3 days. For longer storage, freeze in a freezer-safe container for up to 2 months.
To reheat refrigerated portions, cover with foil and warm in a 350°F oven until heated through. For a crispy top, remove the foil in the last 5 minutes of baking. Microwave reheating is possible but will soften the crispy topping.
For frozen leftovers, thaw overnight in the fridge before reheating as described above.
Troubleshooting Q&A
Why is my cheese sauce grainy or clumpy?
This usually happens if the cheese is overheated or added too quickly. To avoid this, melt cheese slowly over low heat and add it gradually, stirring constantly. Also, freshly shredded cheese melts better than pre-shredded varieties which often contain anti-caking agents.
How do I get the topping extra crispy?
Make sure to toss the panko breadcrumbs with olive oil evenly and spread them in a thin layer over the mac and cheese. Baking uncovered at 375°F allows the breadcrumbs to toast properly. For even more crunch, broil for 1-2 minutes at the end, watching carefully to prevent burning.
Can I make this recipe ahead of time?
Yes! You can assemble the mac and cheese up to step 6, cover, and refrigerate for up to 24 hours. When ready to bake, add the crisp topping and bake as directed. This makes it perfect for meal prep or entertaining.
What if my sauce is too thick or too thin?
If the sauce thickens too much before adding pasta, whisk in a splash of milk to loosen it. If it’s too thin, let it cook a little longer on the stove to reduce and thicken before adding cheese.
Desserts to Finish
- Baked Four Cheese Lasagna Roll Ups (for savory inspiration that pairs beautifully with dessert)
- Cheesy Baked Chicken Alfredo Ziti (try this creamy pasta dish next time you want to switch it up)
- Roasted Broccoli Cheddar Macaroni (a great side or main with added greens)
The Last Word
Skillet Baked Mac and Cheese (Extra-Crispy Top) is the ultimate comfort food that delivers creamy, cheesy decadence with a satisfyingly crunchy finish. It’s straightforward to make, uses simple pantry ingredients, and comes together in one skillet to save on dishes. Whether you’re serving it as a family dinner or a crowd-pleasing side, this recipe promises to bring smiles around your table. The crispy breadcrumb topping is the star that transforms an everyday favorite into something truly special. So grab your skillet and prepare to create a dish that’s as pleasing to the eyes as it is to the taste buds.
Rich, cheesy, and irresistibly crispy—this mac and cheese masterpiece is waiting for you to dive in. Enjoy every golden, gooey bite!
Share on Pinterest

Skillet Baked Mac and Cheese (Extra-Crispy Top)
Ingredients
Equipment
Method
- Bring a large pot of salted water to a boil. Add 8 ounces of elbow macaroni and cook according to package instructions until al dente, usually about 7-8 minutes. Drain and set aside.
- In your oven-safe skillet, melt 2 tablespoons of unsalted butter over medium heat. Once melted, sprinkle in 2 tablespoons of all-purpose flour and whisk continuously for about 1-2 minutes to cook the flour taste out and form a smooth paste.
- Slowly pour in 2 cups of whole milk while whisking to avoid lumps. Stir in 1 teaspoon each of garlic powder, onion powder, and paprika. Continue to cook, whisking frequently, until the sauce thickens and coats the back of a spoon—about 5 minutes.
- Lower the heat to medium-low and gradually add 2 cups shredded sharp cheddar and 1 cup shredded mozzarella cheese, stirring constantly until fully melted and smooth. Season with salt and pepper to taste.
- Add the cooked and drained macaroni to the skillet and gently stir to combine, making sure every piece is coated in that luscious cheese sauce.
- In a small bowl, toss 1 cup panko breadcrumbs with 1 tablespoon olive oil until evenly coated. Sprinkle the panko mixture evenly over the mac and cheese in the skillet.
- Preheat your oven to 375°F (190°C). Place the skillet in the oven and bake for 20-25 minutes, or until the top is golden brown and extra crispy.
- Remove from the oven and sprinkle with chopped parsley if desired for a pop of color and freshness. Serve hot and enjoy the perfect blend of creamy and crispy textures!
Notes
- Use freshly shredded cheese for a smoother, less clumpy sauce.
- For an extra crispy topping, broil for 1-2 minutes at the end, watching carefully to prevent burning.
- Store leftovers in an airtight container in the fridge up to 3 days or freeze up to 2 months.