
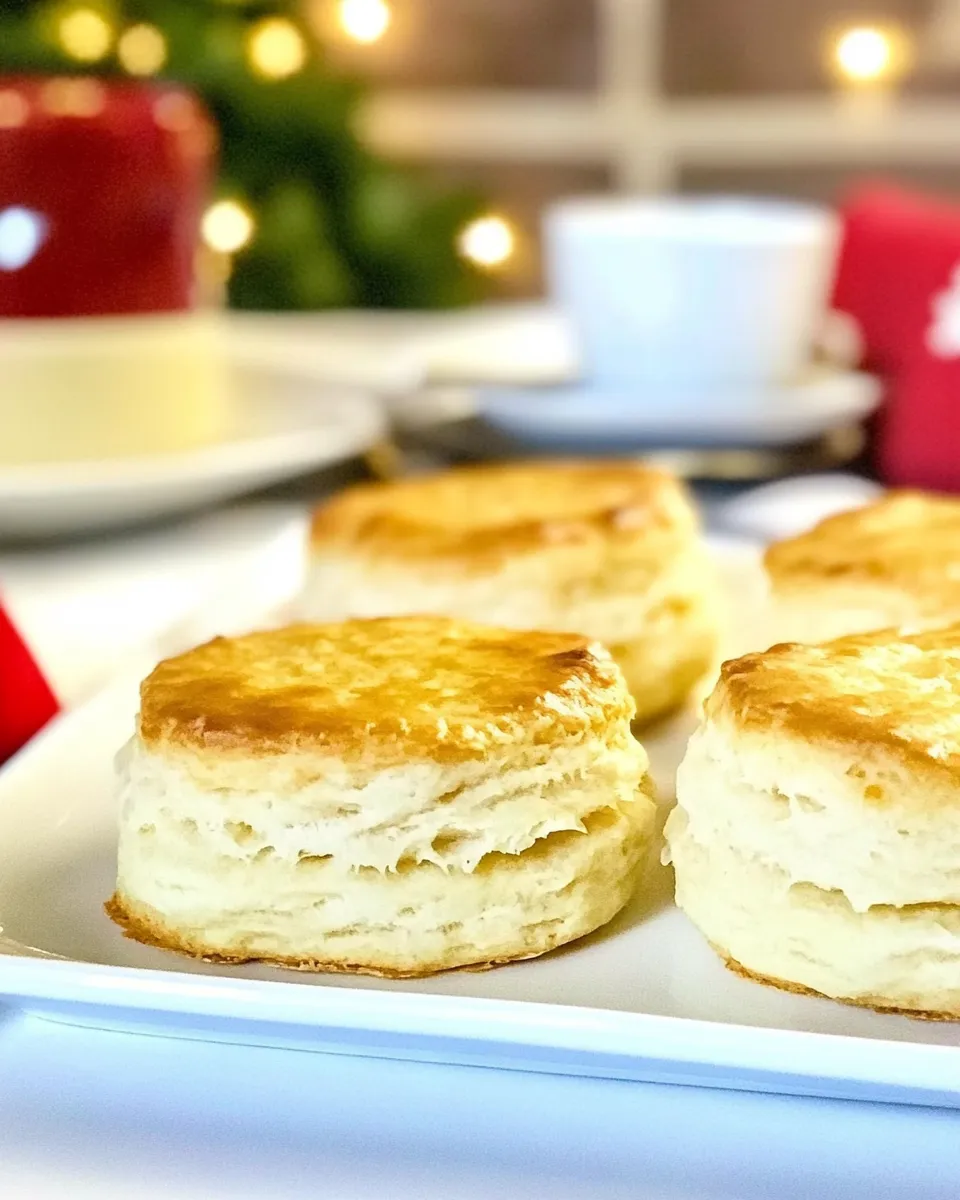
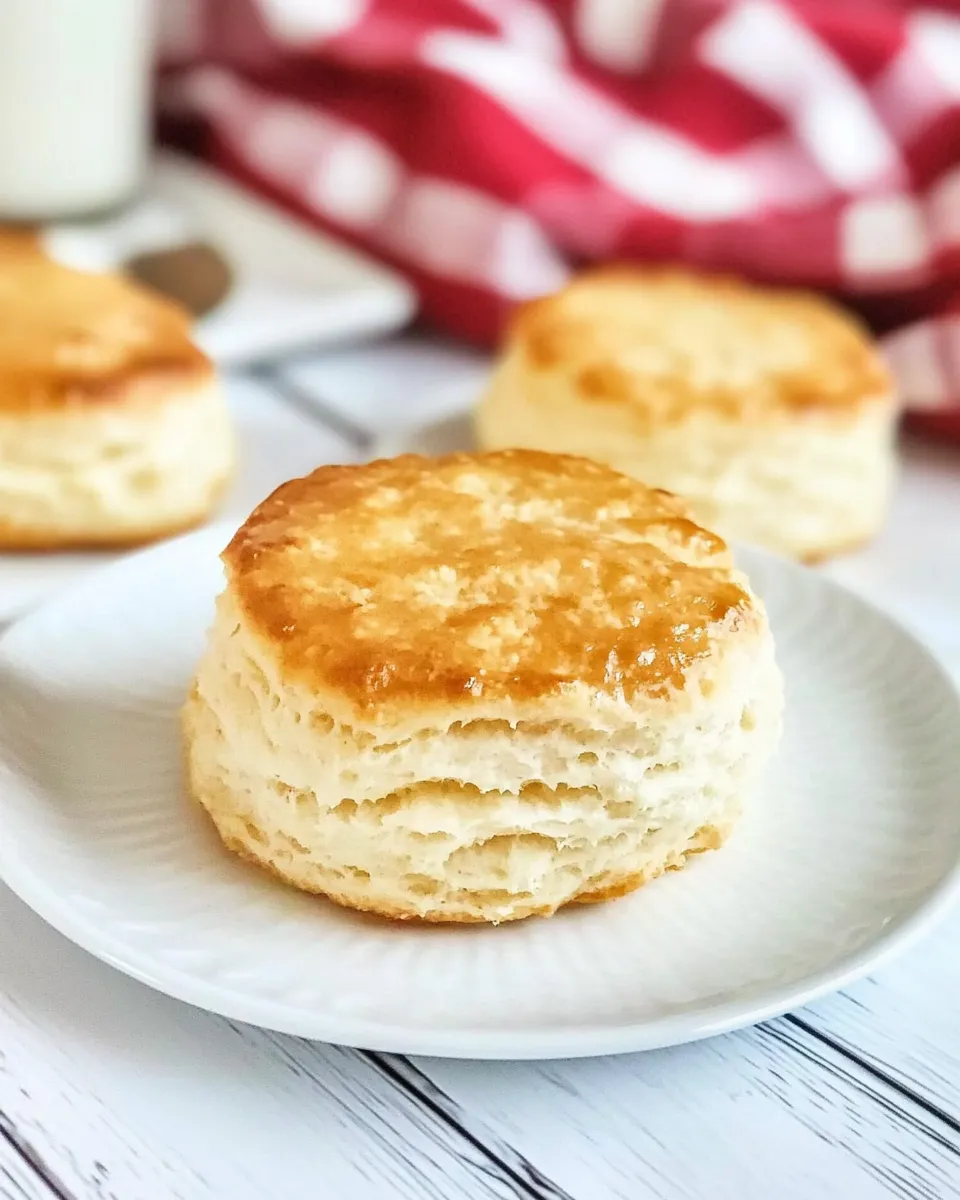
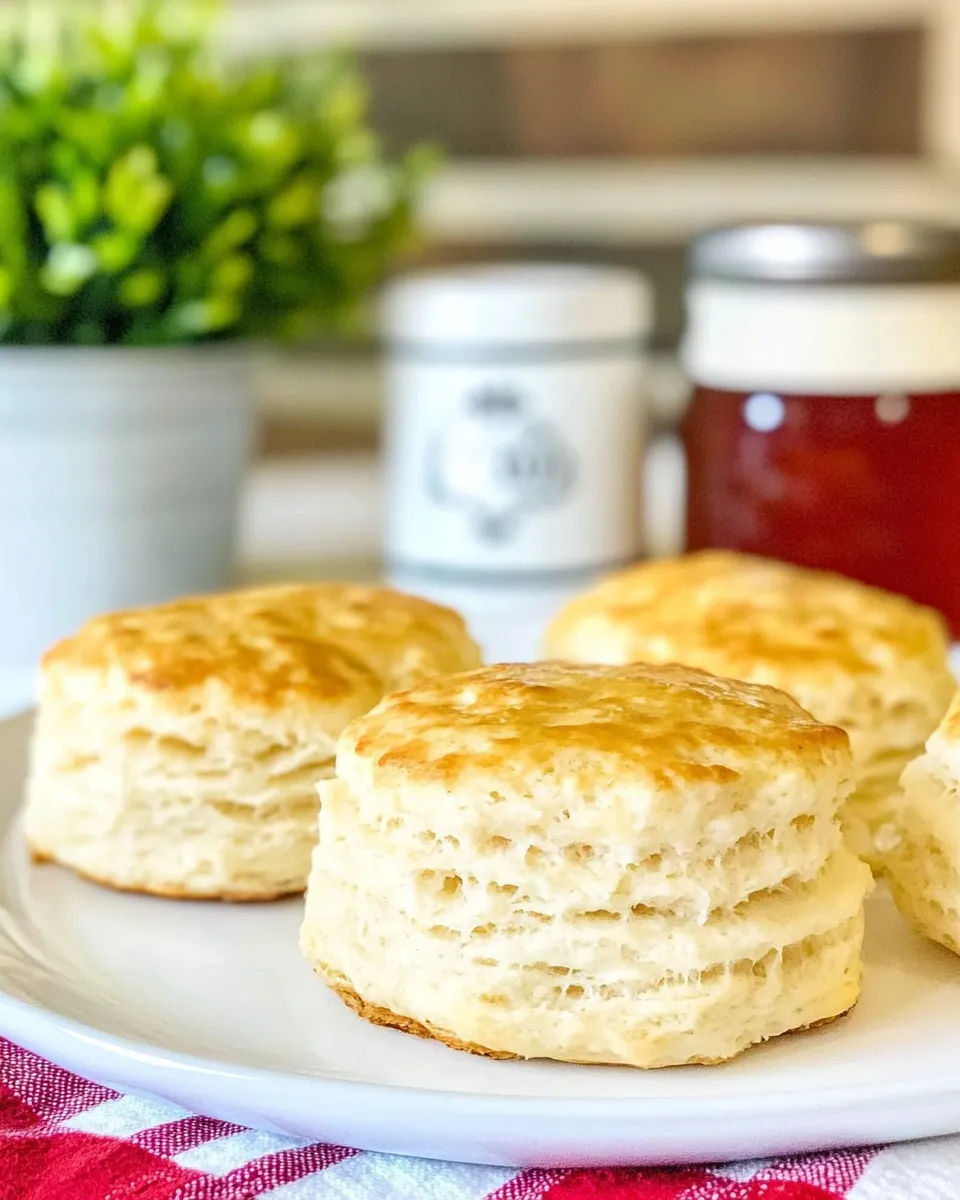
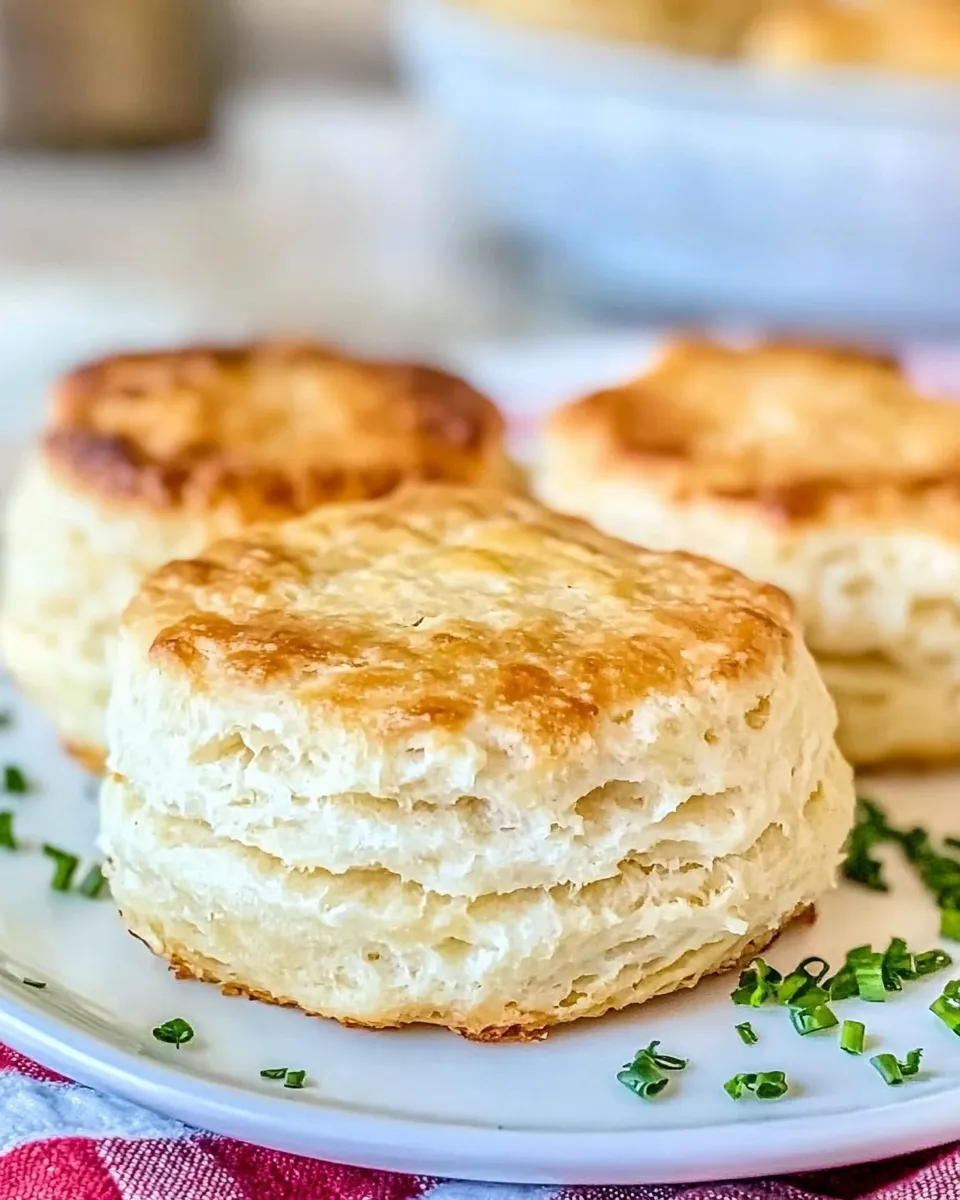
Ruby Slipper Buttermilk Biscuits
If you’ve ever found yourself dreaming of the perfect biscuit, look no further than these Ruby Slipper Buttermilk Biscuits. They’re fluffy, flaky, and bursting with flavor, making them an ideal companion for breakfast, brunch, or even dinner. The secret to their irresistible texture lies in the combination of cold butter and buttermilk, which work together to create a light, airy biscuit that melts in your mouth. Whether you enjoy them slathered in jam, served with gravy, or simply on their own, these biscuits are sure to become a staple in your kitchen.
Why Ruby Slipper Buttermilk Biscuits is Worth Your Time
Making Ruby Slipper Buttermilk Biscuits is a delightful culinary adventure. Not only are they easy to whip up, but they also require minimal ingredients, making them accessible for any home cook. The use of self-rising flour means you won’t have to fuss with measuring out baking powder and salt, simplifying the process even further. These biscuits are perfect for a leisurely weekend breakfast or as a last-minute addition to any meal. With just a little time and effort, you can create a batch that will have everyone asking for seconds.
Ingredient Checklist
- 2 lbs self-rising flour (approximately 9 cups) – The base for our fluffy biscuits.
- 2 sticks cold butter, grated – Adds richness and helps create layers.
- 2 cups buttermilk – Provides moisture and a tangy flavor.
Gear Checklist
- Mixing bowl – For combining the dry ingredients.
- Whisk – To ensure the flour is aerated.
- Grater – For grating the cold butter.
- Baking sheet – To bake the biscuits on.
- Parchment paper – For easy clean-up and to prevent sticking.
- Rolling pin – If you prefer a rolled biscuit.
- Cutting board – A clean surface for shaping.
Stepwise Method: Ruby Slipper Buttermilk Biscuits
Step 1: Preheat Your Oven
Preheat your oven to 450°F (232°C). A hot oven is essential for achieving those perfect, fluffy biscuits.
Step 2: Combine the Dry Ingredients
In a large mixing bowl, add the self-rising flour. Use a whisk to aerate the flour and remove any lumps, ensuring your biscuits will rise beautifully.
Step 3: Grate the Cold Butter
Grate the cold butter directly into the bowl of flour. This method helps to distribute the butter evenly throughout the mixture, creating those coveted flaky layers.
Step 4: Mix the Dry Ingredients
Using your hands or a pastry cutter, gently mix the grated butter into the flour until the mixture resembles coarse crumbs. Be careful not to overwork the dough; you want those little pieces of butter to remain visible.
Step 5: Add the Buttermilk
Make a well in the center of your flour mixture and pour in the buttermilk. Stir gently with a spatula or wooden spoon until just combined. The dough will be sticky – that’s a good thing!
Step 6: Turn Out the Dough
Flour your work surface lightly and turn the dough out onto it. With floured hands, gently pat the dough into a rectangle about 1 inch thick.
Step 7: Fold and Cut the Biscuits
Fold the dough over itself three times, giving it a few gentle pats in between to create layers. Then, using a biscuit cutter, cut out your biscuits. Avoid twisting the cutter; just press straight down to help them rise.
Step 8: Bake Your Biscuits
Place the cut biscuits on a baking sheet lined with parchment paper, leaving some space between each one. Bake in your preheated oven for 10-12 minutes, or until golden brown.
Step 9: Cool and Serve
Once baked, remove the biscuits from the oven and let them cool for a few minutes on a wire rack. Serve warm with your favorite toppings.
How to Make It Lighter
- Substitute half of the buttermilk with low-fat yogurt for a lighter option.
- Use less butter by reducing to 1 stick and replacing the missing fat with unsweetened applesauce.
- Incorporate whole wheat flour in place of some self-rising flour for added fiber.
Cook’s Notes
- For best results, ensure your butter is extremely cold. You can even freeze it for a bit before grating.
- Don’t overmix the dough; a few lumps are perfectly fine. Overworking leads to dense biscuits.
- Feel free to add herbs or cheese to the dough for a savory twist.
- These biscuits can be made ahead and frozen; just bake them straight from the freezer with a few extra minutes added to the bake time.
How to Store & Reheat
To store leftover Ruby Slipper Buttermilk Biscuits, place them in an airtight container at room temperature for up to 2 days. For longer storage, wrap them tightly in plastic wrap and freeze for up to 3 months. To reheat, place them in a preheated oven at 350°F (175°C) for about 10 minutes, or until warmed through.
Troubleshooting Q&A
Why are my biscuits not rising?
If your biscuits are not rising, it could be due to expired self-rising flour. Always check the expiration date, and make sure your oven is fully preheated before baking.
Why are my biscuits dense?
Dense biscuits are often a result of overworking the dough or using too much flour. Be gentle during mixing and measuring, and ensure you’re using the right technique for cutting the biscuits.
What can I do if my dough is too sticky?
If your dough is too sticky to handle, sprinkle a little more flour on your work surface and your hands. However, be cautious not to add too much, as it can affect the texture.
Can I make these biscuits ahead of time?
Absolutely! You can prepare the dough, cut the biscuits, and freeze them before baking. Just add a few extra minutes to the baking time when you’re ready to enjoy them.
More from the Kitchen
- Flaky Cheddar Chive Biscuits
- Herbed Garlic Butter Rolls
- Sweet Potato Biscuits with Maple Glaze
- Classic Southern Cornbread
That’s a Wrap
There you have it — the ultimate Ruby Slipper Buttermilk Biscuits recipe that will elevate your baking game. With a few simple ingredients and some easy steps, you can create a batch of warm, fluffy biscuits that will leave everyone at the table wanting more. So, gather your ingredients, roll up your sleeves, and get ready to savor the delightful taste of homemade biscuits. Enjoy them fresh out of the oven, or customize them with your favorite ingredients. Happy baking!
Ruby Slipper Buttermilk Biscuits
Ingredients
Equipment
Method
- Preheat your oven to 450°F (232°C).
- In a large mixing bowl, add the self-rising flour. Use a whisk to aerate the flour and remove any lumps.
- Grate the cold butter directly into the bowl of flour.
- Using your hands or a pastry cutter, gently mix the grated butter into the flour until it resembles coarse crumbs.
- Make a well in the center of your flour mixture and pour in the buttermilk. Stir gently until just combined.
- Flour your work surface lightly and turn the dough out onto it. Pat the dough into a rectangle about 1 inch thick.
- Fold the dough over itself three times and cut out your biscuits using a biscuit cutter.
- Place the cut biscuits on a baking sheet lined with parchment paper and bake for 10-12 minutes, or until golden brown.
- Remove the biscuits from the oven and let them cool for a few minutes on a wire rack. Serve warm.
Notes
- Ensure your butter is extremely cold for the best texture.
- Don’t overmix the dough to avoid dense biscuits.
- Add herbs or cheese for a savory twist.