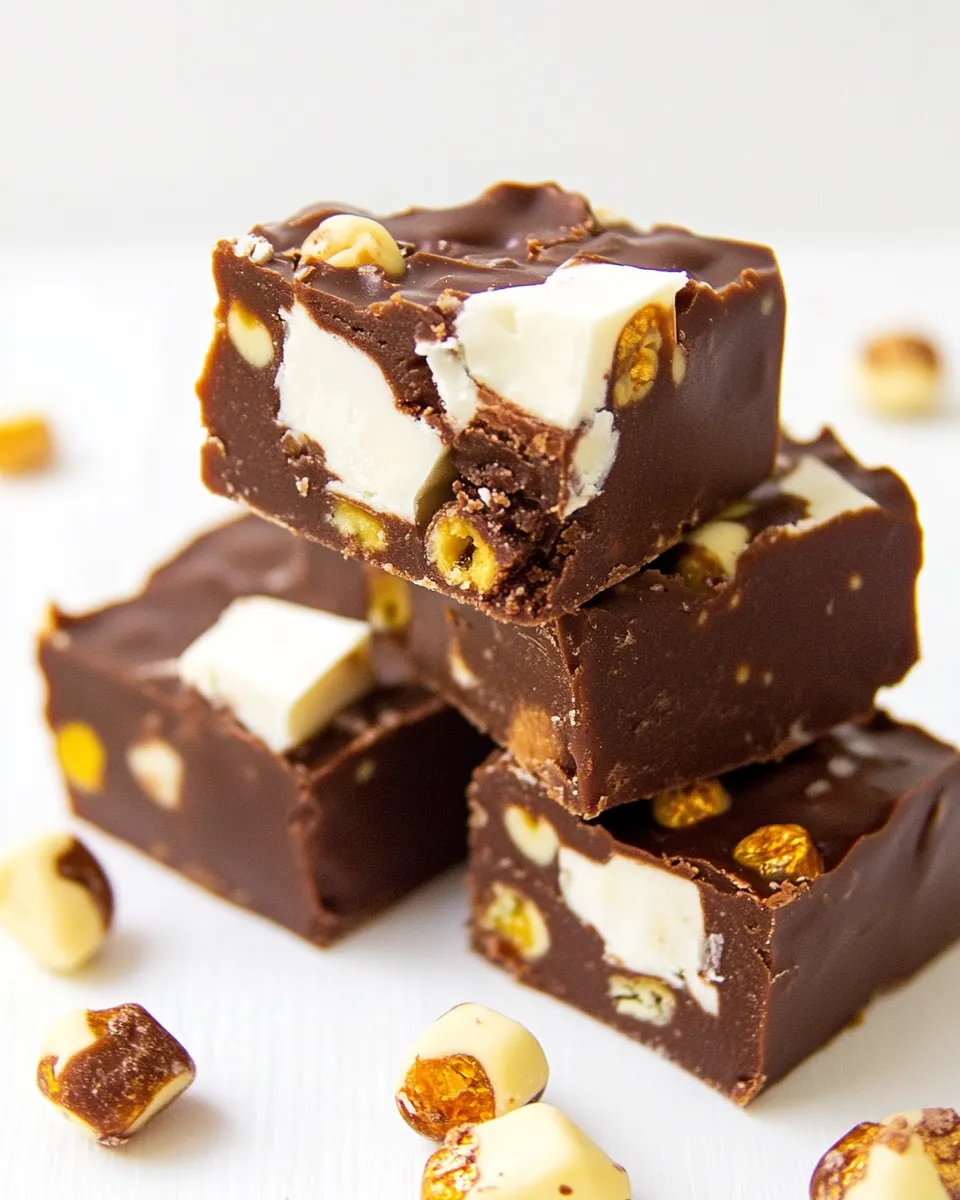
Rocky Road Fudge Recipe
If you’re looking for a sweet treat that combines creamy chocolate with a delightful crunch, look no further than this Rocky Road Fudge Recipe. It’s rich, indulgent, and incredibly easy to make. Perfect for sharing at gatherings or enjoying during a cozy night in, this fudge brings together the classic flavors of rocky road ice cream into a decadent fudge form. With just a handful of ingredients, you can whip up a batch that will leave everyone asking for seconds!
Why I Love This Recipe
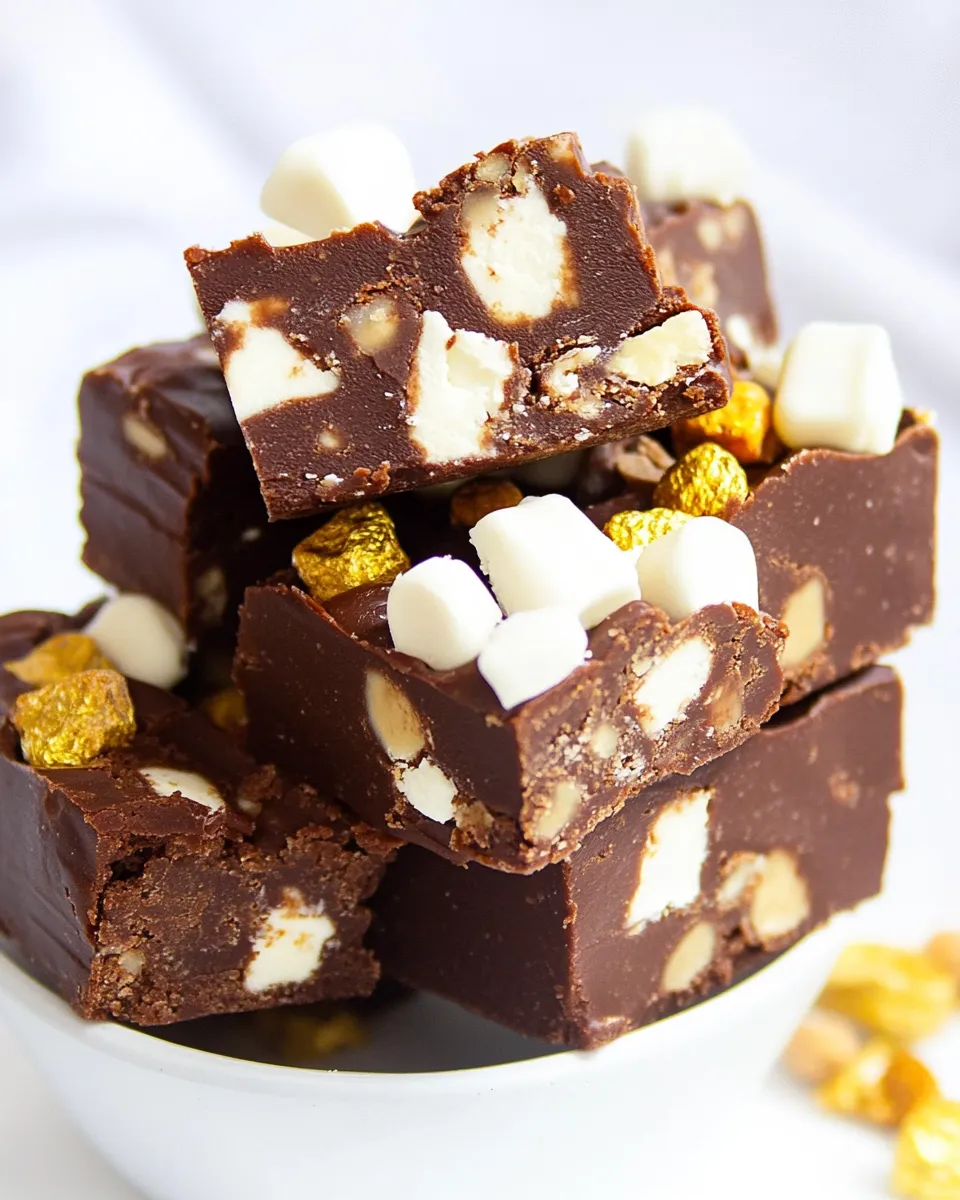
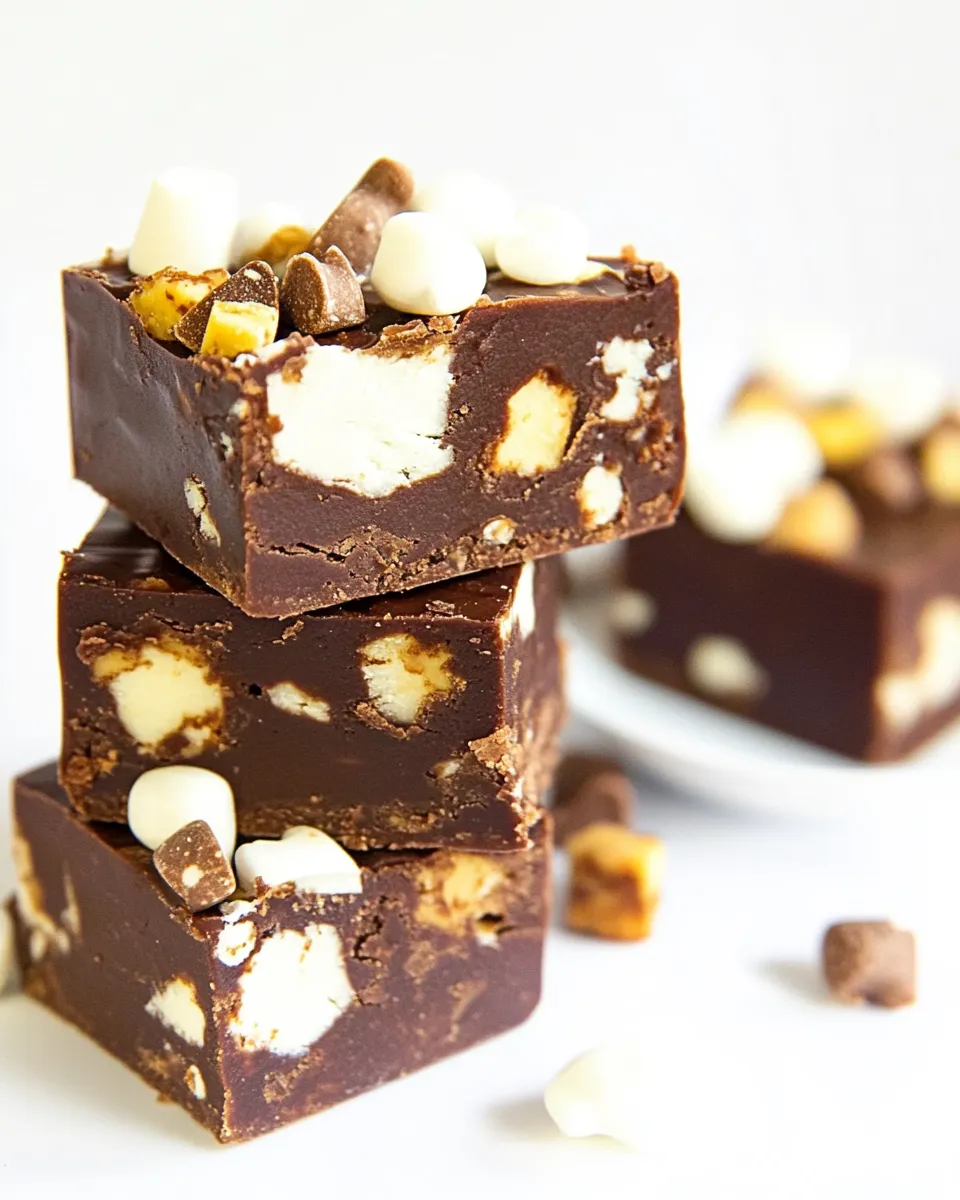
There’s something truly magical about the combination of chocolate, marshmallows, and nuts. This Rocky Road Fudge Recipe is a nostalgic nod to childhood treats, but it’s also a sophisticated dessert that appeals to all ages. The smoothness of the fudge contrasts beautifully with the chewy marshmallows and crunchy walnuts, creating an irresistible texture. Plus, it comes together in no time, making it a go-to recipe for last-minute dessert needs or when you simply crave something sweet.
What to Buy
- 12 oz. semi-sweet chocolate chips: A classic choice for the base of your fudge, providing rich flavor and smooth texture.
- 14 oz. sweetened condensed milk: This is essential for creating that creamy, fudgy consistency.
- 2 tablespoons butter: Adds richness and helps to enhance the flavor of the chocolate.
- 1-1/4 cups mini marshmallows: The star of the show, giving that iconic rocky road experience.
- 1-1/4 cups chopped walnuts: For a crunchy contrast, these nuts pair perfectly with the sweetness of the fudge.
- 1/4 cup mini marshmallows: These are used for topping, adding an extra fluffiness to your fudge.
- 2 tablespoons chopped walnuts: To sprinkle on top for added texture and presentation.
Tools of the Trade
- Medium saucepan: For melting the chocolate and mixing the ingredients together.
- Wooden spoon or spatula: Essential for stirring the fudge mixture until smooth.
- 9×9-inch baking pan: The perfect size for setting your fudge, allowing for thick, indulgent pieces.
- Parchment paper: Helps with easy removal of the fudge from the pan and makes cleanup a breeze.
- Measuring cups and spoons: To ensure you get the perfect balance of ingredients.
Method: Rocky Road Fudge Recipe
Step 1: Prepare Your Pan
Begin by lining a 9×9-inch baking pan with parchment paper, leaving some overhang on the sides. This will make it easier to lift the fudge out once it sets.
Step 2: Melt the Chocolate Mixture
In a medium saucepan over low heat, combine the 12 oz. of semi-sweet chocolate chips, 14 oz. of sweetened condensed milk, and 2 tablespoons of butter. Stir continuously until the chocolate is fully melted and the mixture is smooth. Be careful not to let it burn; low heat is key!
Step 3: Mix in the Goodies
Once your chocolate mixture is silky smooth, remove it from the heat. Gently fold in 1-1/4 cups of mini marshmallows and 1-1/4 cups of chopped walnuts until evenly distributed throughout the fudge mixture.
Step 4: Pour and Spread
Pour the fudge mixture into the prepared baking pan, using a spatula to spread it evenly. Tap the pan gently on the counter to help settle the fudge.
Step 5: Add the Toppings
Sprinkle the remaining 1/4 cup of mini marshmallows and 2 tablespoons of chopped walnuts on top of the fudge. Press them down lightly to ensure they stick as the fudge sets.
Step 6: Chill and Set
Place the fudge in the refrigerator for at least 2 hours, or until it’s firm to the touch. Once set, lift the fudge out of the pan using the parchment paper overhang.
Step 7: Cut and Serve
Using a sharp knife, cut the fudge into squares or rectangles. Serve immediately or store for later enjoyment!
Substitutions by Category
- Chocolate: You can substitute with milk chocolate chips for a sweeter fudge or dark chocolate for a richer flavor.
- Nuts: If you’re not a fan of walnuts, feel free to use pecans or almonds instead.
- Marshmallows: Try using flavored marshmallows for a fun twist, such as strawberry or mint.
- Butter: Coconut oil can be used as a dairy-free alternative to butter.
Avoid These Traps
- Don’t rush the melting process; melting chocolate too quickly can cause it to seize.
- Avoid using stale nuts, as they can ruin the flavor of your fudge.
- Be cautious not to overmix the fudge once you add the marshmallows and nuts, as you want to keep their textures intact.
- Don’t skip the chilling step; letting the fudge set properly is crucial for the right texture.
Storage & Reheat Guide
Store the Rocky Road fudge in an airtight container at room temperature for up to a week. If you want to keep it fresh for longer, you can refrigerate it for up to two weeks. If you prefer your fudge slightly warm, you can microwave it for a few seconds—just be careful not to melt it completely!
Rocky Road Fudge Recipe Q&A
Can I make Rocky Road fudge without nuts?
Absolutely! You can simply omit the nuts or replace them with additional marshmallows for a nut-free version.
How do I know when the fudge is set?
The fudge is set when it feels firm to the touch and holds its shape when you cut into it. This usually takes about 2 hours in the refrigerator.
Can I freeze Rocky Road fudge?
Yes, you can freeze the fudge! Wrap it tightly in plastic wrap and place it in an airtight container. It will keep well in the freezer for up to 3 months.
What’s the best way to cut the fudge into squares?
For clean cuts, use a sharp knife and warm it under hot water before cutting. Wipe the knife clean between cuts to maintain nice edges.
Explore More
Save & Share
If you loved making this Rocky Road Fudge Recipe, don’t forget to share it with friends and family! It’s the kind of treat that brings everyone together and ignites joyful memories. Snap a picture of your creation and share it on social media, tagging your favorite food blogger or using a fun hashtag. You never know who might get inspired to try this delicious fudge!
The Rocky Road Fudge Recipe is a delightful blend of flavors and textures that can brighten any day. Whether you’re making it for yourself or sharing it with others, this recipe is sure to impress. With its simple steps and easily available ingredients, it’s a fantastic addition to your dessert repertoire. Enjoy every sweet, chocolatey bite!
Rocky Road Fudge Recipe
Ingredients
Equipment
Method
- Begin by lining a 9x9-inch baking pan with parchment paper, leaving some overhang on the sides.
- In a medium saucepan over low heat, combine the semi-sweet chocolate chips, sweetened condensed milk, and butter. Stir continuously until smooth.
- Once the chocolate mixture is silky smooth, remove from heat and gently fold in the mini marshmallows and chopped walnuts.
- Pour the fudge mixture into the prepared baking pan and spread it evenly. Tap the pan gently on the counter.
- Sprinkle the remaining mini marshmallows and chopped walnuts on top, pressing them down lightly.
- Place the fudge in the refrigerator for at least 2 hours, or until firm to the touch.
- Using a sharp knife, cut the fudge into squares or rectangles and serve immediately or store for later.
Notes
- Store the fudge in an airtight container at room temperature for up to a week.
- You can freeze the fudge for up to 3 months; wrap tightly in plastic wrap.
- For clean cuts, warm a knife under hot water before slicing.