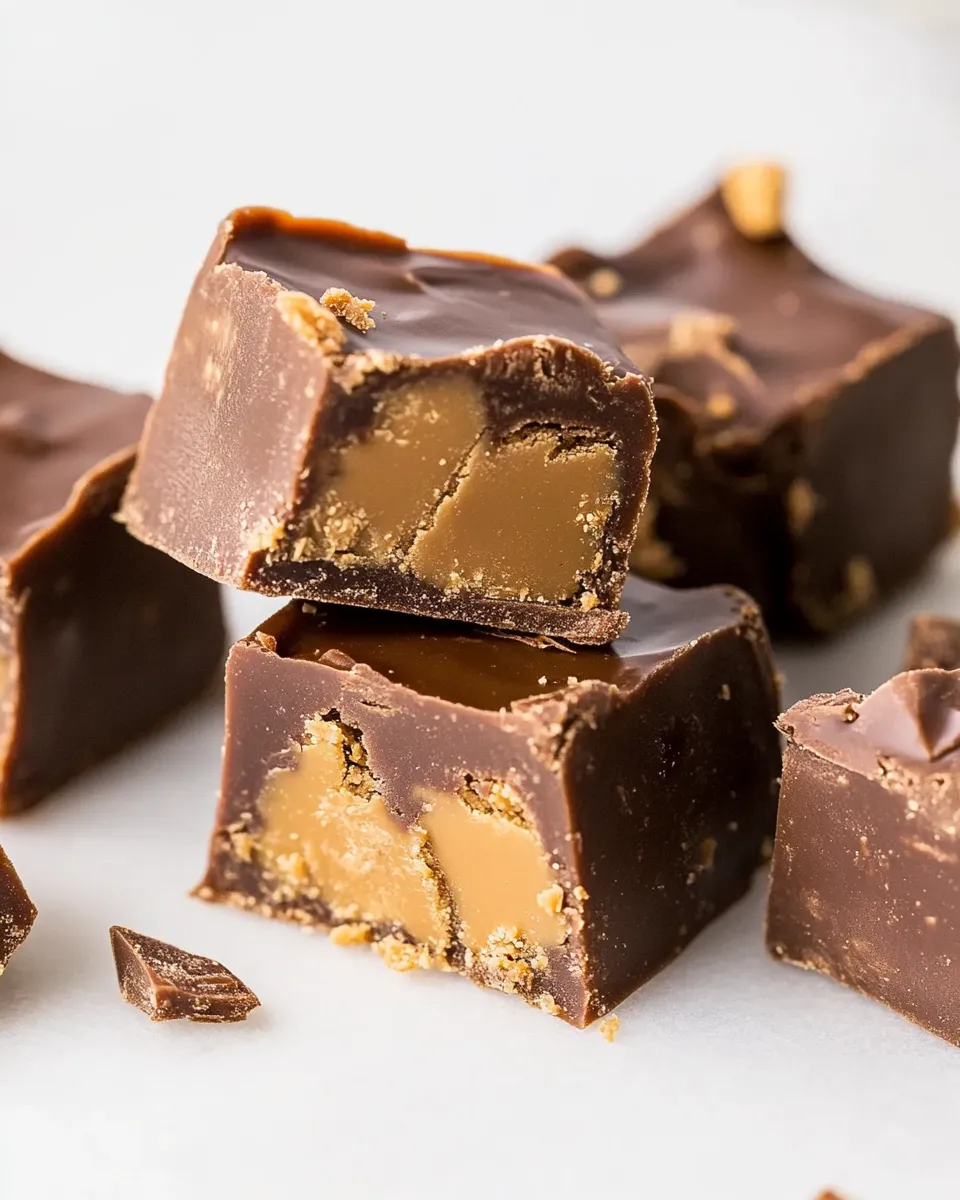
Reeses Peanut Butter Fudge
Indulging in a sweet treat is always a delicious way to brighten your day, and there’s something particularly special about Reeses Peanut Butter Fudge. This rich, creamy, and utterly irresistible fudge is a perfect blend of chocolate and peanut butter that makes for an extraordinary dessert or snack. Whether you’re hosting a gathering, looking for a sweet gift, or just treating yourself, this fudge is sure to impress. With just a handful of simple ingredients, you can create a fudgy delight that’s reminiscent of your favorite candy bar. Let’s dive into this fabulous recipe that’s easy to make and even easier to enjoy!
What Sets This Recipe Apart
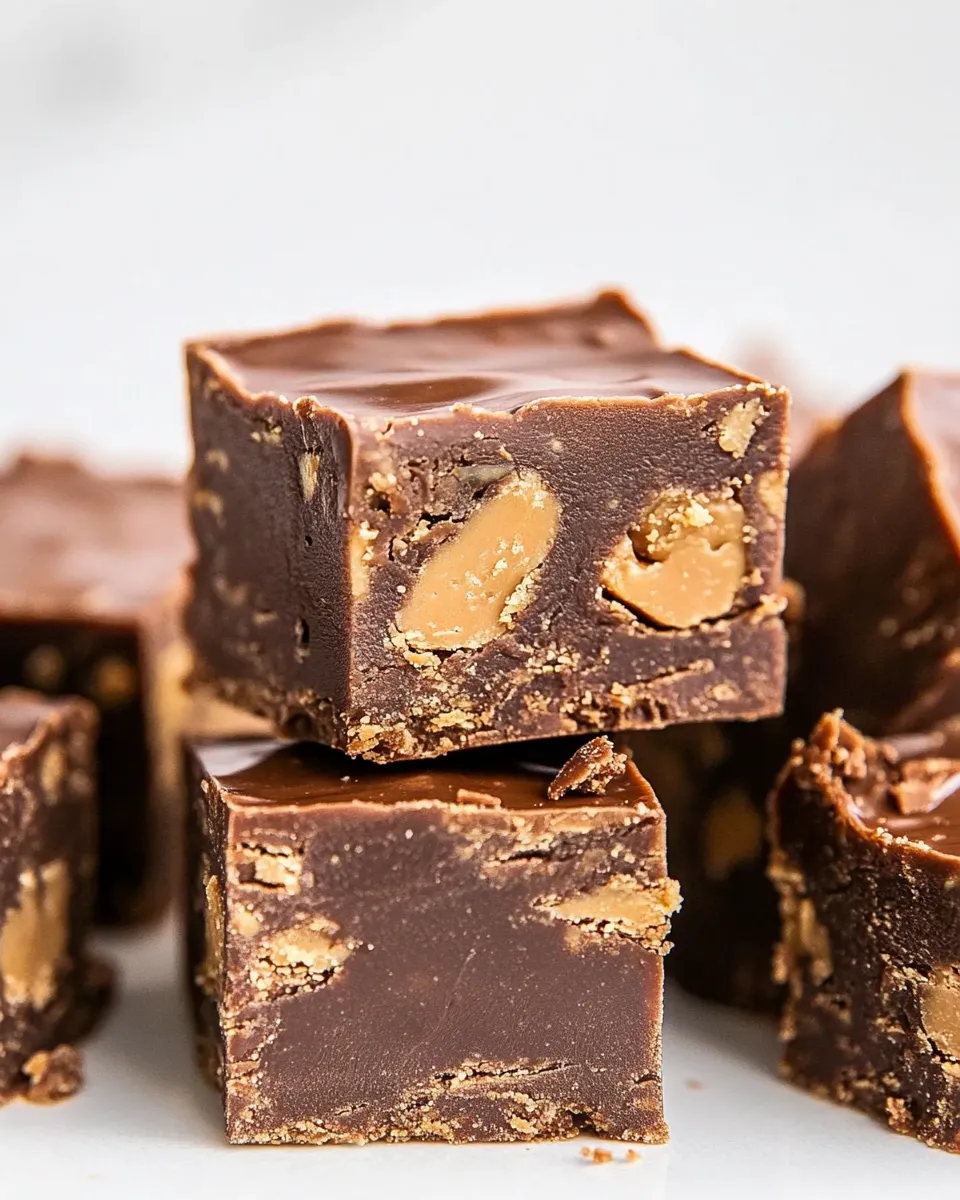
What makes this Reeses Peanut Butter Fudge stand out from the rest is its simplicity and the use of full-size Reese’s peanut butter cups. By incorporating these chocolatey, peanut-buttery treats directly into the fudge, each bite is packed with flavor. The combination of semi-sweet chocolate chips and creamy peanut butter creates a luscious texture, making it a perfect dessert for chocolate and peanut butter lovers alike. Plus, it comes together in no time, making it an ideal choice for both novice and experienced bakers.
What You’ll Gather
To whip up this delightful Reeses Peanut Butter Fudge, you’ll need the following ingredients:
- 40 full-size Reese’s peanut butter cups (divided)
- 3 cups semi-sweet chocolate chips
- 1 can (14-ounce) sweetened condensed milk
- 4 tablespoons heavy cream
Make sure to have everything ready before you start, as this will help streamline the process and ensure that your fudge turns out perfectly.
Recommended Tools
Gather these handy tools to make your fudge-making experience smooth and enjoyable:
- 9×9-inch baking dish: Ideal for setting the fudge.
- Parchment paper: To line the baking dish for easy removal.
- Microwave-safe bowl: For melting the chocolate and mixing the ingredients.
- Spatula: Useful for spreading the fudge evenly in the dish.
- Knife: For cutting the fudge into squares once cooled.
Stepwise Method: Reeses Peanut Butter Fudge

Step 1: Prepare Your Baking Dish
Line a 9×9-inch baking dish with parchment paper, allowing some overhang for easy removal later. This simple step ensures that your fudge comes out cleanly and retains its shape.
Step 2: Melt the Chocolate Mixture
In a microwave-safe bowl, combine the semi-sweet chocolate chips, sweetened condensed milk, and heavy cream. Microwave in 30-second intervals, stirring in between, until the mixture is fully melted and smooth.
Step 3: Incorporate Reese’s Peanut Butter Cups
Chop 20 of the Reese’s peanut butter cups into small pieces. Once your chocolate mixture is melted, fold in the chopped Reese’s until evenly distributed.
Step 4: Spread the Mixture
Pour the chocolate and peanut butter mixture into the prepared baking dish. Use a spatula to spread it evenly, ensuring that it reaches all corners of the dish.
Step 5: Add the Topping
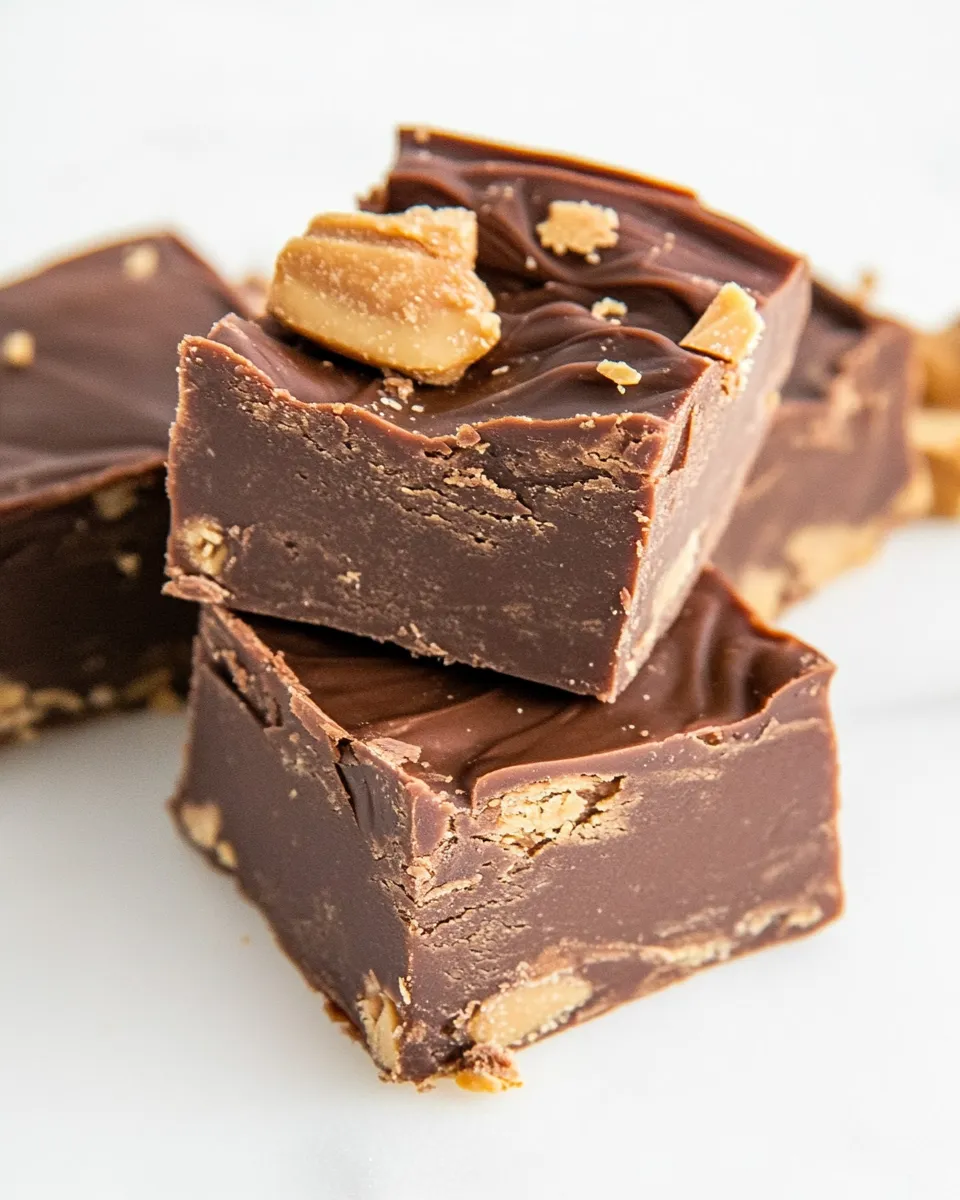
Chop the remaining 20 Reese’s peanut butter cups and sprinkle them generously over the top of the fudge. Gently press them into the surface to ensure they adhere.
Step 6: Chill the Fudge
Place the baking dish in the refrigerator for at least 2 hours or until the fudge is completely set. This step is crucial for achieving the perfect texture.
Step 7: Cut and Serve
Once the fudge is set, use the parchment overhang to lift it out of the dish. Place it on a cutting board and slice it into squares. Your Reeses Peanut Butter Fudge is now ready to be enjoyed!
No-Store Runs Needed
You might be wondering if you have everything you need to make this fudge without a last-minute trip to the store. Here’s a quick checklist:
- Reese’s peanut butter cups – check your pantry or local store.
- Semi-sweet chocolate chips – a staple for many bakers.
- Sweetened condensed milk – often found in most grocery stores.
- Heavy cream – if you have milk, you might already be set!
With these ingredients on hand, you’re just a few steps away from enjoying a delightful treat.
Troubleshooting Tips
Even the best bakers encounter a few hiccups along the way. Here are some tips to help you along:
- If your fudge is too soft, it may need extra chilling time. Return it to the refrigerator and let it set longer.
- For a smoother texture, ensure you melt the chocolate and cream completely, stirring well to avoid lumps.
- Chopping the Reese’s into smaller pieces helps them integrate better into the fudge.
- If you find the fudge too sweet, consider using dark chocolate chips in place of semi-sweet for a more balanced flavor.
Cooling, Storing & Rewarming
To keep your Reeses Peanut Butter Fudge fresh and delicious:
Store the fudge in an airtight container in the refrigerator for up to two weeks. If you want to keep it longer, you can freeze it for up to three months. Just make sure to wrap it well in plastic wrap before placing it in a freezer-safe container. When you’re ready to enjoy, let it thaw in the refrigerator for a few hours. You can also rewarm a piece in the microwave for a few seconds if you prefer it slightly melty!
Your Top Questions
Can I use milk chocolate instead of semi-sweet chocolate?
Absolutely! Using milk chocolate will give your fudge a sweeter flavor, while semi-sweet chocolate provides a nice balance with the peanut butter.
Can I add nuts or other mix-ins to the fudge?
Yes! Feel free to add chopped nuts, a sprinkle of sea salt, or even a swirl of caramel for an extra flavor boost.
How can I make this recipe dairy-free?
You can substitute the heavy cream with a dairy-free alternative, such as coconut cream, and use dairy-free chocolate chips for a delicious dairy-free version of Reeses Peanut Butter Fudge.
Is it necessary to chill the fudge before cutting?
Yes, chilling the fudge is essential to achieve the right texture. It allows the fudge to set properly, making it easier to cut into clean squares.
Reader Favorites
If you enjoyed this recipe, you might also love these reader favorites:
- Chocolate Chip Cookie Dough Bites
- Salted Caramel Brownies
- Peanut Butter Banana Oatmeal Cookies
- Classic No-Bake Cheesecake
Make It Tonight
There’s no better time than now to whip up a batch of Reeses Peanut Butter Fudge. Its simple ingredients and straightforward steps make it a delightful choice for a last-minute treat or a planned dessert for your next gathering. Grab your ingredients, follow the steps, and prepare to indulge in a piece of fudge that’s as satisfying as it is delicious. Your taste buds will thank you!
With its rich flavor and creamy texture, Reeses Peanut Butter Fudge is sure to become a favorite in your home. So why wait? Get started today and enjoy a slice of this chocolate-peanut butter paradise!
Reeses Peanut Butter Fudge
Ingredients
Equipment
Method
- Line a 9x9-inch baking dish with parchment paper, allowing some overhang for easy removal later.
- In a microwave-safe bowl, combine the semi-sweet chocolate chips, sweetened condensed milk, and heavy cream. Microwave in 30-second intervals, stirring in between, until the mixture is fully melted and smooth.
- Chop 20 of the Reese's peanut butter cups into small pieces. Once your chocolate mixture is melted, fold in the chopped Reese's until evenly distributed.
- Pour the chocolate and peanut butter mixture into the prepared baking dish. Use a spatula to spread it evenly, ensuring that it reaches all corners of the dish.
- Chop the remaining 20 Reese's peanut butter cups and sprinkle them generously over the top of the fudge. Gently press them into the surface to ensure they adhere.
- Place the baking dish in the refrigerator for at least 2 hours or until the fudge is completely set.
- Once the fudge is set, use the parchment overhang to lift it out of the dish. Place it on a cutting board and slice it into squares.
Notes
- Store the fudge in an airtight container in the refrigerator for up to two weeks.
- Freeze it for up to three months if you want to keep it longer.
- Let it thaw in the refrigerator for a few hours before serving.