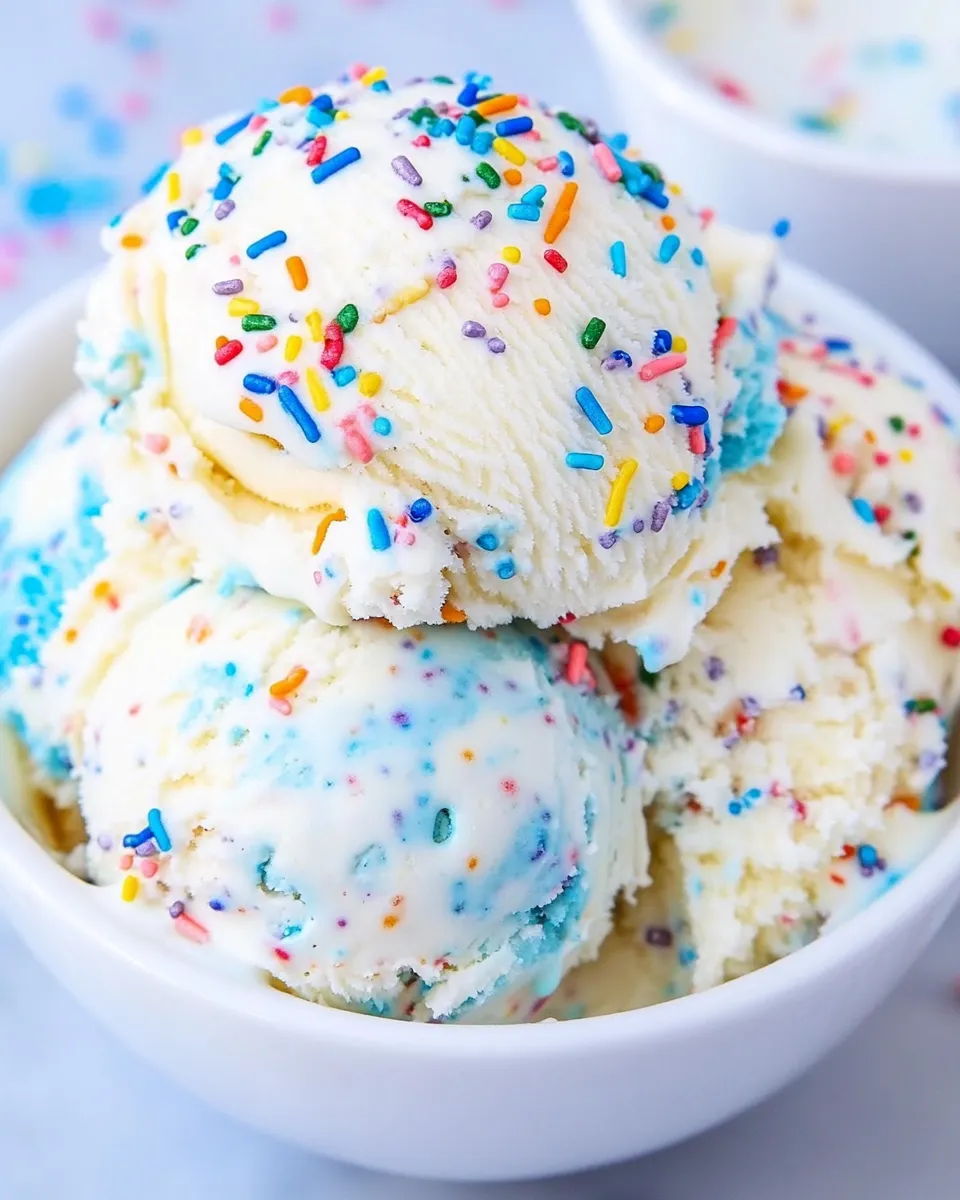
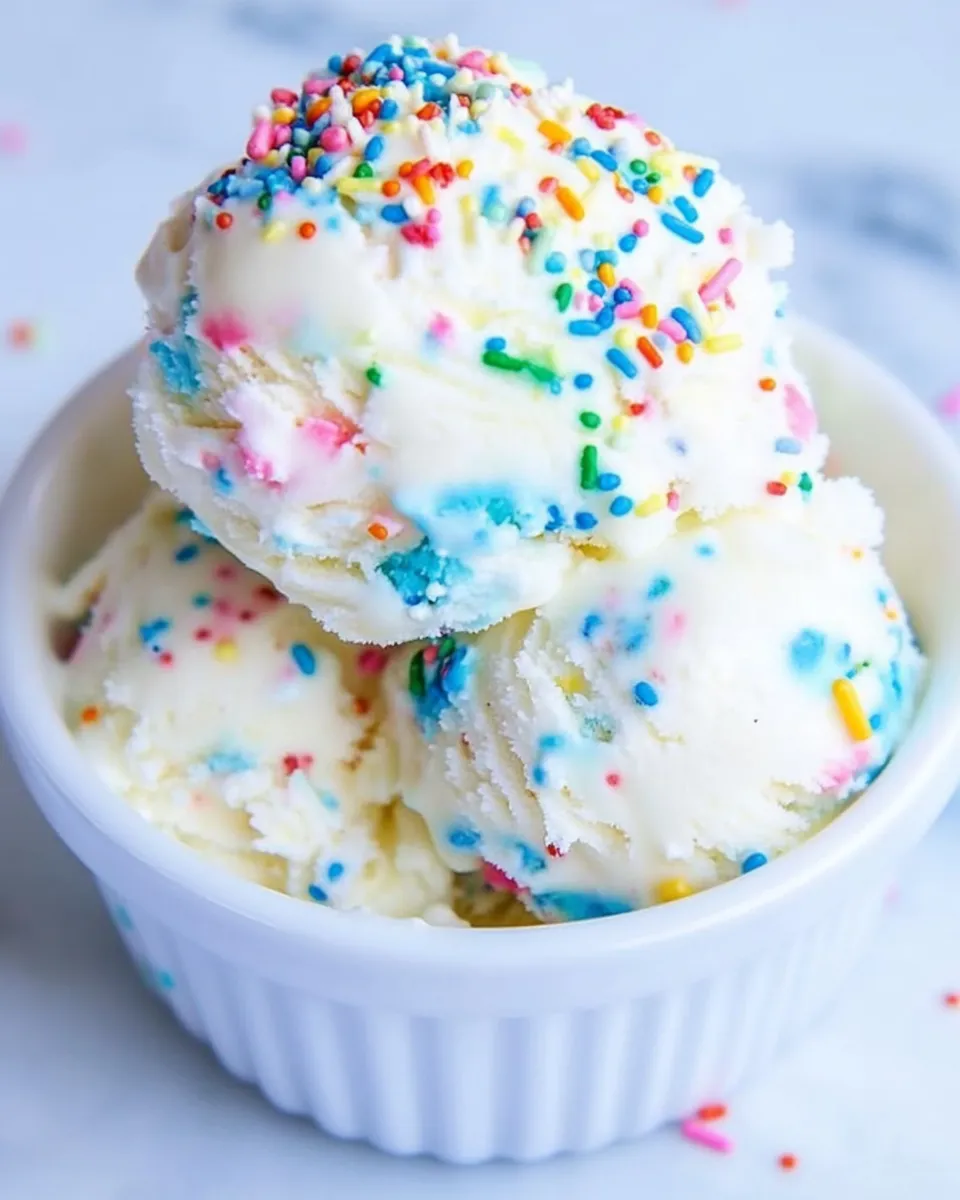
No-Churn Birthday Cake Ice Cream
There’s something incredibly magical about birthday cake, isn’t there? The sweet aroma, the vibrant colors, and of course, the sprinkles! Now, what if I told you that you could transform that birthday cake experience into a deliciously creamy ice cream without the hassle of an ice cream maker? Yes, you can! This No-Churn Birthday Cake Ice Cream is not only easy to make but also bursting with flavor. It’s the perfect treat for any birthday celebration or just a fun afternoon at home. So, grab your ingredients and let’s dive into this delightful recipe that will surely put a smile on your face!
Why I Love This Recipe
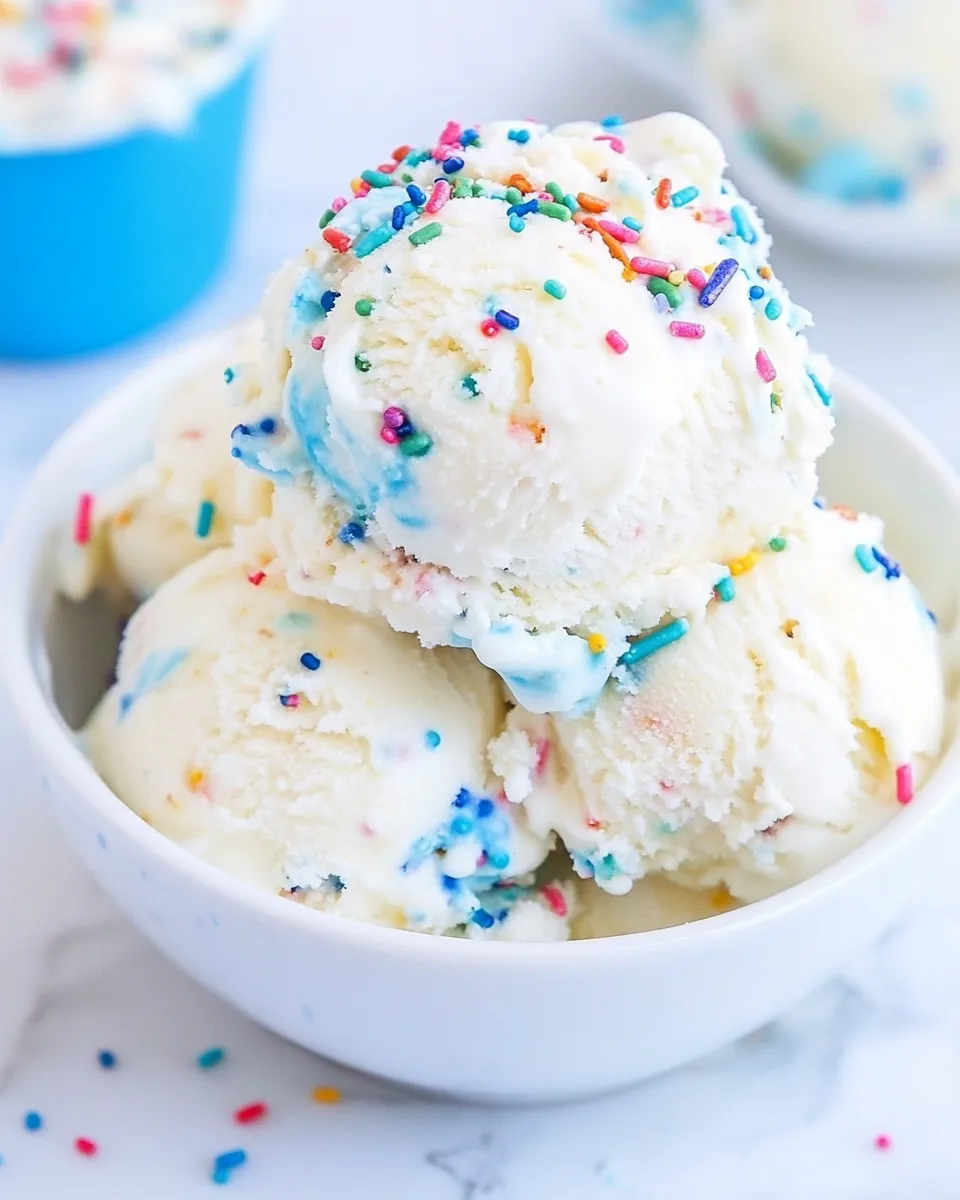
This No-Churn Birthday Cake Ice Cream is a celebration in a bowl. It’s creamy, rich, and filled with all the fun elements of a birthday cake, like sweet frosting and colorful sprinkles. What I love most about this recipe is its simplicity. You don’t need any fancy equipment, just a mixing bowl and a whisk. Plus, it’s incredibly versatile! You can customize it with your favorite cake flavors or add in different mix-ins. It’s a surefire way to make any day feel like a special occasion.
Shopping List
- 2 cups heavy whipping cream (chilled)
- 14 ounces sweetened condensed milk
- ¾ cup granulated sugar
- 1 tub blue frosting
- ¾ cup birthday sprinkles
Cook’s Kit
- Mixing bowl – A large bowl for combining all the ingredients.
- Whisk – To whip the cream into soft peaks.
- Rubber spatula – For folding in the condensed milk and frosting.
- Freezer-safe container – To store your ice cream while it chills.
Directions: No-Churn Birthday Cake Ice Cream
Step 1: Whip the Cream
Begin by pouring the cold heavy whipping cream into a mixing bowl. Using a whisk, whip the cream until it forms soft peaks. This process usually takes about 3-5 minutes. You want the cream to be fluffy but not too stiff.
Step 2: Mix the Sweet Ingredients
In a separate bowl, combine the sweetened condensed milk and granulated sugar. Mix until the sugar is fully dissolved. The sweetened condensed milk provides a rich base for your ice cream, while the sugar adds just the right amount of sweetness.
Step 3: Combine the Mixtures
Gently fold the whipped cream into the sweetened condensed milk mixture using a rubber spatula. Be careful not to deflate the whipped cream; you want to maintain that airy texture for your ice cream.
Step 4: Add the Frosting and Sprinkles
Once the mixtures are combined, add in the blue frosting and birthday sprinkles. Fold them into the ice cream mixture until they’re evenly distributed. This step is where the fun begins—watch as your mixture transforms into a colorful delight!
Step 5: Freeze
Transfer the ice cream mixture into a freezer-safe container. Smooth the top with a spatula, and seal it tightly. Place it in the freezer for at least 6 hours or overnight for the best results.
Quick Replacement Ideas
- Use heavy cream instead of heavy whipping cream for a similar texture.
- Switch out the blue frosting for any color or flavor you prefer.
- Use a sugar substitute if you want to cut down on sugar.
- Try different sprinkles like chocolate chips or crushed cookies for a unique twist.
Easy-to-Miss Gotchas
When making this No-Churn Birthday Cake Ice Cream, there are a few things to keep in mind:
- Ensure that your heavy whipping cream is very cold for better whipping.
- Mix gently when combining the whipped cream and condensed milk to keep the mixture light and airy.
- Allow enough time for the ice cream to freeze thoroughly before serving; impatience can lead to a soupy treat.
Keep It Fresh: Storage Guide
Your No-Churn Birthday Cake Ice Cream can be stored in the freezer for up to two weeks. Make sure to keep it in an airtight container to prevent freezer burn. If you notice any ice crystals forming on the surface, just give it a good stir before serving to bring back that creamy texture.
Common Qs About No-Churn Birthday Cake Ice Cream
Can I make this ice cream dairy-free?
Yes! You can use coconut cream or a dairy-free whipped topping in place of heavy whipping cream. Just ensure that the sweetened condensed milk you use is also dairy-free.
How can I make this recipe lower in sugar?
Consider using a sugar substitute or reducing the amount of granulated sugar. You can also opt for a sugar-free frosting to cut down on the overall sugar content.
What if I don’t have blue frosting?
No worries! You can use any color of frosting you like. Just keep in mind that different colors may alter the visual appeal of your ice cream.
Can I add other flavors to this ice cream?
Absolutely! Feel free to add in your favorite extracts, like vanilla or almond, or mix in things like crushed cookies, chocolate chips, or fruit for a unique twist on this classic treat.
Healthy-ish Favorites
Ready, Set, Cook
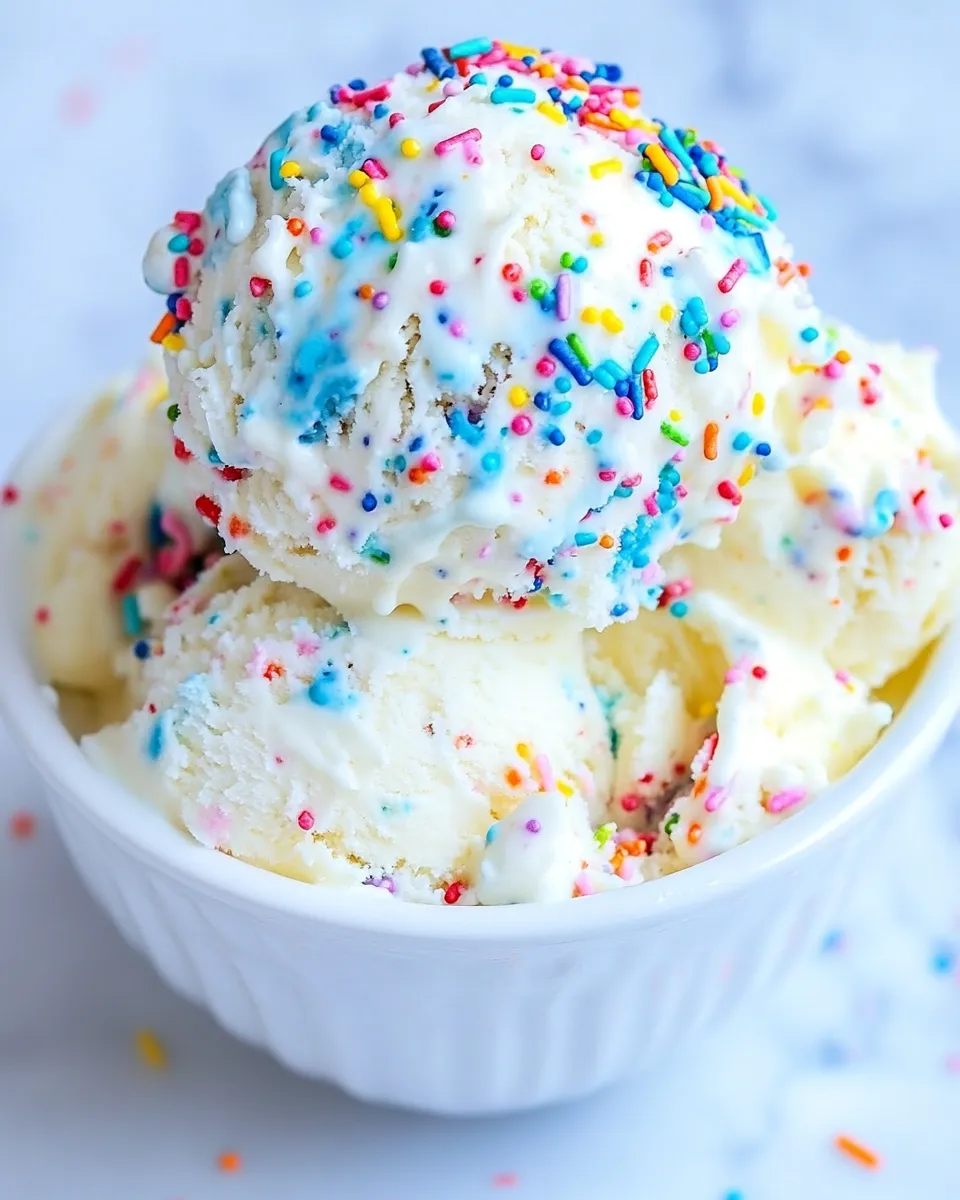
This No-Churn Birthday Cake Ice Cream is not just a delight to eat; it’s also a joy to make. Whether you’re celebrating a special occasion or simply treating yourself on a sunny afternoon, this ice cream is bound to bring happiness to your day. So gather your ingredients, unleash your inner ice cream maker, and enjoy a scoop (or two) of this dreamy dessert. It’s the perfect way to celebrate life’s little moments, any day of the year. Happy ice cream making!
No-Churn Birthday Cake Ice Cream
Ingredients
Equipment
Method
- Begin by pouring the cold heavy whipping cream into a mixing bowl. Using a whisk, whip the cream until it forms soft peaks. This process usually takes about 3-5 minutes.
- In a separate bowl, combine the sweetened condensed milk and granulated sugar. Mix until the sugar is fully dissolved.
- Gently fold the whipped cream into the sweetened condensed milk mixture using a rubber spatula.
- Once the mixtures are combined, add in the blue frosting and birthday sprinkles. Fold them into the ice cream mixture until they're evenly distributed.
- Transfer the ice cream mixture into a freezer-safe container. Smooth the top with a spatula, and seal it tightly. Place it in the freezer for at least 6 hours or overnight for the best results.
Notes
- Ensure your heavy whipping cream is very cold for better whipping.
- Mix gently to keep the mixture light and airy.
- Allow enough time for the ice cream to freeze thoroughly before serving.