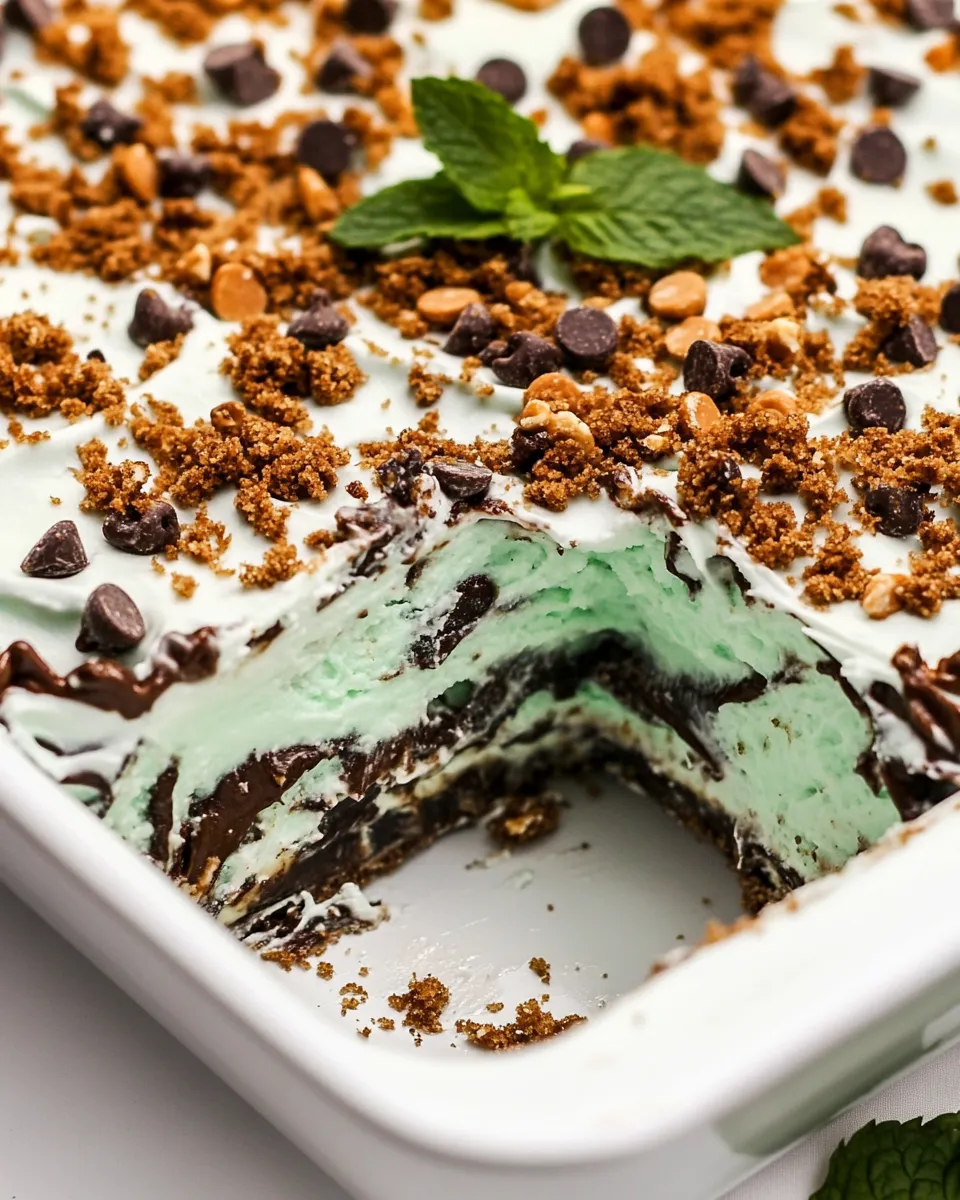
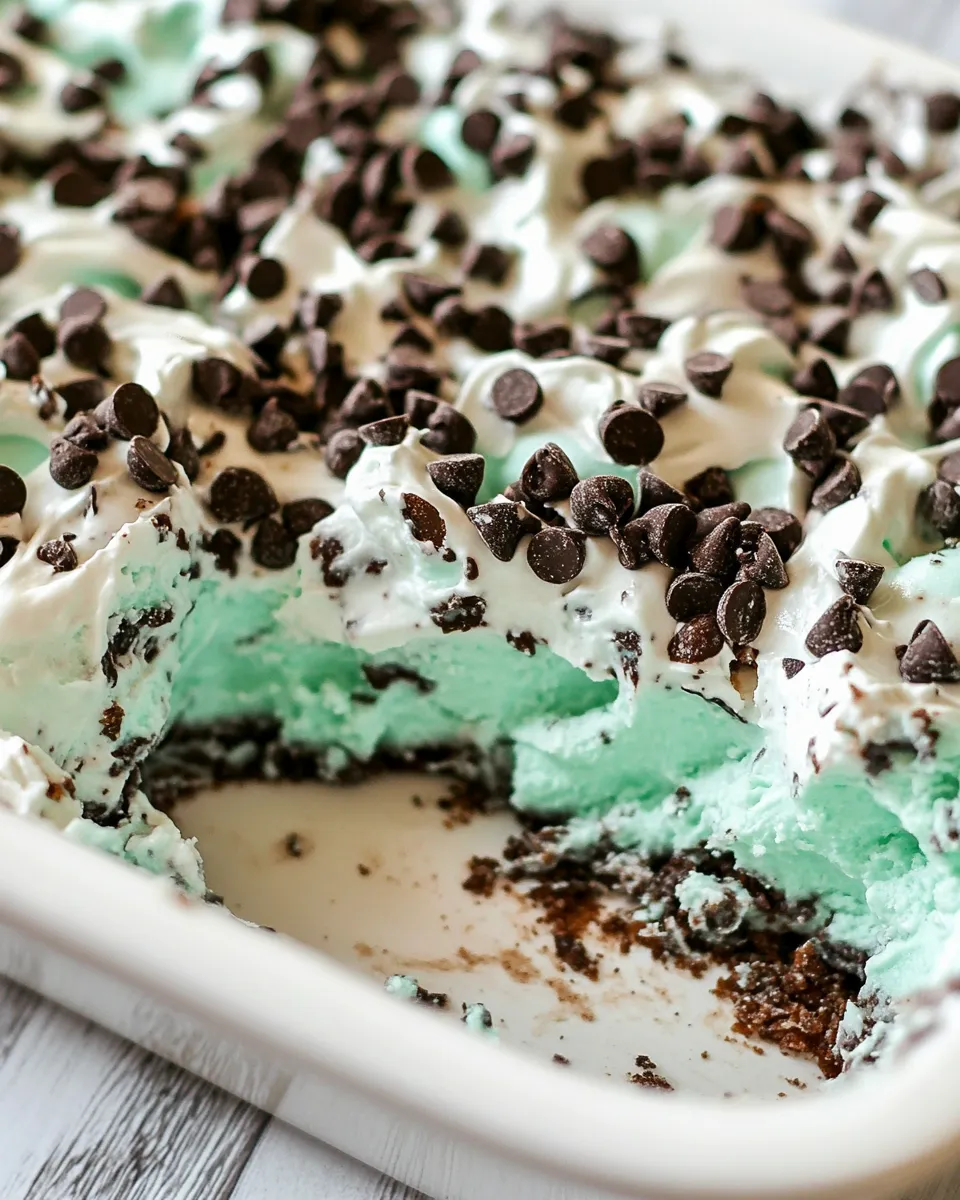
No-Bake Mint Chip Lush
If you’re on the hunt for a dessert that screams indulgence but doesn’t require you to turn on the oven, look no further than this No-Bake Mint Chip Lush. This delightful treat is layered with a creamy filling, crunchy cookie crust, and a light minty flavor that dances on your taste buds. Perfect for gatherings, holidays, or just a sweet treat to enjoy at home, this recipe is sure to impress. With a combination of rich cream cheese, fluffy whipped topping, and refreshing mint, this dessert will become a favorite in your recipe repertoire.
Why This Recipe Is Reliable
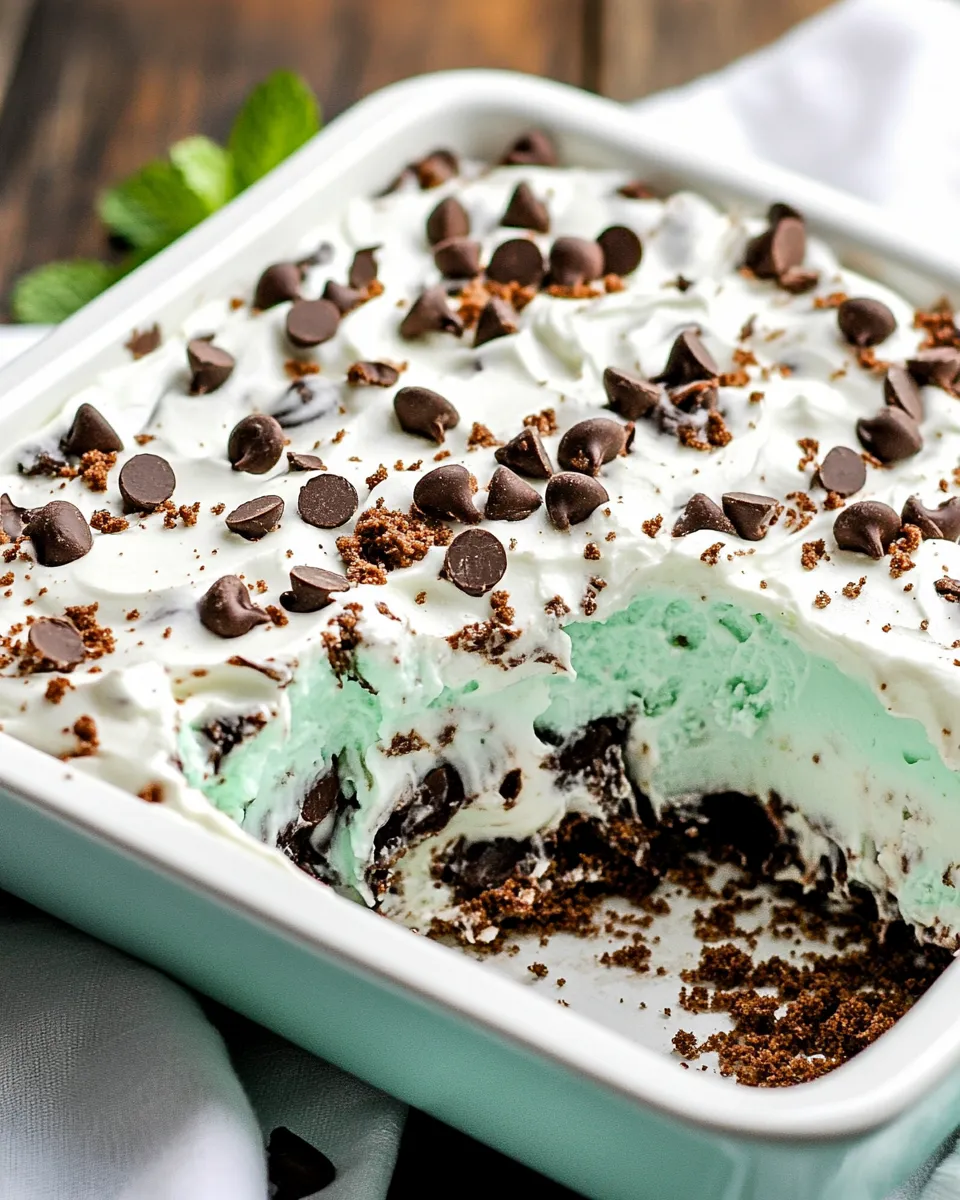
This No-Bake Mint Chip Lush is not just easy to make, but its layered structure allows for flexibility in presentation and flavor. The creamy filling contrasts beautifully with the crunchy Oreo crust, creating a delightful texture in every bite. Plus, it can be prepared ahead of time, allowing the flavors to meld and the dessert to set beautifully. Whether you’re a baking novice or a seasoned pro, you’ll find that this recipe is straightforward and yields consistently delicious results.
Shopping List
- 20 Oreo cookies – These will form the base of your dessert, providing a rich chocolatey flavor.
- 2 tablespoons (28g) unsalted butter, melted – This helps bind the crust together.
- 8 ounces (226g) cream cheese, softened – For a creamy, luscious filling.
- 1 cup (50g) granulated sugar – Sweetens the cream cheese mixture perfectly.
- 1 teaspoon vanilla extract – Adds depth to the filling.
- ½ teaspoon peppermint extract – Infuses the dessert with refreshing mint flavor.
- 18 ounce container whipped topping – Lightens the cream cheese mixture.
- ¾ cup mini chocolate chips – For a chocolatey burst in every bite.
- 1 approximately 3.4 ounce box instant chocolate pudding mix – Adds richness and flavor.
- 1 ½ cups nonfat milk – To prepare the pudding.
- 5-7 drops green food coloring – For a fun, festive color that highlights the mint.
- Additional mini chocolate chips or crushed cookies for topping – To garnish and add texture.
Equipment Breakdown
- Mixing Bowls – You’ll need various sizes for mixing the crust and filling.
- Electric Mixer – Essential for achieving a smooth cream cheese mixture.
- 9×13 inch Baking Dish – The perfect size for layering your lush dessert.
- Spatula – For spreading the layers evenly.
- Measuring Cups and Spoons – Accurate measurements ensure consistent results.
The Method for No-Bake Mint Chip Lush
Step 1: Prepare the Oreo Crust
Start by crushing the 20 Oreo cookies into fine crumbs. You can do this using a food processor or by placing them in a zip-top bag and smashing them with a rolling pin. Transfer the crumbs to a mixing bowl and combine them with the melted 2 tablespoons of butter. Mix until the crumbs are well coated and resemble wet sand.
Step 2: Assemble the Crust
Press the Oreo mixture firmly into the bottom of a 9×13 inch baking dish to create an even layer. Make sure the crust is tightly packed for a sturdy base. Set it aside while you prepare the filling.
Step 3: Make the Cream Cheese Filling
In a large mixing bowl, beat the softened 8 ounces of cream cheese with an electric mixer until smooth. Gradually add in the 1 cup of granulated sugar, 1 teaspoon of vanilla extract, and ½ teaspoon of peppermint extract, mixing until well combined.
Step 4: Fold in Whipped Topping
Gently fold in the 18 ounce container of whipped topping into the cream cheese mixture until fully incorporated. Then add in the ¾ cup of mini chocolate chips, stirring to distribute them evenly throughout the filling.
Step 5: Layer the Cream Cheese Mixture
Spread the cream cheese filling evenly over the Oreo crust in the baking dish. Use a spatula to smooth the top, ensuring an even layer.
Step 6: Prepare the Chocolate Pudding
In a separate bowl, whisk together the instant chocolate pudding mix and 1 ½ cups of nonfat milk. Continue whisking for about 2 minutes until the mixture thickens.
Step 7: Layer the Chocolate Pudding
Pour the prepared chocolate pudding over the cream cheese layer, spreading it out gently to cover completely.
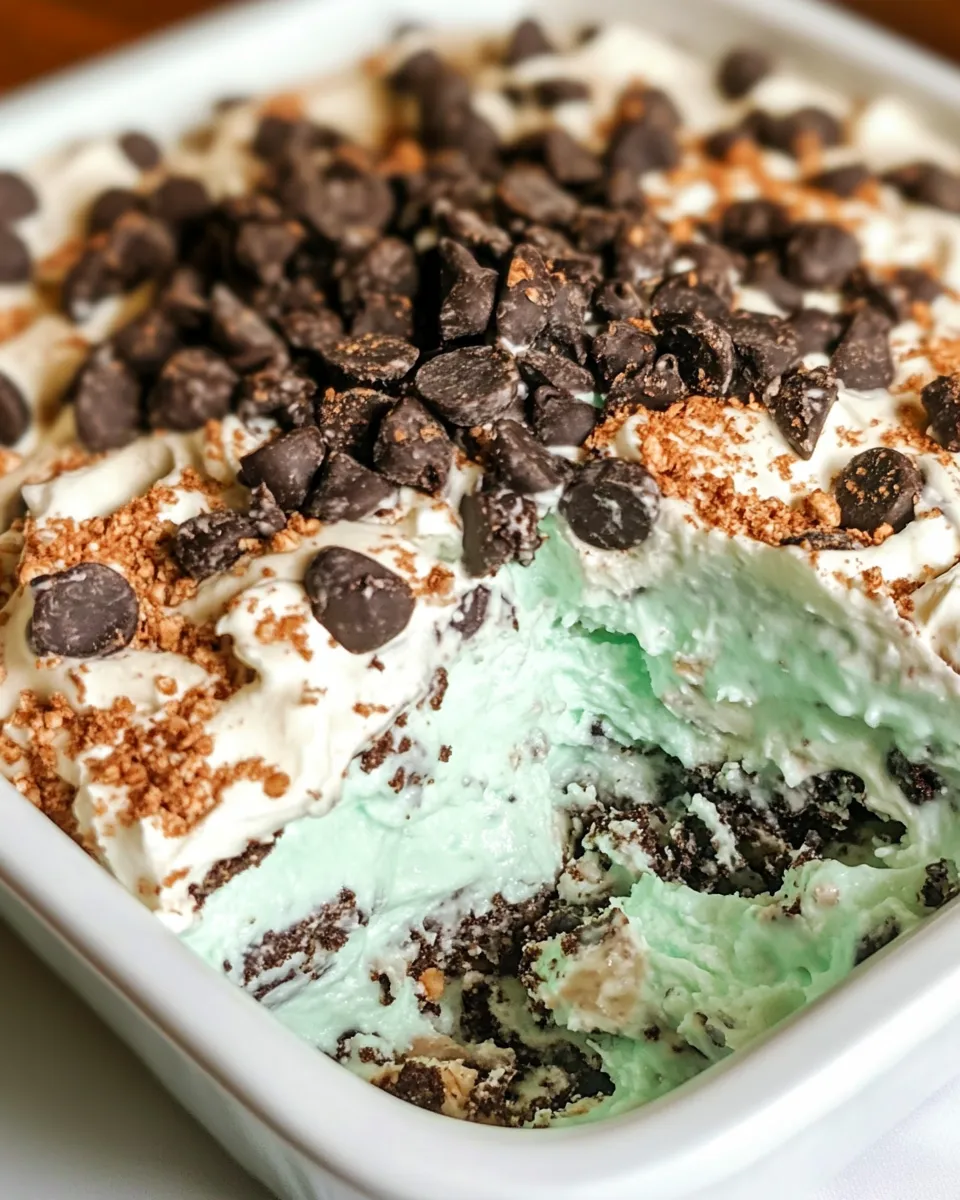
Step 8: Add the Final Touches
In a small bowl, mix a few drops of green food coloring into the remaining whipped topping to give it a festive minty hue. Spread this green whipped topping over the chocolate pudding layer as the final layer of your No-Bake Mint Chip Lush.
Step 9: Chill and Serve
Cover the baking dish with plastic wrap and refrigerate for at least 4 hours, or overnight for best results. Once set, garnish with additional mini chocolate chips or crushed Oreos before serving.
Make It Diet-Friendly
- Swap out regular Oreo cookies for gluten-free Oreos for a gluten-free version.
- Use low-fat cream cheese and whipped topping to reduce calories and fat.
- Consider using a sugar substitute to lower the sugar content.
- Use almond milk or a non-dairy alternative in place of nonfat milk for a dairy-free option.
Learn from These Mistakes
- Don’t skip the chilling time! It’s essential for the layers to set properly.
- Ensure the cream cheese is fully softened; otherwise, you’ll end up with lumps in your filling.
- Press the crust firmly to avoid it crumbling when you cut into the dessert.
- Be cautious with the green food coloring; start with a few drops and gradually add more to achieve your desired shade.
Keep-It-Fresh Plan
The No-Bake Mint Chip Lush can be stored in the refrigerator for up to 5 days. Be sure to cover it tightly with plastic wrap or aluminum foil to maintain its freshness. If you need to prepare it ahead of time, it’s even better after a day in the fridge, as the flavors meld beautifully!
Reader Questions
Can I use a different type of cookie for the crust?
Absolutely! You can substitute the Oreos with any chocolate wafer or cookie of your choice. Just make sure it’s a sturdy cookie that can hold up as a crust.
How can I make this recipe more minty?
If you want a stronger mint flavor, you can increase the amount of peppermint extract slightly, but be careful not to overpower the other flavors. A little goes a long way!
Can I freeze the No-Bake Mint Chip Lush?
Yes! You can freeze it for up to a month. Just be sure to wrap it tightly and allow it to thaw in the refrigerator before serving for the best texture.
What can I replace the chocolate pudding with?
You could use vanilla pudding or even a layer of homemade ganache if you prefer a different flavor profile. Just keep in mind that it will alter the taste of the dessert.
More Recipes You’ll Love
Before You Go
This No-Bake Mint Chip Lush is a delightful treat that brings together the rich flavors of chocolate and the refreshing taste of mint in a quick and easy dessert. It’s perfect for any occasion, from casual get-togethers to special celebrations. With its creamy layers and crunchy base, it’s bound to be a hit with friends and family alike. So, gather your ingredients, follow the steps, and prepare to indulge in a dessert that is as beautiful as it is delicious. Enjoy every layer of this luscious treat, and don’t forget to share it with your loved ones!
No-Bake Mint Chip Lush
Ingredients
Equipment
Method
- Start by crushing the 20 Oreo cookies into fine crumbs. Combine with the melted 2 tablespoons of butter until well coated.
- Press the Oreo mixture firmly into the bottom of a 9x13 inch baking dish to create a crust.
- In a large mixing bowl, beat the softened 8 ounces of cream cheese until smooth. Gradually add in the 1 cup of sugar, 1 teaspoon of vanilla extract, and ½ teaspoon of peppermint extract, mixing until combined.
- Fold in the 18 ounce container of whipped topping and then the ¾ cup of mini chocolate chips.
- Spread the cream cheese filling evenly over the Oreo crust.
- In a separate bowl, whisk together the instant pudding mix and 1 ½ cups of milk until thickened.
- Pour the pudding over the cream cheese layer, spreading it gently.
- Mix a few drops of green food coloring into the remaining whipped topping and spread over the pudding.
- Cover with plastic wrap and refrigerate for at least 4 hours or overnight.
- Garnish with additional mini chocolate chips or crushed Oreos before serving.
Notes
- Chill time is essential for the layers to set properly.
- Ensure cream cheese is fully softened to avoid lumps.
- Press crust firmly to prevent crumbling when cut.