Nanaimo Cheesecake
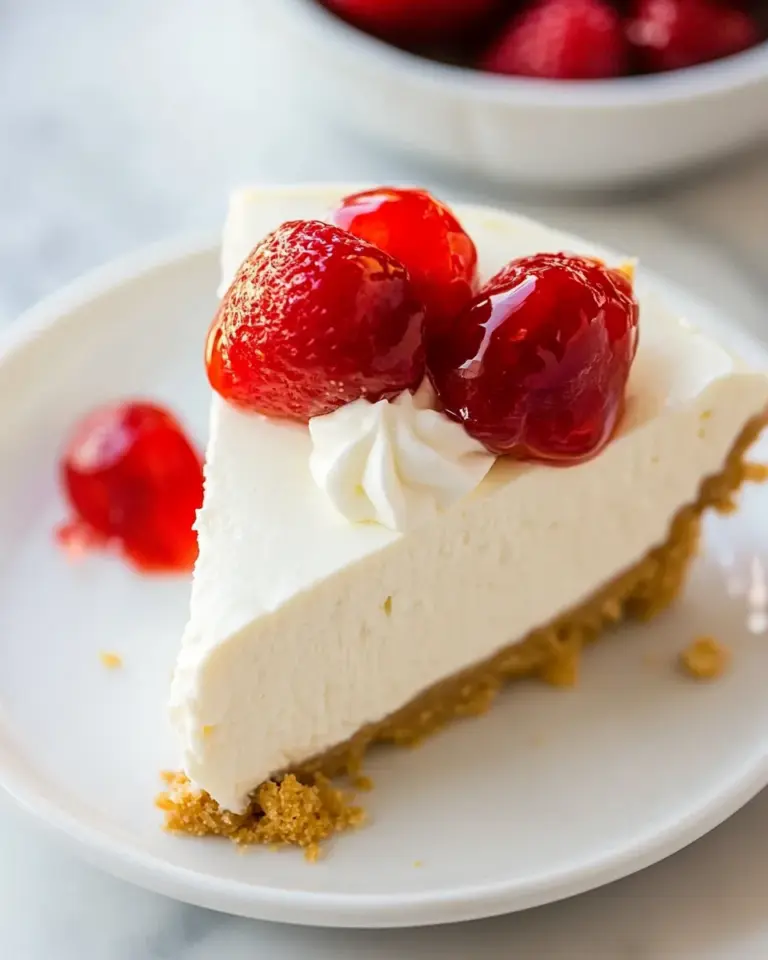
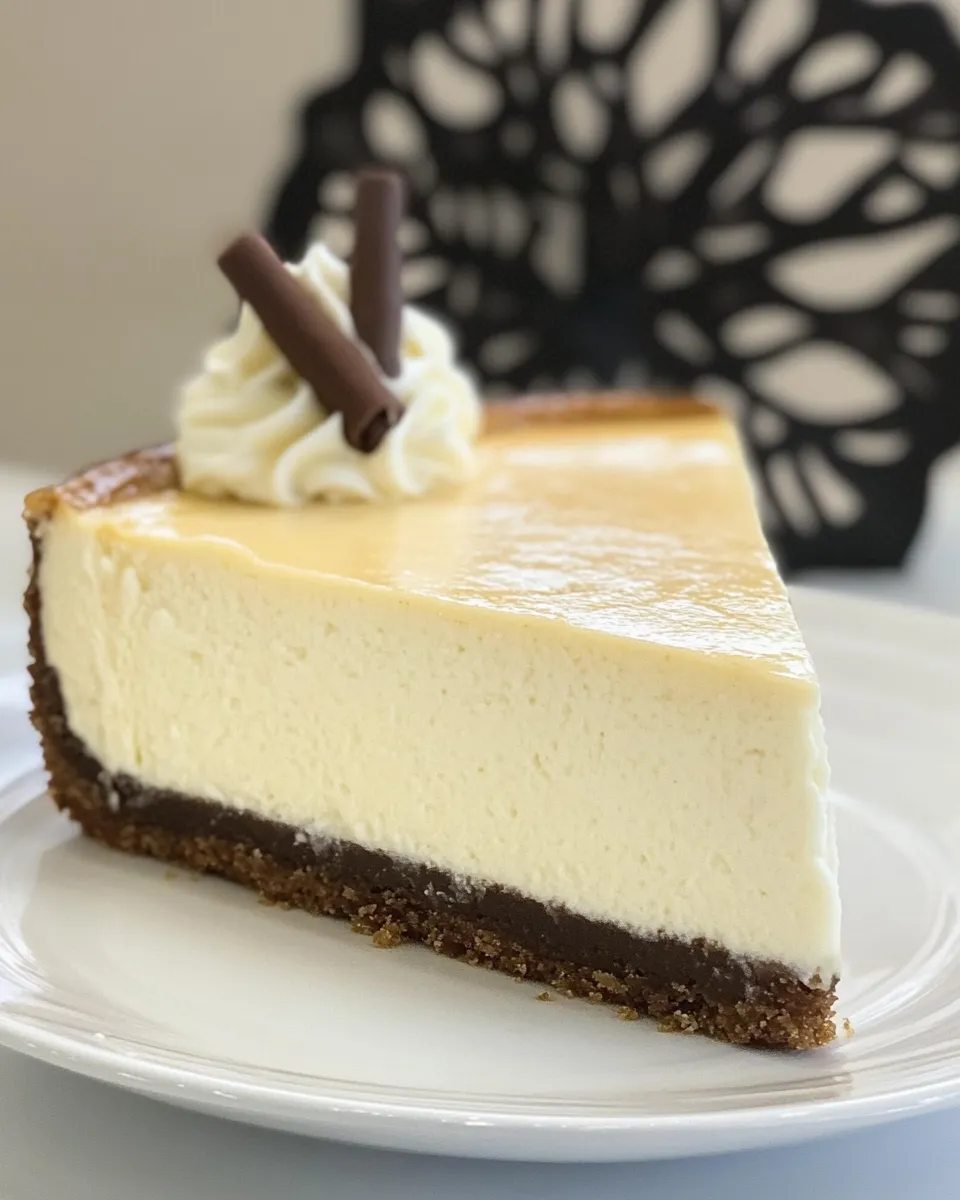
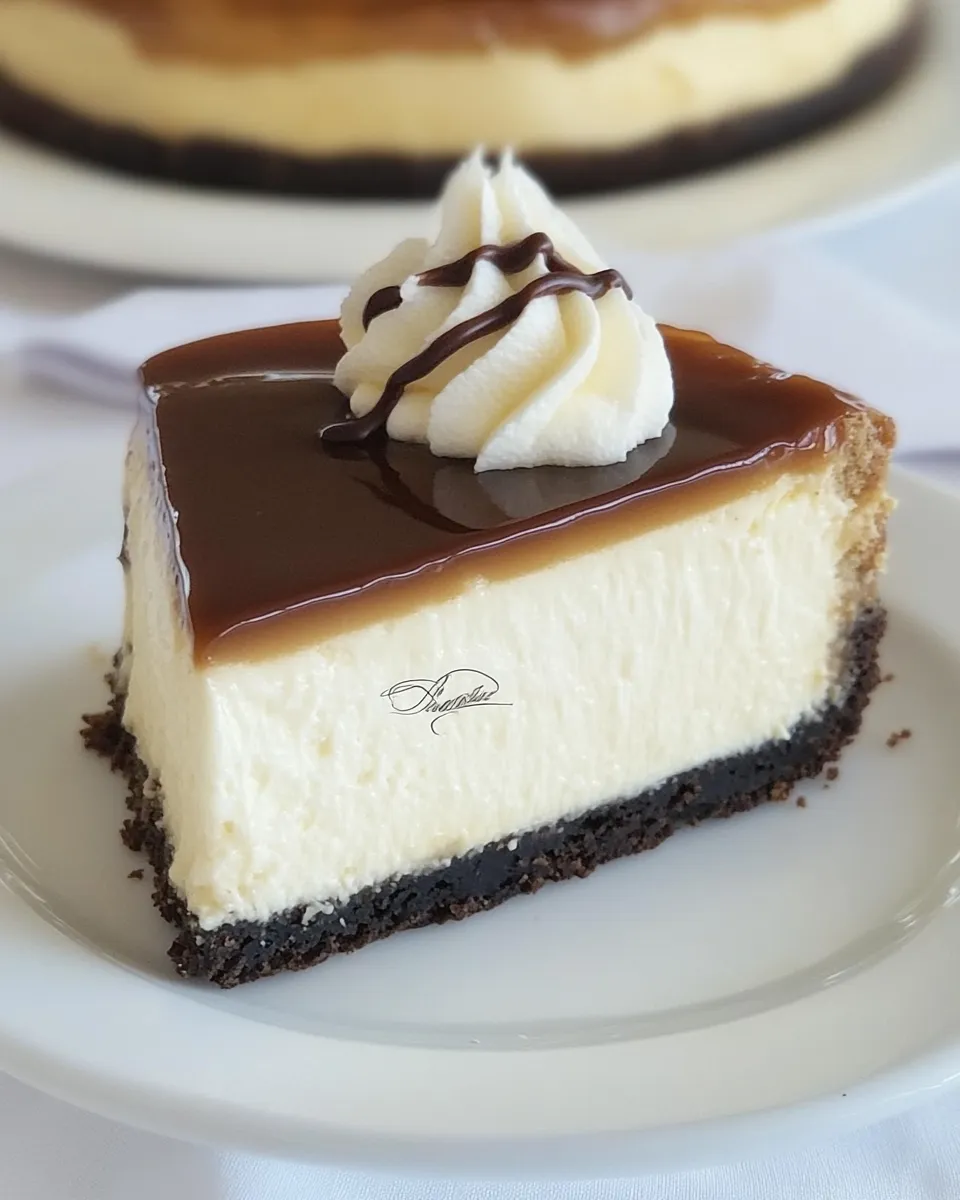
Nanaimo Cheesecake is a delightful fusion of classic cheesecake and the beloved Nanaimo bar, a no-bake dessert that hails from Canada. This rich and creamy dessert features a luscious cream cheese filling atop a crunchy base, all crowned with a decadent chocolate ganache. Perfect for special occasions or a sweet treat at home, this Nanaimo Cheesecake is sure to impress your family and friends. With its layered textures and bold flavors, it’s a dessert that embodies indulgence in every bite. Let’s dive into the reasons why you’ll love this recipe, and how you can bring this sweet masterpiece to life in your kitchen.
Reasons to Love Nanaimo Cheesecake
- Unique Flavor Profile: The combination of chocolate, coconut, and cream cheese creates a delightful taste experience.
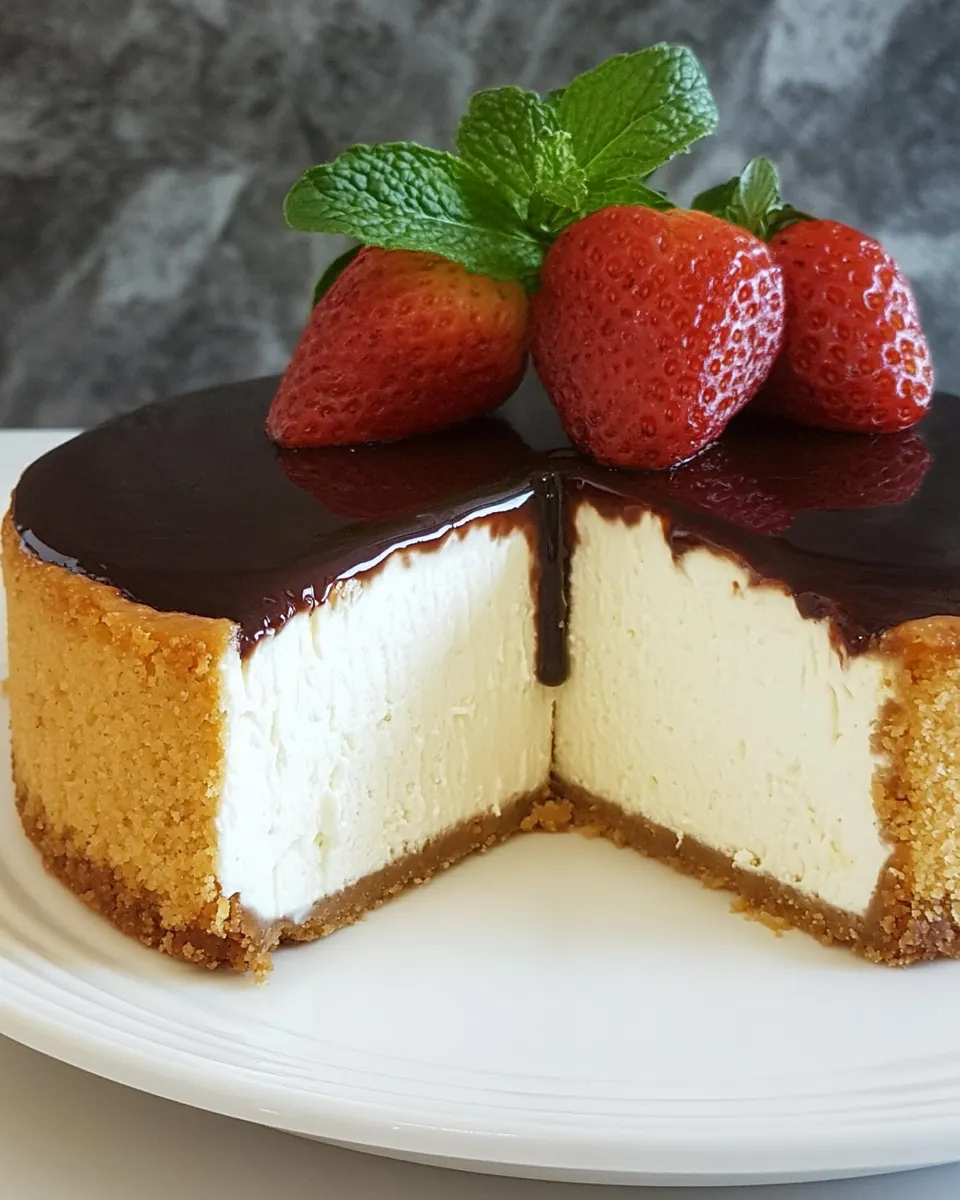
- Impressive Presentation: The layered look of the Nanaimo Cheesecake is visually stunning, making it perfect for parties.
- Easy to Make: This recipe simplifies the traditional Nanaimo bar into a cheesecake format, making it more approachable for home bakers.
- Perfect for Any Occasion: Whether it’s a birthday, holiday, or simply a weekend treat, this cheesecake fits the bill.
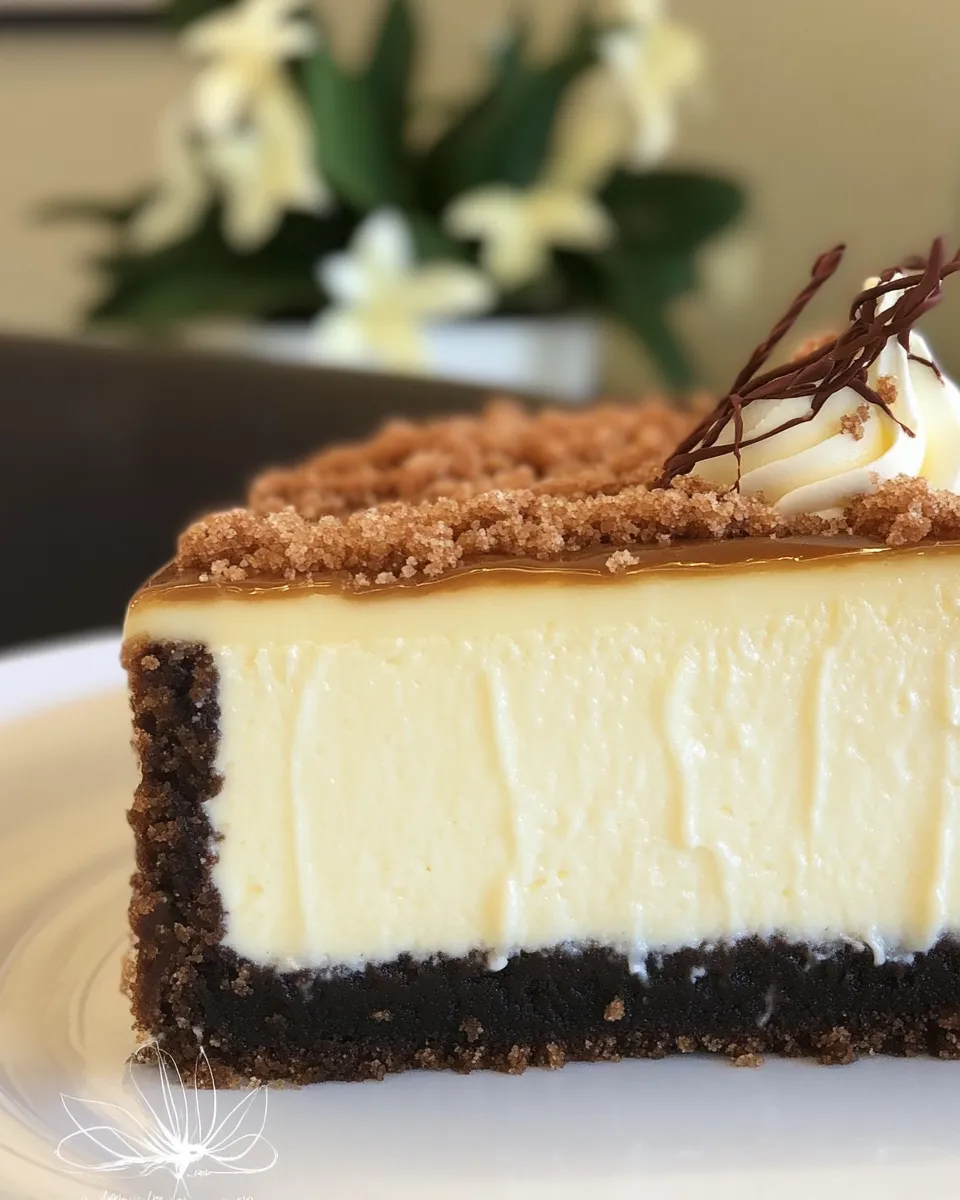
- Decadent Yet Balanced: The richness of the cheesecake is beautifully complemented by the crunchy base and smooth chocolate topping.
Ingredient Breakdown
To create the perfect Nanaimo Cheesecake, you will need the following ingredients:
- 4 tbsp butter, melted: This is used to bind the crust together.
- 5 tbsp cocoa powder: Adds a rich chocolate flavor to the crust.
- 3 tbsp sugar: Sweetens the crust and balances the bitterness of the cocoa.
- 1 tsp vanilla extract: Enhances the overall flavor profile.
- 1 1/2 cups graham crackers: Forms the base of the cheesecake, giving it a crunchy texture.
- 1/2 cup walnuts: Adds a nutty flavor and crunch to the crust.
- 3/4 cup coconut flakes: Offers a chewy texture and tropical twist.
- 48 oz bricks of cream cheese, softened: The star of the cheesecake, providing a creamy and rich filling.
- 4 eggs: These help to set the cheesecake while adding richness.
- 1 1/2 cups sugar: Sweetens the cream cheese filling.
- 1/3 cup sour cream: Adds tanginess and creaminess to the filling.
- 1 tsp vanilla extract: Boosts the flavor of the filling.
- 3 tbsp vanilla custard powder: Gives the cheesecake a silky texture and enhances the vanilla flavor.
- 1 cup semi-sweet chocolate chips: Used for the chocolate ganache topping.
- 1 cup heavy cream: Creates a smooth and creamy chocolate ganache.
Appliances & Accessories
To prepare your Nanaimo Cheesecake, you will need the following appliances and accessories:
- Mixing bowls: For mixing the crust and cheesecake filling.
- 9-inch springform pan: Essential for baking and removing the cheesecake easily.
- Electric mixer: Helps achieve a smooth and creamy filling.
- Rubber spatula: For folding ingredients and scraping down the sides of the bowl.
- Double boiler or microwave-safe bowl: To melt chocolate for the ganache.
- Measuring cups and spoons: For accurate ingredient measurement.
Nanaimo Cheesecake, Made Easy
Follow these simple steps to create your own Nanaimo Cheesecake:
Step 1: Prepare the Crust
In a mixing bowl, combine the melted butter, cocoa powder, sugar, and crushed graham crackers. Stir in the chopped walnuts and coconut flakes until everything is well mixed. Press this mixture firmly into the bottom of a 9-inch springform pan to form an even layer. Set aside.
Step 2: Make the Cheesecake Filling
In a large mixing bowl, beat the softened cream cheese with an electric mixer until smooth and creamy. Gradually add in the sugar, sour cream, and vanilla extract while continuing to mix. Add the eggs one at a time, mixing well after each addition. Finally, add the vanilla custard powder and mix until fully incorporated.
Step 3: Assemble the Cheesecake
Pour the cream cheese mixture over the prepared crust, spreading it evenly. Tap the pan gently on the counter to remove any air bubbles.
Step 4: Bake the Cheesecake
Preheat your oven to 325°F (160°C). Bake the cheesecake for 60-70 minutes, or until the edges are set and the center is slightly jiggly. Turn off the oven and leave the cheesecake inside for an additional hour to cool gradually.
Step 5: Chill the Cheesecake
Remove the cheesecake from the oven and let it cool to room temperature. Once cooled, refrigerate for at least 4 hours or overnight for best results.
Step 6: Prepare the Chocolate Ganache
In a double boiler or microwave, melt the semi-sweet chocolate chips with the heavy cream until smooth. Stir until fully combined, then let it cool slightly.
Step 7: Top the Cheesecake
Once the cheesecake is chilled and set, pour the chocolate ganache over the top, spreading it evenly. Return the cheesecake to the refrigerator for another hour to set the ganache.
Step 8: Serve and Enjoy!
Carefully remove the sides of the springform pan and slice the cheesecake into wedges. Serve chilled and enjoy the delightful layers of your homemade Nanaimo Cheesecake!
Seasonal Adaptations
You can easily adapt this Nanaimo Cheesecake recipe for different seasons:
- Spring: Add fresh berries on top for a burst of color and freshness.
- Summer: Incorporate lemon zest into the filling for a refreshing twist.
- Autumn: Mix in pumpkin spice for a seasonal flavor change.
- Winter: Use peppermint extract in the ganache for a festive touch.
Cook’s Commentary
The beauty of Nanaimo Cheesecake lies in its versatility. You can customize the layers or even try different types of nuts or toppings. If you prefer a less sweet dessert, consider reducing the sugar in the filling. The chocolate ganache is also a great opportunity to experiment with dark or white chocolate, depending on your preference. Remember, patience is key while chilling the cheesecake; letting it set properly will ensure a perfect slice every time!
Make-Ahead & Storage
This Nanaimo Cheesecake can be made ahead of time, making it an ideal dessert for gatherings. It can be stored in the refrigerator for up to one week. If you want to keep it longer, consider freezing it. To freeze, wrap the cheesecake tightly in plastic wrap and aluminum foil, ensuring it’s airtight. When you’re ready to enjoy it, simply thaw it in the refrigerator overnight.
FAQ
Can I use a different type of nut in the crust?
Absolutely! Feel free to substitute walnuts with pecans or almonds according to your taste.
Can I make this cheesecake gluten-free?
Yes! Simply use gluten-free graham crackers for the crust and ensure all other ingredients are gluten-free.
How do I prevent cracks in my cheesecake?
To avoid cracks, be careful not to overmix the filling and avoid baking it at too high a temperature. Cooling it gradually in the oven also helps.
Can I top the cheesecake with something other than ganache?
Certainly! Fresh fruit, whipped cream, or a drizzle of caramel sauce would all be fantastic alternatives.
Serve with These
- Homemade Whipped Cream – A light and airy complement to the richness of the cheesecake.
- Fresh Berries – Brighten up your dessert with seasonal fruits.
- Salted Caramel Sauce – Add a sweet and salty contrast to the chocolate and coconut.
- A Cup of Coffee – Perfectly complements the flavors of the cheesecake.
Ready to Cook?
Now that you have all the information you need, gather your ingredients and get ready to create this delightful Nanaimo Cheesecake. Whether you’re a seasoned baker or a beginner in the kitchen, this recipe is sure to please your palate and impress your guests. Enjoy the process and the delicious outcome that awaits you!
Nanaimo Cheesecake
Ingredients
Equipment
Method
- In a mixing bowl, combine the melted butter, cocoa powder, sugar, and crushed graham crackers. Stir in the chopped walnuts and coconut flakes until everything is well mixed. Press this mixture firmly into the bottom of a 9-inch springform pan to form an even layer. Set aside.
- In a large mixing bowl, beat the softened cream cheese with an electric mixer until smooth and creamy. Gradually add in the sugar, sour cream, and vanilla extract while continuing to mix. Add the eggs one at a time, mixing well after each addition. Finally, add the vanilla custard powder and mix until fully incorporated.
- Pour the cream cheese mixture over the prepared crust, spreading it evenly. Tap the pan gently on the counter to remove any air bubbles.
- Preheat your oven to 325°F (160°C). Bake the cheesecake for 60-70 minutes, or until the edges are set and the center is slightly jiggly. Turn off the oven and leave the cheesecake inside for an additional hour to cool gradually.
- Remove the cheesecake from the oven and let it cool to room temperature. Once cooled, refrigerate for at least 4 hours or overnight for best results.
- In a double boiler or microwave, melt the semi-sweet chocolate chips with the heavy cream until smooth. Stir until fully combined, then let it cool slightly.
- Once the cheesecake is chilled and set, pour the chocolate ganache over the top, spreading it evenly. Return the cheesecake to the refrigerator for another hour to set the ganache.
- Carefully remove the sides of the springform pan and slice the cheesecake into wedges. Serve chilled and enjoy the delightful layers of your homemade Nanaimo Cheesecake!
Notes
- This cheesecake can be made ahead of time for gatherings.
- Store in the refrigerator for up to one week.
- For longer storage, wrap tightly and freeze.