Mini Fruit Tart
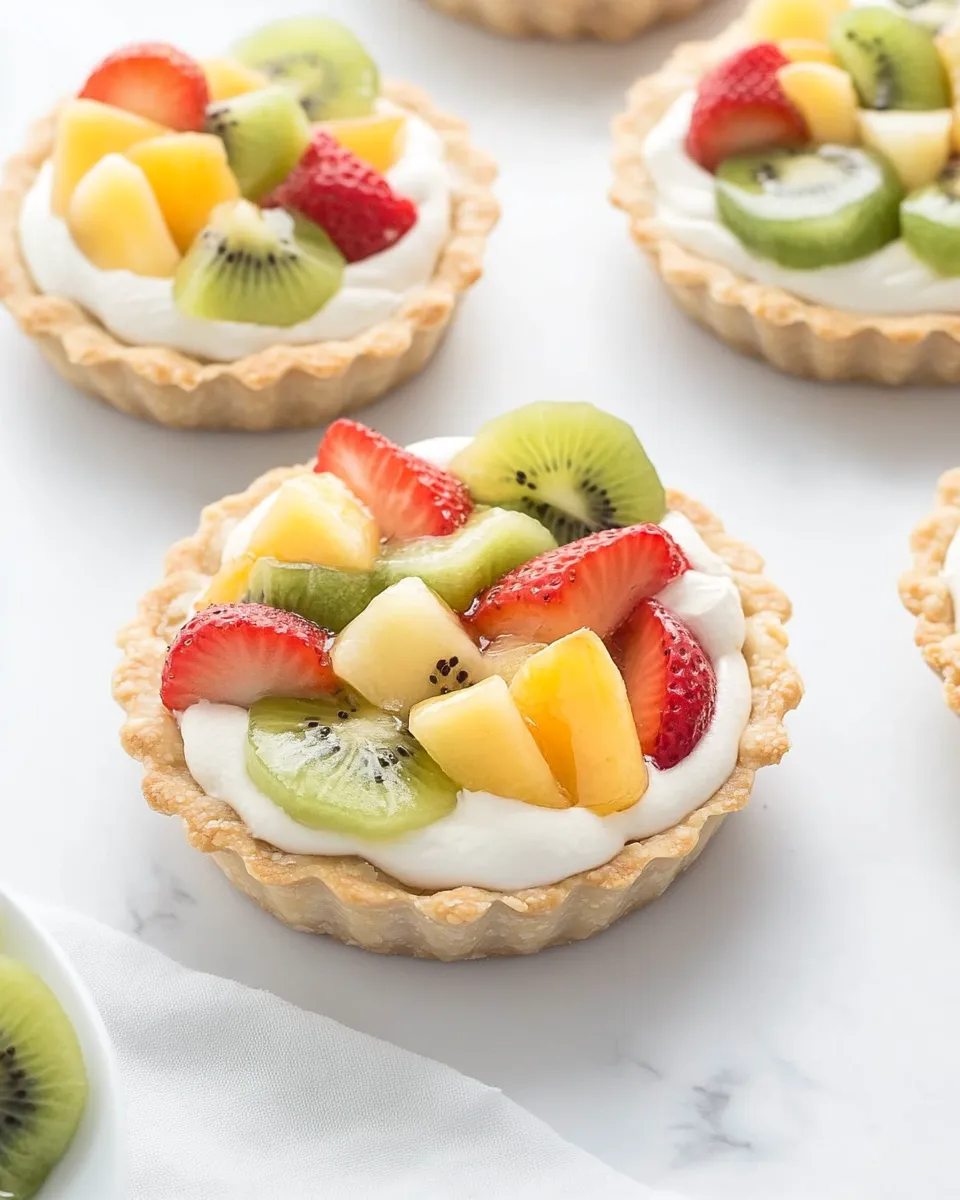
If you’re looking for a delightful dessert that’s as beautiful as it is delicious, look no further than this Mini Fruit Tart. This charming treat is perfect for any occasion, whether you’re hosting a summer gathering or simply indulging in a sweet afternoon snack. With a buttery crust, rich creamy filling, and a colorful assortment of fresh fruits on top, it’s a dessert that not only pleases the palate but also pleases the eyes. Let’s dive into the wonderful world of mini fruit tarts!
Why This Recipe Is Reliable
This Mini Fruit Tart recipe is tried and true. It balances sweetness and richness perfectly, ensuring that each bite is as satisfying as the last. The crust is easy to work with and holds its shape beautifully, while the creamy filling offers a luscious contrast. With a variety of fresh fruits on top, you can customize this tart for any season or occasion. Whether you’re a seasoned baker or a novice in the kitchen, this recipe will guide you through each step with ease.
Ingredient Checklist
- 1 1/4 cups all-purpose flour
- 1 pinch kosher salt
- 2/3 cup powdered sugar
- 3/4 cup unsalted butter, cold, cut into pieces
- 1 1/2 teaspoons vanilla extract
- 1/2 cup heavy whipping cream
- 1/4 cup mascarpone cheese
- 1/4 cup cream cheese, softened
- 2 tablespoons powdered sugar
- Assorted fresh fruits, such as berries, kiwi, or mango, for topping
What’s in the Gear List
- Mixing bowls – For preparing your crust and filling.
- Pastry cutter – To help incorporate the butter into the flour.
- Tart pans – Mini tart pans work best for this recipe.
- Whisk – Essential for mixing the filling until smooth.
- Spatula – For transferring the filling into the tart shells.
Cooking Mini Fruit Tart: The Process
Step 1: Prepare the Tart Crust
To start, preheat your oven to 350°F (175°C). In a mixing bowl, combine the all-purpose flour, kosher salt, and powdered sugar. Whisk these dry ingredients together until they are evenly mixed. Next, add the cold, cut pieces of unsalted butter into the bowl. Using a pastry cutter or your fingers, blend the butter until the mixture resembles coarse crumbs.
Step 2: Add Vanilla and Form the Dough
Stir in the vanilla extract until the dough begins to come together. If the mixture is too crumbly, add a teaspoon of cold water at a time until it forms a cohesive dough. Once ready, divide the dough among the mini tart pans, pressing it evenly across the bottom and up the sides.
Step 3: Bake the Tart Shells
Place the tart pans in the preheated oven and bake for 15-18 minutes or until the crusts are lightly golden. Remove them from the oven and allow them to cool completely in the pans.
Step 4: Make the Cream Filling
In a clean mixing bowl, pour the heavy whipping cream, mascarpone cheese, softened cream cheese, and powdered sugar. Using a whisk or an electric mixer, beat the mixture until it becomes fluffy and smooth. Be careful not to overmix, as you want a light and airy filling.
Step 5: Assemble the Mini Fruit Tarts
Once the tart shells are completely cool, carefully remove them from the pans. Place the crusts on a serving platter. Spoon the cream filling into each tart shell, filling them generously but leaving a little room at the top for the fruits.
Step 6: Top with Fresh Fruits
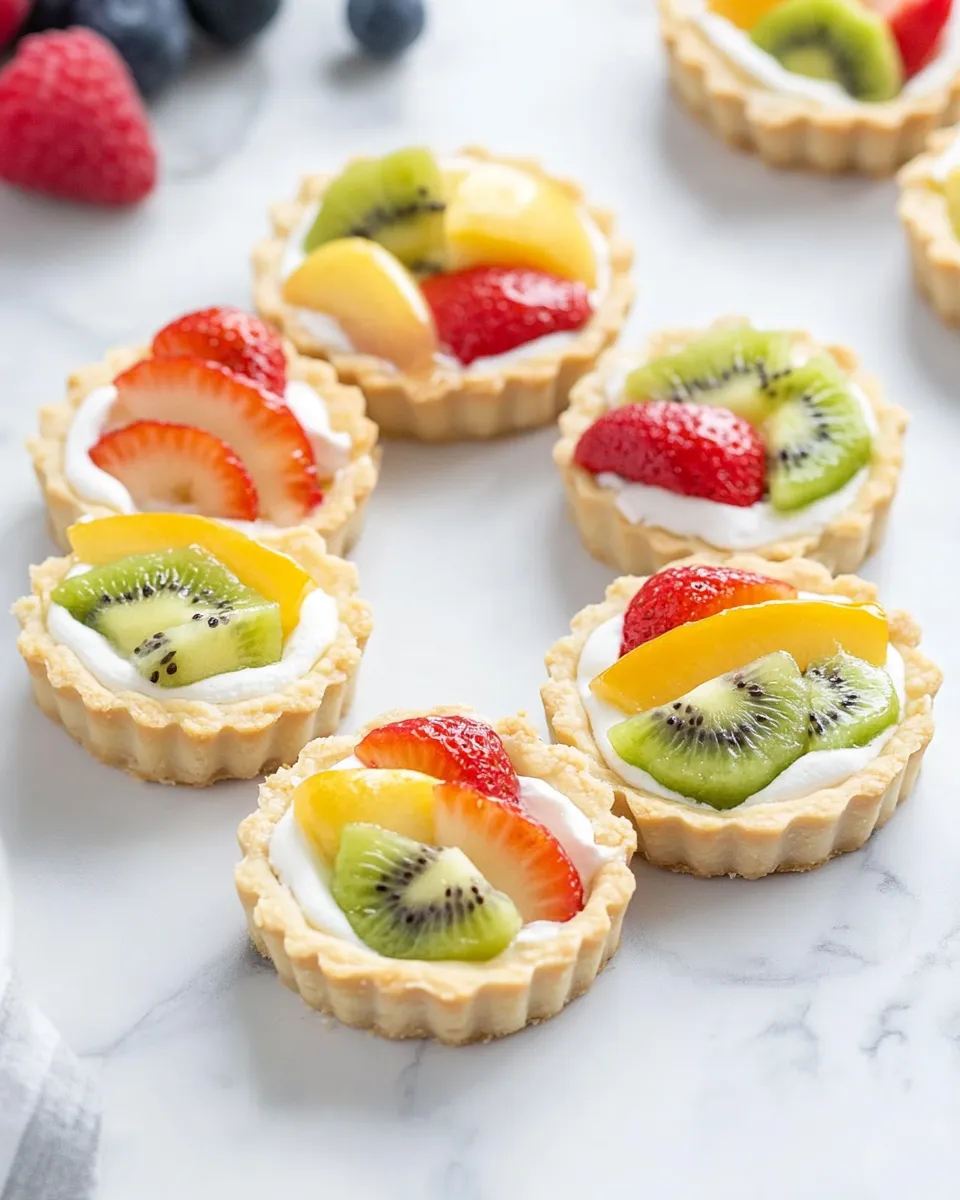
Now comes the fun part! Arrange your assorted fresh fruits on top of the cream filling. You can create beautiful patterns or simply pile them on for a vibrant look.
Step 7: Chill and Serve
Refrigerate the mini fruit tarts for at least an hour to allow the filling to set. Serve them chilled for a refreshing treat that will impress your guests!
International Equivalents
- 1 1/4 cups = 150 grams of all-purpose flour
- 1 cup = 240 milliliters of heavy whipping cream
- 1/2 cup = 120 milliliters of mascarpone cheese
- 1/4 cup = 60 milliliters of cream cheese
Flavor Logic
The combination of the buttery, slightly sweet crust paired with the rich and creamy filling creates a luxurious base for the fresh fruits. The brightness of the berries, the sweetness of the mango, and the tartness of kiwi come together harmoniously, offering a burst of flavor in every bite. Each element complements the others, making the Mini Fruit Tart a delightful medley of taste and texture.
Refrigerate, Freeze, Reheat
These mini fruit tarts can be refrigerated for up to three days. However, it’s best to add the fresh fruits just before serving to ensure they stay vibrant and fresh. If you want to make the tart shells ahead of time, they can be frozen for up to a month. Just thaw them in the refrigerator before adding the filling and fruits.
Common Questions
Can I use different fruits for the topping?
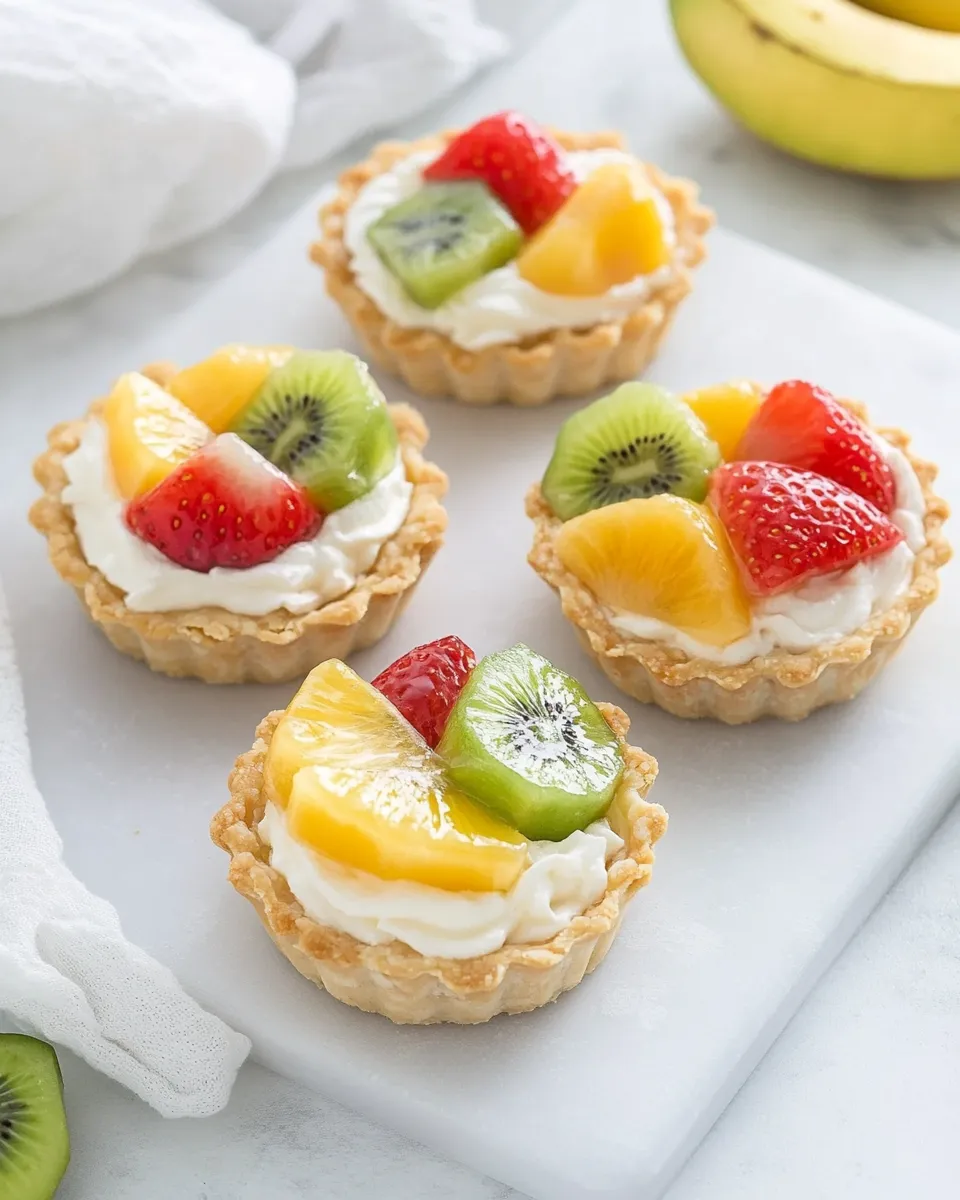
Absolutely! You can customize your Mini Fruit Tart with any fruits you like. Seasonal fruits such as peaches, cherries, or citrus slices work beautifully as well.
Can I make the tart crust ahead of time?
Yes, the tart crust can be made a day in advance. Just store it in an airtight container in the refrigerator until you’re ready to assemble the tarts.
What can I substitute for mascarpone cheese?
If you can’t find mascarpone cheese, you can use a mixture of cream cheese and sour cream for a similar creamy texture and flavor.
How do I prevent the crust from getting soggy?
To prevent a soggy crust, make sure the tart shells are fully baked and cooled before adding the cream filling. You can also brush the inside of the crust with a thin layer of melted chocolate to create a barrier.
Weekend Projects
- Sally’s Baking Addiction – Explore more dessert recipes.
- Pinch of Yum – Discover delicious food photography tips.
- Minimalist Baker – Find simple, plant-based recipes for every occasion.
Bring It Home
These Mini Fruit Tarts are not just a treat; they are a celebration of flavors and colors. They bring a touch of elegance to your dessert table and are sure to be a hit with family and friends. Perfect for any gathering, from birthday parties to afternoon tea, these tarts are versatile and delicious. So go ahead, gather your ingredients, and let the fun begin in your kitchen! Enjoy the process of making these delightful treats, and don’t forget to take a picture before they disappear—they’re that good!

Mini Fruit Tart
Ingredients
Equipment
Method
- Preheat your oven to 350°F (175°C). In a mixing bowl, combine the all-purpose flour, kosher salt, and powdered sugar. Whisk until evenly mixed.
- Add the cold, cut pieces of unsalted butter. Blend until the mixture resembles coarse crumbs. Stir in the vanilla extract.
- If the mixture is too crumbly, add cold water a teaspoon at a time until it forms a cohesive dough. Divide the dough among mini tart pans, pressing it evenly across the bottom and up the sides.
- Bake for 15-18 minutes or until the crusts are lightly golden. Remove from the oven and cool completely in the pans.
- In a clean mixing bowl, combine the heavy whipping cream, mascarpone cheese, softened cream cheese, and powdered sugar. Beat until fluffy and smooth.
- Once the tart shells are cool, remove them from the pans. Spoon the cream filling into each tart shell, leaving some room for the fruits.
- Arrange assorted fresh fruits on top of the cream filling. Chill for at least an hour before serving.
Notes
- Refrigerate tarts for up to three days, but add fresh fruits just before serving.
- Tart shells can be frozen for a month; thaw in the refrigerator before use.
- You can customize the tart with seasonal fruits like peaches or cherries.