Mini Cheesecake Recipe
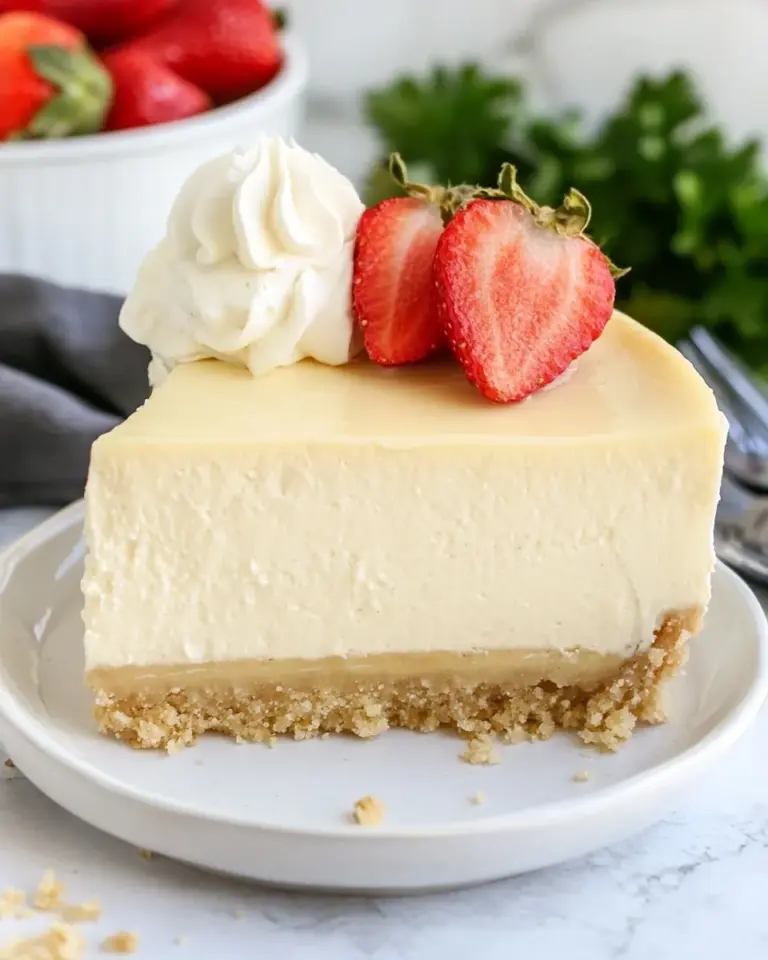
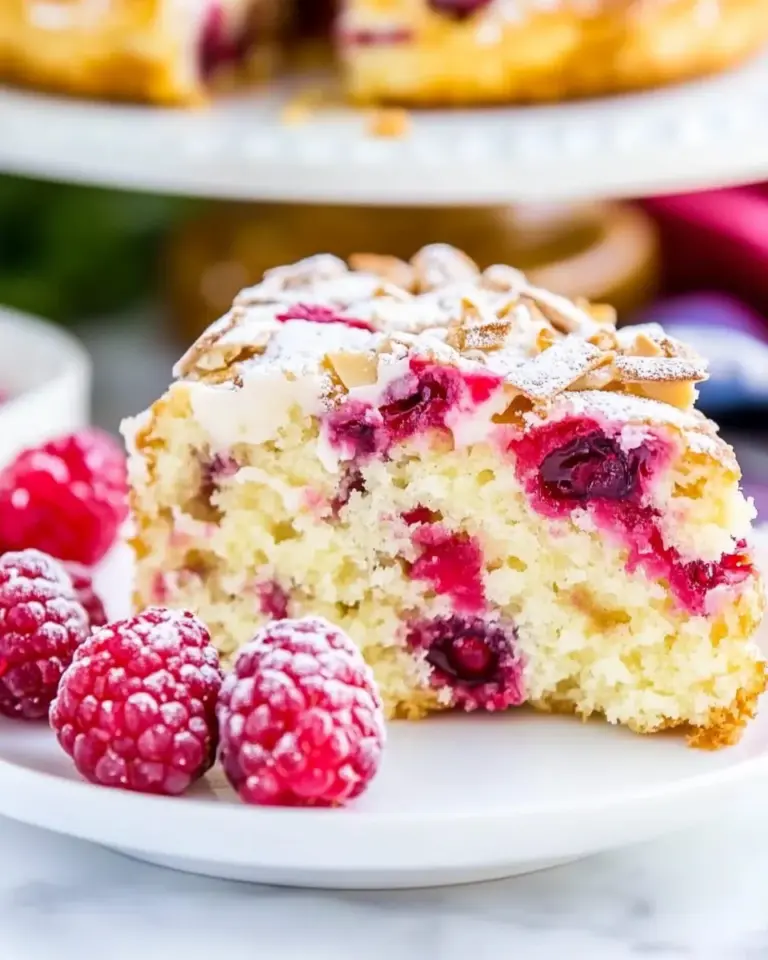
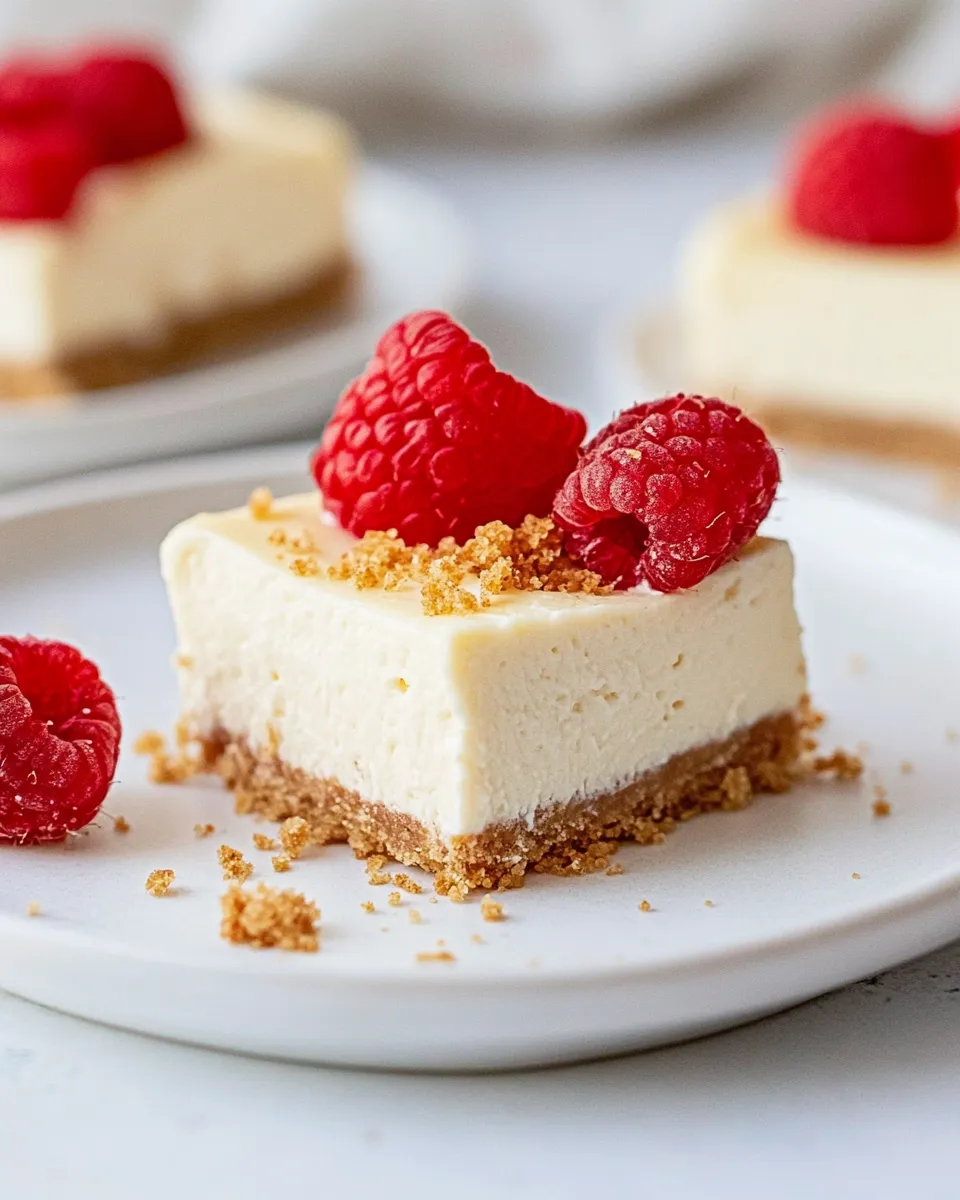
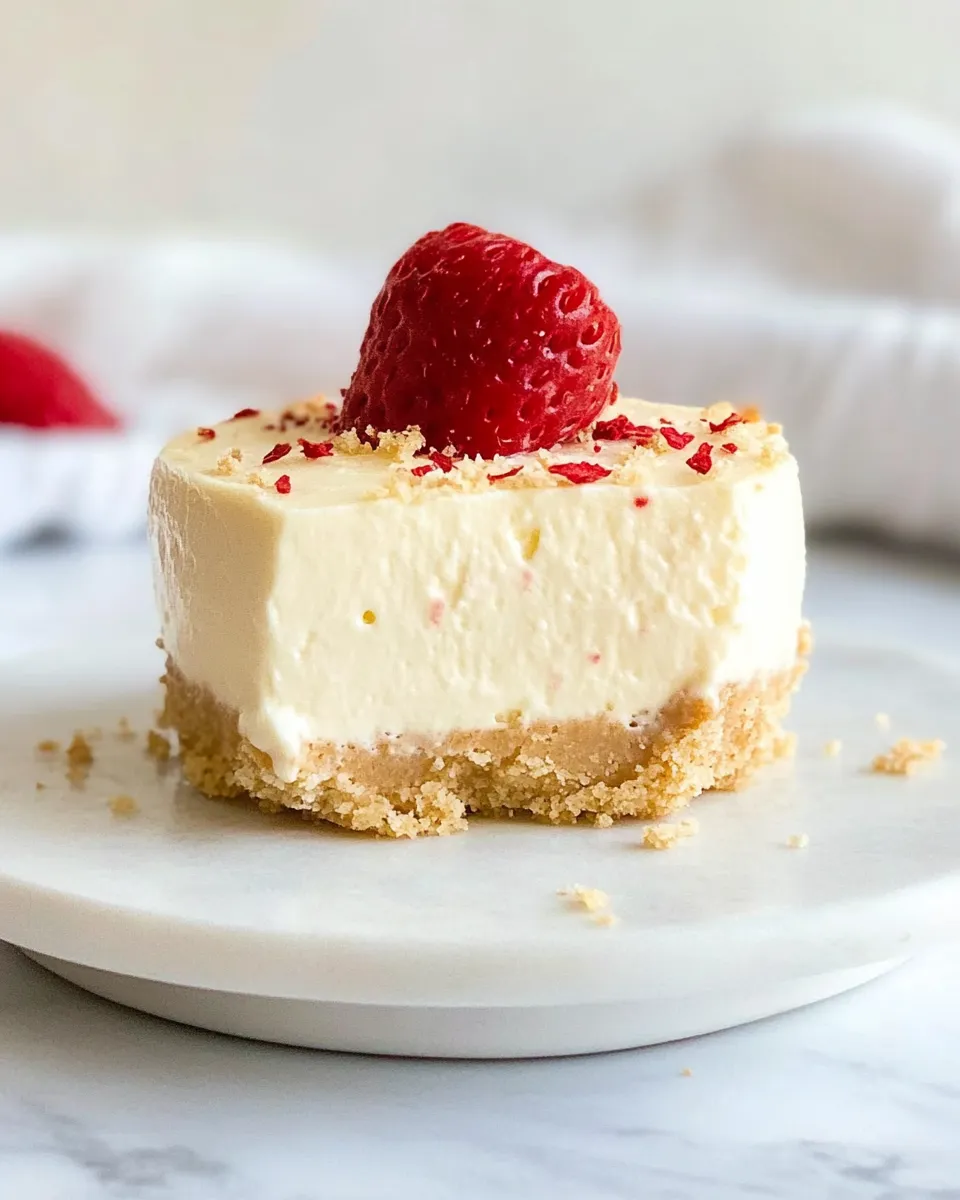
When it comes to dessert, few things can match the creamy, dreamy delight of a cheesecake. But let’s be honest—sometimes, a whole cheesecake can feel like too much. That’s where this Mini Cheesecake Recipe comes in! Perfectly portioned and undeniably delicious, these mini cheesecakes are sure to impress at your next gathering or simply satisfy your sweet tooth at home. With a buttery graham cracker crust and a rich cream cheese filling, they are a delightful treat that you can customize with your favorite toppings. Let’s dive right into how to make these little bites of happiness!
Why This Recipe Is Reliable
This Mini Cheesecake Recipe is not only incredibly easy to follow but also consistently yields perfect results. The balance of cream cheese, sugar, and eggs creates a smooth, rich filling that pairs beautifully with the crust. Each mini cheesecake bakes evenly, ensuring a delightful texture without any cracks. Plus, they are versatile enough to allow for various toppings, meaning you can adapt them to suit any occasion or personal preference.
Ingredient Notes
- 1 1/2 cups graham cracker crumbs: These will form the delicious base of your mini cheesecakes. You can crush your own or use store-bought crumbs for convenience.
- 5 tablespoons unsalted butter, melted: This helps bind the crumbs together and adds richness to the crust.
- 1 1/2 tablespoons granulated sugar: A touch of sweetness enhances the flavor of the crust.
- 16 ounces cream cheese: Make sure it’s softened to room temperature for a smooth filling.
- 3/4 cup granulated sugar: This balances the tanginess of the cream cheese.
- 3 tablespoons sour cream: Adds creaminess and depth of flavor; ensure it’s at room temperature.
- 1 1/4 teaspoons vanilla extract: A must for that classic cheesecake flavor.
- 2 large eggs: Also at room temperature, they help bind the mixture and create a luscious texture.
- Whipped cream (optional): For a light and airy topping.
- Fresh fruit (optional): Strawberries, blueberries, or raspberries add a refreshing touch and a pop of color.
What’s in the Gear List
- Mixing bowls: For combining your crust and filling ingredients.
- Electric mixer: To achieve a smooth and creamy filling.
- Muffin tin: Use a standard or mini muffin tin for baking your cheesecakes.
- Parchment paper: Optional, but helps with easy removal of the cheesecakes.
- Spatula: For scraping down the sides of your mixing bowl and smoothing the filling.
Mastering Mini Cheesecake Recipe: How-To

Step 1: Preheat Your Oven
Preheat your oven to 325°F (163°C). This ensures your cheesecakes bake evenly.
Step 2: Prepare the Crust
In a medium bowl, combine the graham cracker crumbs, melted butter, and granulated sugar. Mix until the crumbs are fully coated in butter and resemble wet sand.
Step 3: Press the Crust into Muffin Tin
Line your muffin tin with cupcake liners for easy removal. Spoon the crust mixture into each liner, pressing down firmly to create an even layer at the bottom. Bake in the preheated oven for about 10 minutes, or until lightly golden. Remove from the oven and let cool.
Step 4: Make the Cream Cheese Filling
In a large mixing bowl, add the softened cream cheese and beat with an electric mixer until smooth and creamy. Gradually add in the granulated sugar, beating until well combined.
Step 5: Add Remaining Ingredients
Mix in the sour cream, vanilla extract, and eggs, one at a time, making sure each is fully incorporated before adding the next. Scrape down the sides of the bowl as needed to ensure everything is well mixed.
Step 6: Pour Filling into Crusts
Evenly distribute the cream cheese filling over the cooled crusts, filling each liner about 3/4 full.
Step 7: Bake
Bake the mini cheesecakes for 15-20 minutes, or until the edges are set but the center still has a slight jiggle. Remove from the oven and let cool in the tin for about 10 minutes before transferring to a wire rack to cool completely.
Step 8: Chill and Serve
Once cooled, refrigerate the mini cheesecakes for at least 2 hours, or overnight for best results. Serve chilled, topped with whipped cream and fresh fruit if desired.
If You’re Out Of…

- Graham cracker crumbs: Substitute with digestive biscuits or vanilla wafers for a different flavor.
- Sour cream: Greek yogurt can be used as an alternative.
- Granulated sugar: You can use brown sugar for a deeper flavor.
- Vanilla extract: Almond extract can be a lovely substitute, but use it sparingly.
Pitfalls & How to Prevent Them
- Overmixing: Be careful not to overmix the filling; this can lead to cracks in your cheesecake. Mix just until combined.
- Underbaking: Ensure the edges are set and the center has a slight jiggle. This will prevent the cheesecakes from collapsing.
- Removing from the tin: Let the cheesecakes cool completely before attempting to remove them to avoid breakage.
- Skipping refrigeration: Allowing the cheesecakes to chill enhances their flavor and texture, so don’t skip this step!
Storage Pro Tips
These mini cheesecakes are perfect for make-ahead desserts. Store them in an airtight container in the refrigerator for up to 5 days. For longer storage, you can freeze them! Wrap each cheesecake tightly in plastic wrap and place them in a freezer-safe bag. They will keep well for up to 3 months. To enjoy, simply thaw them in the fridge overnight before serving.
Top Questions & Answers
Can I make these mini cheesecakes ahead of time?
Absolutely! They are perfect for make-ahead desserts and can be stored in the refrigerator for up to 5 days or frozen for longer storage.
How do I know when the mini cheesecakes are done baking?
The edges should be set, but the center should still have a slight jiggle. They will firm up as they cool.
Can I use a different type of crust?
Yes! You can use different cookies or biscuits to create a unique crust. Consider Oreo cookies or even nut-based crusts for a gluten-free option.
What toppings can I use for my mini cheesecakes?
You can top them with whipped cream, fresh fruit, chocolate sauce, or even a fruit compote. The options are endless!
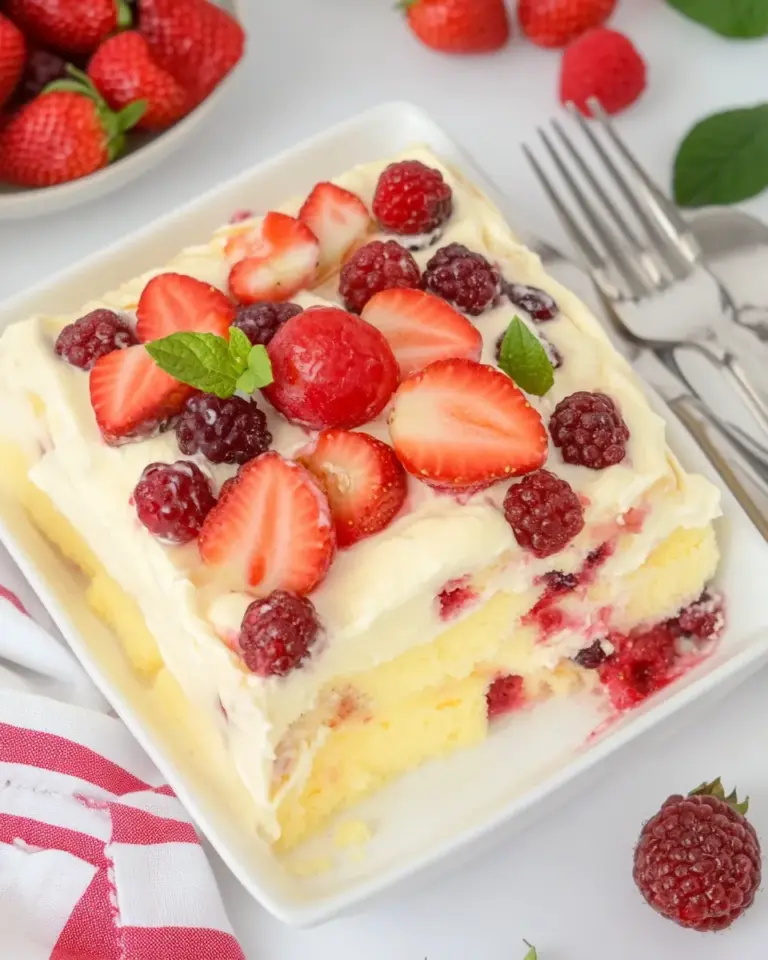
Healthy-ish Favorites
In Closing
With this Mini Cheesecake Recipe, you have the perfect balance of creamy goodness and crumbly crust that is sure to satisfy your dessert cravings. The beauty of these little cheesecakes lies not only in their flavor but also in their convenience and versatility. Whether you choose to keep them classic or dress them up with your favorite toppings, they are bound to be a hit with anyone who tries them. So gather your ingredients, follow this simple recipe, and enjoy the sweet indulgence of homemade mini cheesecakes!
Mini Cheesecake Recipe
Ingredients
Equipment
Method
- Step 1: Preheat Your Oven. Preheat your oven to 325°F (163°C).
- Step 2: Prepare the Crust. In a medium bowl, combine the graham cracker crumbs, melted butter, and granulated sugar. Mix until the crumbs resemble wet sand.
- Step 3: Press the Crust into Muffin Tin. Line your muffin tin with cupcake liners and press the crust mixture firmly into each liner. Bake for about 10 minutes, until lightly golden.
- Step 4: Make the Cream Cheese Filling. Beat softened cream cheese until smooth, then gradually add granulated sugar, beating until well combined.
- Step 5: Add Remaining Ingredients. Mix in sour cream, vanilla extract, and eggs one at a time, ensuring each is fully incorporated.
- Step 6: Pour Filling into Crusts. Evenly distribute the cream cheese filling over the cooled crusts, filling each liner about 3/4 full.
- Step 7: Bake. Bake for 15-20 minutes, until edges are set but the center still jiggles. Cool in the tin for 10 minutes before transferring to a wire rack.
- Step 8: Chill and Serve. Refrigerate for at least 2 hours or overnight, then serve chilled with toppings.
Notes
- These mini cheesecakes can be made ahead of time and stored in the refrigerator for up to 5 days.
- For freezing, wrap each cheesecake tightly and store in a freezer-safe bag for up to 3 months.
- Experiment with different crusts, like Oreos or nut-based options, for unique flavors.