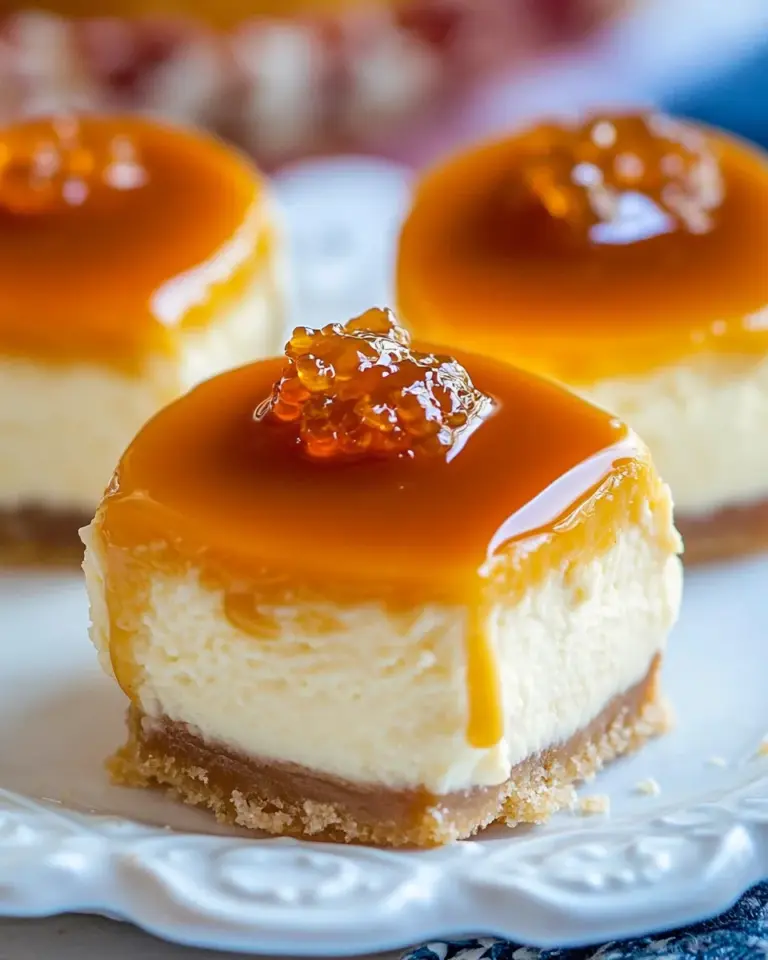
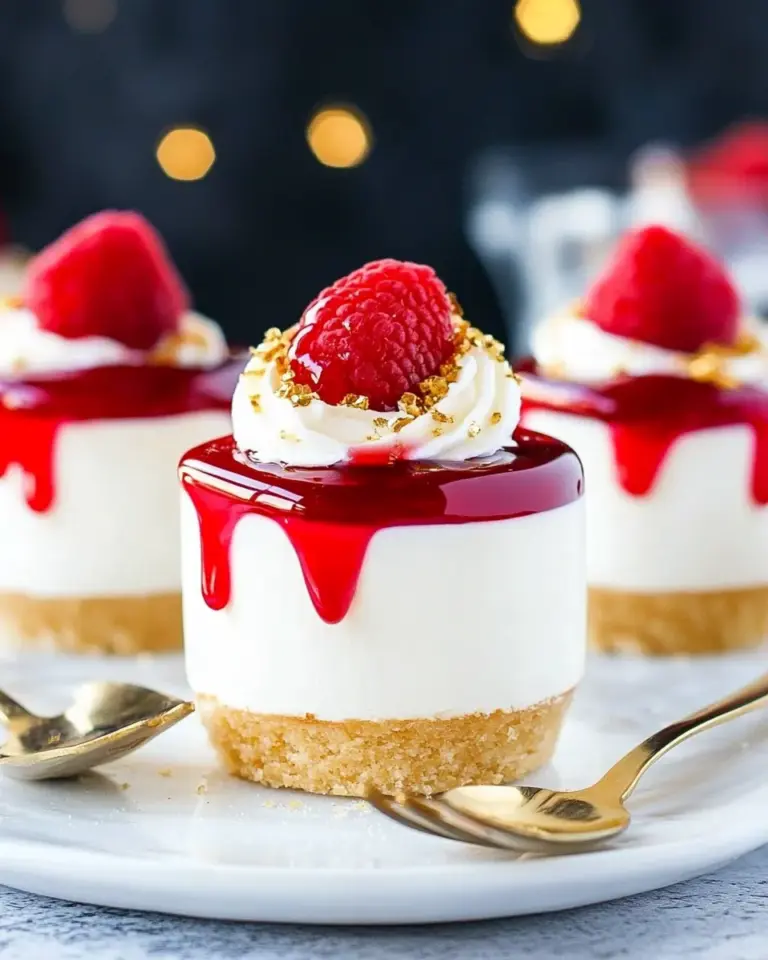
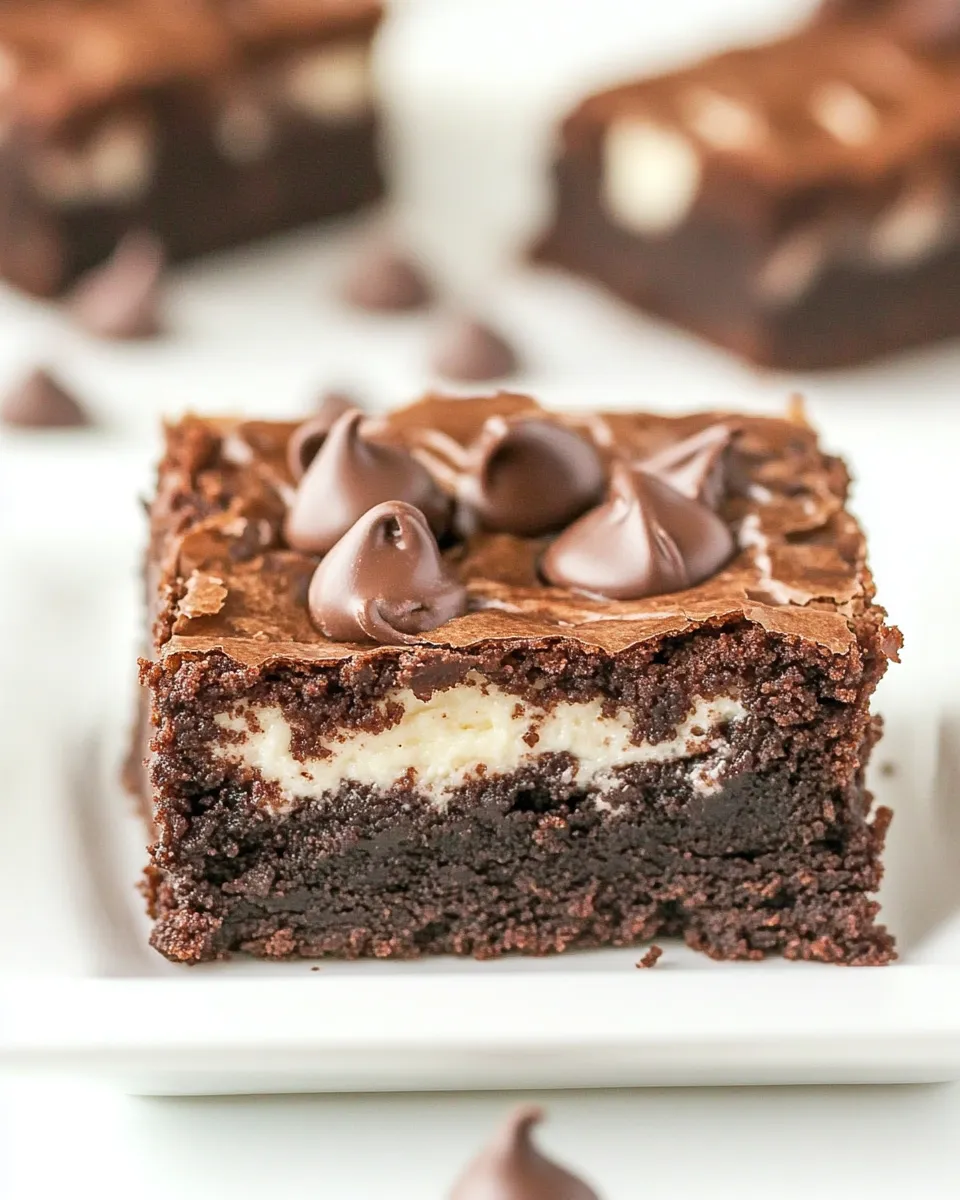
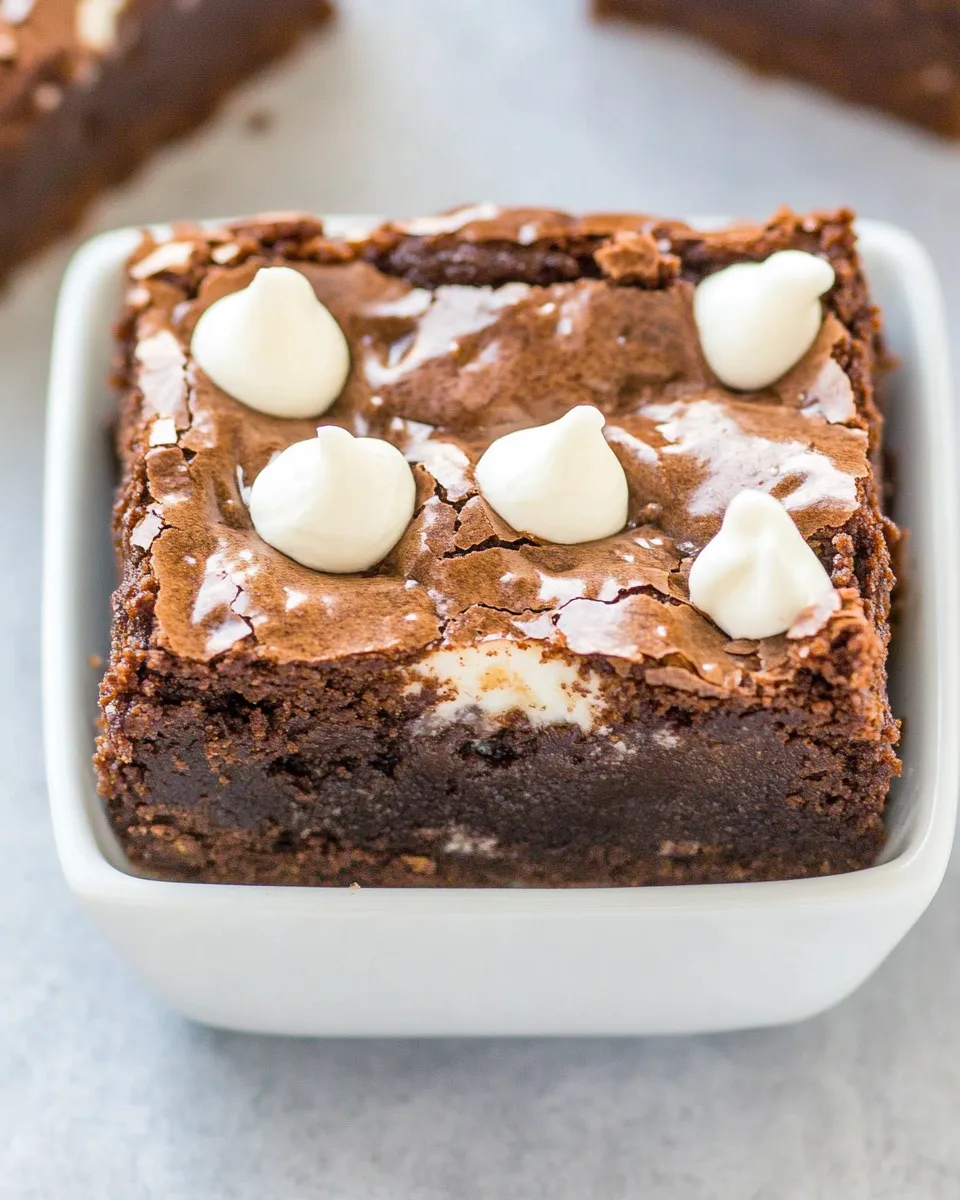
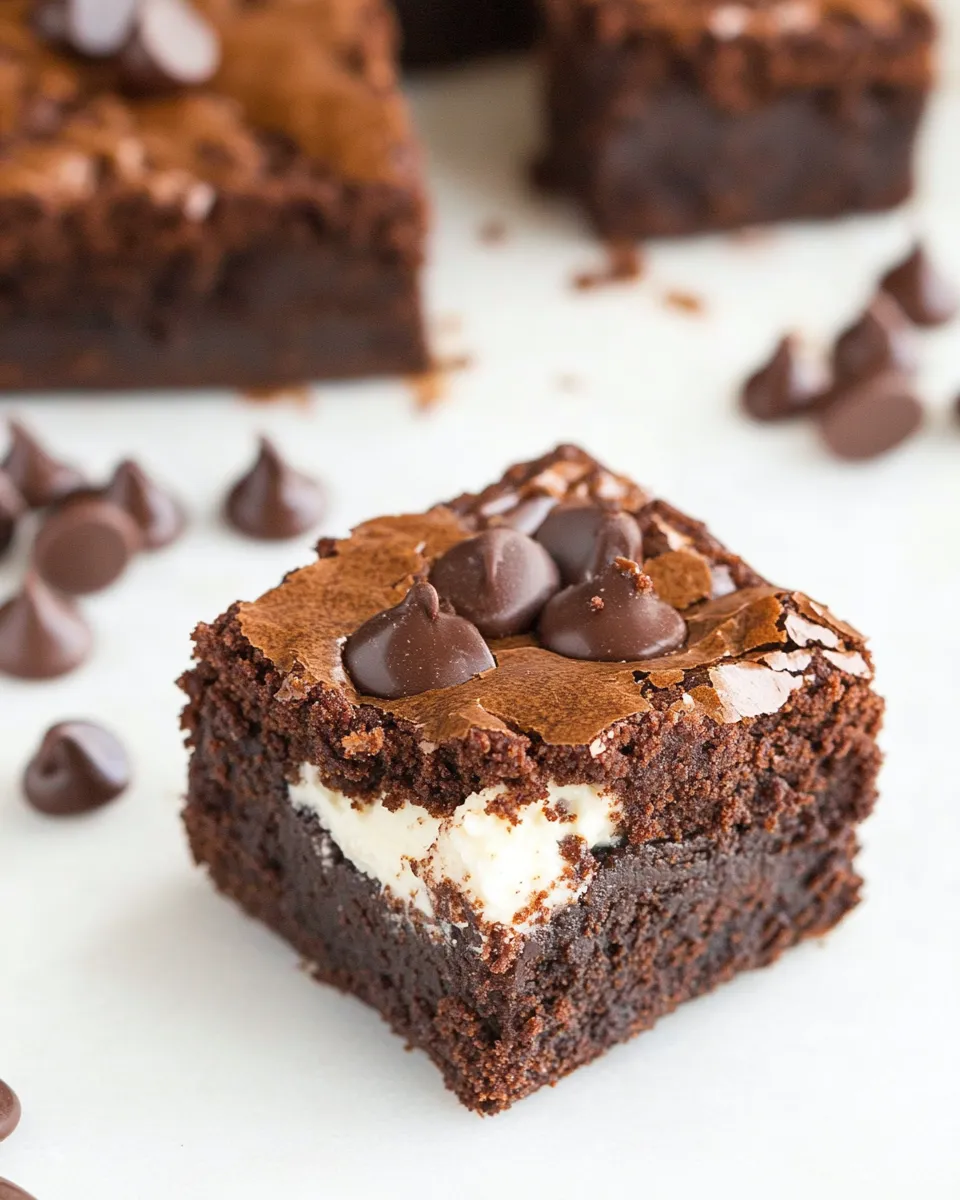
Hot Fudge Cheesecake Brownies
If you’re looking for a dessert that combines the indulgence of brownies, the creamy richness of cheesecake, and the decadent allure of hot fudge, then you’ve stumbled upon the right recipe! Hot Fudge Cheesecake Brownies are not only a feast for the eyes but also for the taste buds. These brownies are perfectly fudgy, with a luscious cheesecake layer that takes them to a whole new level. Whether you’re hosting a gathering or simply treating yourself, these brownies are sure to impress.
What Sets This Recipe Apart
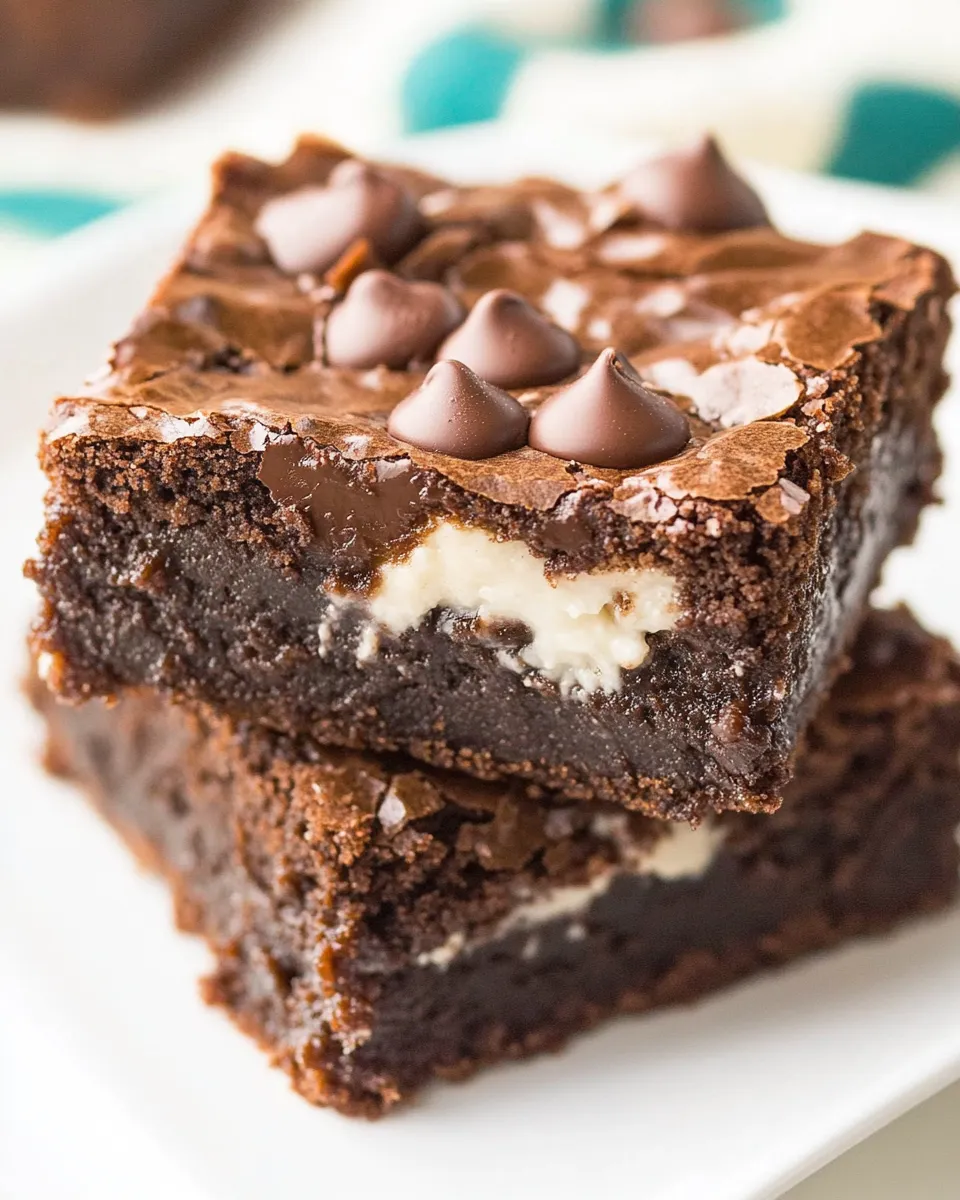
What makes these Hot Fudge Cheesecake Brownies stand out is their unique combination of textures and flavors. The rich, chocolatey brownie base is complemented by a creamy cheesecake filling, and topped with a generous drizzle of hot fudge. Each bite is a harmonious blend of sweetness and richness, making it hard to resist going back for more. Plus, they are incredibly easy to make, requiring just one bowl for the brownie batter, which means less cleanup and more time enjoying these delightful treats!
Shopping List
- 1 cup unsalted butter
- 1 1/4 cups semisweet chocolate chips or milk chocolate
- 3/4 cup unsweetened cocoa powder
- 2 cups granulated sugar
- 1/4 cup brown sugar, packed
- 1 teaspoon vanilla extract
- 1/2 teaspoon salt
- 4 large eggs
- 1 1/4 cups all-purpose flour
- 1 1/2 cups mini chocolate chips or additional chocolate chips or chopped peanut butter cups, for topping
- 8 ounces cream cheese, softened
- 1 jar about 12-16 ounces hot fudge topping
Prep & Cook Tools
- Mixing bowl – To combine the brownie batter and cheesecake layer.
- Whisk or electric mixer – For mixing ingredients smoothly.
- 9×13-inch baking pan – The perfect size for brownies.
- Parchment paper – To line the baking pan for easy removal.
- Spatula – For spreading the batter evenly.
Cooking Hot Fudge Cheesecake Brownies: The Process
Step 1: Preheat the Oven
Start by preheating your oven to 350°F (175°C). This ensures that your brownies bake evenly.
Step 2: Prepare the Baking Pan
Line a 9×13-inch baking pan with parchment paper, leaving some overhang for easy removal later. Lightly grease the parchment paper for good measure.
Step 3: Melt the Chocolate and Butter
In a large mixing bowl, combine the unsalted butter and chocolate chips. Melt them together in the microwave in 30-second intervals, stirring in between until smooth and glossy.
Step 4: Mix in the Sugars
Add the granulated sugar, brown sugar, vanilla extract, and salt to the melted chocolate mixture. Whisk until combined.
Step 5: Add the Eggs
Add the large eggs, one at a time, mixing well after each addition. This helps incorporate air into the batter, giving it a light texture.
Step 6: Incorporate the Dry Ingredients
Sift in the cocoa powder and all-purpose flour. Gently fold the dry ingredients into the wet mixture until just combined. Be careful not to overmix!
Step 7: Fold in Chocolate Chips
Add 1 1/2 cups of mini chocolate chips to the brownie batter and fold them in evenly.
Step 8: Prepare the Cheesecake Layer
In a separate bowl, beat the softened cream cheese until smooth. You can use a whisk or an electric mixer for this. Add a bit of sugar if you like it sweeter, but it’s optional since the brownies will be sweet enough.
Step 9: Layer the Brownie and Cheesecake Mixtures
Pour half of the brownie batter into the prepared baking pan and spread it evenly. Dollop the cheesecake mixture over the brownie layer and gently swirl it using a knife or spatula. Pour the remaining brownie batter on top.
Step 10: Bake the Brownies
Bake in the preheated oven for about 30-35 minutes, or until a toothpick inserted into the center comes out with a few moist crumbs (not wet batter).
Step 11: Top with Hot Fudge
Once the brownies are baked, remove them from the oven and let them cool slightly. Drizzle the hot fudge topping generously over the top while still warm.
Step 12: Cool and Serve
Allow the brownies to cool completely in the pan before lifting them out using the parchment paper. Cut them into squares and enjoy the gooey goodness!
Spring to Winter: Ideas
- Top with fresh berries in spring for a refreshing contrast.
- Serve warm with vanilla ice cream during summer gatherings.
- Incorporate pumpkin spice into the cheesecake layer for a fall twist.
- Drizzle with caramel sauce during the winter holidays for extra indulgence.
Chef’s Notes
- For a richer flavor, consider using dark chocolate chips in the brownie batter.
- Make sure your cream cheese is at room temperature to ensure a smooth cheesecake layer.
- Feel free to customize the toppings; crushed nuts or sprinkles can add a fun touch!
- These brownies are best enjoyed fresh but can be stored for later indulgence.
How to Store & Reheat
Store any leftover Hot Fudge Cheesecake Brownies in an airtight container in the refrigerator for up to 5 days. To reheat, simply microwave a brownie for about 10-15 seconds until warm. Pair it with a scoop of ice cream for an extra treat!
Common Qs About Hot Fudge Cheesecake Brownies
Can I use a different type of chocolate for the brownies?
Absolutely! You can use milk chocolate, dark chocolate, or even white chocolate chips depending on your preference.
Can I make these brownies ahead of time?
Yes, you can prepare the brownies a day in advance. Just store them in the refrigerator and bring them to room temperature before serving.
Can I freeze Hot Fudge Cheesecake Brownies?
Yes, these brownies freeze well! Wrap them tightly in plastic wrap and then in aluminum foil. They can be frozen for up to 3 months. Thaw them in the refrigerator before serving.
What can I use instead of cream cheese?
You can substitute the cream cheese with a vegan cream cheese alternative or even a mixture of silken tofu and a bit of lemon juice for a dairy-free option.
Keep Cooking
- Sally’s Baking Addiction – For more decadent dessert ideas.
- Pinch of Yum – Explore a variety of delicious recipes.
- Minimalist Baker – Discover simple, quick, and delicious recipes.
Hungry for More?
If you’re craving more chocolatey goodness or looking to impress your friends and family, these Hot Fudge Cheesecake Brownies are the perfect treat! Each layer brings something special to the table, and the combination is sure to be a crowd-pleaser at any occasion. So, roll up your sleeves and get baking – your taste buds will thank you!
Indulge in the rich flavors and delightful textures of these brownies, and don’t forget to share them with loved ones! You might just find that this recipe becomes a staple in your dessert repertoire. Enjoy!
Hot Fudge Cheesecake Brownies
Ingredients
Equipment
Method
- Step 1: Preheat the Oven - Start by preheating your oven to 350°F (175°C). This ensures that your brownies bake evenly.
- Step 2: Prepare the Baking Pan - Line a 9x13-inch baking pan with parchment paper, leaving some overhang for easy removal later. Lightly grease the parchment paper for good measure.
- Step 3: Melt the Chocolate and Butter - In a large mixing bowl, combine the unsalted butter and chocolate chips. Melt them together in the microwave in 30-second intervals, stirring in between until smooth and glossy.
- Step 4: Mix in the Sugars - Add the granulated sugar, brown sugar, vanilla extract, and salt to the melted chocolate mixture. Whisk until combined.
- Step 5: Add the Eggs - Add the large eggs, one at a time, mixing well after each addition. This helps incorporate air into the batter, giving it a light texture.
- Step 6: Incorporate the Dry Ingredients - Sift in the cocoa powder and all-purpose flour. Gently fold the dry ingredients into the wet mixture until just combined. Be careful not to overmix!
- Step 7: Fold in Chocolate Chips - Add 1 1/2 cups of mini chocolate chips to the brownie batter and fold them in evenly.
- Step 8: Prepare the Cheesecake Layer - In a separate bowl, beat the softened cream cheese until smooth. You can use a whisk or an electric mixer for this. Add a bit of sugar if you like it sweeter, but it’s optional since the brownies will be sweet enough.
- Step 9: Layer the Brownie and Cheesecake Mixtures - Pour half of the brownie batter into the prepared baking pan and spread it evenly. Dollop the cheesecake mixture over the brownie layer and gently swirl it using a knife or spatula. Pour the remaining brownie batter on top.
- Step 10: Bake the Brownies - Bake in the preheated oven for about 30-35 minutes, or until a toothpick inserted into the center comes out with a few moist crumbs (not wet batter).
- Step 11: Top with Hot Fudge - Once the brownies are baked, remove them from the oven and let them cool slightly. Drizzle the hot fudge topping generously over the top while still warm.
- Step 12: Cool and Serve - Allow the brownies to cool completely in the pan before lifting them out using the parchment paper. Cut them into squares and enjoy the gooey goodness!
Notes
- For a richer flavor, consider using dark chocolate chips in the brownie batter.
- Make sure your cream cheese is at room temperature to ensure a smooth cheesecake layer.
- Feel free to customize the toppings; crushed nuts or sprinkles can add a fun touch!