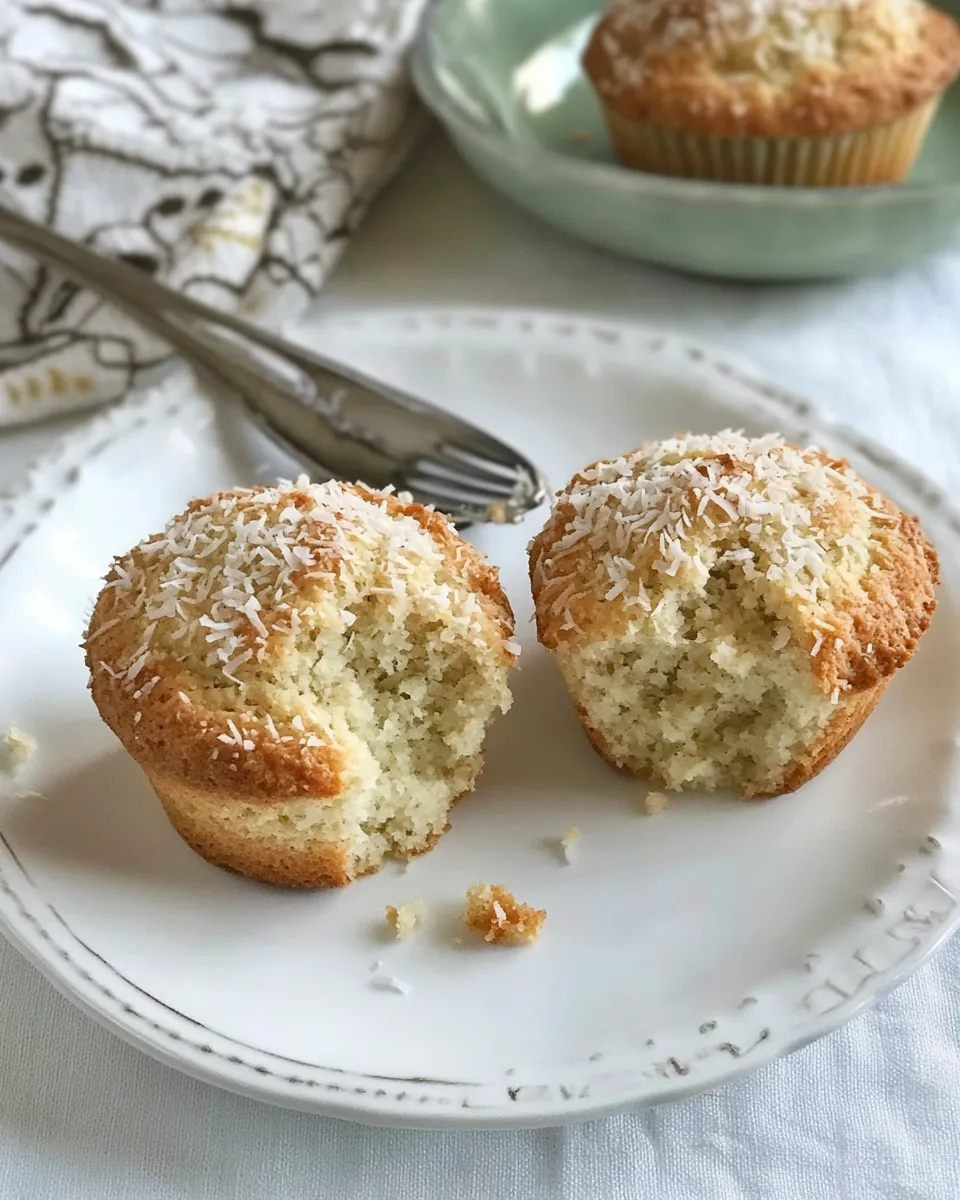
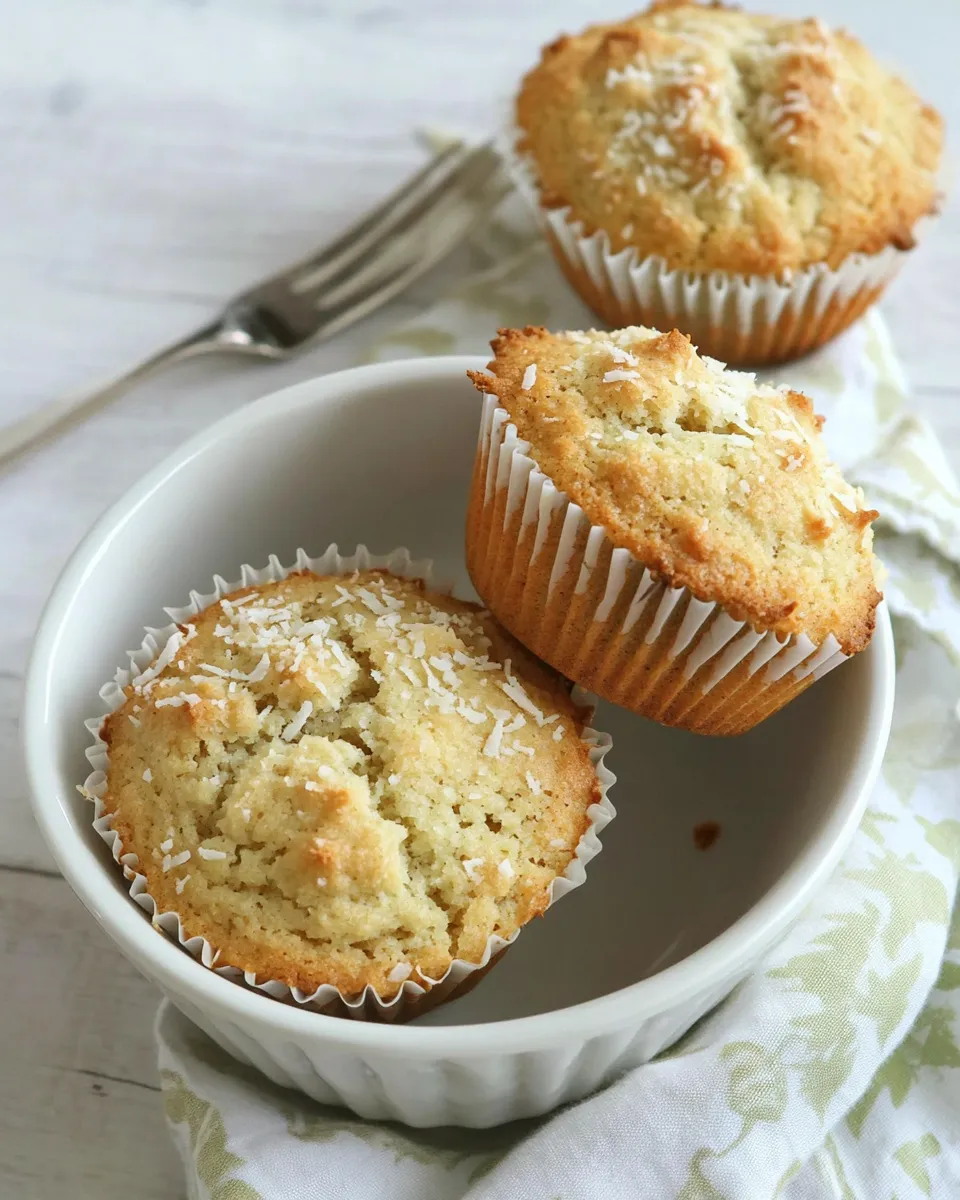
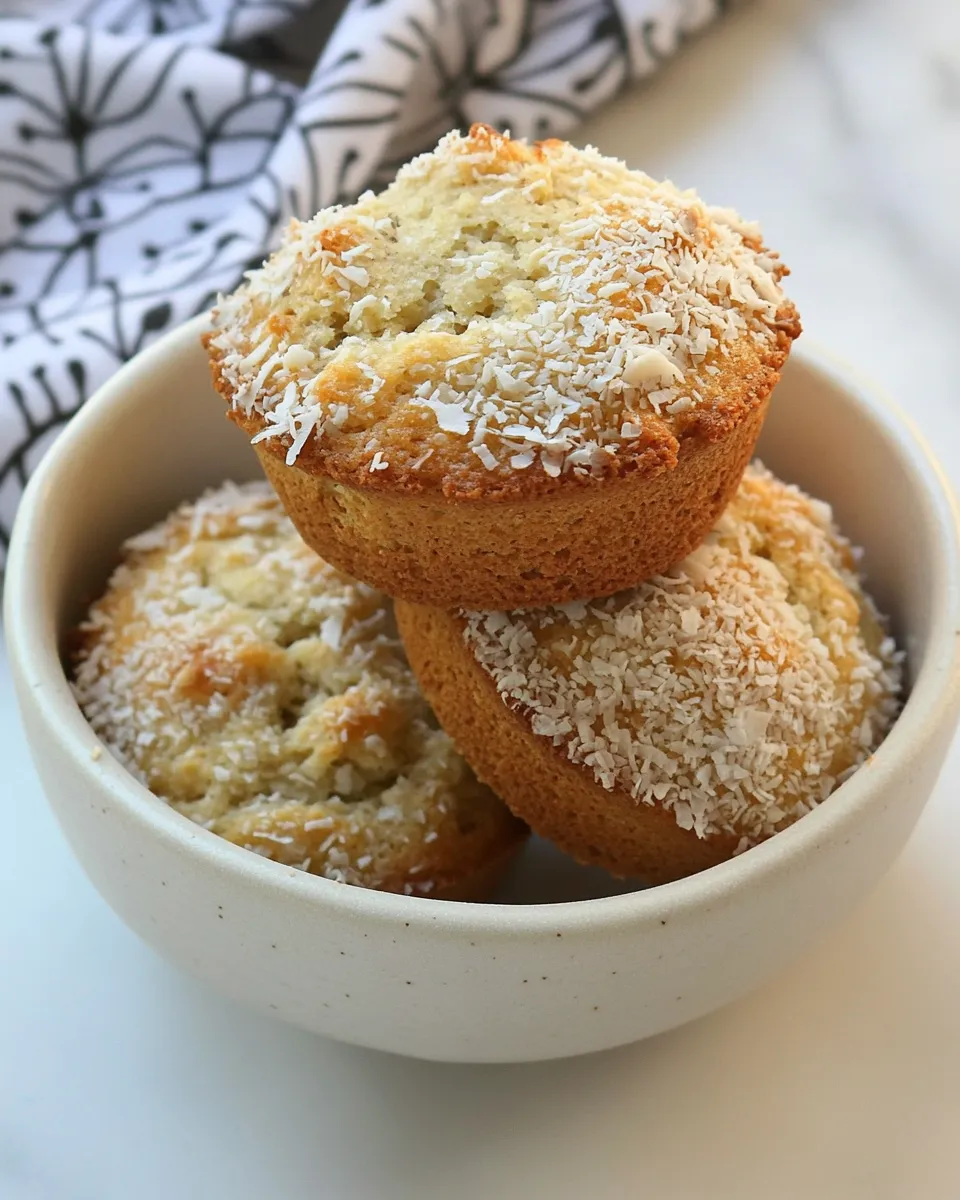
Gluten-Free Coconut Muffins
If you’re on the hunt for a delightful breakfast treat or a snack that pairs perfectly with your afternoon coffee, look no further than these Gluten-Free Coconut Muffins. They are fluffy, moist, and bursting with the tropical flavor of coconut. Perfectly sweetened with coconut sugar and made with wholesome ingredients, these muffins are not just gluten-free but also a fantastic option for anyone wanting to indulge in a treat that feels indulgent yet nourishing. Let’s dive into the recipe and discover why these muffins are a must-try!
Why Cooks Rave About It
There’s something magical about the combination of coconut and baked goods. The subtle sweetness of coconut flour and the chewiness of shredded coconut creates a texture that’s both comforting and satisfying. Here are a few reasons why these Gluten-Free Coconut Muffins have become a favorite among home bakers:
– They’re incredibly easy to make, requiring just one bowl and minimal prep time.
– The muffins are naturally gluten-free, making them a great choice for those with dietary restrictions.
– Coconut sugar adds a caramel-like sweetness that pairs beautifully with the coconut flavor.
– They’re versatile enough to be enjoyed for breakfast, as a snack, or even as a dessert.
The Essentials
To create the perfect batch of Gluten-Free Coconut Muffins, gather the following ingredients:
- 1 cup gluten-free all-purpose flour
- 1/2 cup coconut flour
- 2 tsp baking powder
- 1 tsp baking soda
- 1 cup coconut sugar
- 1/2 tsp salt
- 1 cup unsweetened shredded coconut, separated
- 2 large eggs
- 1/3 cup coconut oil, melted and cooled
- 1 (14-oz) can full-fat canned coconut milk
- 1 tsp pure vanilla extract
Make sure to measure each ingredient carefully to achieve the best results!
Recommended Tools
Before you start baking, gather these essential tools:
- Mixing Bowl: A large bowl is perfect for combining dry and wet ingredients.
- Whisk: A whisk helps to mix ingredients thoroughly, ensuring a smooth batter.
- Muffin Tin: A standard muffin tin will help shape and bake your muffins evenly.
- Silicone Muffin Liners: These make for easy removal and cleanup, plus they’re reusable!
Gluten-Free Coconut Muffins — Do This Next
Let’s get into the nitty-gritty of how to make these delicious muffins. Follow these simple steps for success:
Step 1: Preheat the Oven
Preheat your oven to 350°F (175°C). This ensures the muffins bake evenly.
Step 2: Prepare the Muffin Tin
Line your muffin tin with silicone liners or paper liners. This will make it easier to remove the muffins once baked.
Step 3: Combine Dry Ingredients
In a large mixing bowl, whisk together the gluten-free all-purpose flour, coconut flour, baking powder, baking soda, coconut sugar, and salt. Make sure everything is well combined.
Step 4: Mix Wet Ingredients
In another bowl, whisk together the eggs, melted coconut oil, canned coconut milk, and vanilla extract until smooth.
Step 5: Combine Wet and Dry Ingredients
Pour the wet ingredients into the bowl with the dry ingredients. Gently fold the mixture until just combined. Be careful not to overmix!
Step 6: Add Shredded Coconut
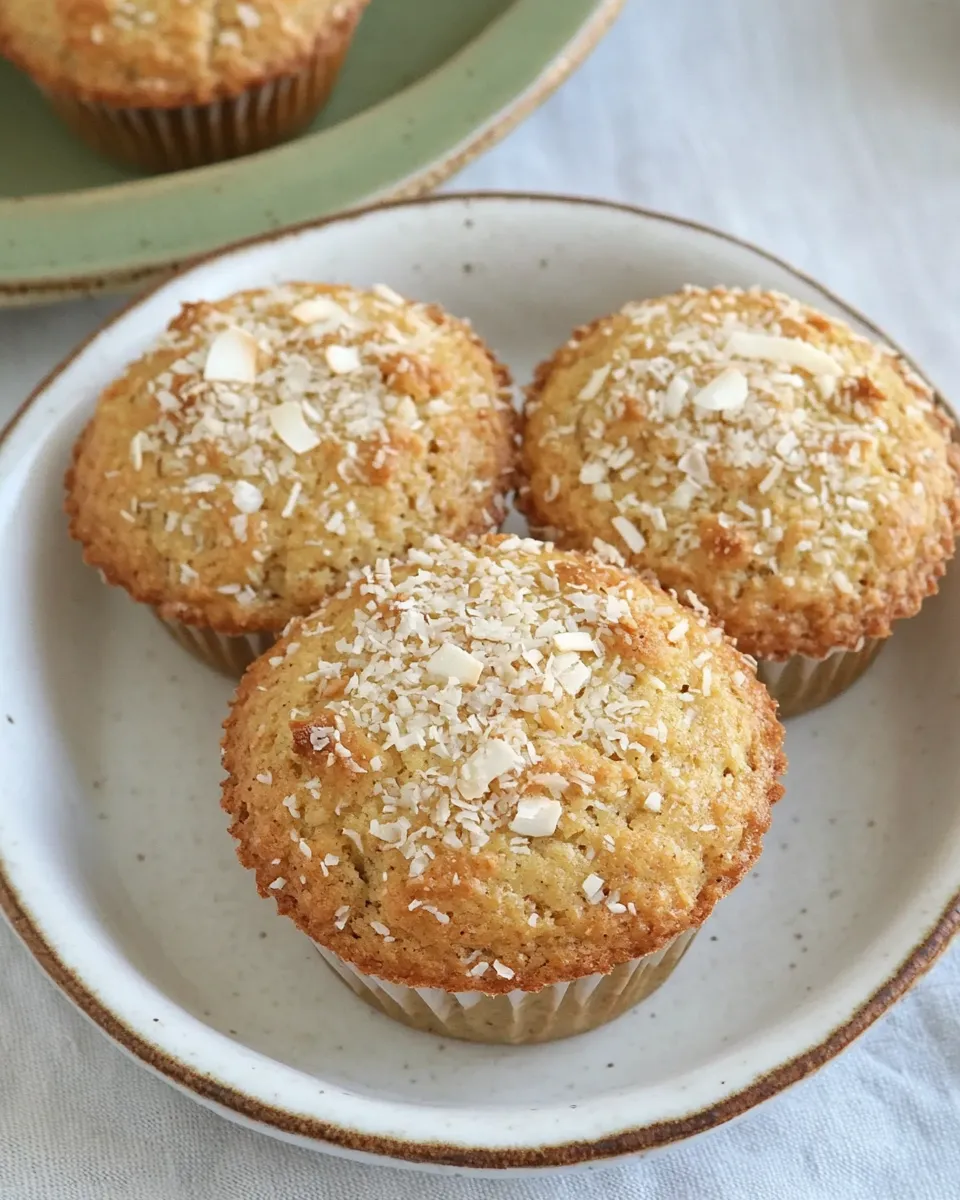
Fold in 3/4 cup of the unsweetened shredded coconut into the batter, reserving the remaining 1/4 cup for topping.
Step 7: Fill the Muffin Tin
Scoop the batter into the prepared muffin tin, filling each cup about 3/4 full. Sprinkle the reserved shredded coconut on top of each muffin for a lovely finish.
Step 8: Bake
Place the muffin tin in the preheated oven and bake for 20-25 minutes, or until a toothpick inserted into the center of a muffin comes out clean.
Step 9: Cool and Enjoy
Once baked, remove the muffins from the oven and let them cool in the tin for about 5 minutes. Then, transfer them to a wire rack to cool completely. Enjoy warm or at room temperature!
Seasonal Serving Ideas
These Gluten-Free Coconut Muffins are incredibly versatile. Here are some seasonal serving suggestions:
- Spring: Serve with fresh berries and a dollop of coconut whipped cream.
- Summer: Pair with tropical fruit salad for a refreshing breakfast.
- Fall: Add spices like cinnamon or nutmeg for a cozy autumn twist.
- Winter: Enjoy warm with a drizzle of honey or maple syrup for added sweetness.
What I Learned Testing
Baking these Gluten-Free Coconut Muffins was a delightful experience, and I learned a few key things along the way:
- Texture Matters: Using a combination of gluten-free all-purpose flour and coconut flour creates a moist yet fluffy muffin.
- Don’t Skip the Coconut Milk: The full-fat canned coconut milk adds richness and enhances the coconut flavor.
- Mixing Technique: Be gentle when mixing the batter to keep the muffins light and airy.
- Storage is Key: These muffins stay fresh for days when stored properly.
Meal Prep & Storage Notes
To make your baking experience as seamless as possible, consider these meal prep and storage tips:
- Make Ahead: These muffins can be made in advance and stored in an airtight container at room temperature for up to 3 days.
- Freezing: To freeze, place the cooled muffins in a single layer on a baking sheet. Once frozen, transfer them to a freezer-safe bag and store for up to 3 months.
- Reheating: Simply pop them in the microwave for 15-20 seconds or warm them in the oven at 350°F for a few minutes.
Ask & Learn
Can I replace coconut sugar with another sweetener?
Yes, you can use brown sugar or cane sugar as a substitute, but keep in mind that the flavor may be slightly different, and the color of the muffins might change as well.
Is there a nut-free option for this recipe?
Yes! This recipe is already nut-free, but ensure that the gluten-free flour blend does not contain any nuts.
Can I use fresh coconut instead of shredded coconut?
Yes, fresh coconut can be used, but ensure it is finely grated to maintain the texture of the muffins.
What can I add to this recipe for extra flavor?
You can add ingredients like chocolate chips, chopped nuts, or dried fruit for an additional flavor boost!
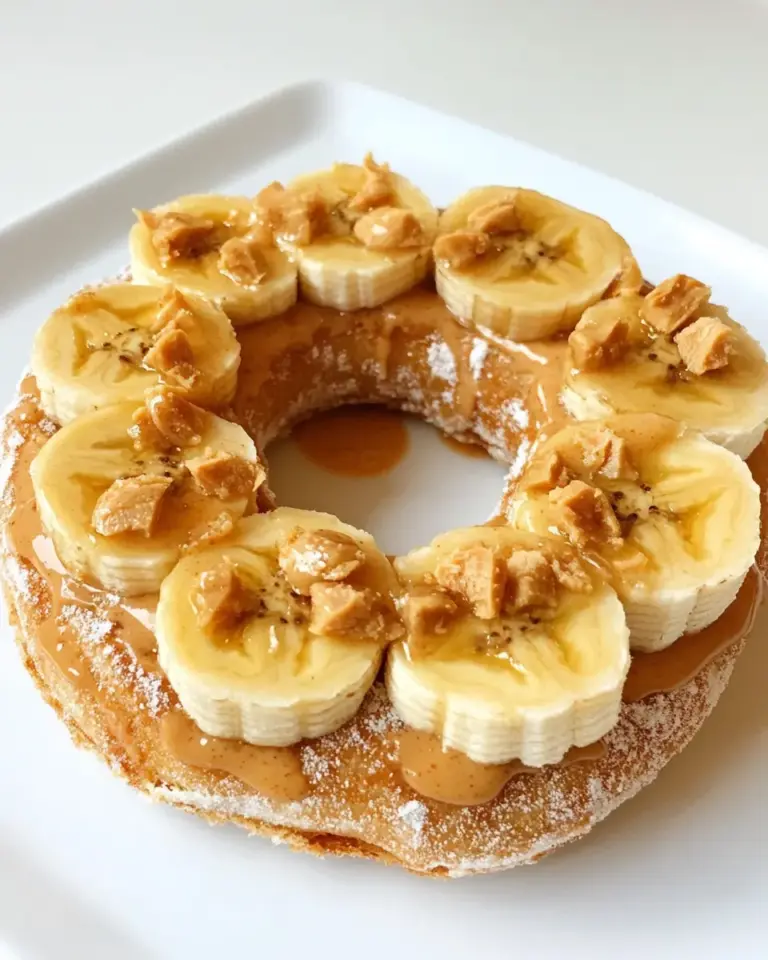
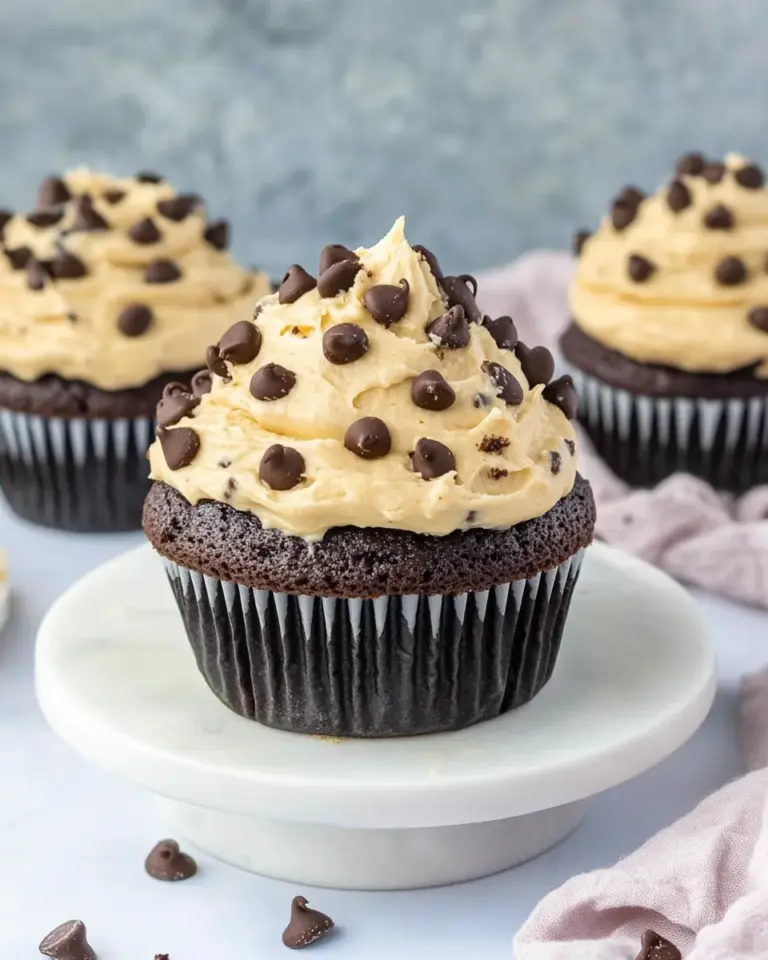
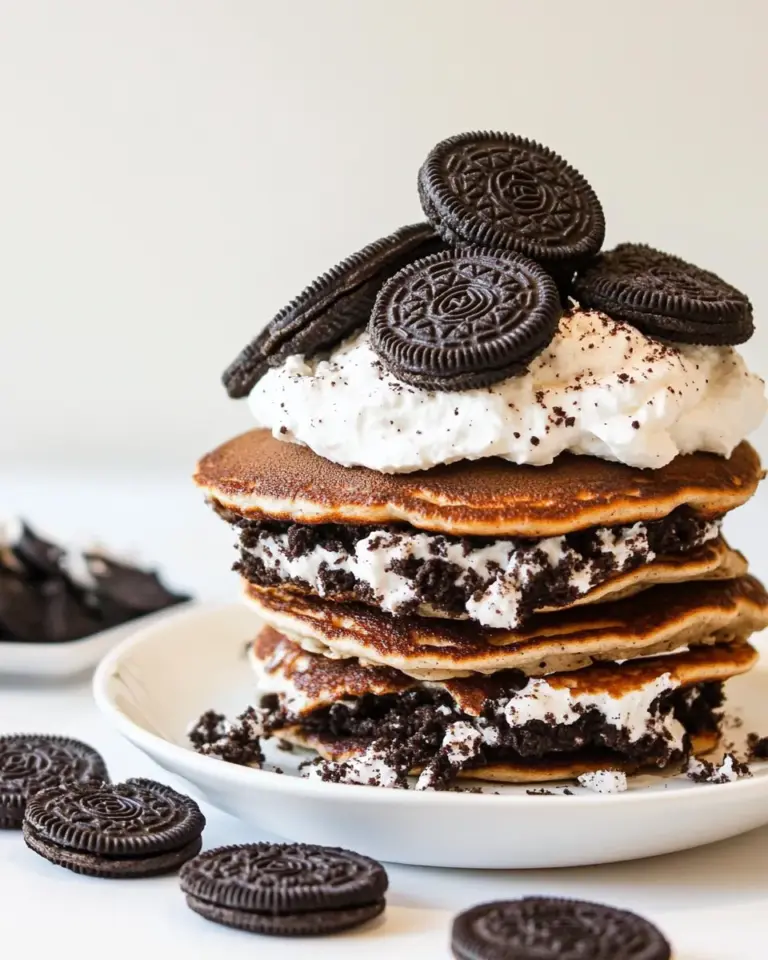
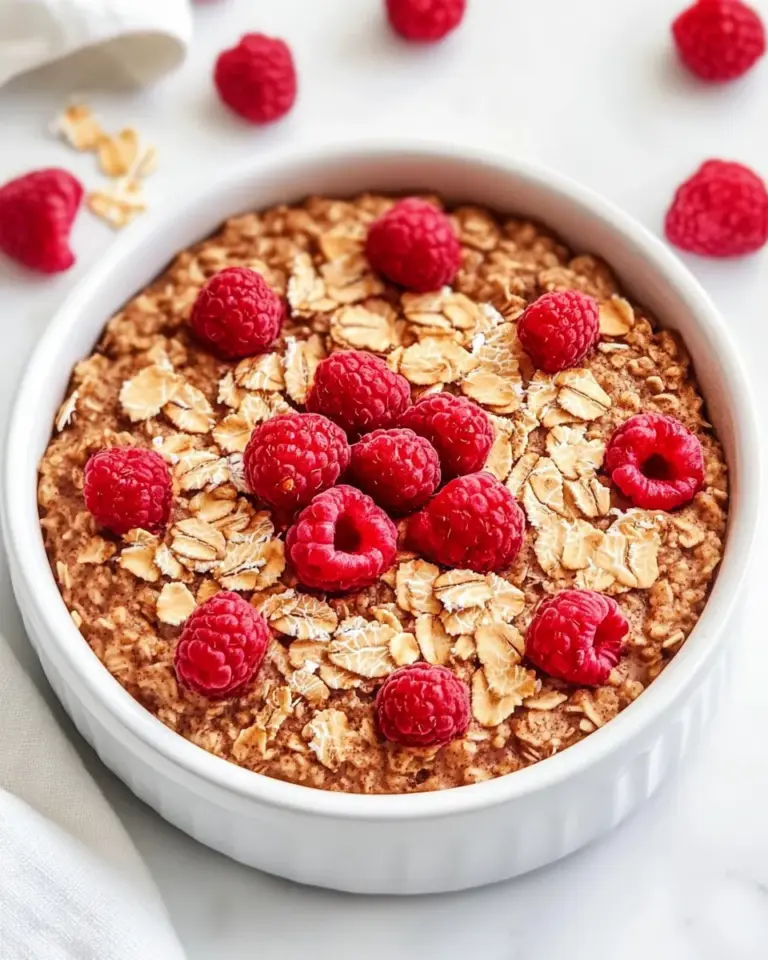
Desserts to Finish
If you’re looking for more delicious treats to complement your Gluten-Free Coconut Muffins, check out these recipes:
Serve & Enjoy
Now that you’ve mastered the art of making Gluten-Free Coconut Muffins, it’s time to gather your family and friends, serve them warm, and watch their faces light up with delight. These muffins are perfect for any occasion, whether it’s a cozy brunch or a simple afternoon snack. Enjoy the bliss of homemade goodness and the warm, inviting aroma of coconut wafting through your kitchen. Happy baking!
Gluten-Free Coconut Muffins
Ingredients
Equipment
Method
- Step 1: Preheat the Oven. Preheat your oven to 350°F (175°C). This ensures the muffins bake evenly.
- Step 2: Prepare the Muffin Tin. Line your muffin tin with silicone liners or paper liners.
- Step 3: Combine Dry Ingredients. In a large mixing bowl, whisk together the gluten-free all-purpose flour, coconut flour, baking powder, baking soda, coconut sugar, and salt.
- Step 4: Mix Wet Ingredients. In another bowl, whisk together the eggs, melted coconut oil, canned coconut milk, and vanilla extract until smooth.
- Step 5: Combine Wet and Dry Ingredients. Pour the wet ingredients into the bowl with the dry ingredients. Gently fold the mixture until just combined.
- Step 6: Add Shredded Coconut. Fold in 3/4 cup of the unsweetened shredded coconut into the batter, reserving the remaining 1/4 cup for topping.
- Step 7: Fill the Muffin Tin. Scoop the batter into the prepared muffin tin, filling each cup about 3/4 full. Sprinkle the reserved shredded coconut on top of each muffin.
- Step 8: Bake. Place the muffin tin in the preheated oven and bake for 20-25 minutes, or until a toothpick inserted into the center of a muffin comes out clean.
- Step 9: Cool and Enjoy. Once baked, remove the muffins from the oven and let them cool in the tin for about 5 minutes. Then, transfer them to a wire rack to cool completely.
Notes
- These muffins can be made in advance and stored in an airtight container at room temperature for up to 3 days.
- To freeze, place cooled muffins in a single layer on a baking sheet, then transfer to a freezer-safe bag.
- Reheat in the microwave for 15-20 seconds or warm in the oven at 350°F for a few minutes.