
Glazed Donut Recipe
There’s nothing quite like the aroma of freshly made glazed donuts wafting through your kitchen. Whether you’re making them for a special occasion, a weekend treat, or just because, this Glazed Donut Recipe is sure to become a favorite in your household. Soft, fluffy, and coated in a sweet glaze, these donuts are perfect for breakfast, brunch, or a sweet snack any time of the day. Let’s dive into the delightful world of homemade donuts!
Reasons to Love Glazed Donut Recipe

- Freshness: There’s a unique joy in biting into a warm, homemade donut that you just can’t replicate with store-bought versions.
- Customizable: You can easily add different flavors or toppings to personalize your glazed donuts.
- Family Fun: Making donuts can be a fun activity to do with family or friends, creating lasting memories together.
- Perfect Pairing: These donuts are an excellent pairing with coffee or tea, making them a perfect morning treat.
- Simple Ingredients: You likely already have most of the ingredients in your pantry!
What You’ll Need
- 1 cup warm milk (107-110°F)
- 2 teaspoons active dry yeast
- 2 tablespoons granulated sugar, divided
- ½ cup melted butter, cooled
- 2-3 cups bread flour
- 1 teaspoon salt
- Vegetable oil for frying
- 2 cups powdered sugar
- 2 tablespoons whole milk (or more, if needed)
- 1 teaspoon vanilla extract
Hardware & Gadgets
- Mixing Bowl: A large bowl for mixing your dough.
- Whisk: To combine the wet ingredients effectively.
- Rolling Pin: For rolling out the donut dough to your desired thickness.
- Donut Cutter: A donut cutter or two different-sized round cutters to shape your donuts.
- Deep Fryer or Heavy Pot: For frying the donuts to golden perfection.
- Cooling Rack: To let your fried donuts cool and drain excess oil.
Glazed Donut Recipe Cooking Guide
Step 1: Activate the Yeast
In a mixing bowl, combine the warm milk, active dry yeast, and 1 tablespoon of the granulated sugar. Stir gently and let it sit for about 5-10 minutes until it becomes frothy. This indicates that your yeast is active and ready to go.
Step 2: Mix Wet Ingredients
Once the yeast is activated, add the melted butter and remaining tablespoon of sugar to the bowl. Mix well to combine all the wet ingredients.
Step 3: Combine Dry Ingredients
In another bowl, whisk together 2 cups of bread flour and salt. Gradually add the flour mixture to the wet ingredients, stirring until a dough begins to form. If the dough is too sticky, add more flour, 1 tablespoon at a time, until it pulls away from the sides of the bowl.
Step 4: Knead the Dough
Transfer the dough onto a floured surface and knead for about 5-7 minutes until it becomes smooth and elastic. Shape it into a ball.
Step 5: First Rise
Place the dough in a greased bowl, cover it with a clean kitchen towel, and let it rise in a warm place for about 1 hour or until it has doubled in size.
Step 6: Shape the Donuts
Once the dough has risen, punch it down to release the air. Roll it out on a floured surface to about ½-inch thick. Use a donut cutter to cut out the donuts and holes. Place them on a floured baking sheet.
Step 7: Second Rise
Cover the shaped donuts with the kitchen towel again and let them rise for another 30 minutes until they puff up.
Step 8: Fry the Donuts
In a deep fryer or heavy pot, heat vegetable oil to 375°F. Carefully drop the donuts into the hot oil, a few at a time. Fry for about 1-2 minutes on each side or until they are golden brown. Use a slotted spoon to remove them and transfer them to a cooling rack.
Step 9: Prepare the Glaze
In a medium bowl, whisk together the powdered sugar, whole milk, and vanilla extract until smooth. If the glaze is too thick, add more milk, one tablespoon at a time, until you reach your desired consistency.
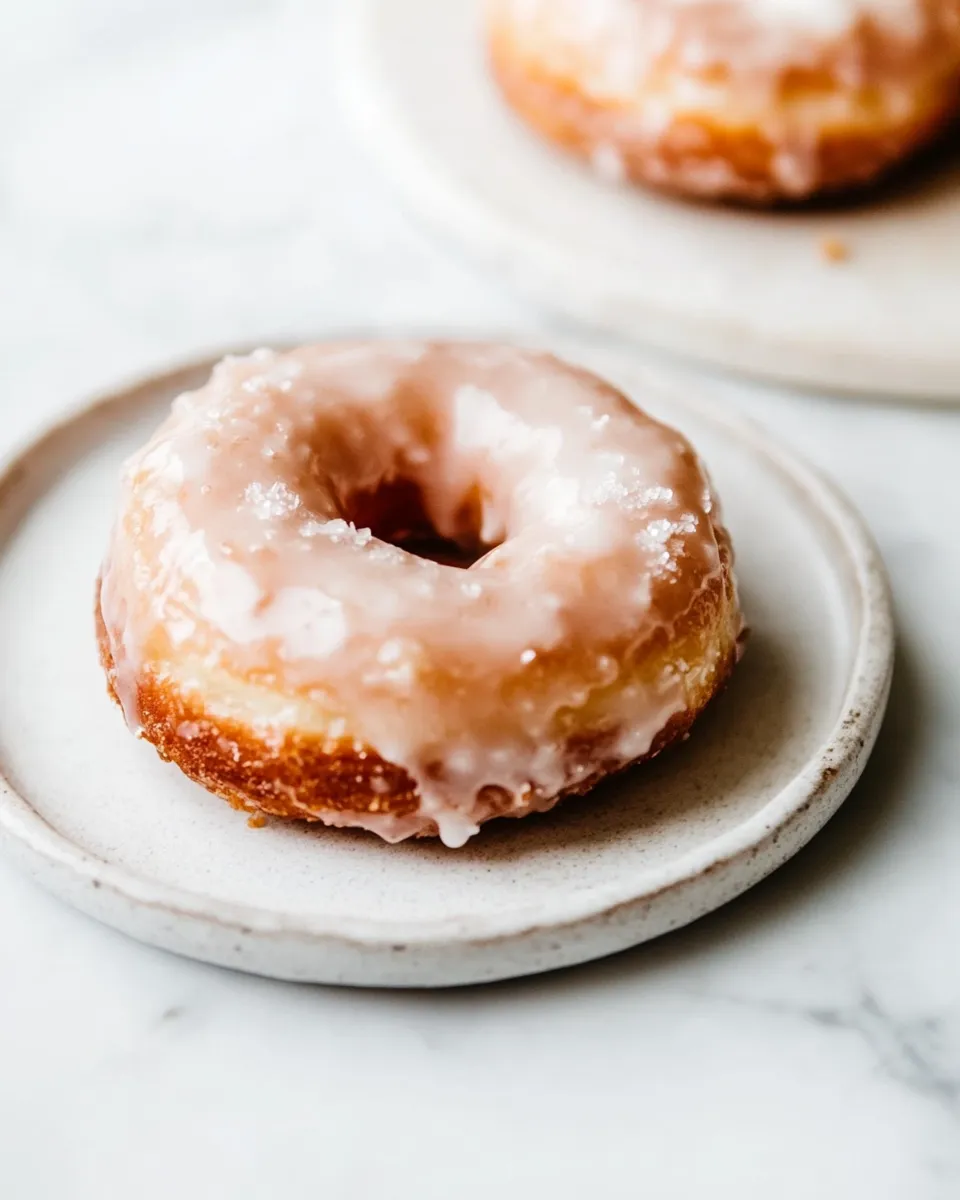
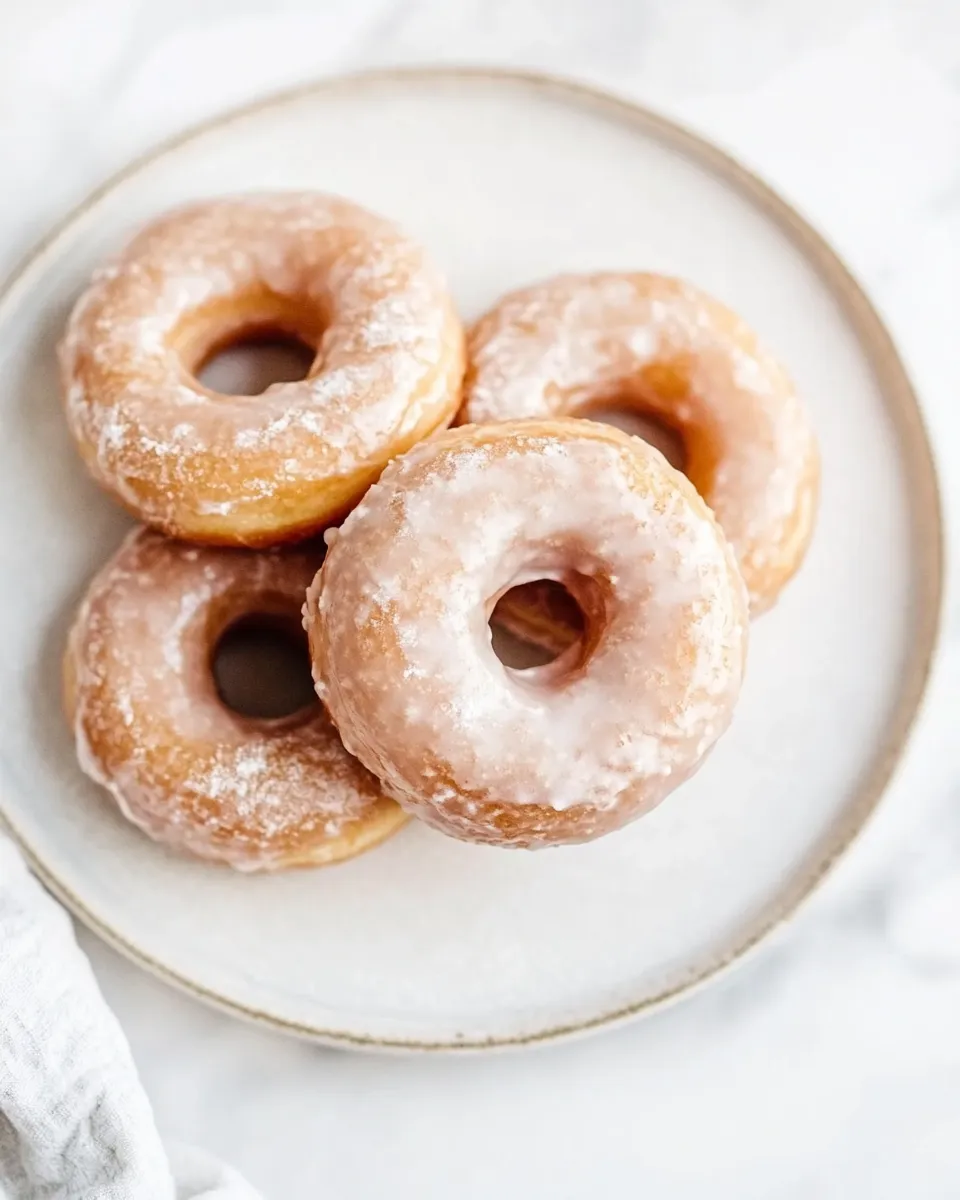
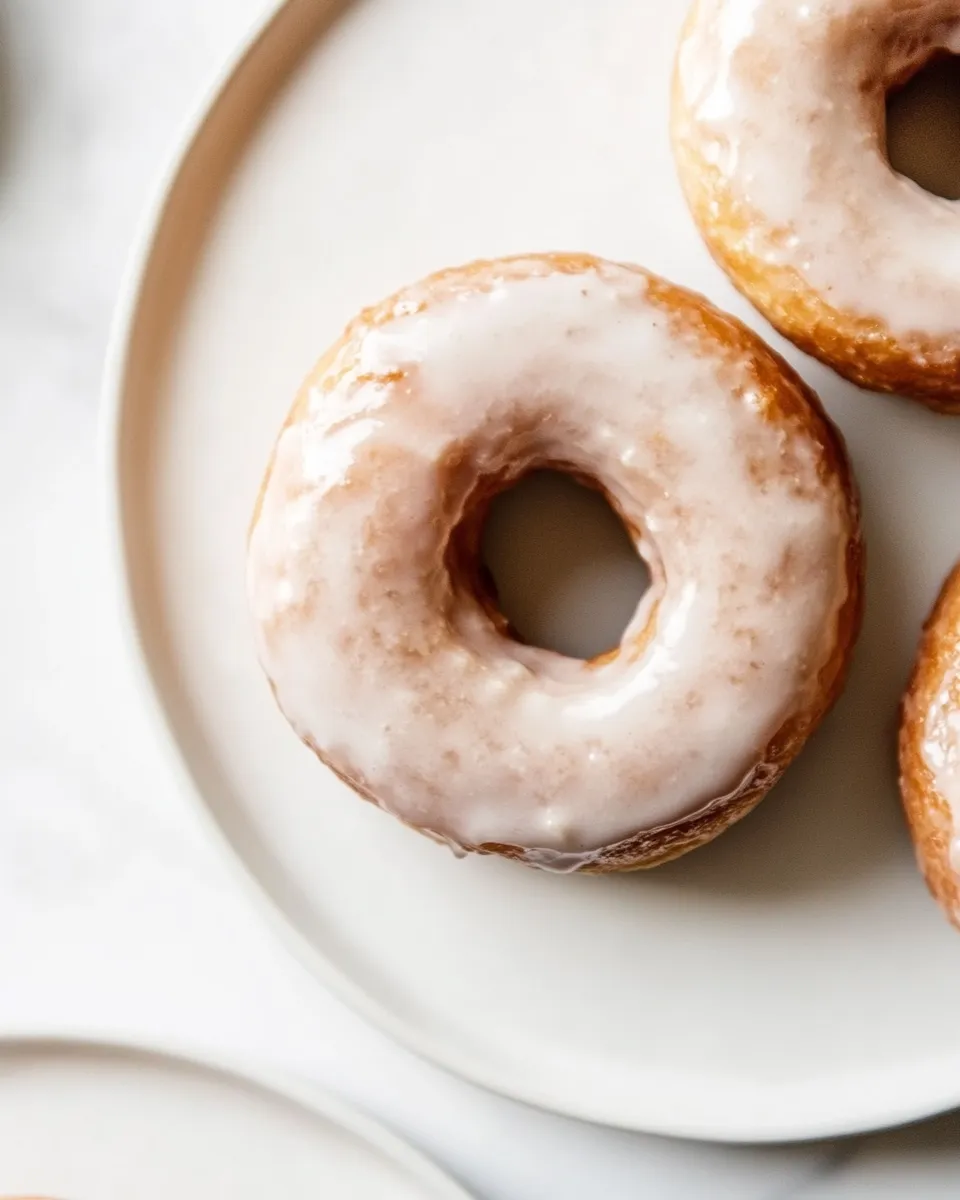
Step 10: Glaze the Donuts
While the donuts are still warm, dip the tops into the glaze, allowing the excess to drip off. Place the glazed donuts back on the cooling rack to set.
Spring to Winter: Ideas
- Add a dash of cinnamon to the glaze for a warm, spiced flavor.
- Top with chopped nuts or sprinkles for added texture and visual appeal.
- Fill the donuts with jam or cream for a delightful surprise.
- Experiment with different flavored extracts, like almond or lemon, in the glaze.
- Use seasonal ingredients, such as pumpkin spice in Fall or peppermint in Winter, to keep things festive.
Cook’s Commentary
Making glazed donuts at home might seem intimidating at first, but it’s truly an enjoyable process that yields delicious results. The key to success is patience, especially during the rising times. Don’t rush it! Allowing the dough to rise properly will lead to light and airy donuts. Feel free to get creative with your toppings and glazes. The options are endless, and that’s part of the fun of making donuts at home!
Cooling, Storing & Rewarming
Once your donuts are glazed and set, they are best enjoyed fresh the same day. However, if you have leftovers, store them in an airtight container at room temperature for up to 2 days. To rewarm, simply pop them in the microwave for a few seconds or place them in a preheated oven at 350°F for a few minutes until warm. Just be careful not to overheat them, or they may become tough.
Troubleshooting Q&A
What if my donuts are too dense?
If your donuts turn out dense, it may be because the dough was not kneaded enough or did not rise properly. Make sure to knead until smooth and allow sufficient rising time.
Why did my donuts absorb too much oil?
Donuts absorbing excess oil could be due to the oil being not hot enough. Ensure the oil temperature is around 375°F for proper frying.
How can I make my donuts more flavorful?
To enhance flavor, consider adding spices like nutmeg or cinnamon to the dough, or infusing the glaze with extracts like almond or citrus.
Can I freeze glazed donuts?
Yes, you can freeze unglazed donuts. Place them in an airtight container and freeze for up to 2 months. When ready to enjoy, thaw and glaze them fresh!
One Pan, More Ideas
- Vanilla Custard Donuts
- Chocolate Glazed Donuts
- Maple Bacon Donuts
- Berry Filled Donuts
- Seasonal Donuts Ideas
Ready to Cook?
With all the necessary ingredients and equipment at your disposal, you’re just a few steps away from indulging in the warm, sweet goodness of homemade glazed donuts. Gather your friends or family, roll up your sleeves, and let the culinary adventure begin! Enjoy the process and the delicious rewards that follow, and don’t forget to share your creations with your loved ones. Happy baking!
Glazed Donut Recipe
Ingredients
Equipment
Method
- In a mixing bowl, combine the warm milk, active dry yeast, and 1 tablespoon of the granulated sugar. Stir gently and let it sit for about 5-10 minutes until it becomes frothy.
- Add the melted butter and remaining tablespoon of sugar to the bowl. Mix well to combine all the wet ingredients.
- In another bowl, whisk together 2 cups of bread flour and salt. Gradually add the flour mixture to the wet ingredients, stirring until a dough begins to form.
- Transfer the dough onto a floured surface and knead for about 5-7 minutes until it becomes smooth and elastic. Shape it into a ball.
- Place the dough in a greased bowl, cover it with a clean kitchen towel, and let it rise in a warm place for about 1 hour or until it has doubled in size.
- Once the dough has risen, punch it down to release the air. Roll it out on a floured surface to about ½-inch thick. Use a donut cutter to cut out the donuts and holes.
- Cover the shaped donuts with the kitchen towel again and let them rise for another 30 minutes until they puff up.
- In a deep fryer or heavy pot, heat vegetable oil to 375°F. Carefully drop the donuts into the hot oil, a few at a time. Fry for about 1-2 minutes on each side or until golden brown.
- In a medium bowl, whisk together the powdered sugar, whole milk, and vanilla extract until smooth. Adjust consistency as needed.
- While the donuts are still warm, dip the tops into the glaze, allowing the excess to drip off. Place the glazed donuts back on the cooling rack to set.
Notes
- These donuts are best enjoyed fresh the same day.
- Store leftovers in an airtight container at room temperature for up to 2 days.
- Rewarm in the microwave or a preheated oven to enjoy them again.