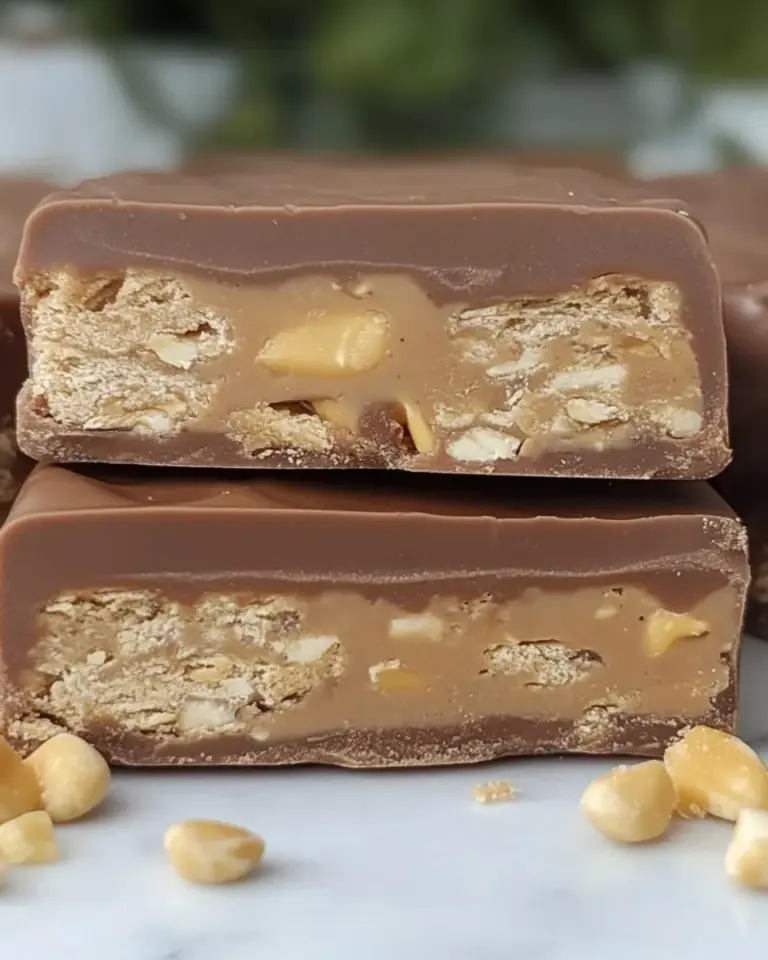
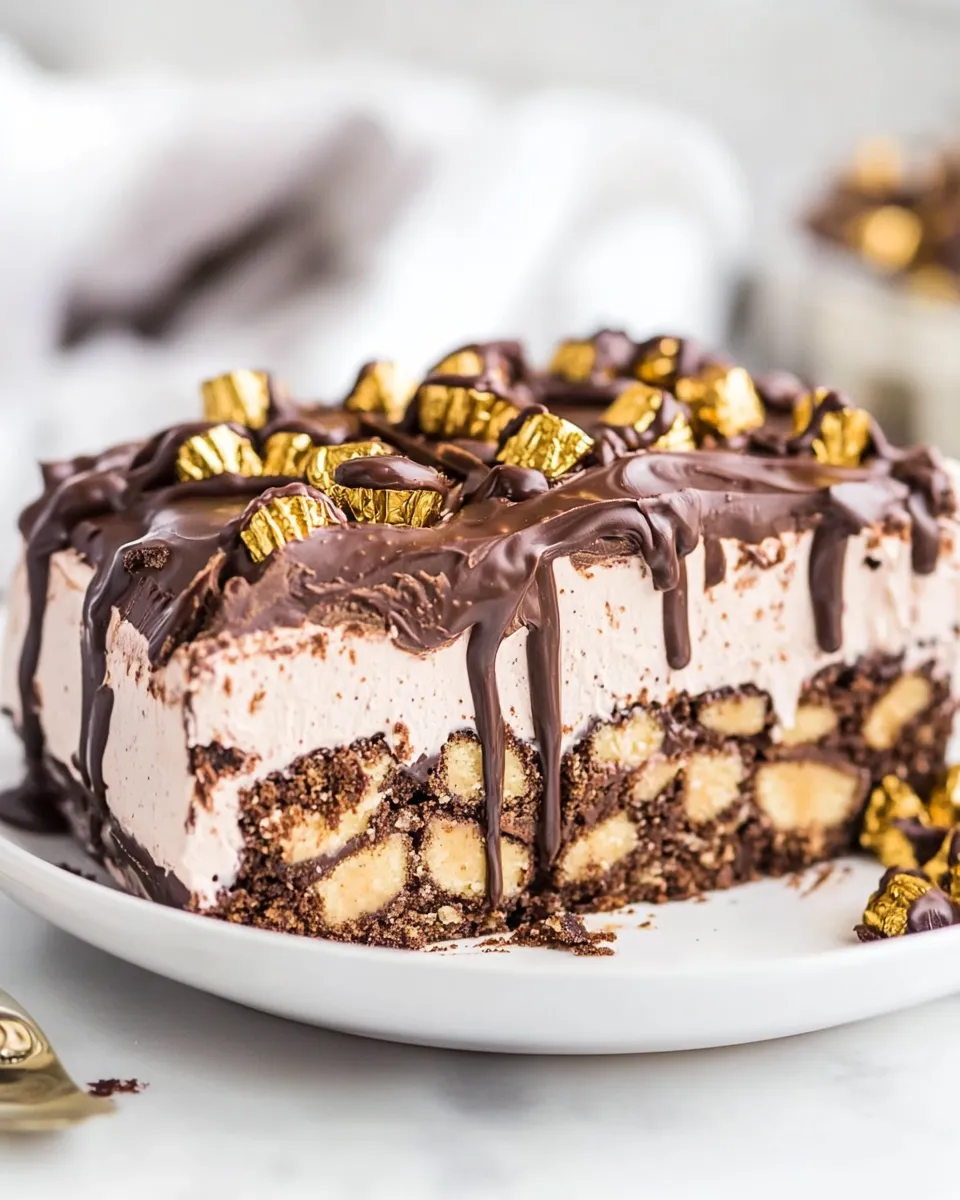
Fudgy Chocolate Peanut Butter Cup Icebox Cake
When it comes to decadent desserts, few combinations can rival the rich partnership of chocolate and peanut butter. This Fudgy Chocolate Peanut Butter Cup Icebox Cake is a no-bake delight that promises to satisfy any sweet tooth. With layers of creamy ricotta and cream cheese, melting chocolate, and crunchy peanut butter cups, this cake is as delicious as it is easy to make. Perfect for gatherings or a special treat at home, you’ll find yourself coming back for seconds – and thirds!
Why It Works Every Time
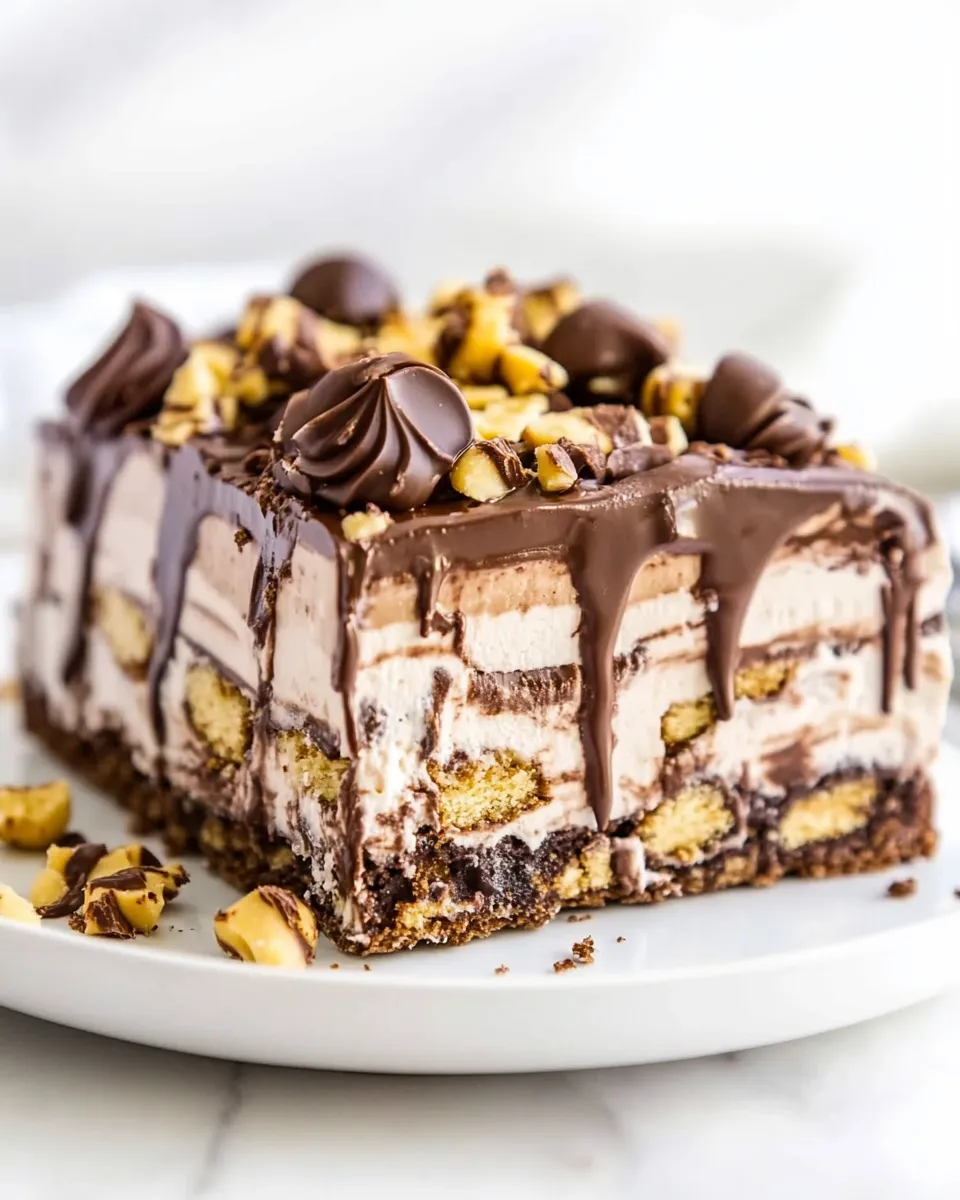
This Fudgy Chocolate Peanut Butter Cup Icebox Cake has a few key elements that ensure its success. The whipped ricotta and cream cheese create a luscious, creamy filling that pairs beautifully with the rich chocolate. The addition of melted chocolate chips adds depth of flavor, while the chopped peanut butter cups provide delightful texture and bursts of peanut butter goodness. The icebox technique allows the flavors to meld together beautifully, resulting in a dessert that’s both refreshing and indulgent.
Gather These Ingredients
- Two 15-ounce containers whole or low-fat ricotta cheese: This forms the creamy base of the cake.
- One 8-ounce package cream cheese (regular or low-fat), softened: Adds richness and a smooth texture.
- One 12-ounce package chocolate chips (semi-sweet or milk chocolate), melted: For that fudgy, chocolatey goodness.
- 10 regular-sized peanut butter cups, chopped into chunks: The star ingredient that brings the peanut butter flavor.
- 2 cups fudge sauce: To enhance the chocolate experience and add moisture.
- More chopped peanut butter cups (for topping), if desired: Because who can resist extra peanut butter cups?
Essential Tools for Success
- Mixing bowls: You’ll need a couple for combining the ingredients.
- Electric mixer: Makes whipping the cream cheese and ricotta a breeze.
- Spatula: For folding in the chocolate and peanut butter cup pieces.
- 9×13 inch baking dish: The perfect vessel for layering your cake.
- Plastic wrap: To cover the cake while it sets in the refrigerator.
Mastering Fudgy Chocolate Peanut Butter Cup Icebox Cake: How-To
Step 1: Prepare the Filling
In a large mixing bowl, combine the softened cream cheese and ricotta cheese. Using an electric mixer, beat on medium speed until the mixture is smooth and creamy.
Step 2: Melt the Chocolate
In a microwave-safe bowl, melt the chocolate chips in 30-second intervals, stirring in between until smooth. Allow the melted chocolate to cool slightly before adding it to the cheese mixture.
Step 3: Combine Everything
Once the chocolate has cooled, pour it into the ricotta and cream cheese mixture. Gently fold the ingredients together until fully combined.
Step 4: Add the Peanut Butter Cups
Fold in the chopped peanut butter cups, reserving a few for the top. This will ensure that every bite has that delightful peanut butter flavor.
Step 5: Assemble the Cake
In your baking dish, spread a layer of fudge sauce on the bottom. Then, add a layer of the chocolate peanut butter filling. Repeat the process, alternating between fudge sauce and the filling, until all ingredients are used, finishing with a layer of the filling on top.
Step 6: Chill
Cover the icebox cake with plastic wrap and refrigerate for at least 4 hours, or overnight if time allows. This chilling period is crucial for the flavors to meld and the cake to set properly.
Step 7: Serve and Enjoy
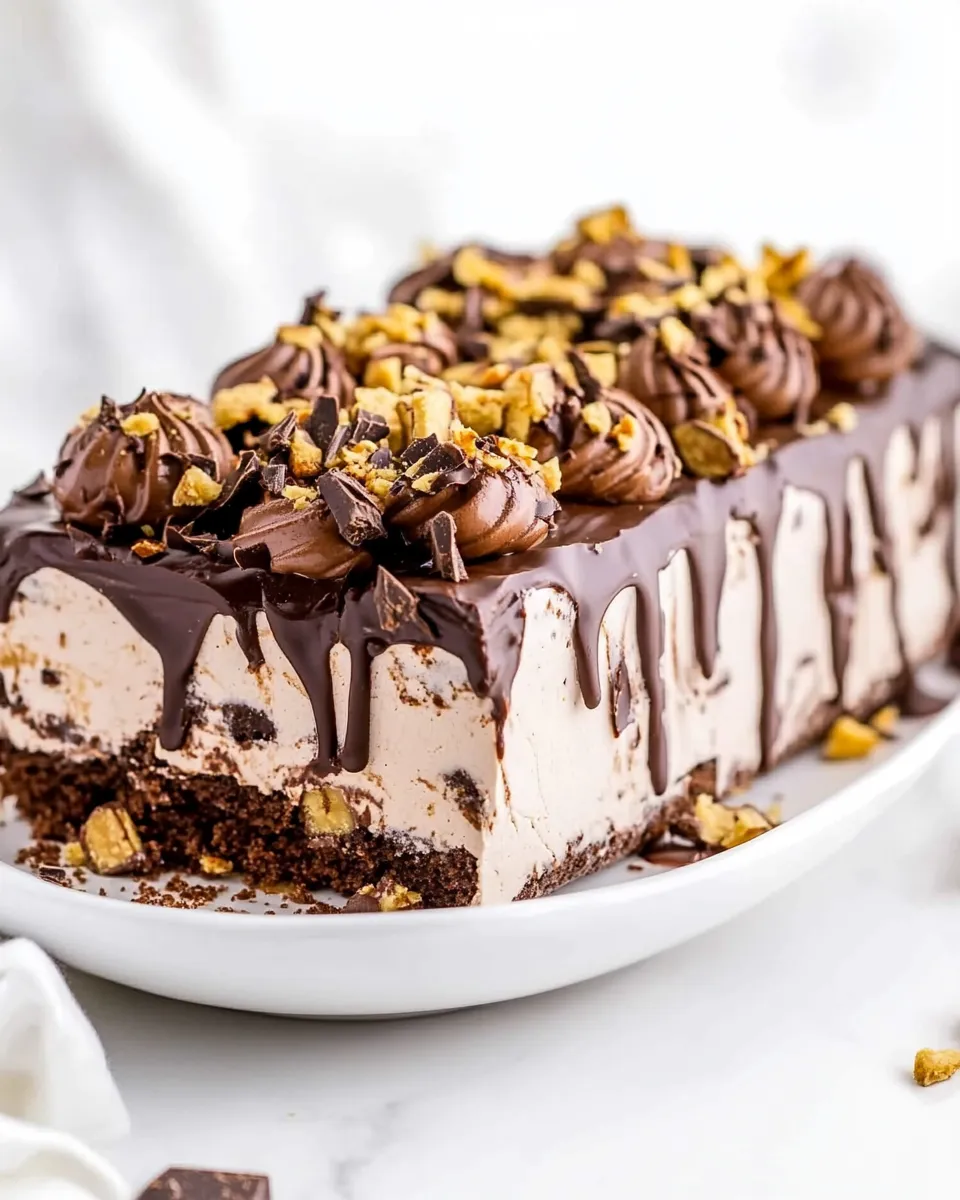
Once set, remove the cake from the refrigerator. Top with additional chopped peanut butter cups and a drizzle of fudge sauce before slicing and serving. Enjoy your heavenly creation!
Fresh Seasonal Changes
- In the summer, try adding fresh berries like strawberries or raspberries for a fruity twist.
- Substitute the fudge sauce with a caramel sauce for a different flavor profile.
- For a minty variation, add a few drops of peppermint extract to the filling.
- During the fall, consider incorporating pumpkin spice into the ricotta mixture for a seasonal treat.
Mistakes Even Pros Make
Even seasoned bakers can encounter a few hiccups when making this Fudgy Chocolate Peanut Butter Cup Icebox Cake. Here are some common pitfalls:
- Not allowing the cream cheese to soften adequately can lead to a lumpy filling. Always remember to let it sit out for at least an hour.
- Using chocolate that’s too hot can cause the filling to become runny. Ensure it cools slightly before mixing.
- Skipping the chilling step can result in a cake that doesn’t hold its shape. Patience is key!
- Not layering the fudge sauce and filling evenly can lead to an unbalanced taste. Take your time with the assembly.
Storing, Freezing & Reheating
This Fudgy Chocolate Peanut Butter Cup Icebox Cake stores beautifully in the refrigerator. Here are some tips:
- Keep it covered with plastic wrap or in an airtight container to maintain freshness.
- The cake can be stored in the refrigerator for up to one week.
- If you want to freeze it, slice it first and wrap each piece individually in plastic wrap, then in foil. It can last for up to three months in the freezer.
- To thaw, simply transfer to the refrigerator a few hours before serving. Avoid reheating, as it’s best served chilled.
Handy Q&A
Can I use different types of cheese for the filling?
While ricotta and cream cheese create a lovely texture, you can experiment with mascarpone or Greek yogurt for a different flavor. Just keep the ratios similar to maintain the consistency.
What if I don’t have fudge sauce?
You can easily make a homemade fudge sauce with cocoa powder, sugar, butter, and milk. Alternatively, chocolate syrup works in a pinch!
Can I make this cake ahead of time?
Absolutely! This cake is perfect for making a day in advance. Just ensure it’s properly covered to prevent drying out.
Is there a way to make this cake gluten-free?
Yes! As all the main ingredients are naturally gluten-free, just make sure that the fudge sauce and chocolate chips you use are certified gluten-free.
You Might Also Like
The Last Word
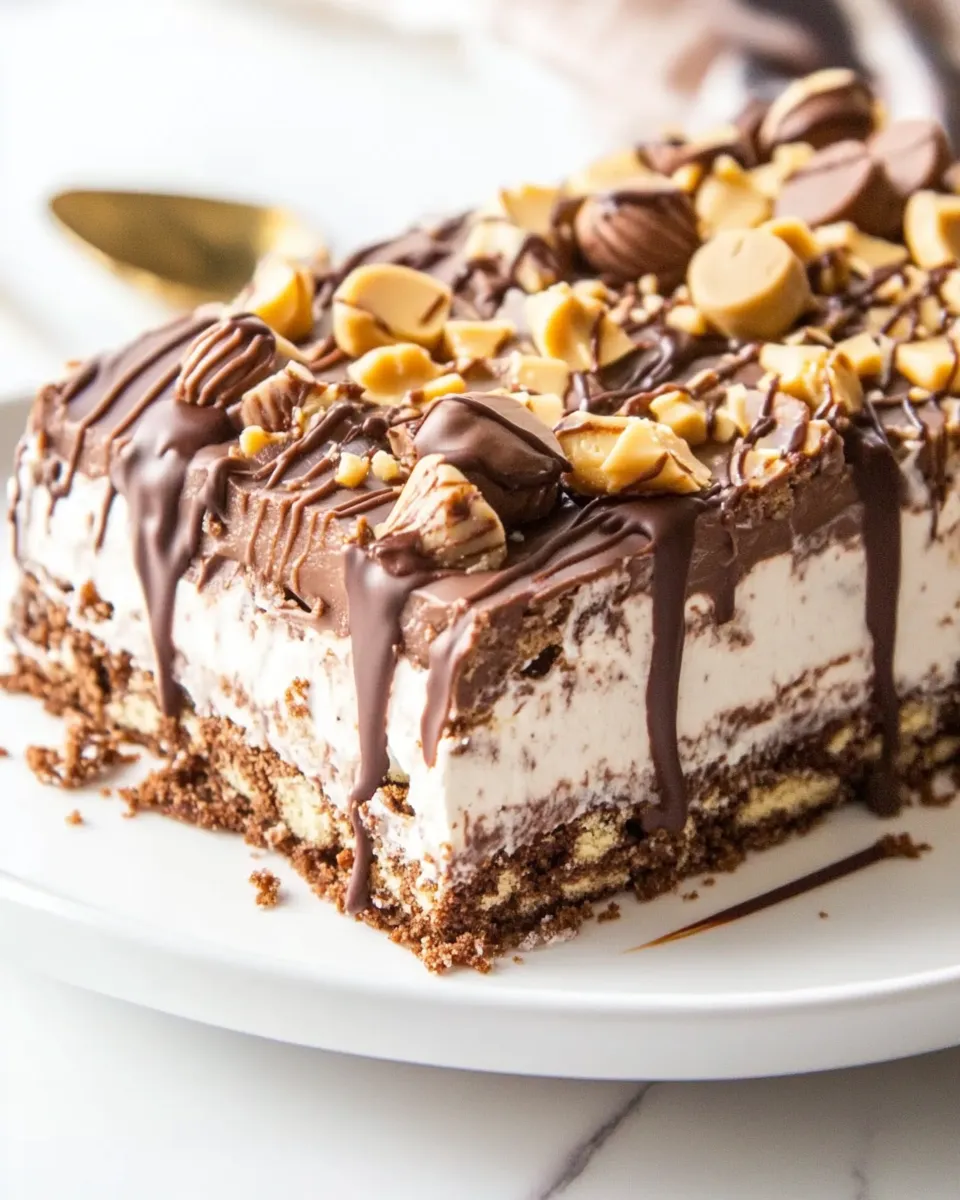
This Fudgy Chocolate Peanut Butter Cup Icebox Cake is a testament to simple ingredients creating extraordinary flavors. With its layers of creamy goodness, chocolate, and peanut butter, it’s bound to become a favorite at your gatherings and a go-to dessert for any occasion.
Enjoy a slice or two, and don’t forget to share – or not! Your secret is safe with us.
Fudgy Chocolate Peanut Butter Cup Icebox Cake
Ingredients
Equipment
Method
- In a large mixing bowl, combine the softened cream cheese and ricotta cheese. Using an electric mixer, beat on medium speed until the mixture is smooth and creamy.
- In a microwave-safe bowl, melt the chocolate chips in 30-second intervals, stirring in between until smooth. Allow the melted chocolate to cool slightly before adding it to the cheese mixture.
- Once the chocolate has cooled, pour it into the ricotta and cream cheese mixture. Gently fold the ingredients together until fully combined.
- Fold in the chopped peanut butter cups, reserving a few for the top. This will ensure that every bite has that delightful peanut butter flavor.
- In your baking dish, spread a layer of fudge sauce on the bottom. Then, add a layer of the chocolate peanut butter filling. Repeat the process, alternating between fudge sauce and the filling, until all ingredients are used, finishing with a layer of the filling on top.
- Cover the icebox cake with plastic wrap and refrigerate for at least 4 hours, or overnight if time allows. This chilling period is crucial for the flavors to meld and the cake to set properly.
- Once set, remove the cake from the refrigerator. Top with additional chopped peanut butter cups and a drizzle of fudge sauce before slicing and serving. Enjoy your heavenly creation!
Notes
- Ensure cream cheese is softened to avoid lumps in the filling.
- Let the melted chocolate cool before mixing to prevent a runny filling.
- Chill the cake for at least 4 hours for best results.