Crock-Pot Yogurt
If you’ve ever dreamed of creating creamy, delicious yogurt right in the comfort of your own home, you’re in for a treat! Making yogurt in a Crock-Pot is not only simple but also incredibly rewarding. With just two primary ingredients, you can whip up a batch of fresh, tangy yogurt that’s perfect for breakfast, snacks, or even desserts. The beauty of Crock-Pot yogurt lies in its convenience—set it and forget it, and you’ll be greeted with a delightful treat after several hours. Let’s dive into this easy, satisfying recipe!
Reasons to Love Crock-Pot Yogurt
Crock-Pot yogurt is a game-changer for many reasons. First and foremost, it’s cost-effective. Store-bought yogurt can be pricey, especially if you prefer organic or specialty varieties. By making your own, you can save a significant amount of money. Additionally, you have complete control over the ingredients, allowing you to avoid preservatives and additives often found in commercial yogurts.
Another reason to love this recipe is the creamy texture and rich flavor that can’t be matched by anything found on supermarket shelves. Homemade yogurt can be tailored to your taste, whether you like it thick and creamy or a bit on the runny side. Plus, it’s a fantastic way to incorporate probiotics into your diet, promoting gut health in a delicious way!
Ingredient Checklist
To make your own Crock-Pot yogurt, gather these simple ingredients:
- 1/2 gallon whole milk – This will be the base of your yogurt, giving it that rich and creamy texture.
- 1/2 cup plain yogurt with live active cultures – This is your starter culture, essential for fermentation.
Gear Up: What to Grab
Before you start, make sure you have the following equipment on hand:
- Crock-Pot – A programmable slow cooker works best, but any Crock-Pot will do.
- Whisk – For mixing your ingredients together.
- Measuring cups – To measure your milk and yogurt accurately.
- Thermometer – A digital kitchen thermometer will help ensure the milk is at the right temperature.
- Cheesecloth or fine mesh strainer – Optional, for straining yogurt if you prefer it thicker.
Mastering Crock-Pot Yogurt: How-To

Making yogurt in a Crock-Pot is a straightforward process. Follow these steps for perfect results:
Step 1: Prepare the Milk
Pour the 1/2 gallon of whole milk into your Crock-Pot. Cover it with the lid and set the temperature to low. Heat the milk for about 2.5 to 3 hours, or until it reaches approximately 180°F. This step is crucial as it helps to denature the proteins, ensuring a smooth texture.
Step 2: Cool the Milk
Once the milk has reached the desired temperature, turn off the Crock-Pot and let the milk cool. You want it to cool down to about 110°F. This can take anywhere from 30 to 60 minutes. Use a kitchen thermometer to check the temperature accurately.
Step 3: Add the Yogurt Starter
In a small bowl, combine the 1/2 cup of plain yogurt with live active cultures with a cup of the warm milk. Whisk it together until smooth. This step helps to temper the yogurt, making it easier to incorporate into the rest of the milk.
Step 4: Mix and Incubate
Pour the yogurt mixture back into the Crock-Pot with the remaining milk. Stir gently to combine. Cover the Crock-Pot with the lid and wrap it in a thick towel or blanket to help maintain the warmth. This insulation is key to the fermentation process.
Step 5: Ferment
Leave the Crock-Pot undisturbed for 8 to 12 hours. The longer you let it ferment, the tangier your yogurt will be. If you like a milder flavor, aim for the shorter time. For a sharper taste, go for the full 12 hours.
Step 6: Refrigerate and Enjoy
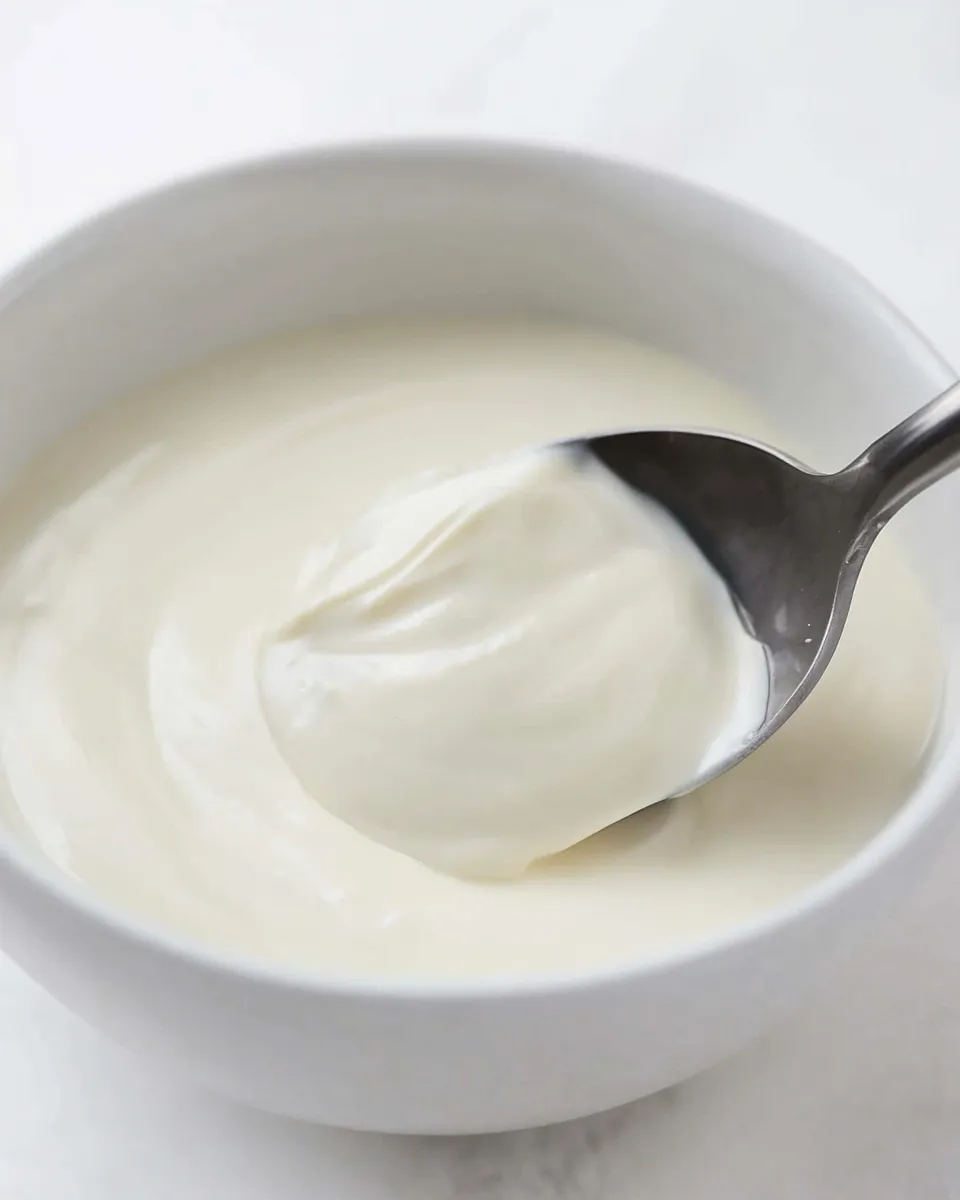
After the fermentation period, your yogurt should be thickened and ready to enjoy! Transfer it to clean containers and refrigerate for at least 4 hours before using. If you prefer a thicker yogurt, you can strain it through cheesecloth or a fine mesh strainer.
Substitutions by Diet
If you’re looking to customize your Crock-Pot yogurt to fit specific dietary needs, consider these substitutions:
- Non-dairy option: Use coconut milk or almond milk (make sure it has added thickeners) in place of whole milk.
- Reduced fat: You can use 2% milk if you prefer a lighter yogurt.
- Flavor variations: Add vanilla extract, honey, or maple syrup to the milk before fermentation for a flavored yogurt.
Pro Tips & Notes
- Ensure your yogurt starter contains live active cultures for the best results. Look for brands like Fage or Chobani.
- Keep everything clean to avoid unwanted bacteria; sterilize your equipment before use.
- Experiment with fermentation times to find your ideal flavor and texture.
- If your yogurt is too runny, try straining it for a thicker consistency.
Freezer-Friendly Notes
While fresh yogurt is always best, you can freeze it for later use. Portion it into airtight containers or freezer bags, leaving some space for expansion. Thaw in the refrigerator overnight before using. However, freezing may affect the texture, so it’s best used in smoothies or cooking rather than eaten plain.
Frequently Asked Questions
Can I use low-fat or skim milk for Crock-Pot yogurt?
Yes, you can use low-fat or skim milk, but keep in mind that the yogurt may be less creamy compared to using whole milk.
How can I make my yogurt thicker?
To achieve a thicker consistency, you can strain the yogurt after it’s fermented using cheesecloth or a fine mesh strainer. Alternatively, you can use a yogurt maker or add milk powder before heating the milk.
What type of yogurt should I use as a starter?
Choose plain yogurt that lists “live active cultures” on the label. Greek yogurt can also be used as a starter, but it may affect the texture of your final product.
How long does homemade yogurt last?
Homemade yogurt can typically last in the refrigerator for about 1 to 2 weeks. Always check for any off smells or signs of spoilage before consuming.
Our Most-Loved Recipes
- Creamy Yogurt Parfait – A delightful blend of yogurt, fresh fruits, and granola.
- Fruity Yogurt Smoothie – Blend your homemade yogurt with your favorite fruits for a nutritious drink.
- Savory Yogurt Dip – Perfect for parties, this dip pairs well with veggies and crackers.
Next Steps
Now that you’ve unlocked the secrets of making Crock-Pot yogurt, it’s time to get started! Gather your ingredients, set your Crock-Pot, and enjoy the process. The satisfaction of creating your own yogurt will elevate your culinary confidence and bring a wholesome touch to your meals.
Each batch of homemade yogurt opens up a world of possibilities. From parfaits to smoothies to savory dips, the options are endless. Embrace this fun kitchen adventure and savor the delicious results of your hard work. Happy yogurt-making!
Crock-Pot Yogurt
Ingredients
Equipment
Method
- Step 1: Prepare the Milk - Pour the 1/2 gallon of whole milk into your Crock-Pot. Cover it with the lid and set the temperature to low. Heat the milk for about 2.5 to 3 hours, or until it reaches approximately 180°F.
- Step 2: Cool the Milk - Once the milk has reached the desired temperature, turn off the Crock-Pot and let the milk cool to about 110°F. This can take anywhere from 30 to 60 minutes.
- Step 3: Add the Yogurt Starter - In a small bowl, combine the 1/2 cup of plain yogurt with live active cultures with a cup of the warm milk. Whisk it together until smooth.
- Step 4: Mix and Incubate - Pour the yogurt mixture back into the Crock-Pot with the remaining milk. Stir gently to combine. Cover the Crock-Pot with the lid and wrap it in a thick towel or blanket.
- Step 5: Ferment - Leave the Crock-Pot undisturbed for 8 to 12 hours. The longer you let it ferment, the tangier your yogurt will be.
- Step 6: Refrigerate and Enjoy - After the fermentation period, transfer the yogurt to clean containers and refrigerate for at least 4 hours before using.
Notes
- Ensure your yogurt starter contains live active cultures for the best results.
- Keep everything clean to avoid unwanted bacteria; sterilize your equipment before use.
- Experiment with fermentation times to find your ideal flavor and texture.