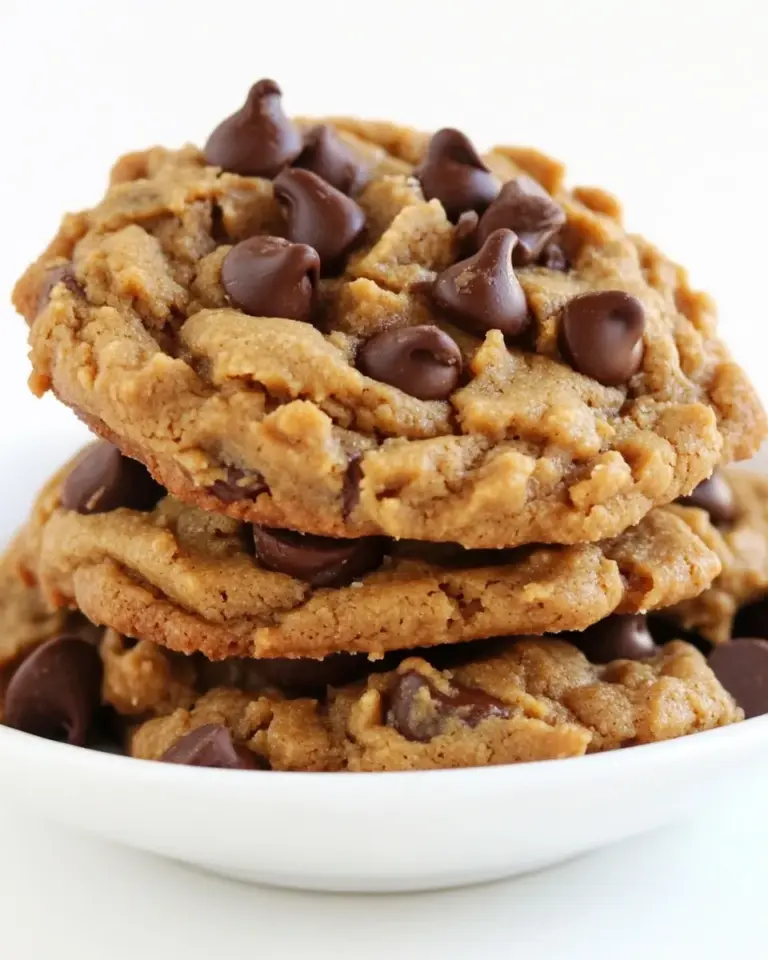
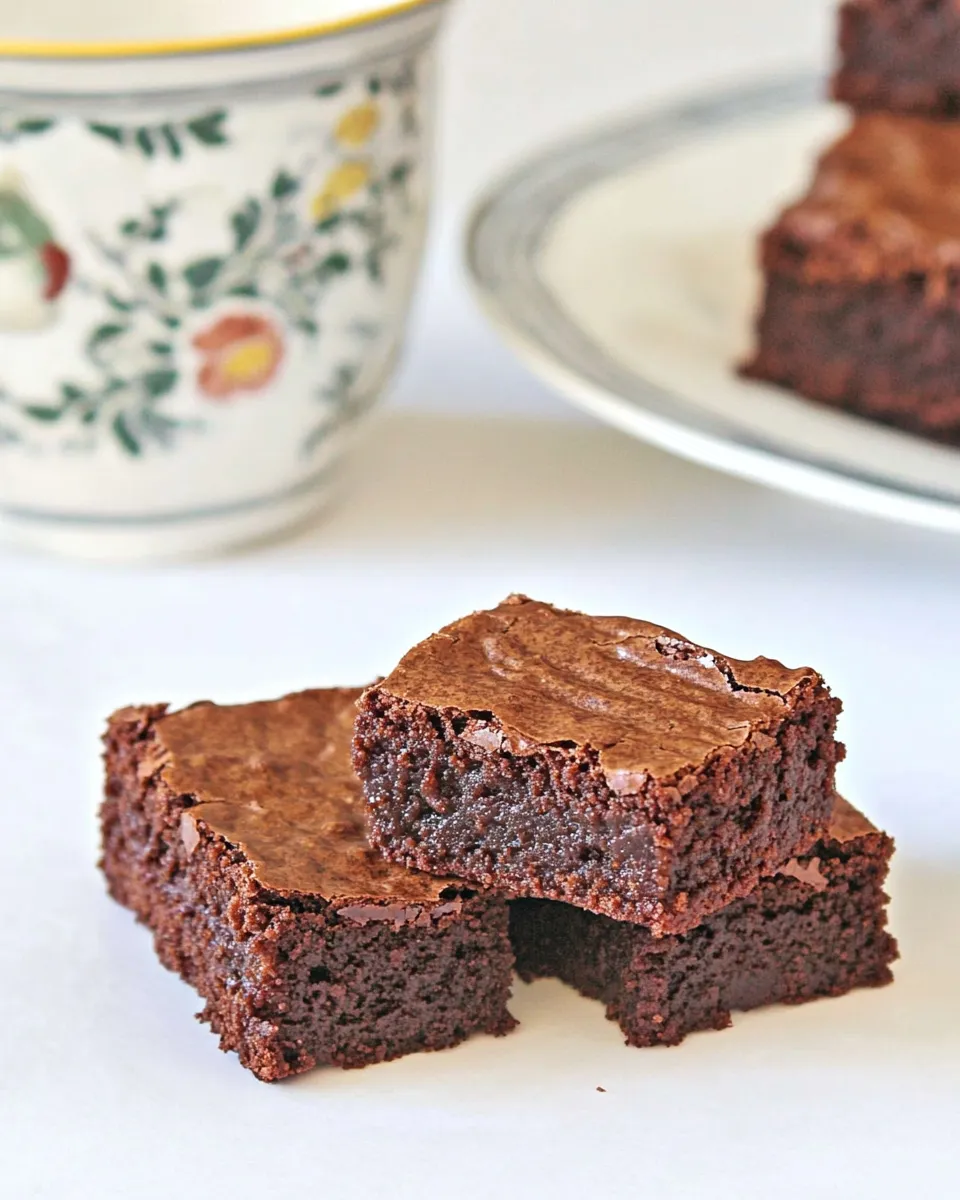
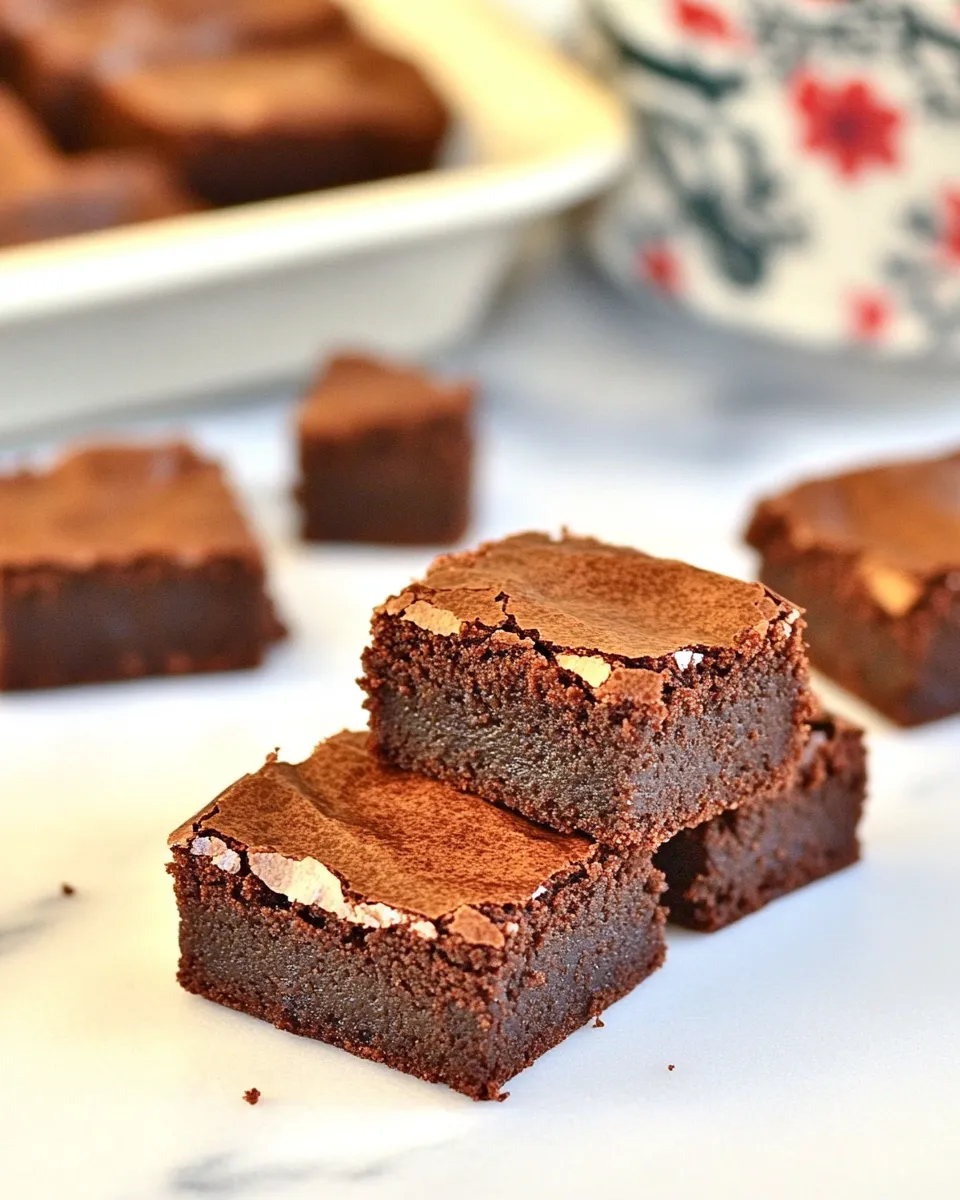
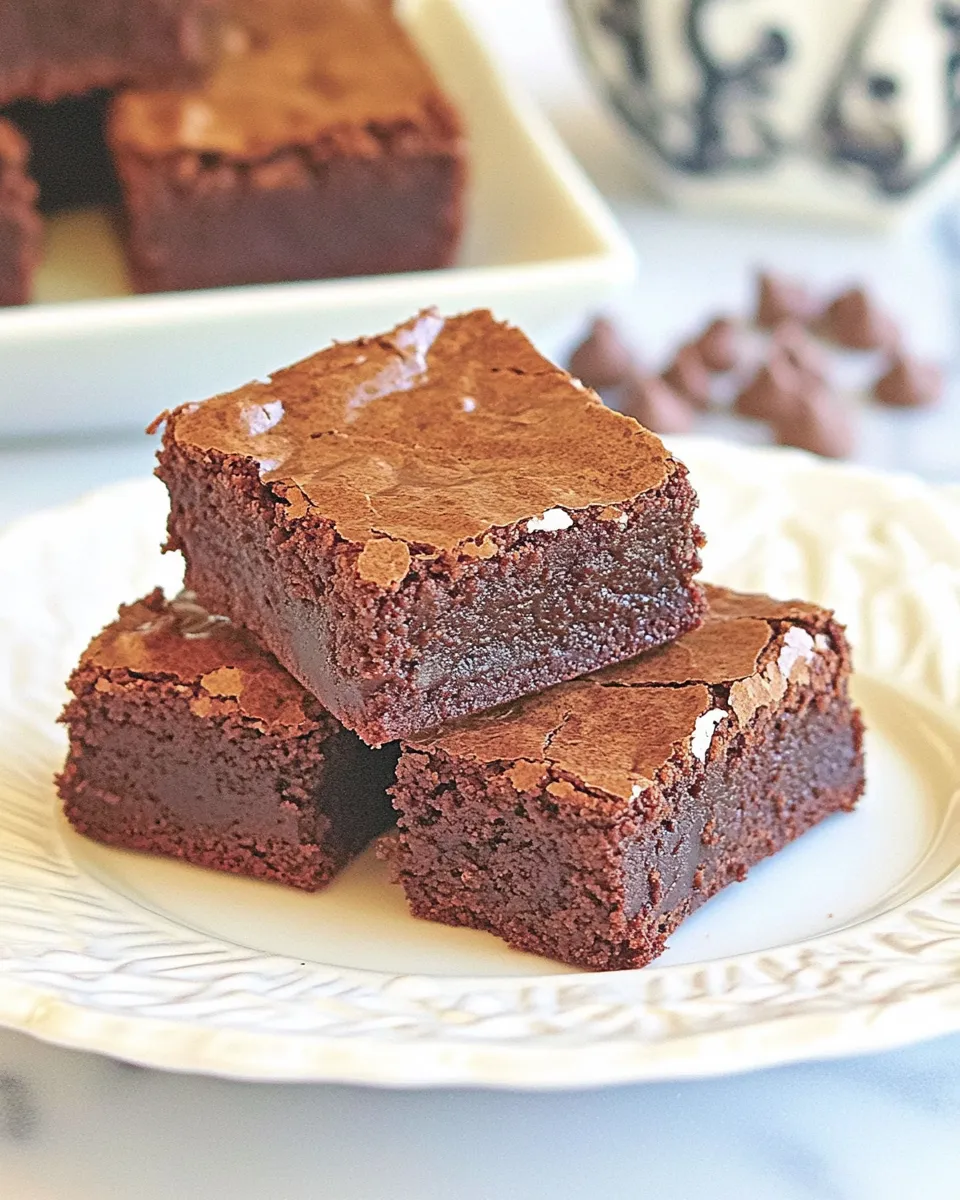
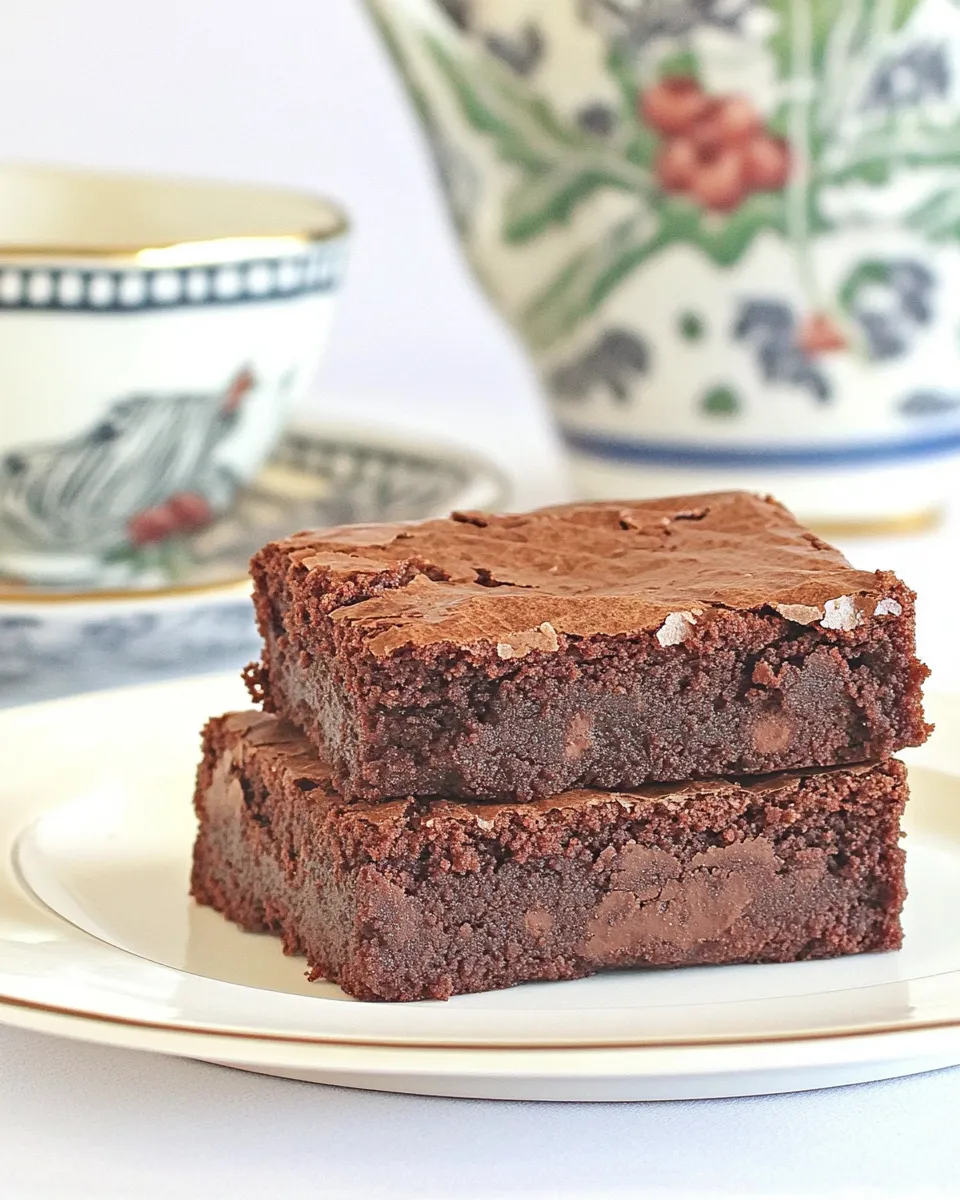
Cook’s Illustrated Chewy Brownies
When it comes to brownies, the quest for the perfect chewy texture and rich chocolate flavor can feel like a never-ending journey. But worry not, because Cook’s Illustrated has crafted a recipe that promises to deliver just that. These brownies are not only easy to make but also require simple ingredients you likely already have in your pantry. With a combination of unsweetened cocoa powder and semi-sweet chocolate chunks, you’ll achieve a decadent treat that is sure to impress family and friends alike. Get ready to indulge in a dessert that will have everyone coming back for seconds!
Why This Recipe Is Reliable
This recipe stands out for several reasons. First, it has been meticulously tested to ensure the perfect balance of flavors and textures. The combination of unsweetened cocoa powder and melted unsweetened chocolate creates a deep chocolate flavor that is not overly sweet. The addition of both whole eggs and egg yolks enhances the chewiness, giving the brownies a fudgy texture that is simply irresistible. Plus, the use of boiling water helps to bloom the cocoa powder, intensifying its flavor. With detailed instructions and tested ratios, you can trust that these brownies will turn out perfect every time.
Gather These Ingredients
Before diving into the baking process, let’s gather everything you’ll need. Here’s a detailed list of ingredients:
- 1 cup unsweetened cocoa powder
- 2 tablespoons boiling water
- 2 oz. unsweetened chocolate, chopped
- ½ cup unsalted butter, melted (1 stick)
- 2 tablespoons vegetable oil
- 2 large eggs
- 2 large egg yolks
- 2 teaspoons vanilla extract
- 1 cup granulated sugar
- 1 cup all-purpose flour
- ½ teaspoon salt
- 4 oz. semi-sweet chocolate chunks
Before You Start: Equipment
Gathering the right tools will make your baking experience smooth and enjoyable. Here’s what you’ll need:
- Mixing bowls: A large bowl for mixing wet ingredients and a medium bowl for dry ingredients.
- Whisk: For combining and incorporating your ingredients effectively.
- Spatula: To fold in the chocolate chunks and ensure everything is well mixed.
- 9×13-inch baking pan: The perfect size for these brownies.
- Parchment paper: Optional, but it helps with easy removal of the brownies.
- Oven: Preheated to 350°F (175°C) for baking.
Cook’s Illustrated Chewy Brownies: How It’s Done
Now that you have your ingredients and equipment ready, let’s get started with the step-by-step guide to making these delightful brownies.
Step 1: Prepare the Cocoa Mixture
In a medium mixing bowl, combine the unsweetened cocoa powder and boiling water. Stir until smooth, then add the chopped unsweetened chocolate. Mix until the chocolate is completely melted and the mixture is glossy. Set this bowl aside to cool slightly.
Step 2: Mix Wet Ingredients
In a large mixing bowl, whisk together the melted unsalted butter and vegetable oil until well combined. Then, whisk in the eggs, egg yolks, and vanilla extract until the mixture is smooth and slightly frothy.
Step 3: Combine Mixtures
Add the cocoa mixture to the wet ingredients, stirring until fully incorporated. The chocolate should blend seamlessly into the batter.
Step 4: Add Dry Ingredients
In another bowl, mix together the granulated sugar, flour, and salt. Gradually add this dry mixture to your chocolate batter, folding gently with a spatula until just combined. Be careful not to overmix, as this can lead to tough brownies.
Step 5: Fold in Chocolate Chunks
Gently fold in the semi-sweet chocolate chunks, distributing them evenly throughout the batter.
Step 6: Bake
Pour the brownie batter into your prepared 9×13-inch baking pan. Spread it out evenly with a spatula. Bake in your preheated oven for 20 to 25 minutes, or until a toothpick inserted in the center comes out with a few moist crumbs. Remember, the brownies will continue to set as they cool.
Step 7: Cool and Serve
Once baked, remove the brownies from the oven and allow them to cool in the pan for about 10 minutes. If you used parchment paper, gently lift the brownies out of the pan and transfer them to a wire rack to cool completely before cutting into squares.
Spring–Summer–Fall–Winter Ideas
These brownies are versatile and can be enjoyed year-round. Here are some ideas to elevate your brownie experience, no matter the season:
- Spring: Serve with fresh strawberries and a dollop of whipped cream.
- Summer: Top with a scoop of vanilla ice cream and drizzle with chocolate sauce.
- Fall: Add a sprinkle of cinnamon and serve with spiced apple slices.
- Winter: Pair with peppermint bark or a dusting of powdered sugar for a festive touch.
Steer Clear of These
To ensure your brownies turn out just right, avoid the following common pitfalls:
- Overmixing the batter, which can lead to dense brownies.
- Underbaking; ensure a toothpick comes out with a few moist crumbs, not wet batter.
- Using low-quality chocolate; opt for high-quality semi-sweet chocolate for the best flavor.
- Skipping the cooling time; this is crucial for achieving the perfect texture.
Freezer-Friendly Notes
If you find yourself with leftover brownies (though we doubt it!), they freeze beautifully. Here’s how to do it:
Once the brownies are completely cooled, cut them into squares and wrap each piece tightly in plastic wrap. Place the wrapped brownies in an airtight container or a freezer bag. They can be frozen for up to three months. When you’re ready to enjoy them, simply thaw at room temperature for a few hours or microwave for a few seconds until warmed through.
Handy Q&A
Can I substitute the unsweetened chocolate with more cocoa powder?
While you can use cocoa powder instead, it will alter the texture and flavor profile of the brownies. The unsweetened chocolate adds depth, so it’s best to use it if possible.
What’s the best way to store leftover brownies?
Store them in an airtight container at room temperature for up to five days. If you live in a warmer climate, consider refrigerating them to maintain freshness.
Can I add nuts to the brownies?
Absolutely! Chopped walnuts or pecans make a wonderful addition. Just fold them into the batter along with the chocolate chunks.
How can I make these brownies gluten-free?
To make gluten-free brownies, substitute the all-purpose flour with a 1:1 gluten-free baking blend. Make sure it contains xanthan gum for the best results!
Healthy-ish Favorites
If you’re looking for some healthier alternatives or lighter treats to accompany your brownies, check out these options:
Let’s Eat
Now that you have the recipe for Cook’s Illustrated Chewy Brownies down, it’s time to gather your loved ones and enjoy a batch of these delightful treats. The rich chocolate flavor, chewy texture, and gooey chocolate chunks make these brownies the ultimate dessert. Whether you’re serving them at a gathering, enjoying them as an afternoon snack, or indulging after dinner, they are sure to satisfy any chocolate craving. So preheat your oven, grab your ingredients, and get ready to bake up some brownie magic!
Cook's Illustrated Chewy Brownies
Ingredients
Equipment
Method
- In a medium mixing bowl, combine the unsweetened cocoa powder and boiling water. Stir until smooth, then add the chopped unsweetened chocolate. Mix until the chocolate is completely melted and the mixture is glossy. Set this bowl aside to cool slightly.
- In a large mixing bowl, whisk together the melted unsalted butter and vegetable oil until well combined. Then, whisk in the eggs, egg yolks, and vanilla extract until the mixture is smooth and slightly frothy.
- Add the cocoa mixture to the wet ingredients, stirring until fully incorporated.
- In another bowl, mix together the granulated sugar, flour, and salt. Gradually add this dry mixture to your chocolate batter, folding gently with a spatula until just combined.
- Gently fold in the semi-sweet chocolate chunks, distributing them evenly throughout the batter.
- Pour the brownie batter into your prepared 9x13-inch baking pan. Spread it out evenly with a spatula. Bake in your preheated oven for 20 to 25 minutes.
- Once baked, remove the brownies from the oven and allow them to cool in the pan for about 10 minutes. Then transfer to a wire rack to cool completely before cutting into squares.
Notes
- Store leftover brownies in an airtight container at room temperature for up to five days.
- For a gluten-free version, use a 1:1 gluten-free baking blend instead of all-purpose flour.
- These brownies freeze well for up to three months; wrap them individually for best results.