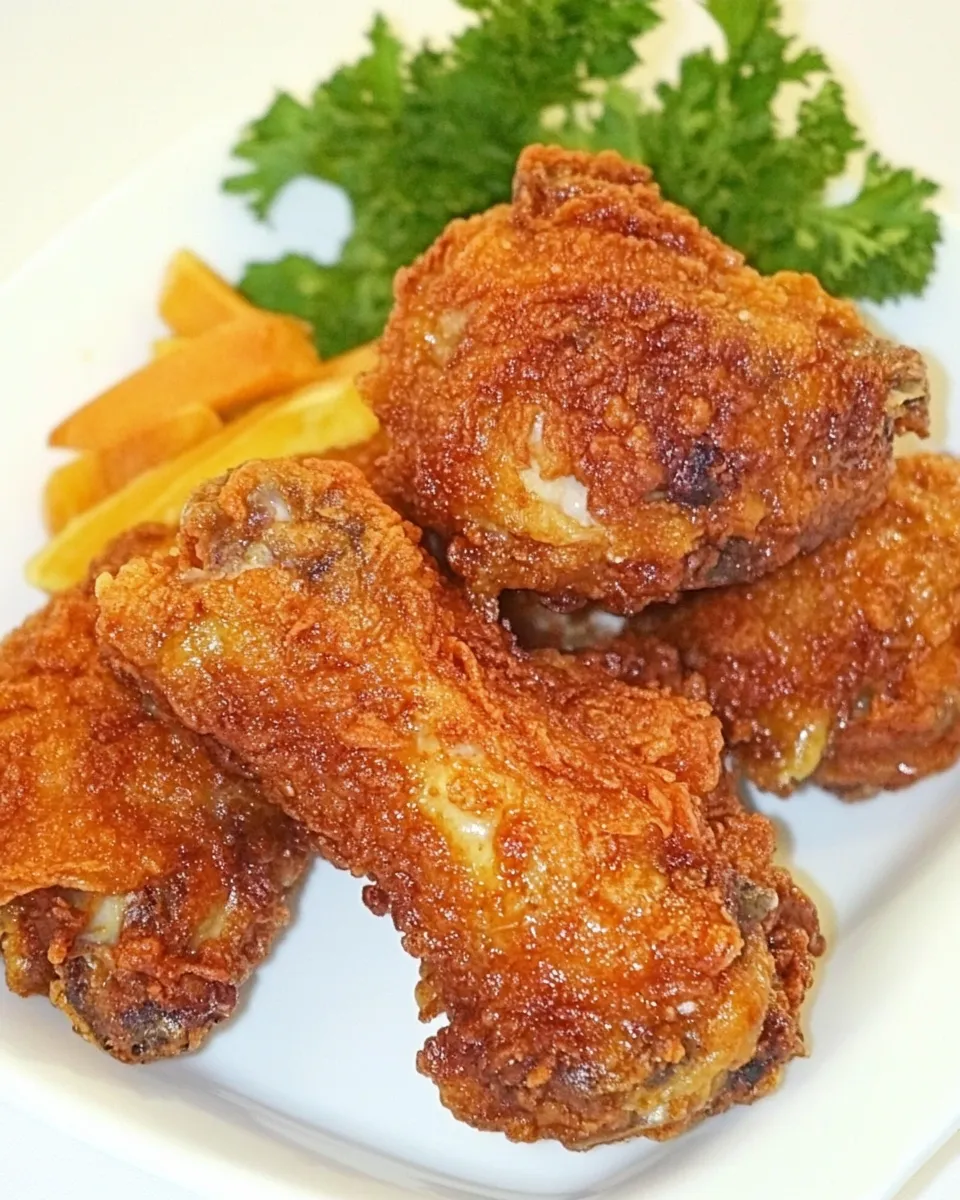
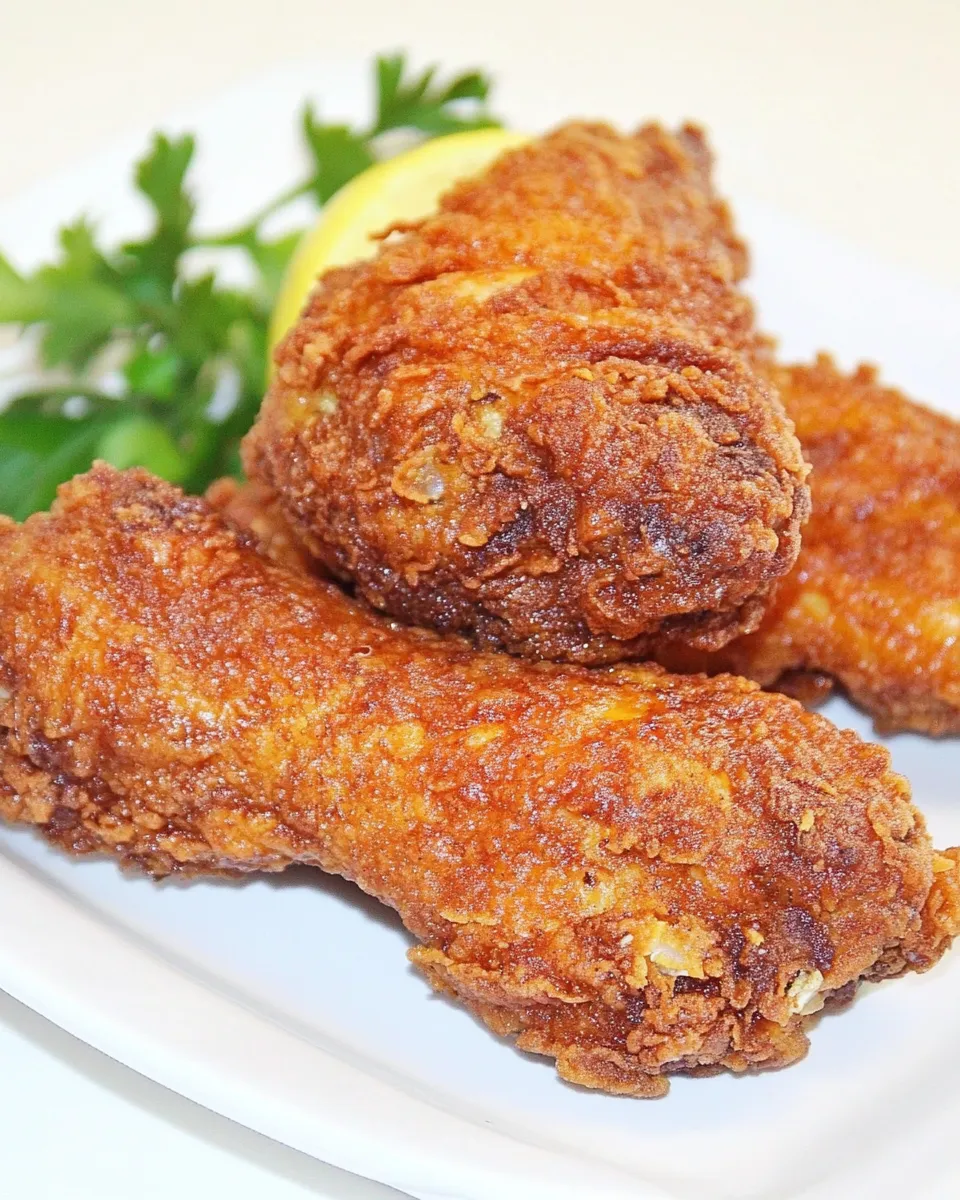
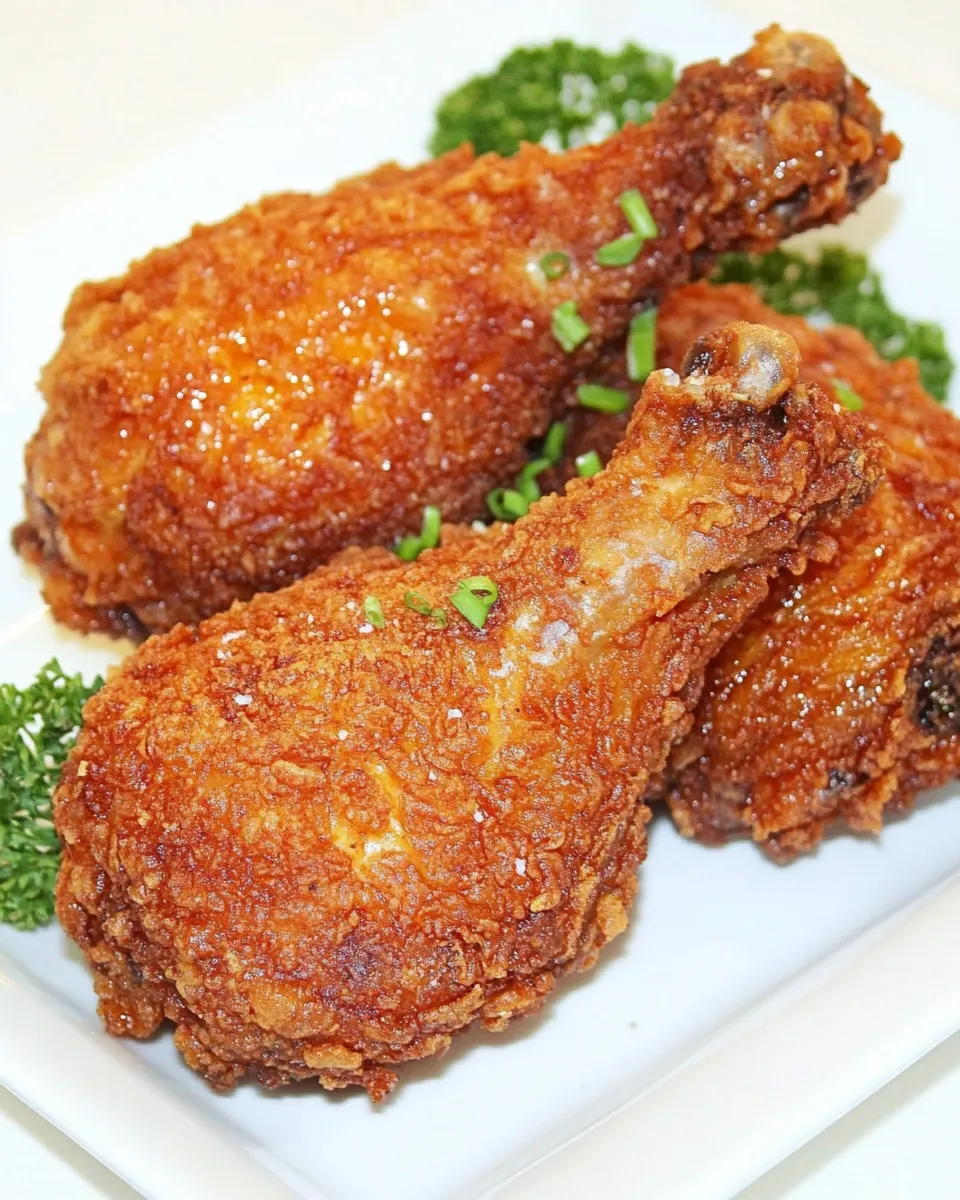
Buttermilk Fried Chicken
There’s nothing quite like a plate of crispy, juicy Buttermilk Fried Chicken to elevate any meal. This dish embodies a delightful balance of flavors and textures, with a golden-brown crust enveloping succulent chicken that’s marinated to perfection. Whether you’re serving it at a family gathering or enjoying it as a comforting weeknight dinner, this recipe is sure to impress. Let’s dive into the art of creating the ultimate Buttermilk Fried Chicken that will have everyone coming back for seconds!
Why This Recipe Works
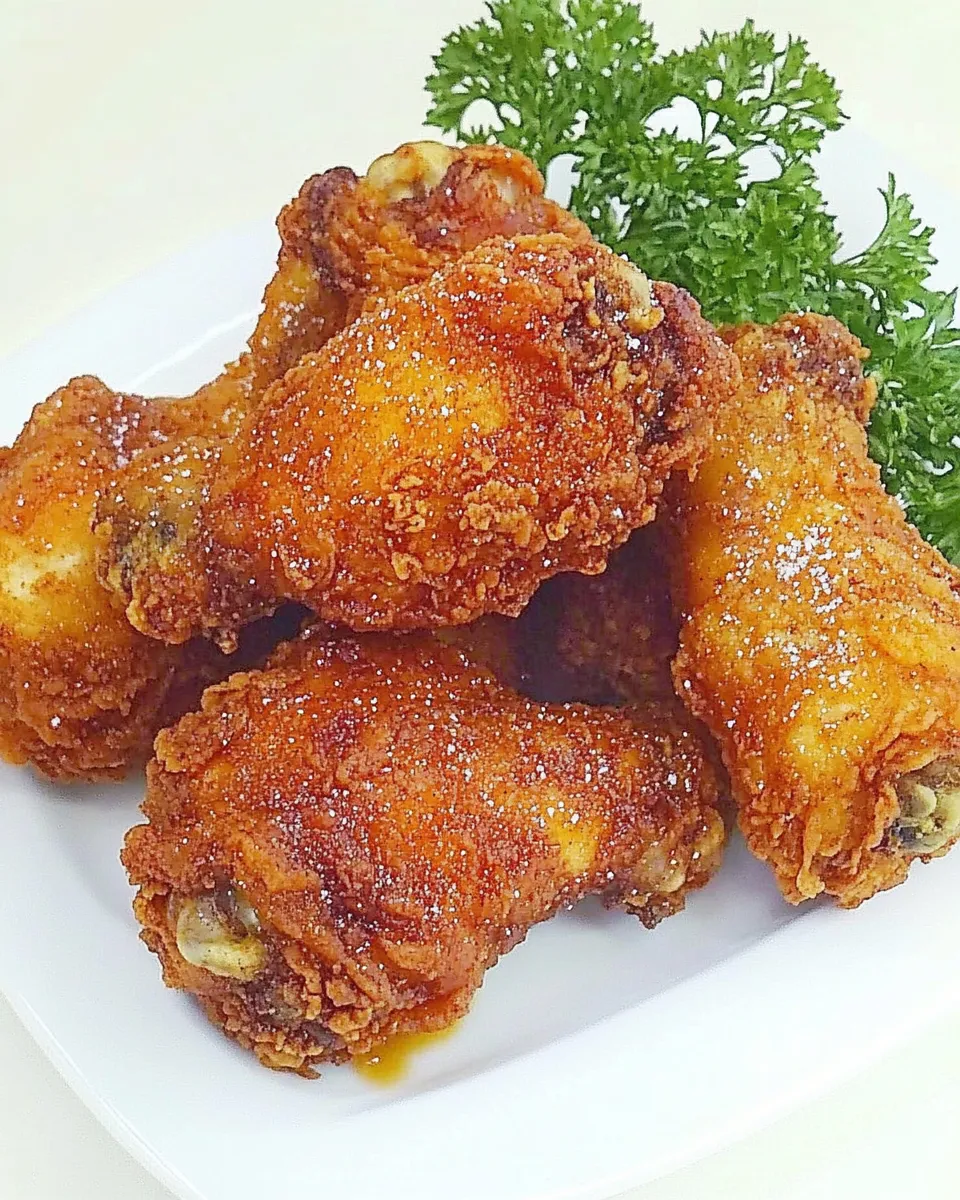
The magic of Buttermilk Fried Chicken lies in its marinade. Buttermilk is slightly acidic, which helps to tenderize the chicken while infusing it with flavor. The combination of spices—salt, pepper, and paprika—adds depth to each bite. The flour and corn starch coating creates an exceptionally crispy crust that locks in moisture, ensuring the chicken stays juicy inside. The result is a dish that’s not only flavorful but also visually appealing, perfect for any occasion.
What to Buy
When preparing your Buttermilk Fried Chicken, here’s a list of ingredients you’ll need:
- 4 lbs chicken – Choose a mix of drumsticks, thighs, and breasts for variety.
- 1 cup buttermilk – This will be the base for your marinade.
- 1 large egg – Helps bind the flour to the chicken.
- 3 cups unbleached all-purpose flour – For the crispy coating.
- 1 tablespoon corn starch – Adds extra crunch to the coating.
- 2 tablespoons salt – Essential for flavor.
- 1 tablespoon ground pepper – Adds a touch of heat.
- 1 tablespoon paprika – Contributes color and a hint of smokiness.
Must-Have Equipment
To achieve the best results with your Buttermilk Fried Chicken, you’ll need some essential kitchen tools:
- Mixing bowls – For marinating and coating the chicken.
- Whisk – To blend the buttermilk and egg smoothly.
- Frying pan or deep fryer – For frying the chicken to perfection.
- Meat thermometer – To ensure your chicken is cooked through.
- Cooling rack – To keep the chicken crispy after frying.
How to Prepare Buttermilk Fried Chicken
Now, let’s get down to the nitty-gritty of making your Buttermilk Fried Chicken with these simple steps:
Step 1: Marinate the Chicken
In a large mixing bowl, combine the buttermilk, egg, 1 tablespoon of salt, and 1 tablespoon of ground pepper. Whisk until well combined. Add the chicken pieces, making sure each piece is thoroughly coated. Cover the bowl with plastic wrap and refrigerate for at least 4 hours, or overnight for the best flavor and tenderness.
Step 2: Prepare the Coating
In another mixing bowl, whisk together the flour, corn starch, remaining 1 tablespoon of salt, paprika, and remaining 1 tablespoon of ground pepper. This mixture will form the crispy coating for your chicken.
Step 3: Heat the Oil
In a large frying pan or deep fryer, heat about 2 inches of oil over medium-high heat. The oil should reach a temperature of 350°F for optimal frying. Use a meat thermometer to check the temperature for accuracy.
Step 4: Dredge the Chicken
Once the chicken has marinated, remove it from the refrigerator. Let excess buttermilk drip off each piece, then dredge it in the flour mixture, ensuring it is well-coated. Shake off any excess flour.
Step 5: Fry the Chicken
Carefully place the coated chicken pieces into the hot oil, skin-side down. Fry in batches to avoid overcrowding the pan. Cook for about 12-15 minutes, turning occasionally, until the chicken is golden brown and an internal temperature of 165°F is reached.
Step 6: Drain and Rest
Once cooked, transfer the chicken to a cooling rack set over a baking sheet to drain excess oil. Let the chicken rest for a few minutes before serving, allowing the juices to redistribute.
Ingredient Flex Options
Feel free to customize this Buttermilk Fried Chicken recipe to suit your taste preferences:
- Spice it up: Add cayenne pepper or hot sauce to the buttermilk for an extra kick.
- Herbs: Incorporate dried herbs like thyme or rosemary into the flour mixture for added flavor.
- Gluten-free option: Substitute the all-purpose flour with a gluten-free flour blend.
- Different cuts: Use chicken wings or tenders for a different texture and experience.
If You’re Curious
If you want to learn more about the history of fried chicken or its variations around the world, here are a few interesting points:
- Fried chicken has roots in Southern American cuisine, influenced by Scottish and West African cooking traditions.
- In Korea, fried chicken is often coated in a sweet and spicy sauce, making it a popular dish worldwide.
- Many cultures have their own versions of fried chicken, each with unique spices and cooking methods.
Store, Freeze & Reheat
To make the most of your Buttermilk Fried Chicken, consider these storage tips:
You can store leftover chicken in an airtight container in the refrigerator for up to 3 days. To freeze, wrap individual pieces in plastic wrap and place them in a freezer bag for up to 3 months. When ready to enjoy, reheat in the oven at 375°F for about 20-25 minutes or until heated through, to maintain that crispy texture.
Common Questions
Can I use skinless chicken for this recipe?
While skinless chicken can be used, the skin helps to keep the chicken moist and adds to the overall flavor and texture. For the best results, stick to bone-in, skin-on chicken pieces.
What can I serve with Buttermilk Fried Chicken?
This dish pairs beautifully with classic sides like coleslaw, mashed potatoes, or cornbread. You could also serve it with a fresh salad or seasonal vegetables for a balanced meal.
How do I know when the chicken is done?
The best way to ensure your chicken is cooked through is to use a meat thermometer. The internal temperature should reach 165°F. Additionally, the juices should run clear, not pink.
Can I make this recipe ahead of time?
Yes, you can marinate the chicken a day in advance. However, it’s best to fry the chicken just before serving to enjoy the crispy texture at its best.
Try These Next
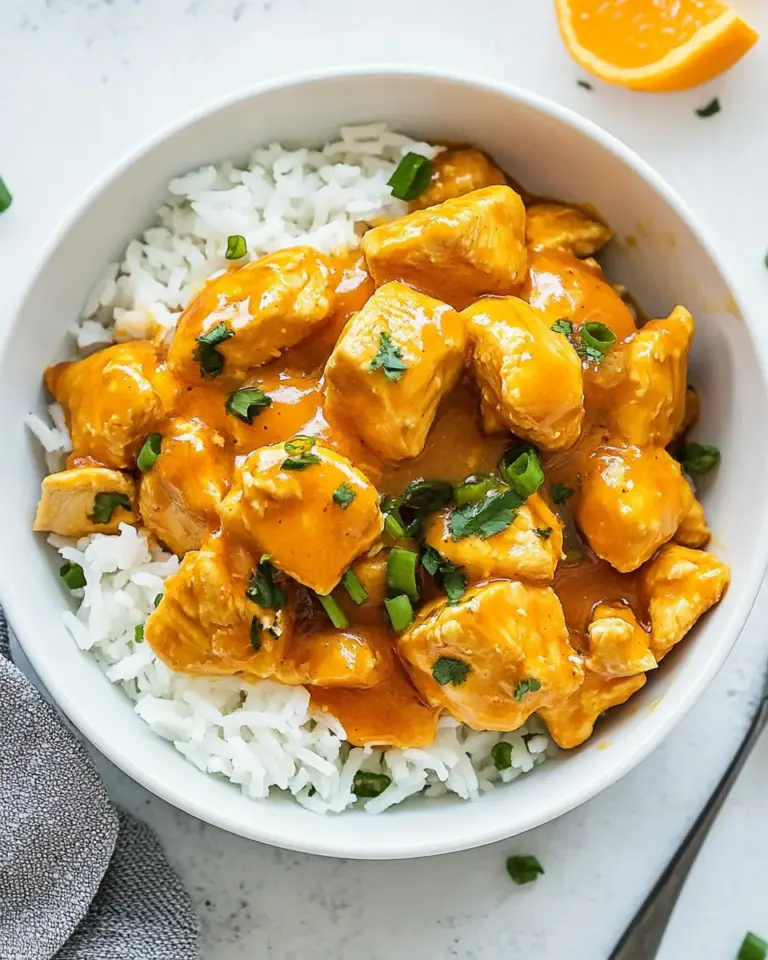
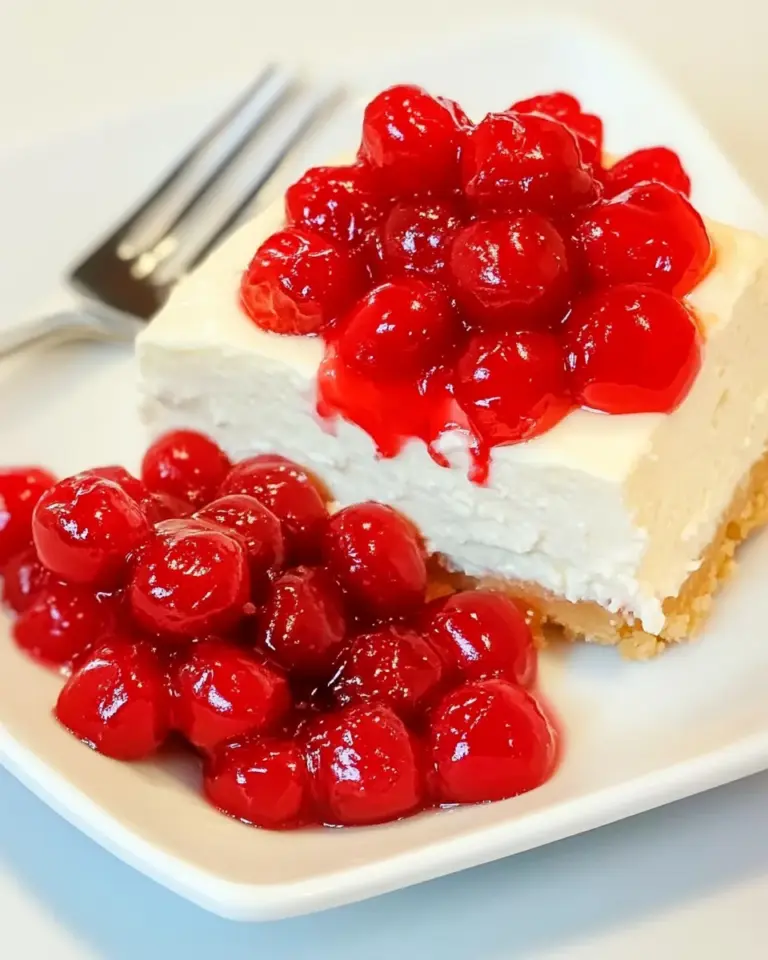
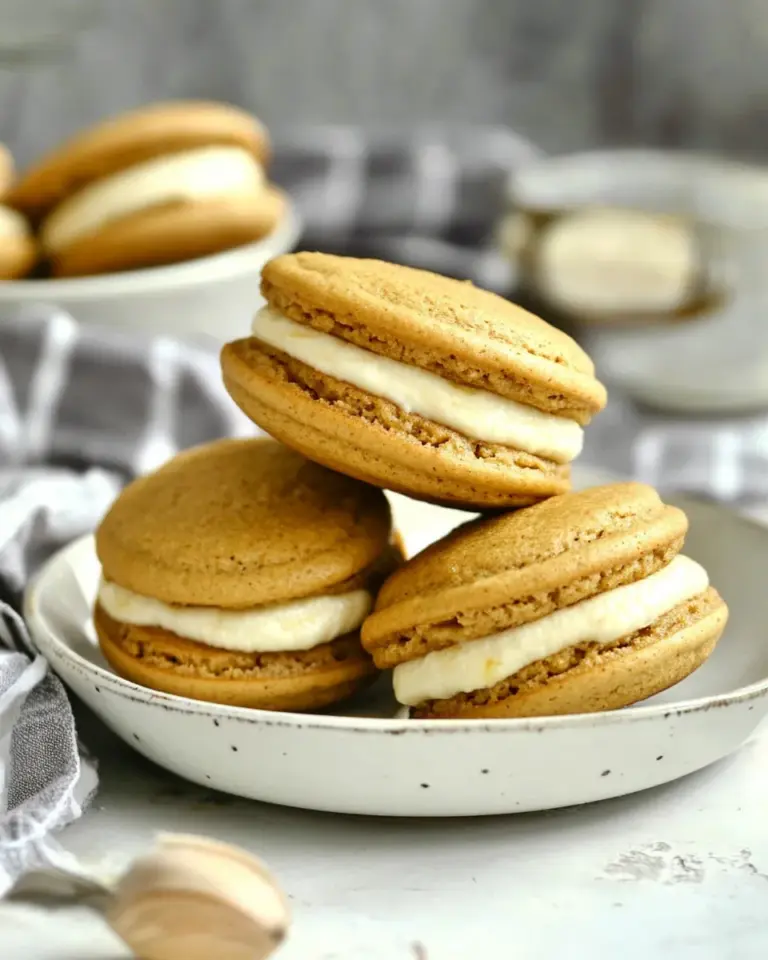
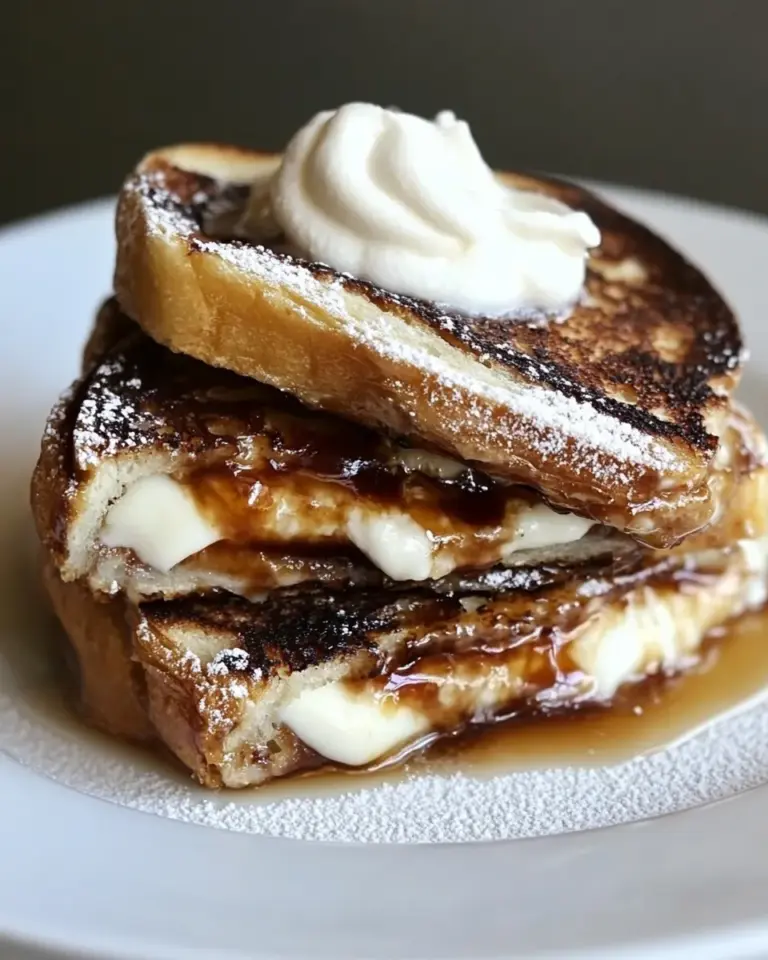
If you love this Buttermilk Fried Chicken, here are some other delicious recipes to try:
Let’s Eat
Now that you’re equipped with the knowledge and steps to create your very own Buttermilk Fried Chicken, it’s time to gather your loved ones and enjoy a meal that’s sure to bring joy to your table. The crispy exterior, coupled with the juicy, flavorful chicken inside, makes this dish a true classic that everyone will adore. Happy cooking!
Buttermilk Fried Chicken
Ingredients
Equipment
Method
- Step 1: Marinate the Chicken. In a large mixing bowl, combine the buttermilk, egg, 1 tablespoon of salt, and 1 tablespoon of ground pepper. Whisk until well combined. Add the chicken pieces, making sure each piece is thoroughly coated. Cover the bowl with plastic wrap and refrigerate for at least 4 hours, or overnight for the best flavor and tenderness.
- Step 2: Prepare the Coating. In another mixing bowl, whisk together the flour, corn starch, remaining 1 tablespoon of salt, paprika, and remaining 1 tablespoon of ground pepper. This mixture will form the crispy coating for your chicken.
- Step 3: Heat the Oil. In a large frying pan or deep fryer, heat about 2 inches of oil over medium-high heat. The oil should reach a temperature of 350°F for optimal frying. Use a meat thermometer to check the temperature for accuracy.
- Step 4: Dredge the Chicken. Once the chicken has marinated, remove it from the refrigerator. Let excess buttermilk drip off each piece, then dredge it in the flour mixture, ensuring it is well-coated. Shake off any excess flour.
- Step 5: Fry the Chicken. Carefully place the coated chicken pieces into the hot oil, skin-side down. Fry in batches to avoid overcrowding the pan. Cook for about 12-15 minutes, turning occasionally, until the chicken is golden brown and an internal temperature of 165°F is reached.
- Step 6: Drain and Rest. Once cooked, transfer the chicken to a cooling rack set over a baking sheet to drain excess oil. Let the chicken rest for a few minutes before serving, allowing the juices to redistribute.
Notes
- Store leftover chicken in an airtight container in the refrigerator for up to 3 days.
- To freeze, wrap individual pieces in plastic wrap and place them in a freezer bag for up to 3 months.
- Reheat in the oven at 375°F for about 20-25 minutes to maintain the crispy texture.