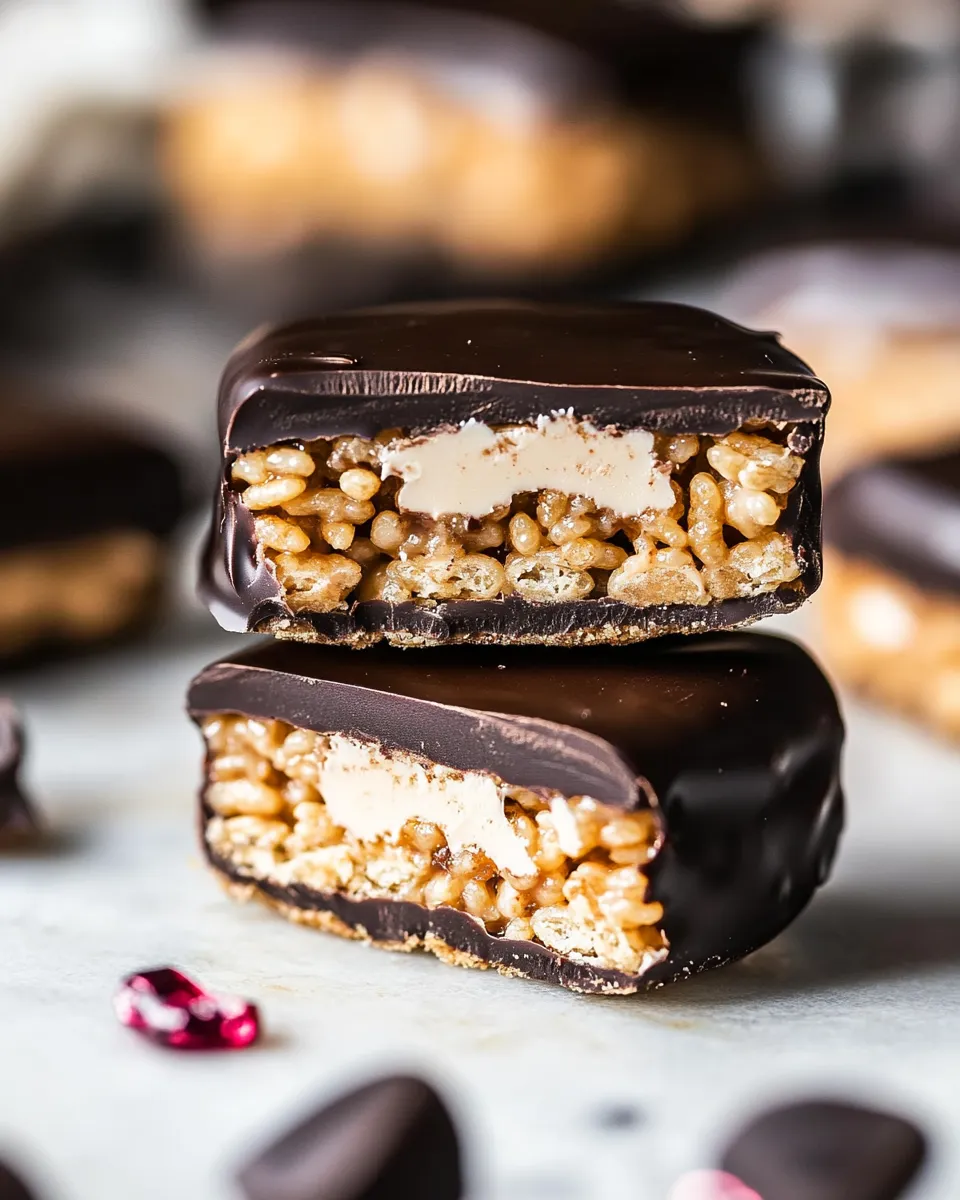
Best Chocolate Covered Peanut Butter Rice Crispy Treats.
There’s something undeniably nostalgic about rice crispy treats. They embody that perfect blend of crunch, sweetness, and a hint of chewiness that makes them a favorite for both kids and adults. But what if we took that classic treat and transformed it into something even more indulgent? Enter the Best Chocolate Covered Peanut Butter Rice Crispy Treats. This delightful twist combines creamy peanut butter, rich chocolate, and the satisfying crunch of brown rice crisps, making for a decadent dessert that’s hard to resist. Whether you’re preparing a snack for a party or treating yourself after a long day, these treats are sure to satisfy.
Why Best Chocolate Covered Peanut Butter Rice Crispy Treats. is Worth Your Time
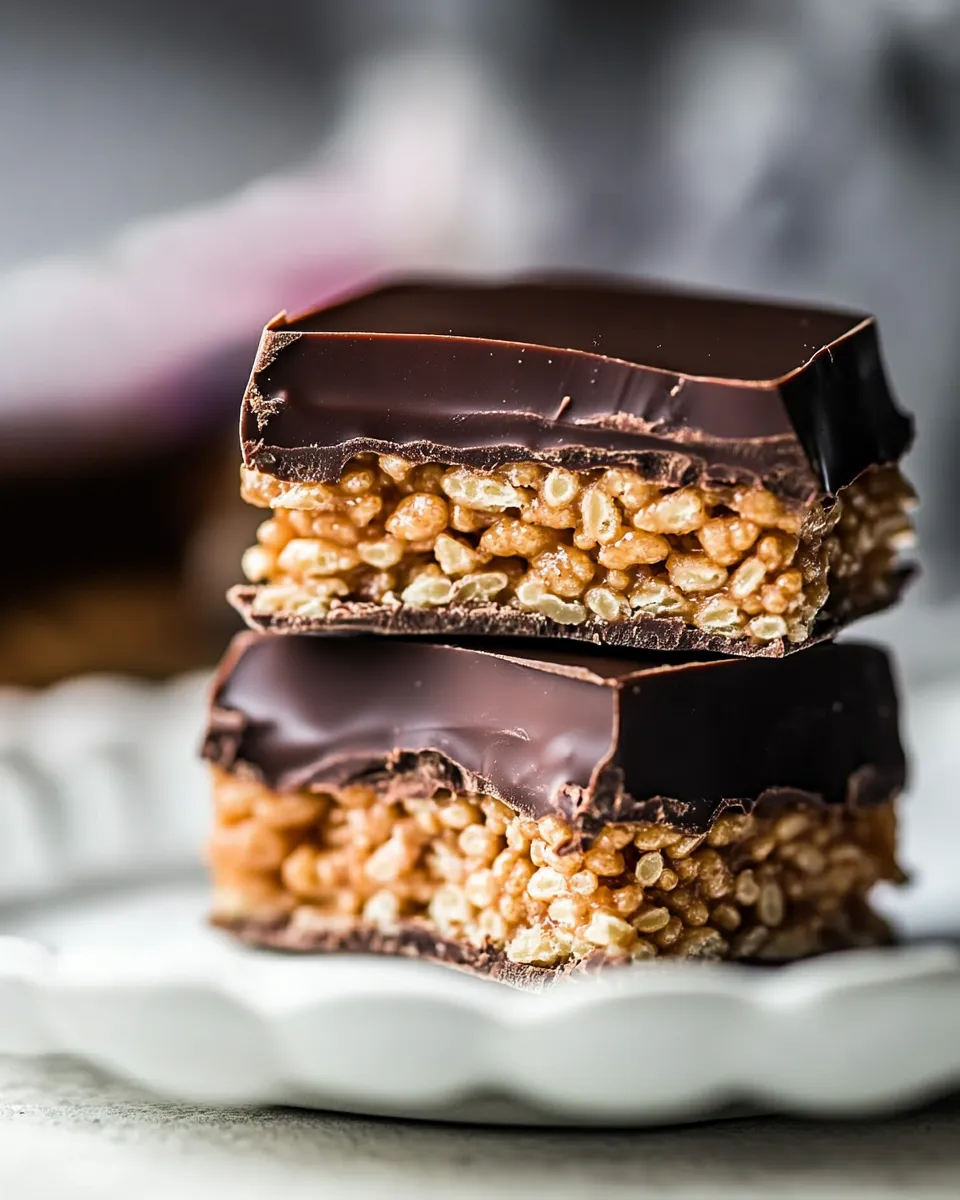
These treats are not only incredibly easy to make, but they also offer a delightful combination of flavors and textures. The creamy, nutty peanut butter pairs beautifully with the sweetness of honey and the richness of chocolate. Plus, they come together in no time, making them perfect for those last-minute dessert cravings. Each bite offers a satisfying crunch followed by a smooth, chocolatey finish that will have you coming back for more. And the best part? You can feel good about enjoying them, knowing that they are made with wholesome ingredients.
Gather These Ingredients
- 4 tablespoons salted butter or coconut oil
- 1/3 cup honey
- 2 tablespoons creamy peanut butter
- 4 cups brown rice crisps
- 1/3 cup coconut oil
- 1/2 cup real maple syrup
- 3 rounded tablespoons almond or cashew butter
- 1 teaspoon vanilla extract
- 8 ounces semi-sweet chocolate, melted
Equipment Breakdown
- Large mixing bowl: For combining your ingredients.
- 9×9 inch baking pan: To shape and set your treats.
- Double boiler or microwave-safe bowl: For melting the chocolate.
- Rubber spatula: For mixing and spreading the mixture evenly.
- Parchment paper: To line your baking pan for easy removal.
Cook Best Chocolate Covered Peanut Butter Rice Crispy Treats. Like This
Step 1: Prepare the Baking Pan
Start by lining a 9×9 inch baking pan with parchment paper. This will prevent your treats from sticking and make for easier cleanup later.
Step 2: Melt the Base Ingredients
In a medium saucepan over low heat, melt the salted butter (or coconut oil), honey, and peanut butter together. Stir until the mixture is smooth and fully combined. This creates a deliciously sticky base for your treats.
Step 3: Combine with Rice Crisps
Once melted, remove the saucepan from heat and add the brown rice crisps to the mixture. Use a rubber spatula to gently fold the rice crisps into the sticky mixture until they are fully coated.
Step 4: Press into the Pan
Transfer the rice crisp mixture into the prepared baking pan. Press it down firmly with your hands or the spatula to ensure an even layer. The better you pack it, the better your treats will hold together.
Step 5: Make the Chocolate Coating
In a double boiler or a microwave-safe bowl, melt the semi-sweet chocolate until smooth. If using a microwave, heat in 30-second intervals, stirring in between to prevent burning.
Step 6: Combine Chocolate and Nut Butters
Once melted, stir in the coconut oil, maple syrup, almond (or cashew) butter, and vanilla extract into the chocolate mixture. This will create a silky, creamy layer that will perfectly complement the rice crispy base.
Step 7: Pour Over the Rice Crisps
Carefully pour the chocolate mixture over the pressed rice crisp layer in the baking pan. Use a spatula to spread it evenly across the top, ensuring every corner is covered.
Step 8: Chill and Set
Place the baking pan in the refrigerator for at least 1-2 hours or until the chocolate is set. This step is crucial for achieving that satisfying bite when you cut into the treats.
Step 9: Cut and Serve
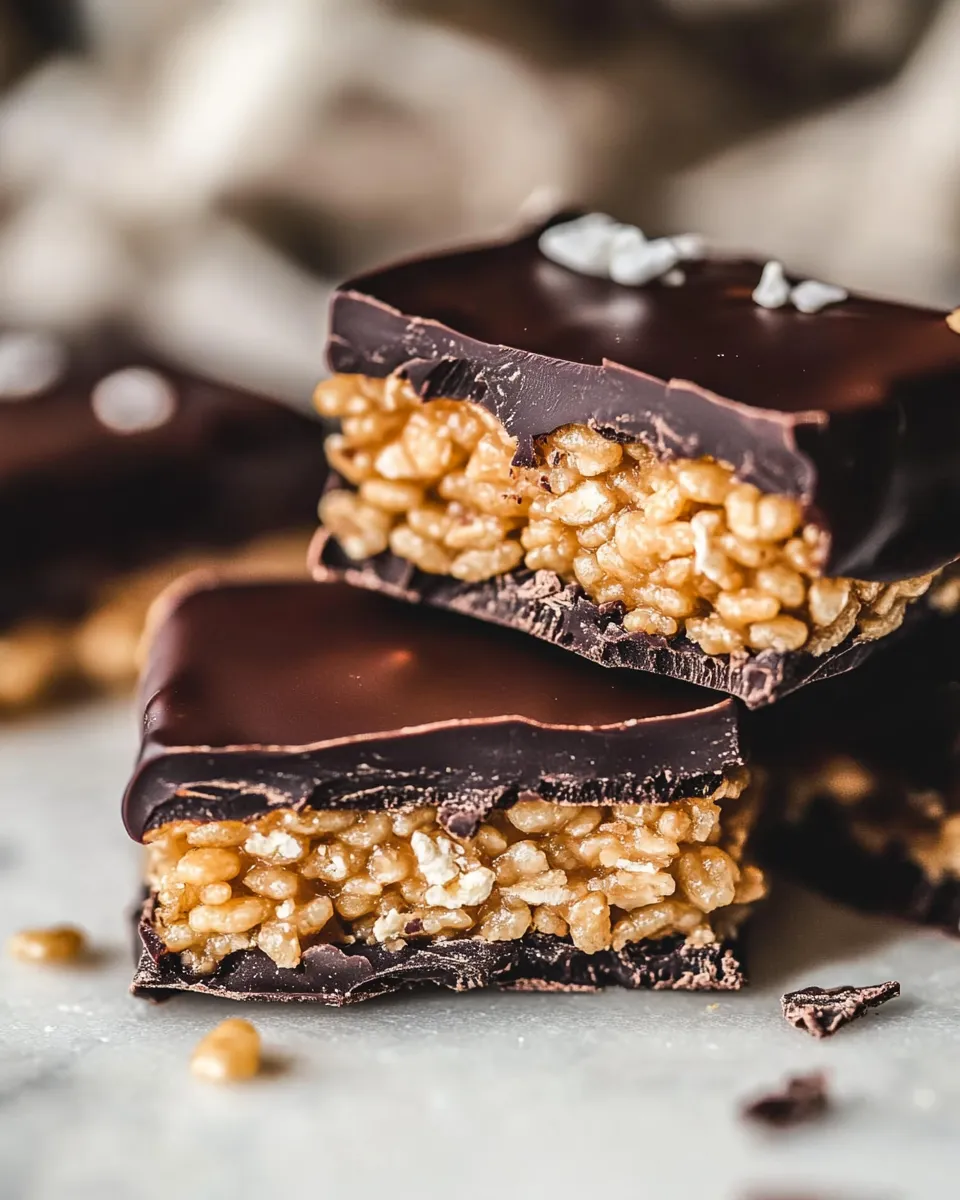
Once set, remove the treats from the pan by lifting the parchment paper. Cut them into squares or rectangles, and enjoy the Best Chocolate Covered Peanut Butter Rice Crispy Treats with friends or family.
No-Store Runs Needed
- Brown rice crisps can often be found in your pantry or easily substituted with other cereal options.
- Honey and maple syrup are common staples in most kitchens.
- Coconut oil and salted butter can typically be swapped based on preference or dietary needs.
- All nut butters can be interchanged based on what you have on hand.
Common Errors (and Fixes)
- Not pressing the mixture firmly: This can result in crumbly treats. Ensure you pack it tightly.
- Using chocolate chips that don’t melt well: Always use high-quality semi-sweet chocolate for the best results.
- Skipping the chill time: Cutting the treats too early can lead to a mess. Patience is key!
- Overheating the chocolate: Melt it gently to avoid burning. Use low heat or short microwave intervals.
Make Ahead Like a Pro
If you want to prepare these treats in advance, they store beautifully in an airtight container at room temperature for up to a week. For longer storage, keep them in the refrigerator for up to two weeks. You can also freeze them for up to three months; just remember to wrap them tightly to prevent freezer burn. Simply thaw at room temperature before serving.
FAQ
Can I use a different type of nut butter?
Absolutely! Feel free to substitute almond butter with peanut butter, cashew butter, or even sunflower seed butter for a nut-free option. Just keep in mind that the flavor and texture may vary slightly.
Are these treats gluten-free?
Yes! As long as you use certified gluten-free brown rice crisps, these treats can be enjoyed by those avoiding gluten.
How do I store leftovers?
Store any leftovers in an airtight container at room temperature for up to a week. For longer storage, refrigerate or freeze as mentioned previously.
Can I add extras like nuts or dried fruit?
Definitely! Feel free to mix in chopped nuts, dried cranberries, or even mini chocolate chips for an extra layer of flavor and texture.
More from the Kitchen
- Easy No-Bake Chocolate Oatmeal Cookies
- Decadent Peanut Butter Chocolate Bars
- Coconut Almond Energy Balls
- Homemade Granola Bars with Dried Fruits
The Last Word
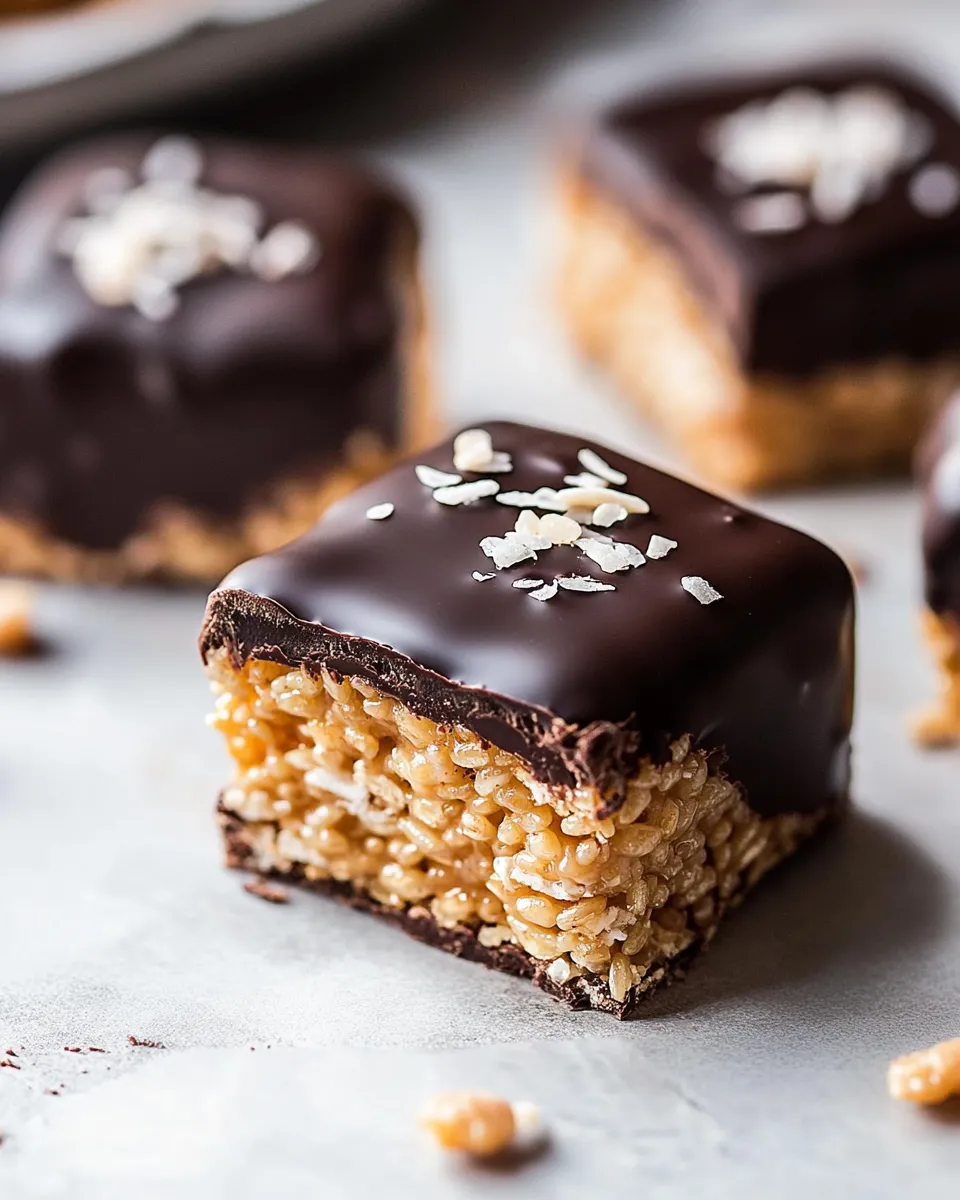
The Best Chocolate Covered Peanut Butter Rice Crispy Treats are a delightful treat that brings together the nostalgia of childhood with the indulgence of adult flavors. With their simple ingredients and easy preparation, they are perfect for any occasion—be it a casual snack, a party treat, or a sweet surprise for loved ones. So gather your ingredients, follow the steps, and enjoy the deliciousness that awaits. You won’t regret treating yourself to this chocolaty, peanut buttery goodness!
Best Chocolate Covered Peanut Butter Rice Crispy Treats.
Ingredients
Equipment
Method
- Start by lining a 9x9 inch baking pan with parchment paper. This will prevent your treats from sticking and make for easier cleanup later.
- In a medium saucepan over low heat, melt the salted butter (or coconut oil), honey, and peanut butter together. Stir until the mixture is smooth and fully combined.
- Once melted, remove the saucepan from heat and add the brown rice crisps to the mixture. Use a rubber spatula to gently fold the rice crisps into the sticky mixture until they are fully coated.
- Transfer the rice crisp mixture into the prepared baking pan. Press it down firmly with your hands or the spatula to ensure an even layer.
- In a double boiler or a microwave-safe bowl, melt the semi-sweet chocolate until smooth, stirring in between to prevent burning.
- Once melted, stir in the coconut oil, maple syrup, almond (or cashew) butter, and vanilla extract into the chocolate mixture.
- Carefully pour the chocolate mixture over the pressed rice crisp layer in the baking pan. Use a spatula to spread it evenly across the top.
- Place the baking pan in the refrigerator for at least 1-2 hours or until the chocolate is set.
- Once set, remove the treats from the pan by lifting the parchment paper. Cut them into squares or rectangles.
Notes
- Brown rice crisps can be substituted with other cereal options.
- Use high-quality chocolate for the best melting results.
- Store in an airtight container for up to a week or freeze for longer storage.