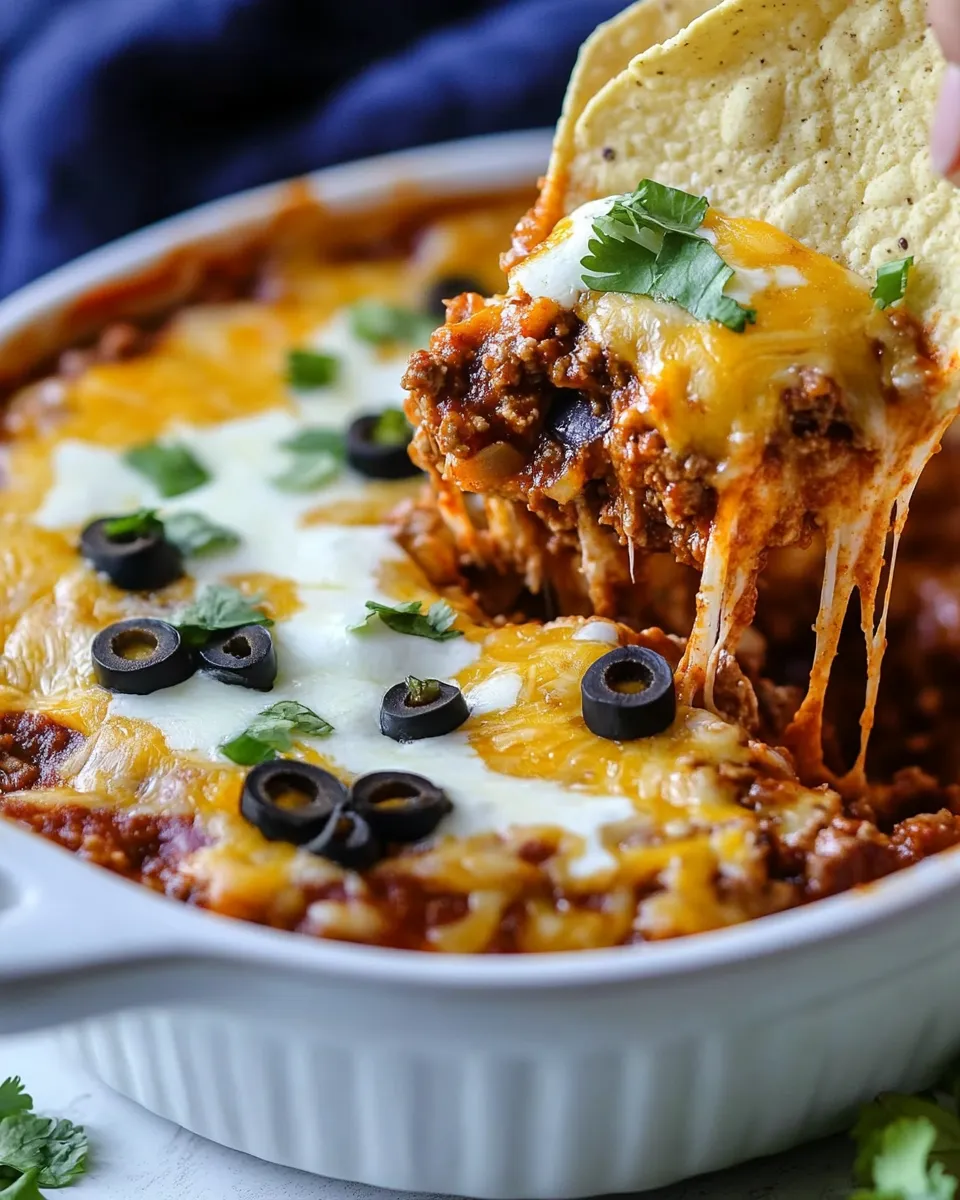
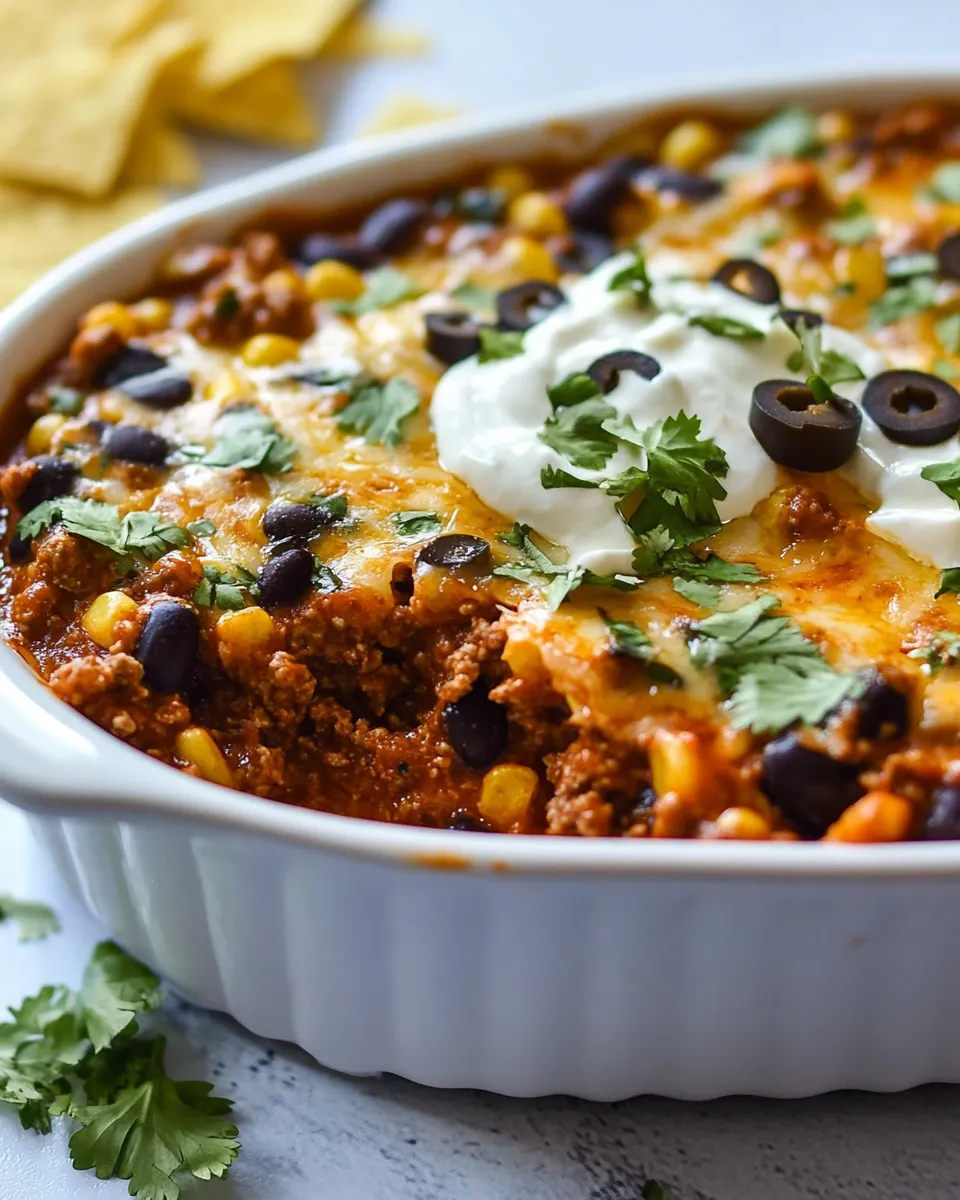
Beef Enchilada Dip
If you’re looking for a crowd-pleasing, flavorful appetizer that captures the essence of Mexican cuisine, look no further than this Beef Enchilada Dip. Perfect for game days, parties, or cozy nights at home, this dip combines tender ground beef, zesty enchilada sauce, and a medley of wholesome ingredients to create a creamy, cheesy delight that everyone will love. With layers of flavor and texture, each scoop will have your guests coming back for more!
Why Cooks Rave About It
This Beef Enchilada Dip is a true showstopper. It’s not just about taste; it’s the perfect blend of convenience and comfort. The robust flavors of the beef and enchilada sauce meld beautifully with the creamy cheese and the freshness of the beans, corn, and tomatoes. Plus, it’s incredibly versatile. Whether you serve it with tortilla chips, fresh veggies, or even as a filling for tacos, this dip can adapt to any occasion. It’s quick to prepare, and the aroma wafting through your kitchen will have your family and friends eagerly anticipating the first bite.
What to Buy
To make this Beef Enchilada Dip, here’s a detailed list of ingredients you’ll need:
- 1 pound lean ground beef
- 1 small onion, diced
- 1 (15-ounce) can red enchilada sauce
- 1 (15-ounce) can black beans, drained and rinsed
- 1 (14.5-ounce) can diced tomatoes, drained
- 1 (15-ounce) can corn, drained
- 1 (3-ounce) can sliced olives
- 2 cups shredded Colby-jack cheese, divided
- 1 teaspoon salt, more if needed
- 1 teaspoon pepper
Essential Tools for Success
To ensure your Beef Enchilada Dip turns out perfectly, you’ll need a few kitchen essentials:
- Large skillet: For browning the ground beef and mixing the ingredients.
- Spatula: To stir and combine the dip ingredients thoroughly.
- Baking dish: A medium-sized dish for baking the dip until bubbly and golden.
- Measuring cups and spoons: To accurately measure the ingredients.
Step-by-Step: Beef Enchilada Dip
Step 1: Cook the Ground Beef
In a large skillet over medium heat, add the lean ground beef and diced onion. Cook until the beef is browned and the onion is translucent, about 5-7 minutes. Make sure to break up the beef into small pieces as it cooks.
Step 2: Add Seasoning
Once the beef is browned, season it with salt and pepper. Stir well to combine and enhance the flavor.
Step 3: Incorporate the Sauces and Veggies
Pour in the red enchilada sauce, black beans, diced tomatoes, corn, and sliced olives. Stir everything together until well combined. Let this mixture simmer for about 5 minutes, allowing the flavors to meld.
Step 4: Add Cheese
Remove the skillet from heat and stir in 1 ½ cups of the shredded Colby-jack cheese. Mix until the cheese is melted and evenly distributed throughout the dip.
Step 5: Transfer and Bake
Preheat your oven to 350°F (175°C). Transfer the dip mixture to a baking dish and sprinkle the remaining ½ cup of shredded cheese on top.
Step 6: Bake Until Bubbly
Place the baking dish in the preheated oven and bake for 20-25 minutes, or until the dip is bubbly and the cheese is golden brown.
Step 7: Serve and Enjoy
Remove the dip from the oven and let it cool slightly. Serve it warm with tortilla chips, sliced veggies, or as a filling for tacos. Enjoy every cheesy, beefy bite!
Substitutions by Diet

If you have dietary restrictions or preferences, consider these substitutions:
- Ground beef: Substitute with ground turkey or chicken for a leaner option.
- Beans: Use pinto beans or kidney beans instead of black beans.
- Cheese: Swap Colby-jack for a dairy-free cheese alternative for a vegan option.
- Olives: Omit olives if you prefer a milder flavor.
Common Errors (and Fixes)
To ensure your Beef Enchilada Dip turns out perfectly, here are some common pitfalls and how to avoid them:
- Too Greasy: If your dip is greasy, ensure you’re using lean ground beef and drain any excess fat after cooking.
- Too Salted: Taste the mixture before adding all the salt. You can always add more later!
- Not Cheesy Enough: Use freshly shredded cheese for better melting and flavor compared to pre-shredded varieties.
- Overcooked Veggies: If you prefer your veggies with a bit of crunch, add them just before removing the dip from the heat.
Storage Pro Tips
To keep your Beef Enchilada Dip fresh for later, follow these storage tips:
Allow the dip to cool completely before transferring it to an airtight container. It can be stored in the refrigerator for up to 3 days. To reheat, simply microwave in short intervals, stirring frequently until warmed through. Alternatively, you can reheat it in the oven at 350°F (175°C) until bubbly.
Ask & Learn
Can I make this dip ahead of time?
Absolutely! You can prepare the dip up to a day in advance. Simply assemble it in the baking dish, cover with foil, and refrigerate. When you’re ready to serve, bake it right from the fridge, adding a few extra minutes to the cooking time.
What can I serve with this dip?
This Beef Enchilada Dip pairs wonderfully with tortilla chips, fresh veggies like bell peppers and cucumber, or even as a filling for enchiladas or tacos. Get creative!
Can I freeze Beef Enchilada Dip?
Yes, you can freeze the dip! Just ensure it’s fully cooled, then transfer it to a freezer-safe container. It will keep well for up to 2 months. Thaw in the refrigerator overnight before reheating.
How do I adjust the spice level?
If you prefer a milder dip, use a mild enchilada sauce and omit any spicy additions like jalapeños. For extra heat, consider adding chopped fresh jalapeños or a pinch of cayenne pepper when cooking the beef.
Desserts to Finish
Complete your meal with one of these delightful desserts:
- Classic Chocolate Chip Cookies
- Healthy Chocolate Avocado Mousse
- Easy Vegan Chocolate Cake
- Layered Pumpkin Cheesecake
Bring It to the Table
Gather your friends and family around the table, and watch as they delight in the rich, cheesy goodness of this Beef Enchilada Dip. It’s more than just food; it’s a reason to connect, celebrate, and make memories. With every scoop, you’ll feel the warmth and joy that comes from sharing delicious food with loved ones. So, grab those chips and dig in—this dip is bound to be the star of the show!
Whether it’s a festive gathering or a simple weeknight treat, this Beef Enchilada Dip is sure to impress and satisfy. Enjoy the flavors, the company, and the smiles as you dive into this irresistible dish. Happy dipping!

Beef Enchilada Dip
Ingredients
Equipment
Method
- In a large skillet over medium heat, add the lean ground beef and diced onion. Cook until the beef is browned and the onion is translucent, about 5-7 minutes. Make sure to break up the beef into small pieces as it cooks.
- Once the beef is browned, season it with salt and pepper. Stir well to combine and enhance the flavor.
- Pour in the red enchilada sauce, black beans, diced tomatoes, corn, and sliced olives. Stir everything together until well combined. Let this mixture simmer for about 5 minutes, allowing the flavors to meld.
- Remove the skillet from heat and stir in 1 ½ cups of the shredded Colby-jack cheese. Mix until the cheese is melted and evenly distributed throughout the dip.
- Preheat your oven to 350°F (175°C). Transfer the dip mixture to a baking dish and sprinkle the remaining ½ cup of shredded cheese on top.
- Place the baking dish in the preheated oven and bake for 20-25 minutes, or until the dip is bubbly and the cheese is golden brown.
- Remove the dip from the oven and let it cool slightly. Serve it warm with tortilla chips, sliced veggies, or as a filling for tacos. Enjoy every cheesy, beefy bite!
Notes
- Allow the dip to cool completely before transferring it to an airtight container for storage.
- This dip can be prepared a day in advance; just refrigerate before baking.
- Freeze the dip in a freezer-safe container for up to 2 months.