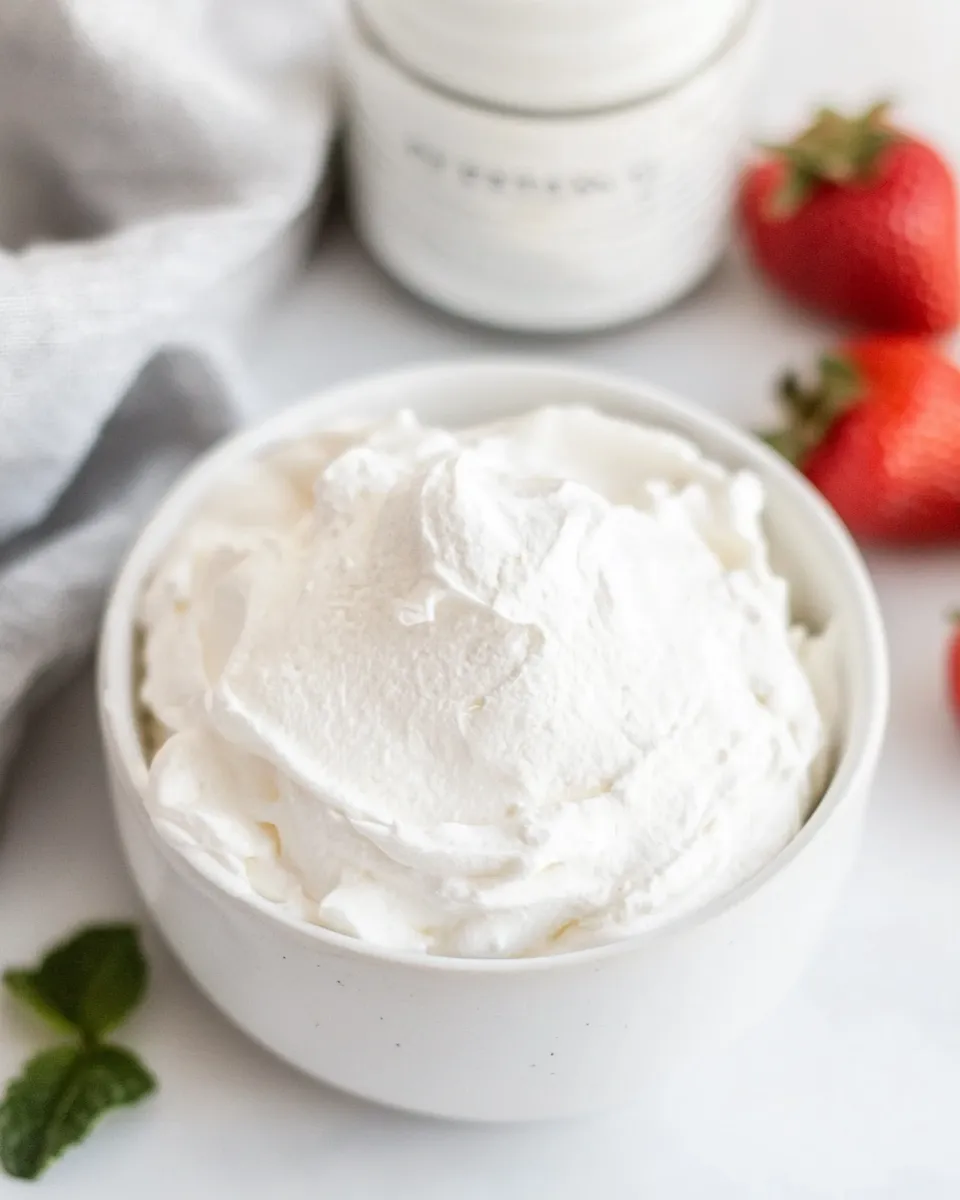
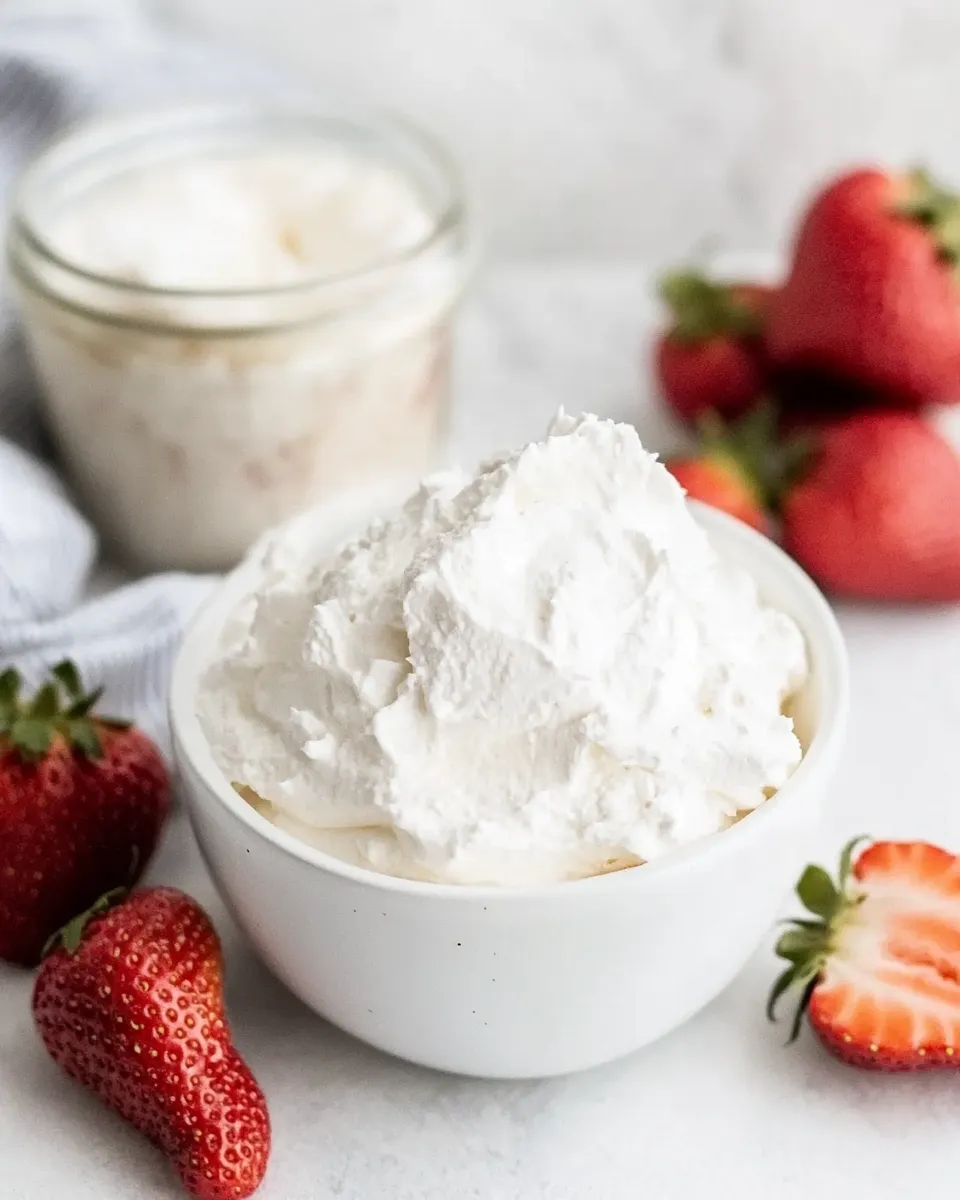
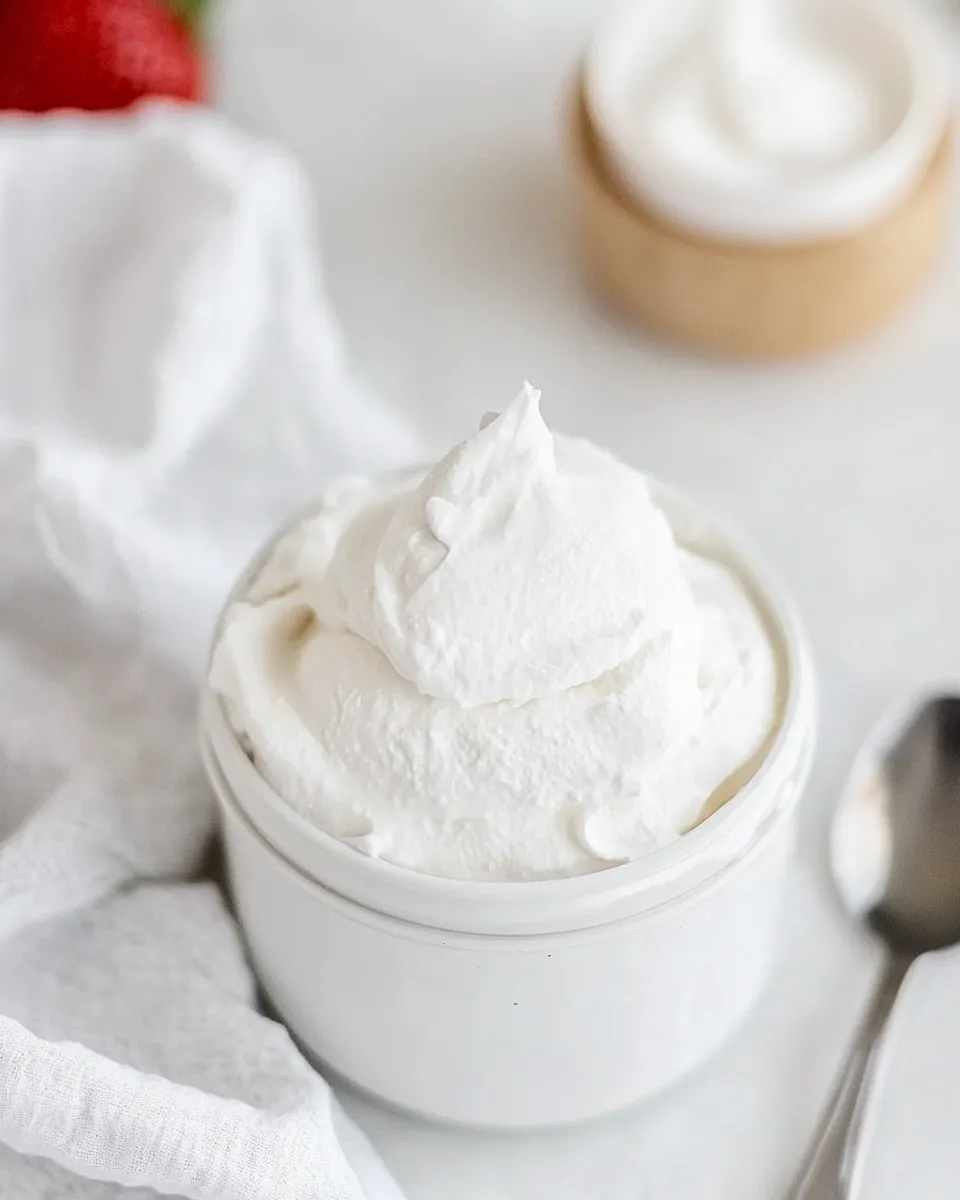
Homemade Whipped Cream Recipe
There’s something undeniably magical about a dollop of freshly whipped cream. It transforms a simple dessert into something extraordinary, creating an indulgent experience that is hard to resist. Whether you’re topping a slice of pie, a bowl of fresh berries, or even a mug of hot cocoa, homemade whipped cream elevates any treat. The best part? It’s incredibly easy to make! With just a few simple ingredients, you can whip up a batch that’s far superior to store-bought versions. Let’s dive into this delightful Homemade Whipped Cream Recipe that will make your desserts shine.
The Upside of Homemade Whipped Cream Recipe
When you choose to make your own whipped cream, you’re not just choosing convenience; you’re opting for freshness and flavor. Homemade whipped cream is free from preservatives and artificial flavors, allowing the natural taste of your ingredients to shine through. Plus, it’s customizable! Want it sweeter? Add more sugar. Prefer a hint of flavor? Toss in some cocoa powder or a splash of your favorite liqueur. The possibilities are endless, and the result is always delightful.
What You’ll Need
To create this luscious Homemade Whipped Cream Recipe, gather the following ingredients:
- 2 cups cold heavy whipping cream
- 1/2 cup granulated sugar or 1 cup powdered sugar
- 1 teaspoon vanilla extract
These simple ingredients are the foundation for a rich and creamy topping that will have your taste buds dancing.
Gear Checklist
Before you start, make sure you have the following tools on hand:
- Mixing Bowl: A large bowl helps prevent splatters while mixing.
- Electric Mixer or Whisk: An electric mixer is the easiest way to achieve fluffy peaks, but a whisk works too if you’re up for a workout!
- Spatula: Use for folding in ingredients gently, if needed.
- Measuring Cups and Spoons: Precision is key for perfect results.
With these tools ready, you’re set to create whipped cream that’s light and airy.
Cook Homemade Whipped Cream Recipe Like This
Step 1: Chill Your Equipment
For the best results, chill your mixing bowl and beaters in the refrigerator for about 10-15 minutes before you start. Cold equipment helps the cream whip up faster and achieve the right texture.
Step 2: Combine Ingredients
Once your tools are chilled, pour the cold heavy whipping cream into the mixing bowl. Add in the granulated or powdered sugar, along with the vanilla extract.
Step 3: Start Whipping
Using your electric mixer (or whisk), begin mixing the cream on medium speed. If you’re using a whisk, be prepared for a bit of a workout!
Step 4: Watch for Peaks
Continue whipping until soft peaks form, which typically takes about 2-4 minutes with an electric mixer. Soft peaks are when the cream holds its shape but still has a slight droop. If you prefer a firmer texture, whip a little longer until stiff peaks form.
Step 5: Serve or Store
Once your whipped cream reaches the desired consistency, it’s ready to be enjoyed! Use it immediately to top your favorite desserts, or store it in the refrigerator for later.
Dairy-Free/Gluten-Free Swaps
If you’re looking for alternatives, here are some great options:
- Coconut Cream: Use chilled coconut cream as a dairy-free substitute. Just scoop out the solid cream from a can of coconut milk.
- Almond Milk Cream: Whipped almond milk cream is another lighter alternative, though it may require stabilizers to hold its shape.
- Gluten-Free Sugar: All types of sugar are generally gluten-free; just ensure your brands are certified if you’re concerned.
These alternatives can help you enjoy whipped cream while accommodating dietary needs.
What Could Go Wrong
While making whipped cream is relatively straightforward, a few common pitfalls can occur:
- Over Whipping: If you whip too long, the cream can turn into butter. Stop whipping as soon as you see stiff peaks.
- Warm Ingredients: If your cream or tools aren’t cold enough, it won’t whip properly. Always chill your equipment and cream beforehand.
- Too Sweet or Not Sweet Enough: Adjust the sugar to your taste. Start with less and add more if needed.
By keeping an eye on these factors, you can ensure a perfect batch every time.
Storage Pro Tips
To maintain the quality of your homemade whipped cream, consider these storage tips:
- Refrigeration: Whipped cream can be stored in the refrigerator in an airtight container for up to 2 days.
- Stabilizers: For longer-lasting whipped cream, consider adding a stabilizer like cornstarch or gelatin, which helps maintain texture over time.
- Avoid Freezing: While you can freeze whipped cream, the texture may change. It’s best enjoyed fresh!
Following these tips will help you keep your whipped cream fresh and delicious.
Ask the Chef
Can I use half-and-half instead of heavy cream?
While you can use half-and-half, it won’t whip up as well as heavy cream due to lower fat content. For best results, stick with heavy whipping cream.
How can I flavor my whipped cream?
You can add flavors like cocoa powder, espresso powder, or extracts (like almond or peppermint) to customize your whipped cream. Just be sure to adjust the sugar accordingly!
What’s the difference between granulated sugar and powdered sugar in whipped cream?
Granulated sugar takes a bit longer to dissolve, while powdered sugar blends in more quickly and can help stabilize the whipped cream. Choose based on your texture preference!
Can I make whipped cream in advance?
Yes, you can make it a day ahead! Just store it in an airtight container in the refrigerator and give it a gentle stir before serving.
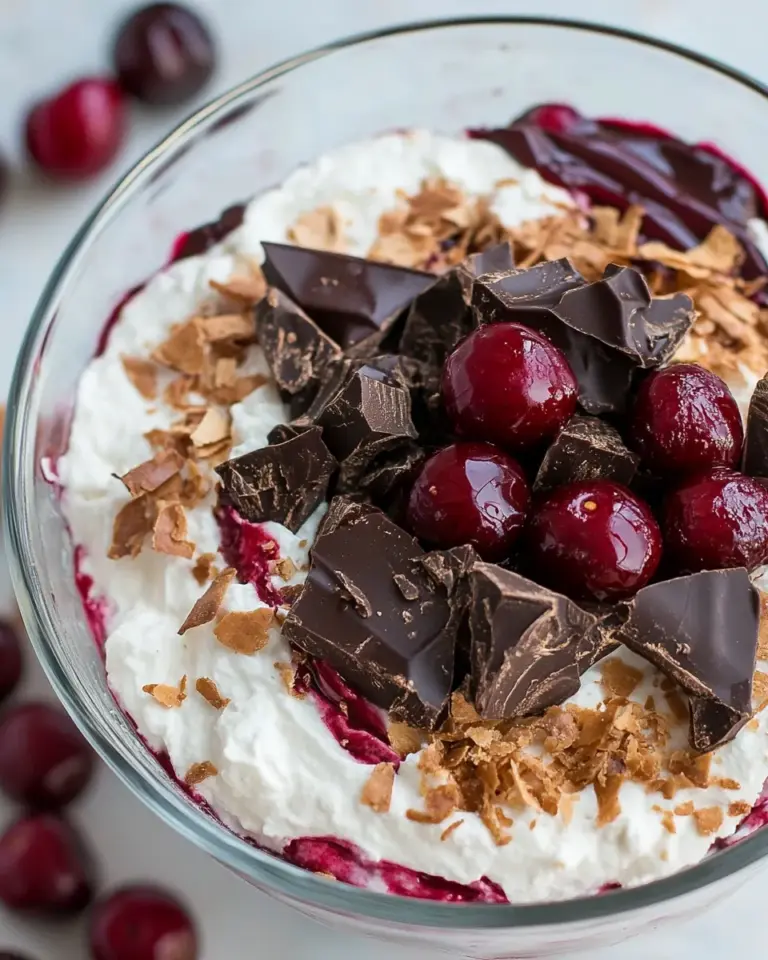
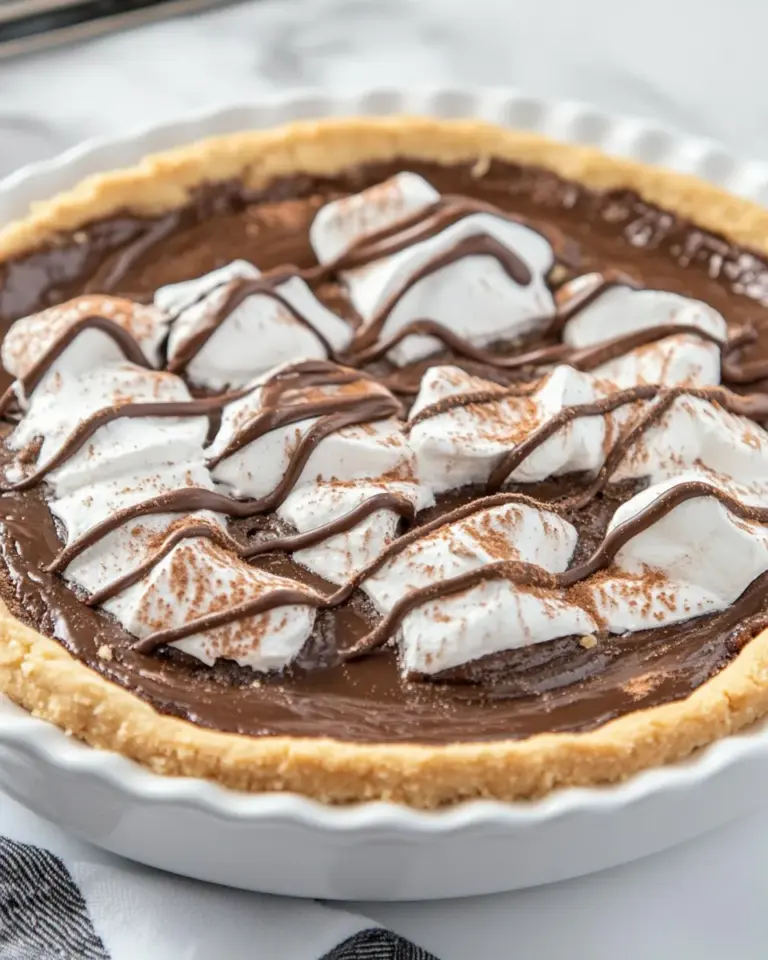
Explore More
If you’re inspired to continue your culinary journey, check out these delightful recipes:
These recipes will surely satisfy your sweet tooth!
Let’s Eat
Now that you have all the tips and tricks at your fingertips, it’s time to whip up your Homemade Whipped Cream Recipe! Whether you’re dolloping it on desserts, stirring it into coffee, or enjoying it straight off the spoon, this whipped cream is sure to become a favorite in your kitchen. So, gather your ingredients, chill your bowl, and let the magic happen. You’ll be amazed at how easy it is to create this creamy delight that’s infinitely better than anything you can buy at the store. Enjoy your sweet creations, and don’t forget to share the joy of homemade whipped cream with friends and family!

Homemade Whipped Cream Recipe
Ingredients
Equipment
Method
- Chill your mixing bowl and beaters in the refrigerator for about 10-15 minutes before you start.
- Pour the cold heavy whipping cream into the mixing bowl. Add in the granulated or powdered sugar, along with the vanilla extract.
- Using your electric mixer (or whisk), begin mixing the cream on medium speed.
- Continue whipping until soft peaks form, which typically takes about 2-4 minutes with an electric mixer.
- Once your whipped cream reaches the desired consistency, it’s ready to be enjoyed!
Notes
- Store whipped cream in an airtight container in the refrigerator for up to 2 days.
- For longer-lasting whipped cream, consider adding a stabilizer like cornstarch or gelatin.
- Avoid freezing whipped cream, as it may change texture.