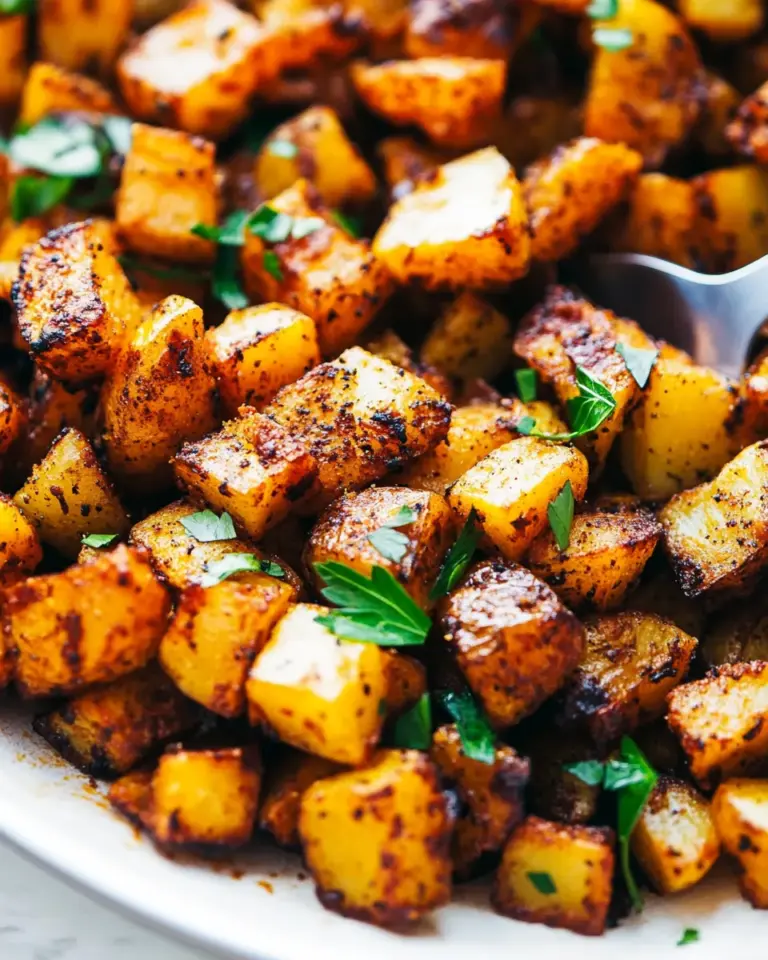
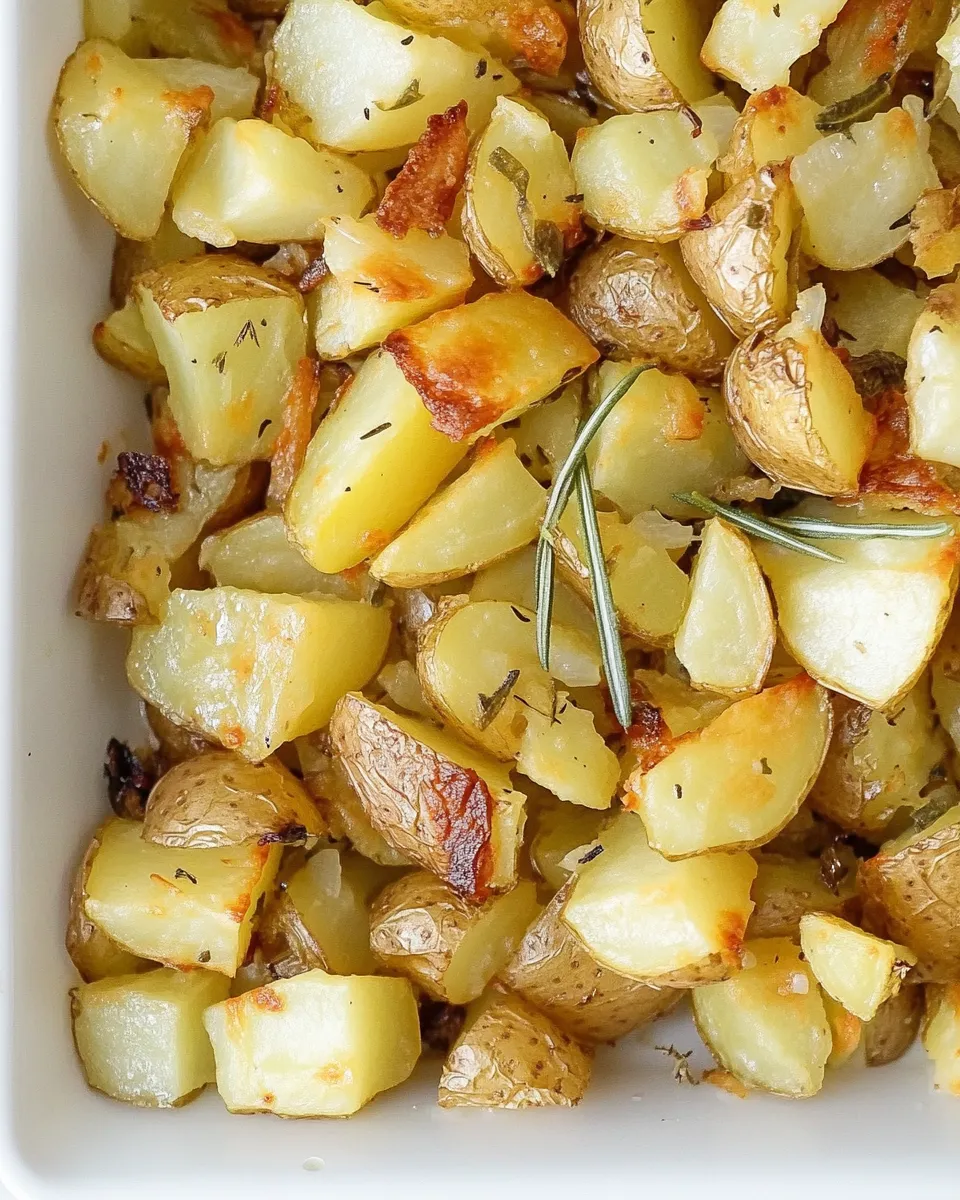
Roasted Homestyle Breakfast Potatoes
There’s something incredibly comforting about a plate full of roasted homestyle breakfast potatoes. Perfectly crispy on the outside and fluffy on the inside, they are the ideal accompaniment to any breakfast spread. Whether you serve them alongside eggs, bacon, or just a dollop of ketchup, these potatoes are sure to become a staple in your morning routine. With a little bit of olive oil, some diced vegetables, and a sprinkle of spices, you can whip up a batch that will have everyone asking for seconds. Let’s dive into how to create these delicious roasted homestyle breakfast potatoes!
Why You’ll Keep Making It
These roasted homestyle breakfast potatoes are not only easy to make, but they also pack a punch of flavor. The combination of crispy potatoes, sweet onion, and bell pepper creates a mouthwatering side dish that complements any breakfast. Plus, they are versatile and can be seasoned to your liking. Whether you prefer them spicy, herby, or simply seasoned with salt, the possibilities are endless. It’s a one-pan dish that brings comfort and satisfaction to your breakfast table, making it a recipe you’ll want to return to again and again.
Ingredient List
- 2 1/2 lbs red or Yukon Gold potatoes
- 1 yellow onion
- 1 large green bell pepper
- 2 Tbsp olive oil (optional)
- 1/2 tsp smoked paprika (or other herbs/seasonings)
- Salt to taste
Toolbox for This Recipe
- Large baking sheet – for roasting the potatoes evenly.
- Sharp knife – for chopping the vegetables.
- Cutting board – to keep your workspace tidy.
- Mixing bowl – to toss the potatoes and veggies with oil and seasonings.
- Spatula – for flipping the potatoes during roasting.
Mastering Roasted Homestyle Breakfast Potatoes: How-To
Step 1: Preheat Your Oven
Begin by preheating your oven to 425°F (220°C). A hot oven is key to achieving that perfect crispy texture.
Step 2: Prepare the Potatoes
Wash and scrub the potatoes thoroughly to remove any dirt. There’s no need to peel them; the skin adds extra flavor and nutrition. Cut the potatoes into bite-sized cubes, about 1 inch in size, for even cooking.
Step 3: Chop the Vegetables
Dice the yellow onion and green bell pepper into similar-sized pieces as the potatoes. This ensures that everything cooks at the same rate.
Step 4: Toss with Olive Oil and Seasonings
In a large mixing bowl, combine the cubed potatoes, diced onion, and bell pepper. Drizzle with olive oil (if using), and sprinkle with smoked paprika and salt. Toss everything together until the potatoes and vegetables are well-coated.
Step 5: Spread on Baking Sheet
Transfer the mixture onto a large baking sheet in a single layer. This allows for even roasting and helps achieve that golden-brown exterior.
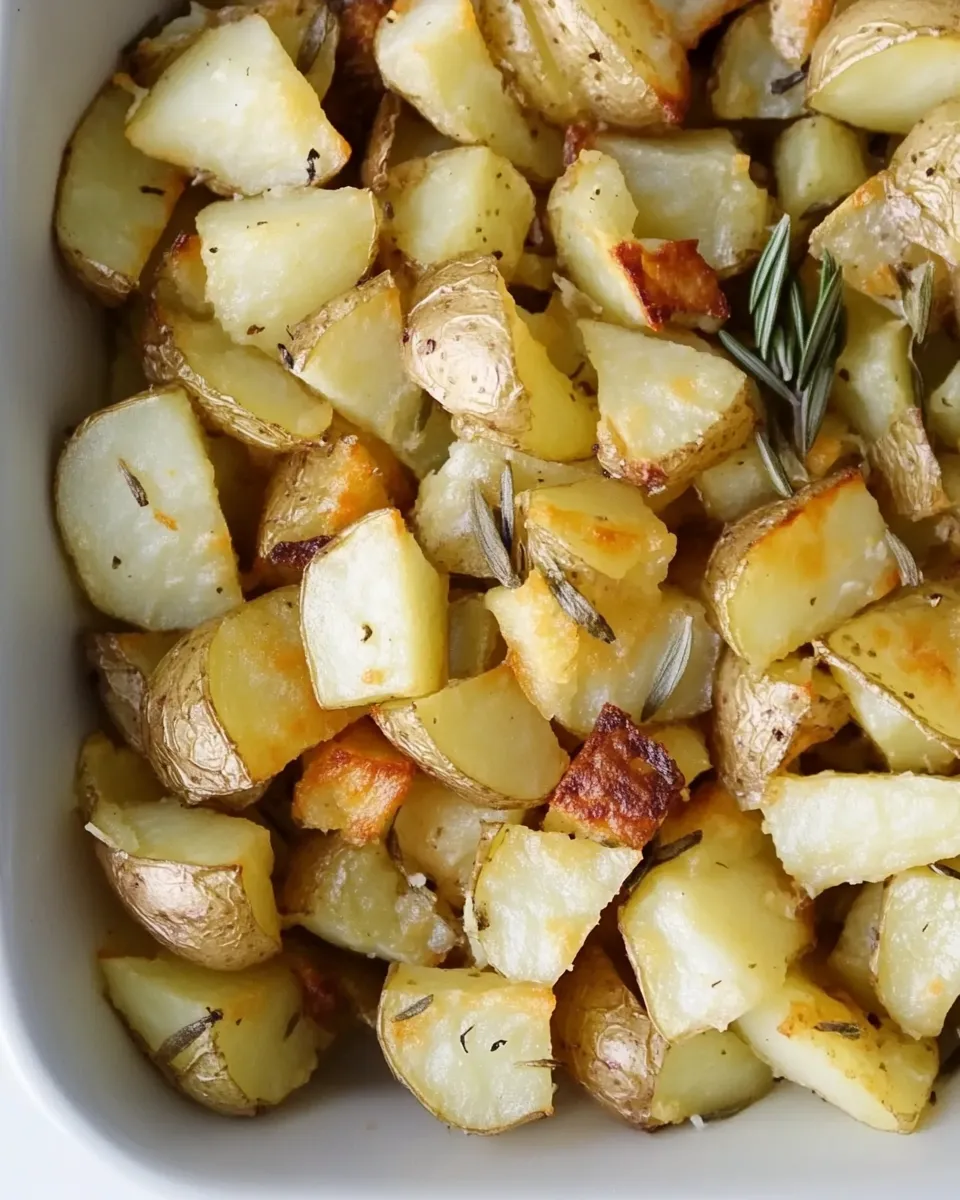
Step 6: Roast to Perfection
Place the baking sheet in the preheated oven and roast for about 30-35 minutes. Halfway through, give the potatoes a good stir with a spatula to ensure even browning. They’re done when they are crispy and golden brown.
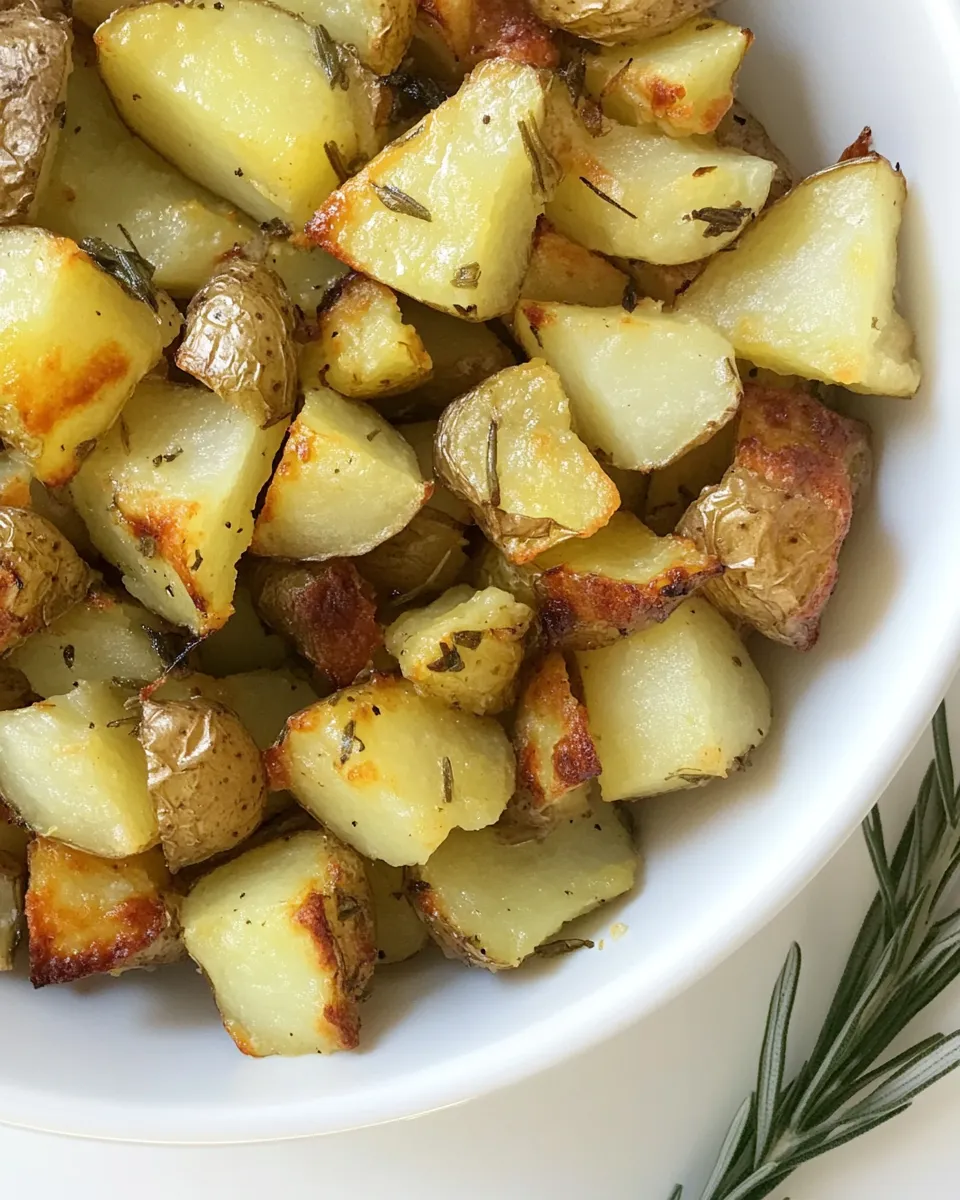
Step 7: Serve and Enjoy
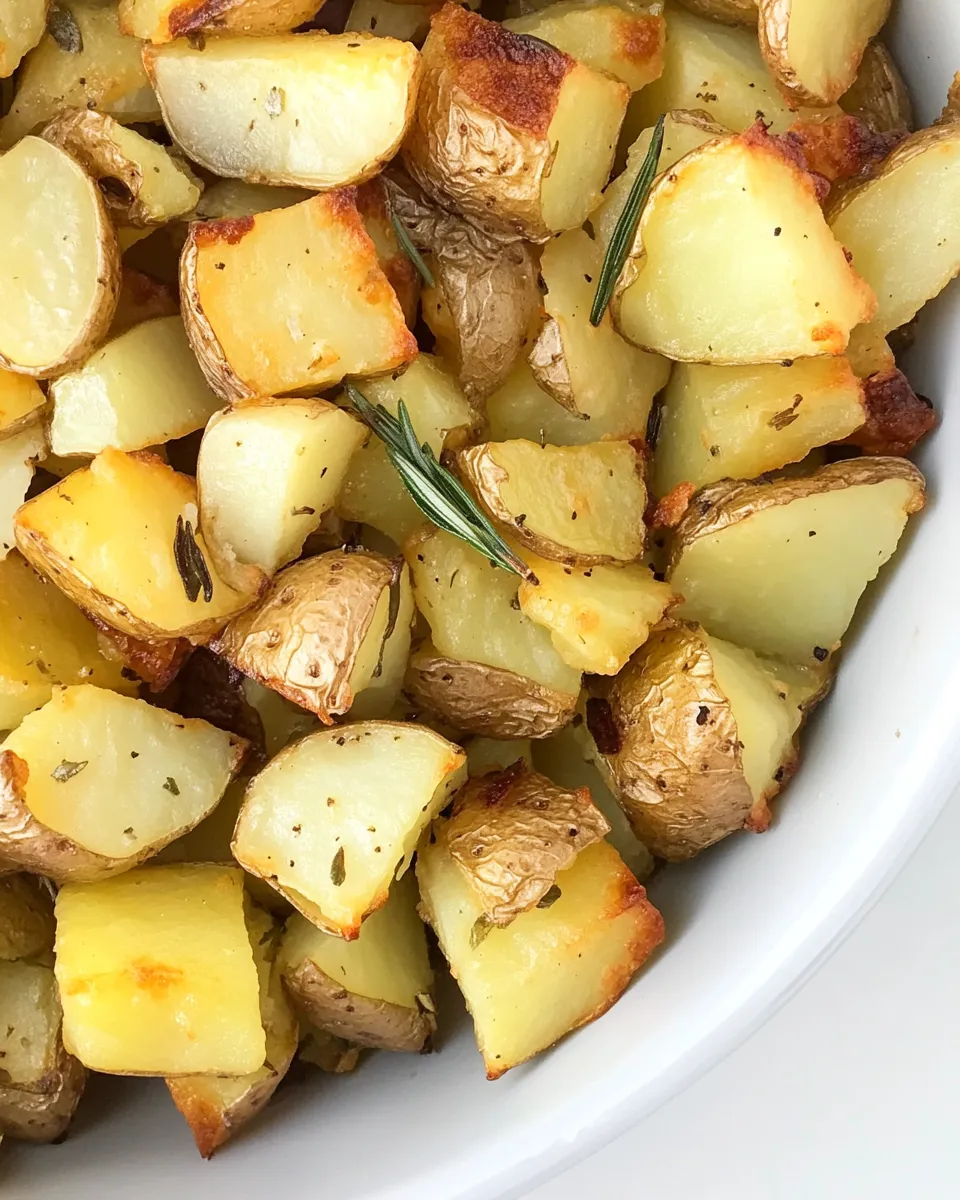
Remove the baking sheet from the oven and let the potatoes cool slightly. Serve them warm, garnished with fresh herbs if desired, and enjoy your delicious roasted homestyle breakfast potatoes!
Make It Your Way
- Add other vegetables like diced carrots or zucchini for more variety.
- Sprinkle some grated cheese on top during the last few minutes of roasting for a cheesy twist.
- Experiment with different seasonings like garlic powder, onion powder, or chili flakes for an extra kick.
- Top with fresh herbs like parsley or chives for a burst of freshness.
Learn from These Mistakes
Here are some common mistakes to avoid when making roasted homestyle breakfast potatoes:
- Cutting potatoes too large – ensure they are uniformly diced for even cooking.
- Overcrowding the pan – give the potatoes space to roast, or they will steam instead.
- Skipping the toss – tossing the potatoes halfway through roasting is crucial for even browning.
- Not preheating the oven – always start with a hot oven for the best results.
Store, Freeze & Reheat
To store leftover roasted homestyle breakfast potatoes, allow them to cool completely, then place them in an airtight container. They can be kept in the refrigerator for up to 3 days. If you want to freeze them, spread the cooled potatoes on a baking sheet in a single layer and freeze until solid. Transfer to a freezer-safe bag or container, and they will last for up to 3 months.
To reheat, simply spread the potatoes on a baking sheet and warm them in a preheated oven at 375°F (190°C) for about 10-15 minutes until heated through and crispy again. You can also microwave them, but the texture may not be as crispy.
Ask & Learn
Can I use different types of potatoes?
Absolutely! While red and Yukon Gold potatoes are fantastic choices, you can use russet potatoes or any other variety you prefer. Just keep in mind that different potatoes may yield slightly different textures.
What if I don’t have smoked paprika?
No worries! You can substitute with regular paprika, chili powder, or even Italian seasoning for a different flavor profile.
Can I make this recipe ahead of time?
Yes! You can prep the potatoes and veggies ahead of time and store them in the fridge for up to 24 hours. When you’re ready, just toss them with the olive oil and seasonings, then bake them fresh.
How can I make these potatoes crispy?
For extra crispiness, make sure to cut the potatoes into uniform sizes, spread them out on the baking sheet without overcrowding, and toss them halfway through roasting. A higher oven temperature also helps achieve that perfect crispy texture.
More Recipes You’ll Love
Bring It to the Table
Now that you have the perfect recipe for roasted homestyle breakfast potatoes, it’s time to bring them to your table! Whether you’re hosting a brunch, enjoying a quiet morning at home, or looking to impress your family with a delicious breakfast, these potatoes will be the star of the show. They’re not just a side dish; they’re a celebration of comfort, flavor, and the joy of home-cooked meals. So grab your ingredients, preheat that oven, and get ready to savor every bite of your homemade roasted homestyle breakfast potatoes. Happy cooking!
Roasted Homestyle Breakfast Potatoes
Ingredients
Equipment
Method
- Preheat your oven to 425°F (220°C). A hot oven is key to achieving that perfect crispy texture.
- Wash and scrub the potatoes thoroughly to remove any dirt. Cut the potatoes into bite-sized cubes, about 1 inch in size, for even cooking.
- Dice the yellow onion and green bell pepper into similar-sized pieces as the potatoes.
- In a large mixing bowl, combine the cubed potatoes, diced onion, and bell pepper. Drizzle with olive oil (if using), and sprinkle with smoked paprika and salt. Toss everything together until well-coated.
- Transfer the mixture onto a large baking sheet in a single layer.
- Place the baking sheet in the preheated oven and roast for about 30-35 minutes, stirring halfway through.
- Remove the baking sheet from the oven and let the potatoes cool slightly. Serve warm, garnished with fresh herbs if desired.
Notes
- Store leftovers in an airtight container in the refrigerator for up to 3 days.
- To freeze, spread on a baking sheet and freeze until solid, then transfer to a freezer-safe bag.
- For extra crispiness, do not overcrowd the baking sheet.