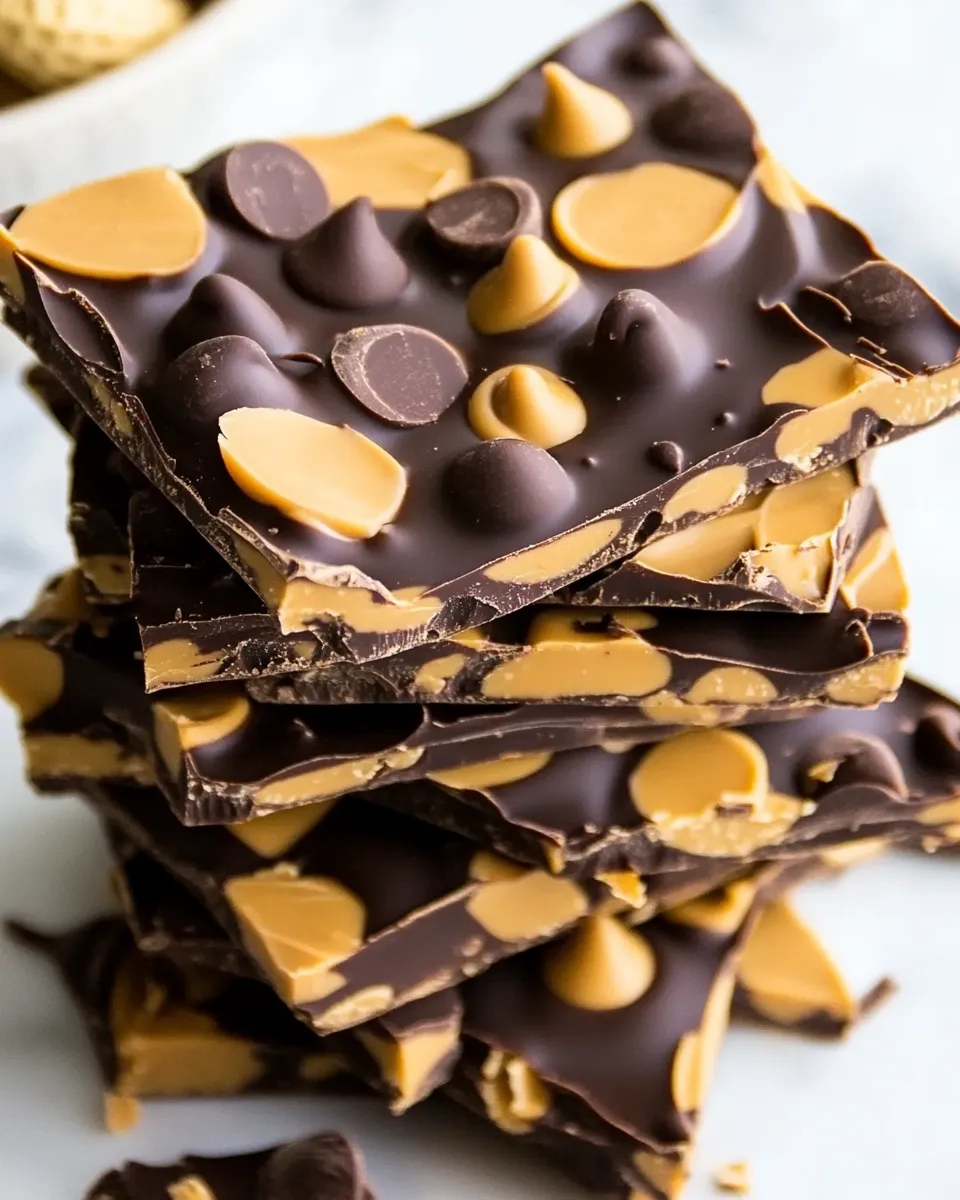
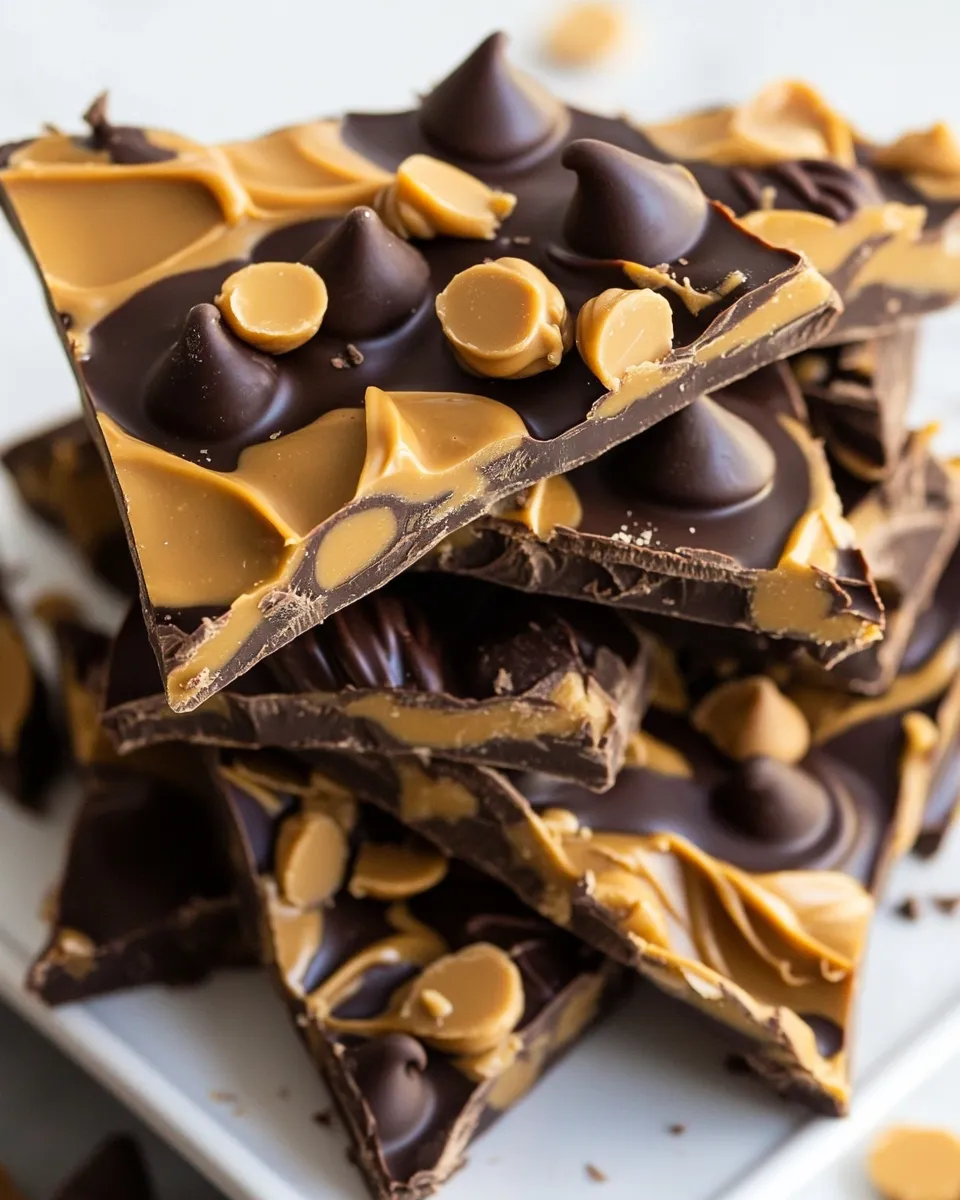
Chocolate Peanut Butter Cup Bark
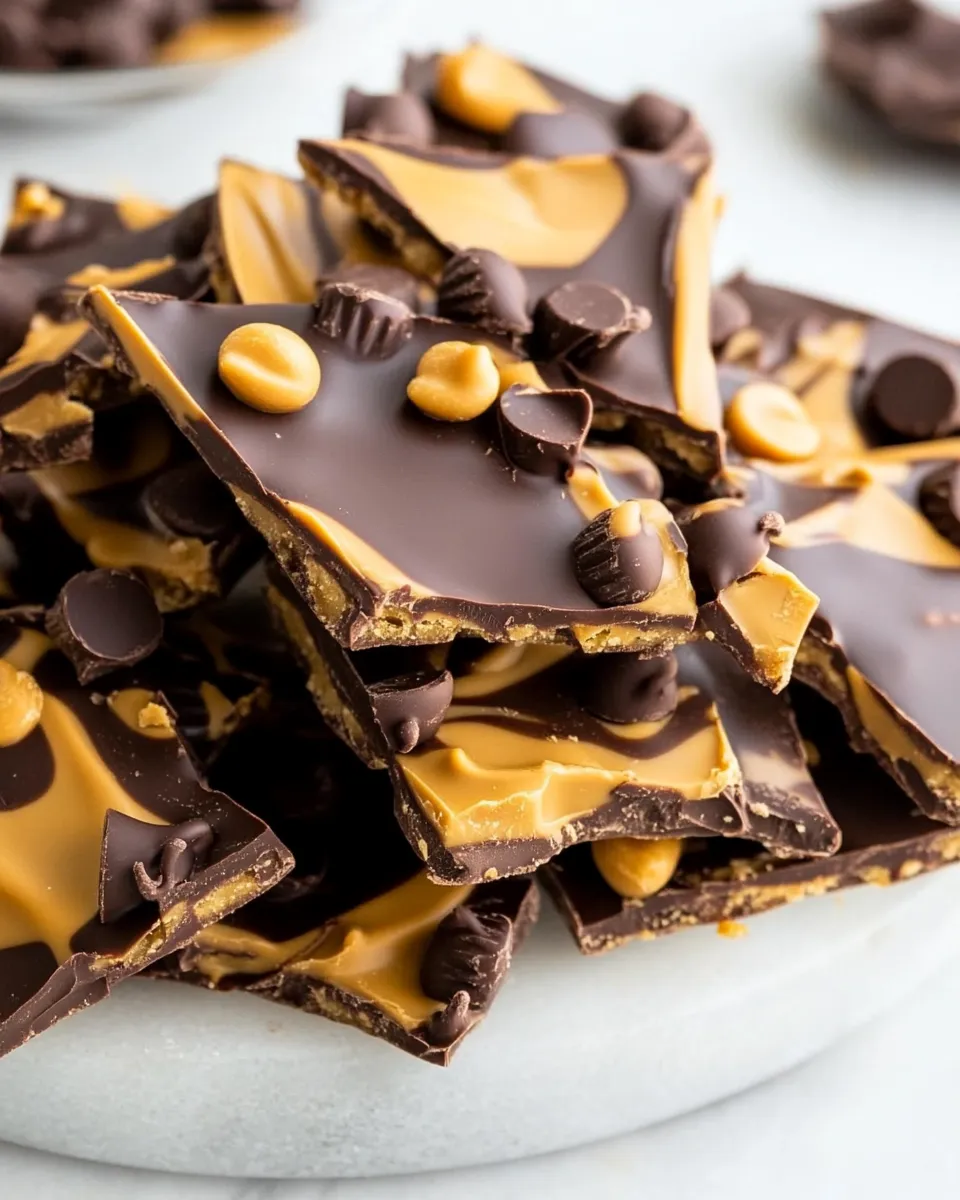
If you’re a fan of the classic combination of chocolate and peanut butter, then this Chocolate Peanut Butter Cup Bark is about to become your new favorite treat. Picture this: a rich layer of dark chocolate, a sweet and creamy peanut butter layer, and the crunch of mini peanut butter cups all melded together in a luscious bark. This recipe is not only easy to whip up but also perfect for satisfying those sweet cravings or for gifting to friends and family. Trust me; once you try this bark, you’ll find it hard to resist coming back for more!
Why This Recipe Is Reliable

This Chocolate Peanut Butter Cup Bark is a foolproof recipe that delivers on flavor and texture every time. With just a few simple ingredients and minimal effort, you can create a decadent treat that looks as good as it tastes. The combination of high-quality dark chocolate and creamy peanut butter chips ensures a rich flavor profile that isn’t overly sweet. Plus, the addition of mini peanut butter cups adds a delightful texture and an extra pop of peanut butter goodness. Whether you’re a novice in the kitchen or a seasoned baker, this recipe is your ticket to homemade indulgence.
Your Shopping Guide
To make your shopping experience seamless, here’s what you’ll need:
- 8 ounces of good quality dark chocolate (70-80%), very finely chopped
- 6 ounces of peanut butter chips
- 1 tablespoon of unflavored vegetable shortening or coconut oil (optional, as needed)
- 1 cup of mini peanut butter cups (Trader Joe’s or chopped larger peanut butter cups)
Having these ingredients on hand will ensure that your Chocolate Peanut Butter Cup Bark turns out perfectly every time!
Setup & Equipment
Before you dive into making your bark, gather the following equipment:
- Double boiler or microwave-safe bowl for melting chocolate
- Spatula for mixing
- Sheet pan lined with parchment paper
- Sharp knife for chopping
- Measuring cups and spoons
Having everything ready will make the process smooth and enjoyable, allowing you to focus on creating delicious bark!
Method: Chocolate Peanut Butter Cup Bark
Step 1: Prepare Your Workspace
Start by lining a sheet pan with parchment paper. This will prevent the bark from sticking and make for easy removal once it’s set.
Step 2: Melt the Dark Chocolate
In a double boiler or microwave-safe bowl, melt the finely chopped dark chocolate. If using the microwave, heat in 30-second intervals, stirring in between until smooth. If the chocolate seems too thick, you can add a tablespoon of vegetable shortening or coconut oil to achieve the desired consistency.
Step 3: Pour and Spread the Chocolate
Once the chocolate is melted and smooth, pour it onto the lined sheet pan. Using a spatula, spread it evenly to create a thin layer. Aim for about 1/4 inch thickness for the perfect bark texture.
Step 4: Melt the Peanut Butter Chips
In the same manner as the chocolate, melt the peanut butter chips until smooth. If needed, you can add a bit more shortening or coconut oil to help with melting.
Step 5: Swirl the Peanut Butter Layer
Drizzle the melted peanut butter over the dark chocolate layer. Use a knife or spatula to gently swirl the two together, creating beautiful marbled patterns.
Step 6: Add the Mini Peanut Butter Cups
Before the chocolate sets, sprinkle the mini peanut butter cups evenly over the top. Gently press them down into the mixture to ensure they stick.
Step 7: Chill and Set
Place the sheet pan in the refrigerator for about 1-2 hours or until the bark is completely set and firm. Once set, remove from the refrigerator.
Step 8: Break into Pieces
Using your hands or a sharp knife, break the bark into irregular pieces. This adds to the rustic charm of the Chocolate Peanut Butter Cup Bark.
If You’re Out Of…
- If you don’t have dark chocolate, you can substitute with semi-sweet chocolate or milk chocolate for a sweeter version.
- Out of peanut butter chips? Try using creamy peanut butter! Just swirl it in after the dark chocolate layer.
- Don’t have mini peanut butter cups? Chopped Reese’s cups or any other chocolate-covered peanut butter candies work wonderfully.
- Short on time? Use a pre-made chocolate bark base and simply add the peanut butter and candy toppings.
Mistakes Even Pros Make
- Not chopping the chocolate finely enough can lead to uneven melting.
- Overheating the chocolate can cause it to seize, turning it grainy instead of smooth.
- Skipping the refrigeration step can result in soft bark that doesn’t hold its shape.
- Not pressing the mini peanut butter cups into the chocolate can lead to them falling off when you break the bark.
Storing Tips & Timelines
To keep your Chocolate Peanut Butter Cup Bark fresh and delicious, store it in an airtight container at room temperature. It will last for up to two weeks, but I doubt it will stick around that long! If you live in a warmer climate, consider refrigerating it to prevent melting.
- Room temperature: 1-2 weeks in an airtight container.
- Refrigerator: Up to 3 weeks; just be sure to let it come to room temperature before serving for the best texture.
- Freezer: For longer storage, you can freeze the bark for up to 3 months. Just wrap it well to prevent freezer burn.
Reader Q&A
Can I use milk chocolate instead of dark chocolate?
Absolutely! Milk chocolate will give your bark a sweeter taste. Just keep in mind that the overall flavor profile will change, leaning towards a creamier and sweeter treat.
Is there a way to make this bark vegan?
Yes! You can easily make this bark vegan by using dairy-free dark chocolate and swapping the peanut butter chips for a vegan-friendly alternative. Just check the labels to ensure all ingredients meet your dietary preferences.
Can I add other toppings to the bark?
Definitely! Feel free to get creative by adding crushed pretzels, chopped nuts, or even a sprinkle of sea salt to elevate the flavor. The possibilities are endless!
What’s the best way to serve this bark?
Chocolate Peanut Butter Cup Bark can be enjoyed straight from the container. For a fun presentation, serve it on a platter or in small bags tied with a ribbon for a delightful gift!
Desserts to Finish
- Peanut Butter Chocolate Chip Cookies
- Vegan Chocolate Mousse
- 1-Bowl Chocolate Chip Cookies
- Ultimate Brownie Recipe
Ready, Set, Cook
Now that you have all the steps, tips, and tricks to make your own Chocolate Peanut Butter Cup Bark, it’s time to gather your ingredients and get cooking! This delightful treat is perfect for any occasion, whether you’re hosting a gathering, looking for a quick dessert, or simply want to treat yourself.
The rich chocolate, creamy peanut butter, and crunchy mini peanut butter cups create an indulgent dessert that everyone will love. So, what are you waiting for? Dive into the deliciousness of Chocolate Peanut Butter Cup Bark today!
Chocolate Peanut Butter Cup Bark
Ingredients
Equipment
Method
- Start by lining a sheet pan with parchment paper. This will prevent the bark from sticking and make for easy removal once it’s set.
- In a double boiler or microwave-safe bowl, melt the finely chopped dark chocolate. If using the microwave, heat in 30-second intervals, stirring in between until smooth. If the chocolate seems too thick, you can add a tablespoon of vegetable shortening or coconut oil to achieve the desired consistency.
- Once the chocolate is melted and smooth, pour it onto the lined sheet pan. Using a spatula, spread it evenly to create a thin layer. Aim for about 1/4 inch thickness for the perfect bark texture.
- In the same manner as the chocolate, melt the peanut butter chips until smooth. If needed, you can add a bit more shortening or coconut oil to help with melting.
- Drizzle the melted peanut butter over the dark chocolate layer. Use a knife or spatula to gently swirl the two together, creating beautiful marbled patterns.
- Before the chocolate sets, sprinkle the mini peanut butter cups evenly over the top. Gently press them down into the mixture to ensure they stick.
- Place the sheet pan in the refrigerator for about 1-2 hours or until the bark is completely set and firm. Once set, remove from the refrigerator.
- Using your hands or a sharp knife, break the bark into irregular pieces. This adds to the rustic charm of the Chocolate Peanut Butter Cup Bark.
Notes
- Store bark in an airtight container at room temperature for up to 2 weeks.
- For warmer climates, refrigerate to prevent melting.
- Freezing is an option for up to 3 months; wrap well to prevent freezer burn.