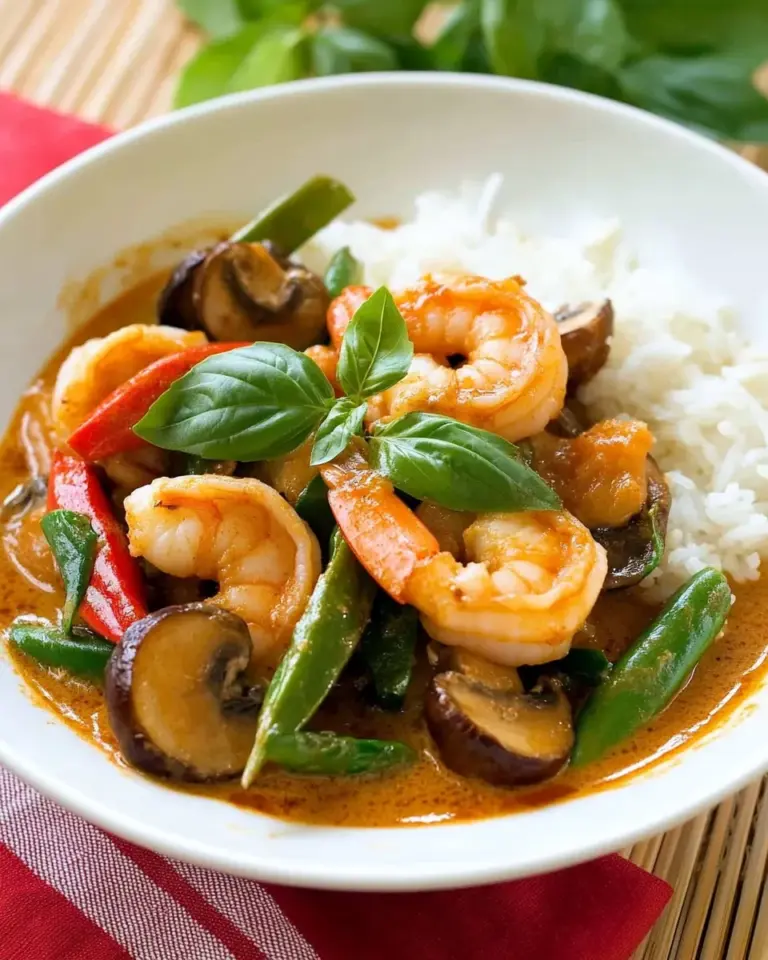
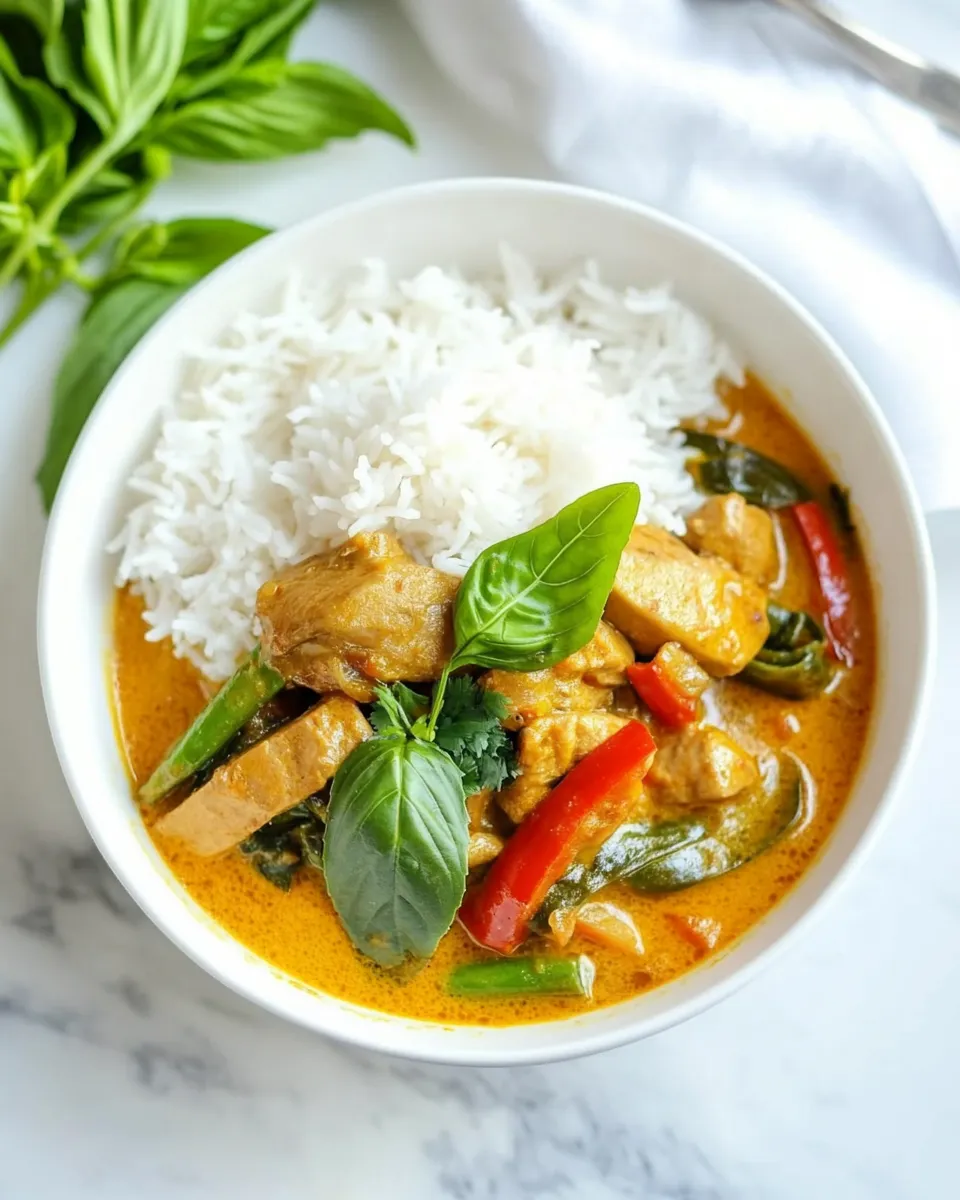
Panang Curry
If you’re looking for a dish that brings a wave of flavor and warmth to your table, then look no further than Panang Curry. This Thai classic is rich, aromatic, and beautifully balanced with the sweetness of coconut milk and the kick of curry paste. It’s a comforting meal that’s perfect for any weeknight dinner or special occasion. With tender chicken, fresh vegetables, and a blend of spices, this Panang Curry will become a go-to recipe in your kitchen.
What You’ll Love About This Recipe
– A vibrant and flavorful dish that is easy to prepare.
– It’s adaptable to different dietary needs with simple substitutions.
– The creamy coconut milk makes the curry rich and satisfying.
– Leftovers taste even better the next day, making it perfect for meal prep.
Ingredient List
- 1 tablespoon oil
- 2 tablespoons Panang curry paste*
- 1 tablespoon peanut butter
- 2 pounds chicken breasts, cut into pieces against the grain
- 1 small onion, sliced
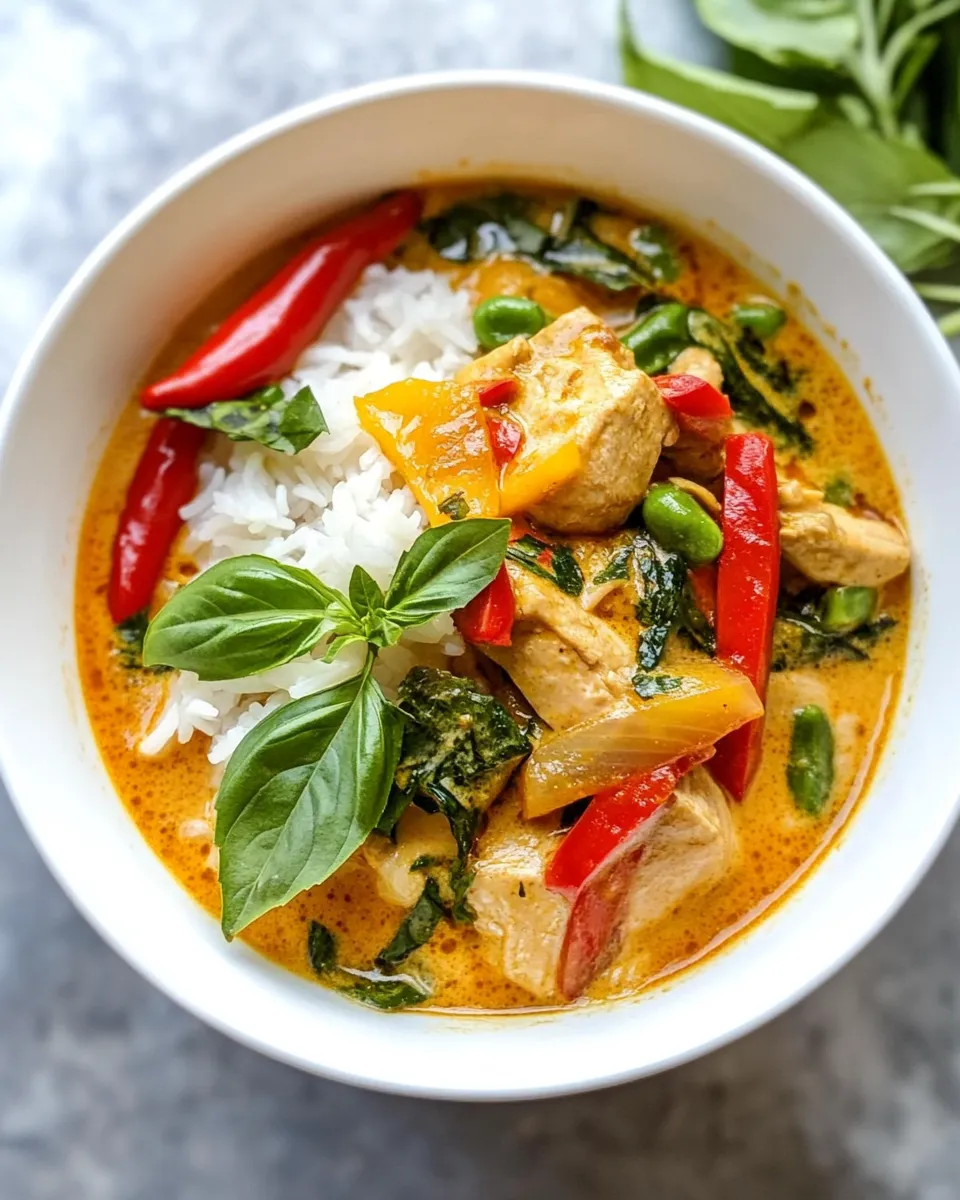
- 1 green bell pepper, thinly sliced
- 1 red bell pepper, thinly sliced
- 2 teaspoons freshly grated ginger
- 4 garlic cloves, minced
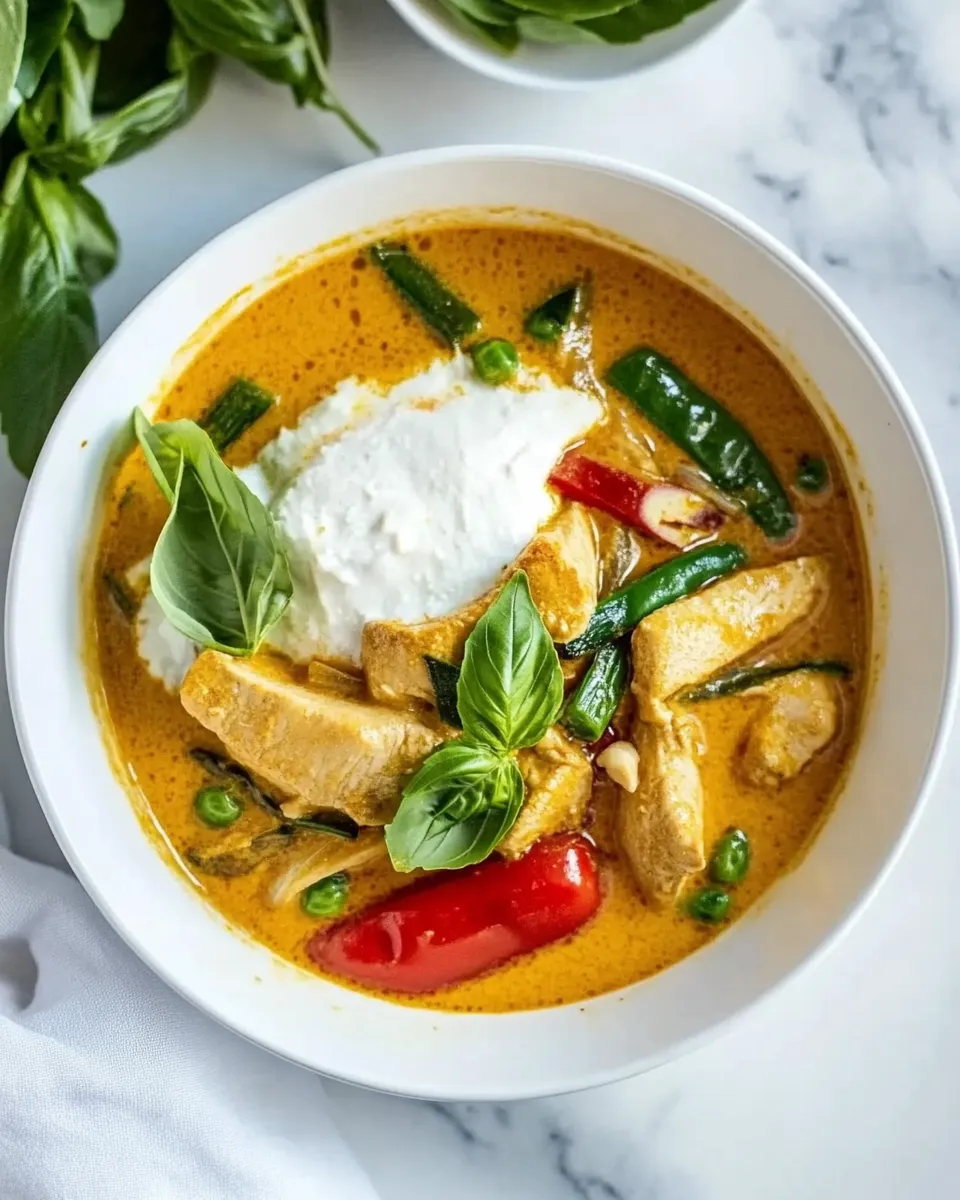
- 2 (14 oz) cans coconut milk (Chaokoh brand is my favorite)
- 2 teaspoons cornstarch
- 1/4 cup light brown sugar, packed
- 1 tablespoon fish sauce
- 1 tablespoon lime juice
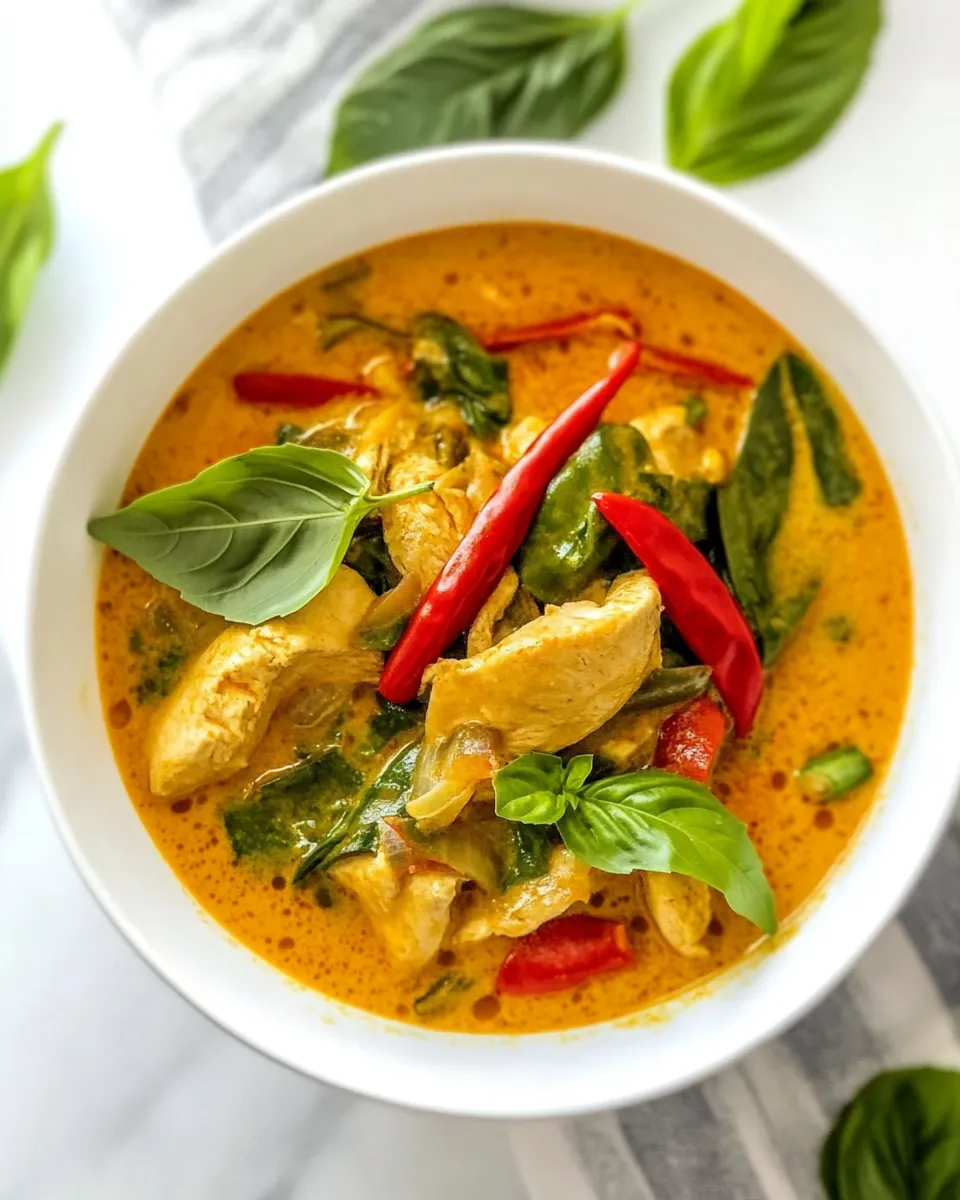
- 1 cup loosely packed basil leaves, roughly chopped
- Hot cooked rice (white, brown, or jasmine)
Gear Checklist
- Large skillet or wok – for cooking the curry.
- Wooden spoon or spatula – for stirring ingredients.
- Measuring cups and spoons – for accurate ingredient measurements.
- Knife and cutting board – for prepping chicken and vegetables.
- Serving bowls – for serving the curry and rice.
Panang Curry, Made Easy
Step 1: Heat the Oil
In a large skillet or wok, heat the oil over medium heat. Once hot, add the sliced onion and sauté until it becomes translucent.
Step 2: Add the Aromatics
Stir in the minced garlic, grated ginger, and the sliced bell peppers. Cook for about 3-4 minutes until the vegetables are slightly softened.
Step 3: Incorporate the Chicken
Add the chicken pieces to the skillet. Cook until the chicken is no longer pink on the outside, stirring frequently to ensure even cooking.
Step 4: Mix in the Curry Paste and Peanut Butter
Add the Panang curry paste and peanut butter to the skillet. Stir well to coat the chicken and vegetables, allowing the flavors to meld for a minute.
Step 5: Add Coconut Milk and Simmer
Pour in the coconut milk and bring the mixture to a gentle simmer. Allow it to simmer for about 10 minutes, stirring occasionally.
Step 6: Thicken the Sauce
In a small bowl, mix the cornstarch with a splash of water to create a slurry. Add this to the curry to thicken the sauce, stirring well.
Step 7: Season and Finish
Stir in the light brown sugar, fish sauce, and lime juice. Taste and adjust seasoning as needed. Finally, fold in the chopped basil leaves just before serving.
Step 8: Serve
Serve the Panang Curry hot over a bed of your favorite cooked rice. Enjoy the vibrant flavors and the comforting aroma that fills your kitchen!
Tailor It to Your Diet
- For a vegetarian option, substitute chicken with tofu or chickpeas.
- Use low-sodium soy sauce in place of fish sauce for a vegan version.
- Adjust the level of spice by reducing the amount of Panang curry paste.
- Add more vegetables such as zucchini or broccoli for extra nutrition.
Pitfalls & How to Prevent Them
- Burning the garlic and ginger: Make sure to sauté them on medium heat and stir frequently.
- Too thick or too thin sauce: Adjust with more coconut milk or cornstarch slurry until the desired consistency is reached.
- Overcooking the chicken: Cut it against the grain for tender pieces and cook just until no longer pink.
- Using the wrong curry paste: Stick with authentic Panang curry paste for the best flavor.
Storing, Freezing & Reheating
Leftover Panang Curry can be stored in an airtight container in the refrigerator for up to 4 days. To freeze, allow it to cool completely, then transfer to freezer-safe containers. It can be frozen for up to 3 months. When reheating, do so gently on the stovetop or in the microwave, adding a splash of coconut milk to maintain creaminess.
Common Qs About Panang Curry
Can I make Panang Curry ahead of time?
Absolutely! In fact, the flavors deepen and improve when allowed to sit. Just store it in the refrigerator and reheat when ready to enjoy.
Is Panang Curry spicy?
Panang Curry is generally milder compared to other Thai curries, but it can vary based on the brand of curry paste used. If you’re sensitive to spice, you can start with less curry paste and adjust according to your taste.
What can I serve with Panang Curry?
Traditionally, Panang Curry is served with jasmine rice, but you can also serve it with brown rice, quinoa, or even cauliflower rice for a low-carb option.
Can I use other proteins in Panang Curry?
Yes! This recipe is versatile. You can substitute chicken with beef, shrimp, or even tofu for a plant-based version. Adjust cooking times as needed for different proteins.
Serve with These
Final Bite
There’s something incredibly satisfying about a bowl of homemade Panang Curry. The comforting aroma, the vibrant colors, and the bold flavors come together to create a dish that warms the soul. Whether you’re enjoying it with family or entertaining friends, this Panang Curry is sure to impress. It’s an easy recipe that brings a taste of Thailand right to your dining table. So gather your ingredients, and let’s cook up something delicious!
Panang Curry
Ingredients
Equipment
Method
- In a large skillet or wok, heat the oil over medium heat. Once hot, add the sliced onion and sauté until it becomes translucent.
- Stir in the minced garlic, grated ginger, and the sliced bell peppers. Cook for about 3-4 minutes until the vegetables are slightly softened.
- Add the chicken pieces to the skillet. Cook until the chicken is no longer pink on the outside, stirring frequently to ensure even cooking.
- Add the Panang curry paste and peanut butter to the skillet. Stir well to coat the chicken and vegetables, allowing the flavors to meld for a minute.
- Pour in the coconut milk and bring the mixture to a gentle simmer. Allow it to simmer for about 10 minutes, stirring occasionally.
- In a small bowl, mix the cornstarch with a splash of water to create a slurry. Add this to the curry to thicken the sauce, stirring well.
- Stir in the light brown sugar, fish sauce, and lime juice. Taste and adjust seasoning as needed. Finally, fold in the chopped basil leaves just before serving.
- Serve the Panang Curry hot over a bed of your favorite cooked rice. Enjoy the vibrant flavors and the comforting aroma that fills your kitchen!
Notes
- For a vegetarian option, substitute chicken with tofu or chickpeas.
- Use low-sodium soy sauce in place of fish sauce for a vegan version.
- Adjust the level of spice by reducing the amount of Panang curry paste.