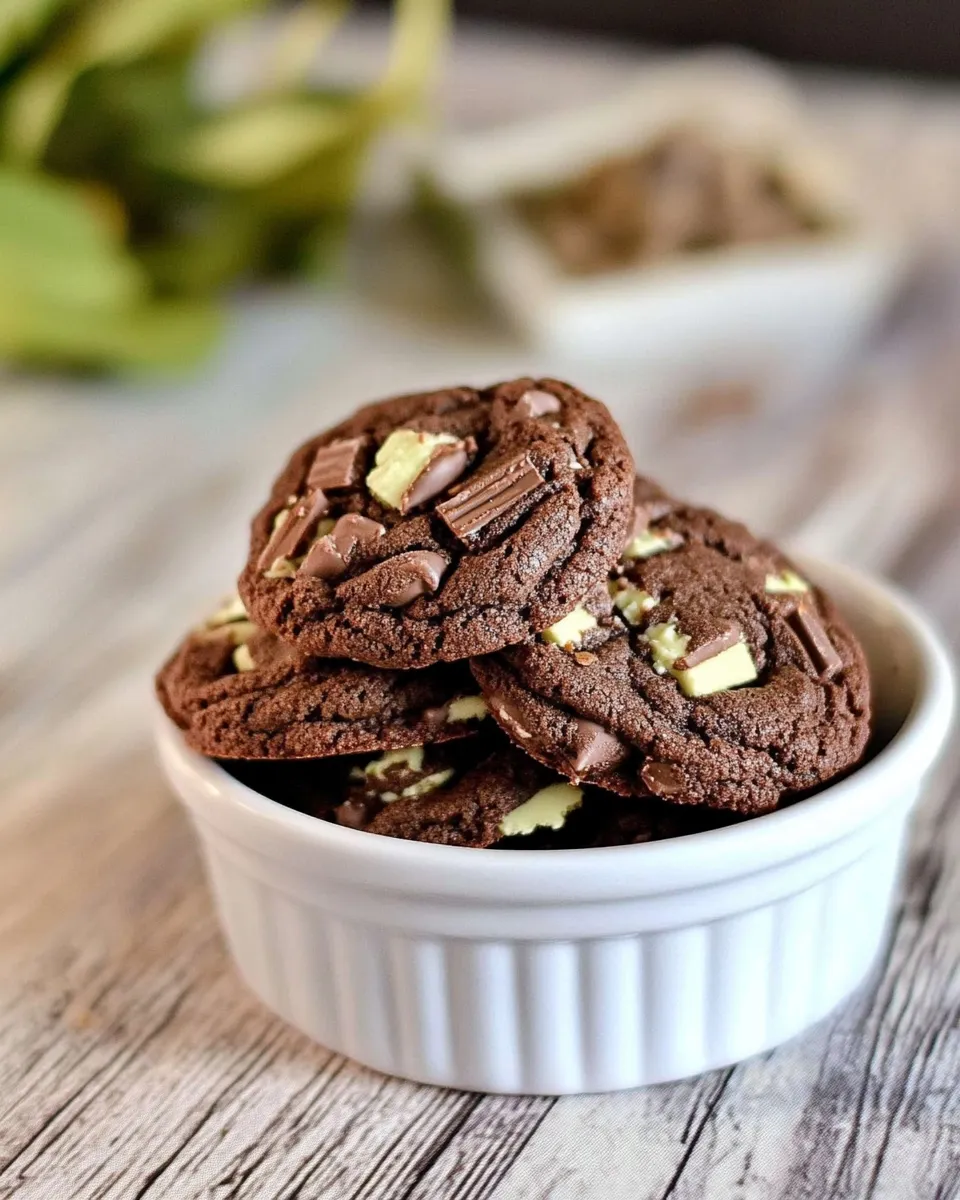
Chocolate Cookies with Thin Mints
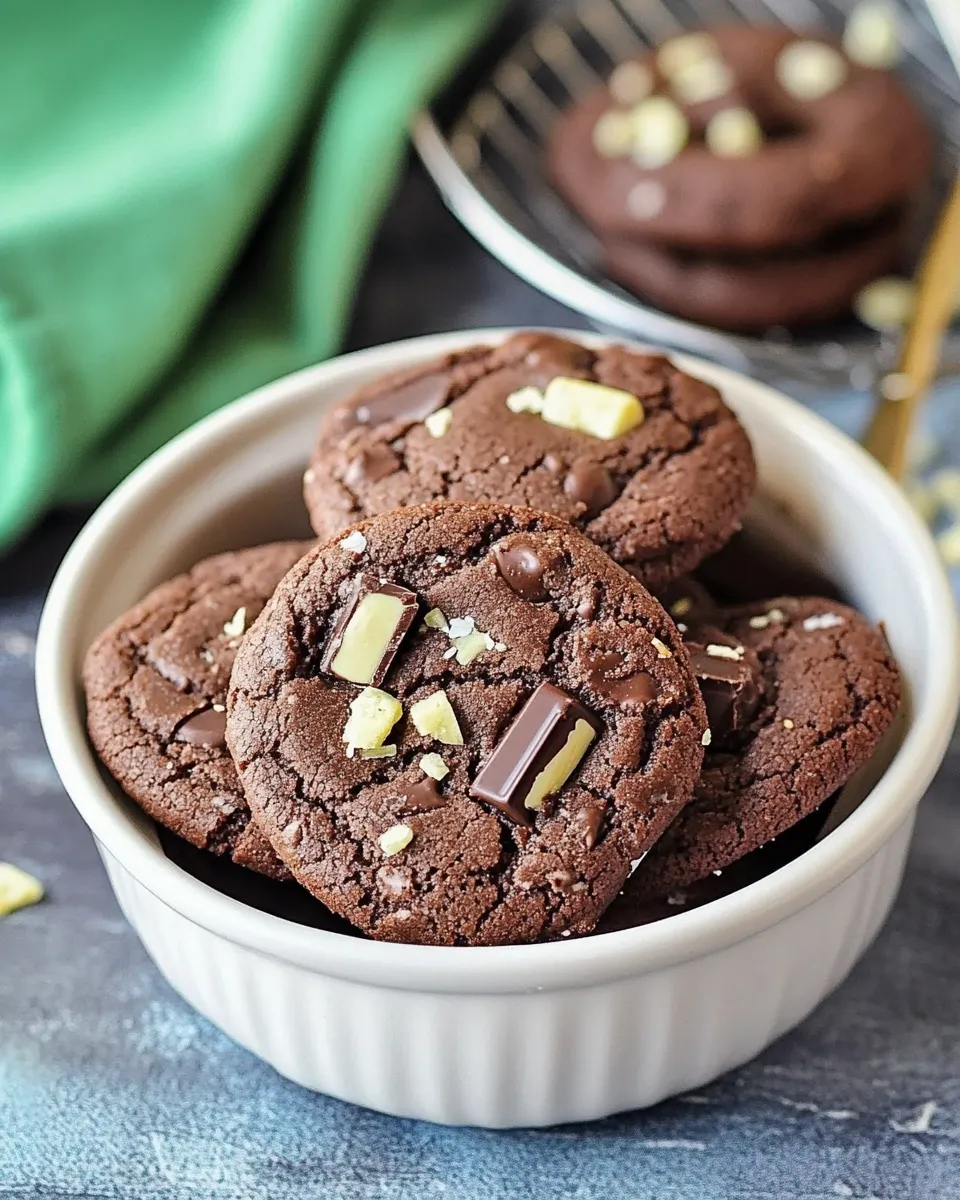
When it comes to comfort food, few things can compete with the bliss of freshly baked cookies. And if you’re a fan of mint and chocolate, then these Chocolate Cookies with Thin Mints are about to become your new favorite treat. Imagine soft, chewy chocolate cookies infused with the delightful crunch and refreshing mint flavor of Thin Mints. This recipe is not just a delicious dessert; it’s a way to bring joy to your kitchen and your taste buds. Whether you’re baking for a special occasion or just to satisfy a craving, these cookies are sure to impress!
Why This Recipe is a Keeper
There are countless cookie recipes out there, but this one stands out for several reasons. First, the combination of rich chocolate and mint is always a crowd-pleaser. The addition of Thin Mint cookies adds a unique twist that elevates the traditional chocolate cookie to something extraordinary. Moreover, the ingredients create a perfectly balanced cookie: soft in the center, slightly crispy on the edges, and bursting with flavor. Plus, these cookies are easy to make, making them perfect for bakers of all skill levels. Once you take a bite, you’ll understand why this recipe is a keeper!
Ingredient List
- 1 cup unsalted butter, softened
- 2 cups sugar
- 2 large eggs
- 2 teaspoons pure vanilla extract
- 2 cups Gold Medal all-purpose flour
- 3/4 cup unsweetened cocoa powder
- 1 teaspoon baking soda
- 1/2 teaspoon salt
- 1/2 cup semi-sweet chocolate chips
- 28 Andes Mints, chopped
- 16 Thin Mint Cookies, chopped
Tools of the Trade
- Mixing Bowl: A large bowl for mixing your ingredients together.
- Electric Mixer: For quick and easy creaming of the butter and sugar.
- Measuring Cups and Spoons: Essential for precise measurements.
- Baking Sheet: A standard cookie sheet lined with parchment paper for easy cleanup.
- Spatula: To mix and scrape the sides of the bowl.
- Cooling Rack: To cool your cookies after baking.
Build Chocolate Cookies with Thin Mints Step by Step

Step 1: Preheat and Prepare
Begin by preheating your oven to 350°F (175°C). Line your baking sheets with parchment paper to prevent sticking and ensure even baking.
Step 2: Cream the Butter and Sugar
In a large mixing bowl, combine the softened unsalted butter and sugar. Using an electric mixer, beat the mixture on medium speed until it becomes light and fluffy. This process usually takes about 3-5 minutes.
Step 3: Add Eggs and Vanilla
Crack in the two large eggs, followed by the pure vanilla extract. Continue to beat the mixture until everything is well combined.
Step 4: Combine Dry Ingredients
In a separate bowl, whisk together the Gold Medal all-purpose flour, unsweetened cocoa powder, baking soda, and salt. This step ensures that your dry ingredients are evenly distributed.
Step 5: Mix Dry with Wet
Gradually add the dry ingredients to the wet mixture. Mix on low speed until just combined. Be careful not to overmix; this will keep your cookies tender.
Step 6: Fold in Chocolate Chips and Mints
Gently fold in the semi-sweet chocolate chips, chopped Andes Mints, and chopped Thin Mint Cookies using a spatula. This will ensure that the minty goodness is evenly spread throughout the cookie dough.
Step 7: Scoop and Bake
Using a cookie scoop or tablespoon, drop generous portions of dough onto the prepared baking sheets, leaving enough space between each cookie to allow for spreading. Bake in the preheated oven for 10-12 minutes, or until the edges are set.
Step 8: Cool and Enjoy
Once baked, remove the cookies from the oven and let them cool on the baking sheet for about 5 minutes before transferring them to a cooling rack. Allow them to cool completely before digging in to enjoy the delightful flavors!
Dietary Customizations
- To make these cookies gluten-free, substitute the all-purpose flour with a gluten-free flour blend.
- For a dairy-free option, use vegan butter and dairy-free chocolate chips.
- To reduce sugar, consider using a sugar substitute like coconut sugar or monk fruit sweetener.
- If you want to add extra nutrition, consider adding nuts such as walnuts or pecans.
Don’t Do This
- Don’t skip the chilling step if you find your dough too sticky; refrigerating for about 30 minutes will make it easier to handle.
- Avoid overmixing after adding the flour; this can lead to tough cookies.
- Don’t skip the baking soda; it’s crucial for achieving the right texture.
- Do not overcrowd the baking sheets; this can cause uneven baking.
Prep Ahead & Store
You can prepare the cookie dough ahead of time and store it in the refrigerator for up to 3 days. For longer storage, scoop the dough into balls and freeze them. Once frozen, transfer the cookie dough balls to a freezer-safe bag or container and store for up to 3 months. When you’re ready to bake, no need to thaw; just bake them straight from the freezer, adding an extra minute or two to the baking time.
FAQ
Can I use different types of mint chocolate cookies?
Absolutely! If you can’t find Thin Mints or want to try something different, feel free to use any mint chocolate cookies that you love. Just adjust the amount based on their size.
How do I know when my cookies are done baking?
Look for the edges of the cookies to be set and slightly firm. The centers may look a bit soft, but they will continue to cook as they cool on the baking sheet.
What if I don’t have unsweetened cocoa powder?
If you don’t have unsweetened cocoa powder on hand, you can use Dutch-processed cocoa powder, but it may slightly alter the flavor. Avoid using sweetened cocoa powder, as it will make the cookies too sweet.
Can I add other mix-ins?
Definitely! Feel free to get creative with your mix-ins. Chopped nuts, white chocolate chips, or even dried fruit can add a delightful twist to these cookies.
One Pan, More Ideas
- Sally’s Baking Addiction for more cookie recipes.
- Pinch of Yum for delicious dessert ideas.
- Minimalist Baker for quick and easy recipes.
See You at the Table
Baking is not just about making food; it’s about creating memories and sharing moments with those we care about. These Chocolate Cookies with Thin Mints are perfect for gatherings, celebrations, or simply enjoying during a cozy night in. Imagine serving these cookies warm, with a glass of milk or a cup of coffee, surrounded by friends and family. The aroma of chocolate and mint wafting through your kitchen will undoubtedly invite everyone to the table, ready to savor each bite.
So gather your ingredients, roll up your sleeves, and let’s get baking! Enjoy the process, and don’t forget to share your creations with us. Your kitchen is about to be filled with the delightful scent of chocolate cookies, and we can’t wait for you to experience the joy of baking these irresistible treats.

Chocolate Cookies with Thin Mints
Ingredients
Equipment
Method
- Step 1: Preheat and Prepare - Begin by preheating your oven to 350°F (175°C). Line your baking sheets with parchment paper to prevent sticking and ensure even baking.
- Step 2: Cream the Butter and Sugar - In a large mixing bowl, combine the softened unsalted butter and sugar. Using an electric mixer, beat the mixture on medium speed until it becomes light and fluffy. This process usually takes about 3-5 minutes.
- Step 3: Add Eggs and Vanilla - Crack in the two large eggs, followed by the pure vanilla extract. Continue to beat the mixture until everything is well combined.
- Step 4: Combine Dry Ingredients - In a separate bowl, whisk together the Gold Medal all-purpose flour, unsweetened cocoa powder, baking soda, and salt. This step ensures that your dry ingredients are evenly distributed.
- Step 5: Mix Dry with Wet - Gradually add the dry ingredients to the wet mixture. Mix on low speed until just combined. Be careful not to overmix; this will keep your cookies tender.
- Step 6: Fold in Chocolate Chips and Mints - Gently fold in the semi-sweet chocolate chips, chopped Andes Mints, and chopped Thin Mint Cookies using a spatula. This will ensure that the minty goodness is evenly spread throughout the cookie dough.
- Step 7: Scoop and Bake - Using a cookie scoop or tablespoon, drop generous portions of dough onto the prepared baking sheets, leaving enough space between each cookie to allow for spreading. Bake in the preheated oven for 10-12 minutes, or until the edges are set.
- Step 8: Cool and Enjoy - Once baked, remove the cookies from the oven and let them cool on the baking sheet for about 5 minutes before transferring them to a cooling rack. Allow them to cool completely before digging in to enjoy the delightful flavors!
Notes
- For a gluten-free option, substitute all-purpose flour with a gluten-free blend.
- Use vegan butter and dairy-free chocolate chips for a dairy-free version.
- Prepare the dough ahead and store it in the fridge for up to 3 days.