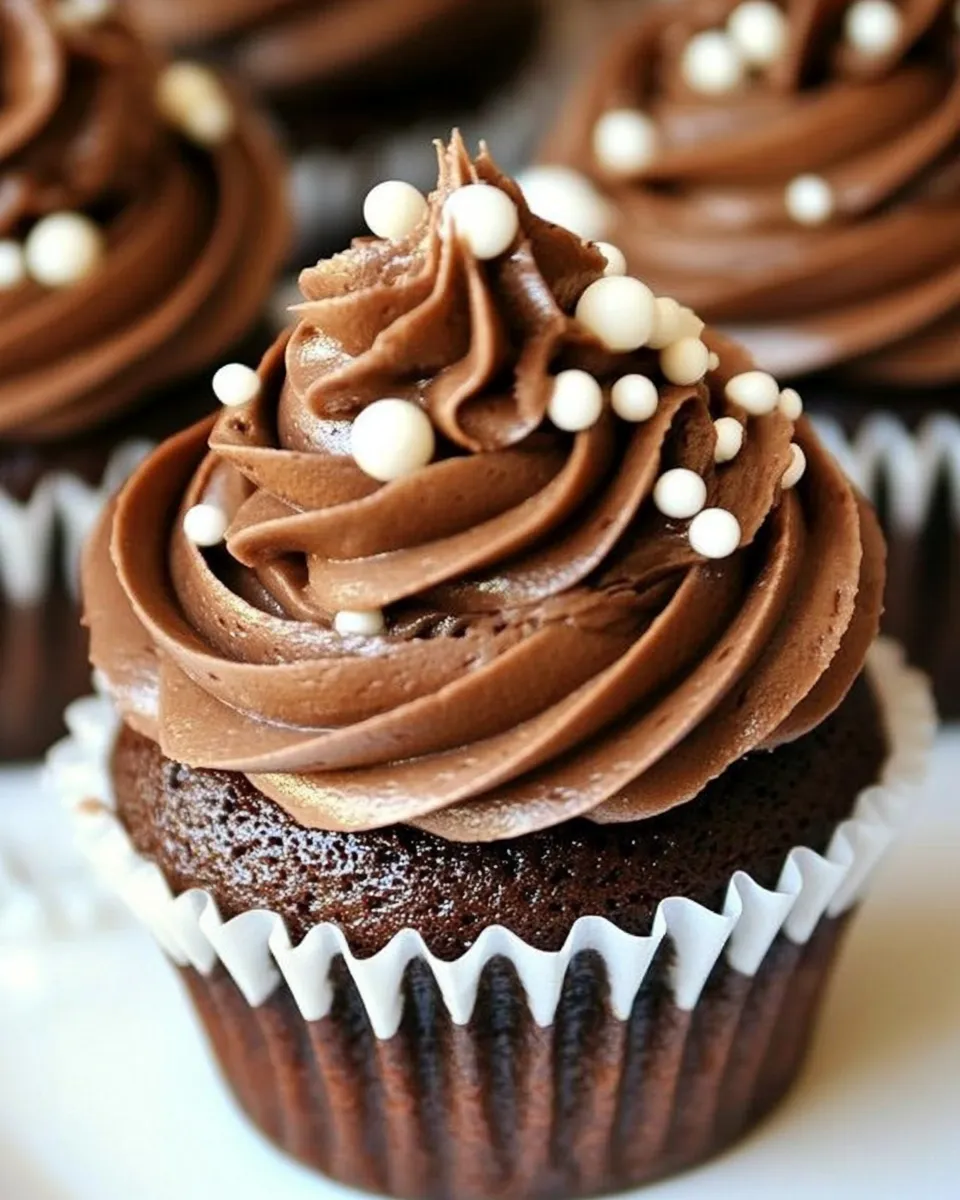
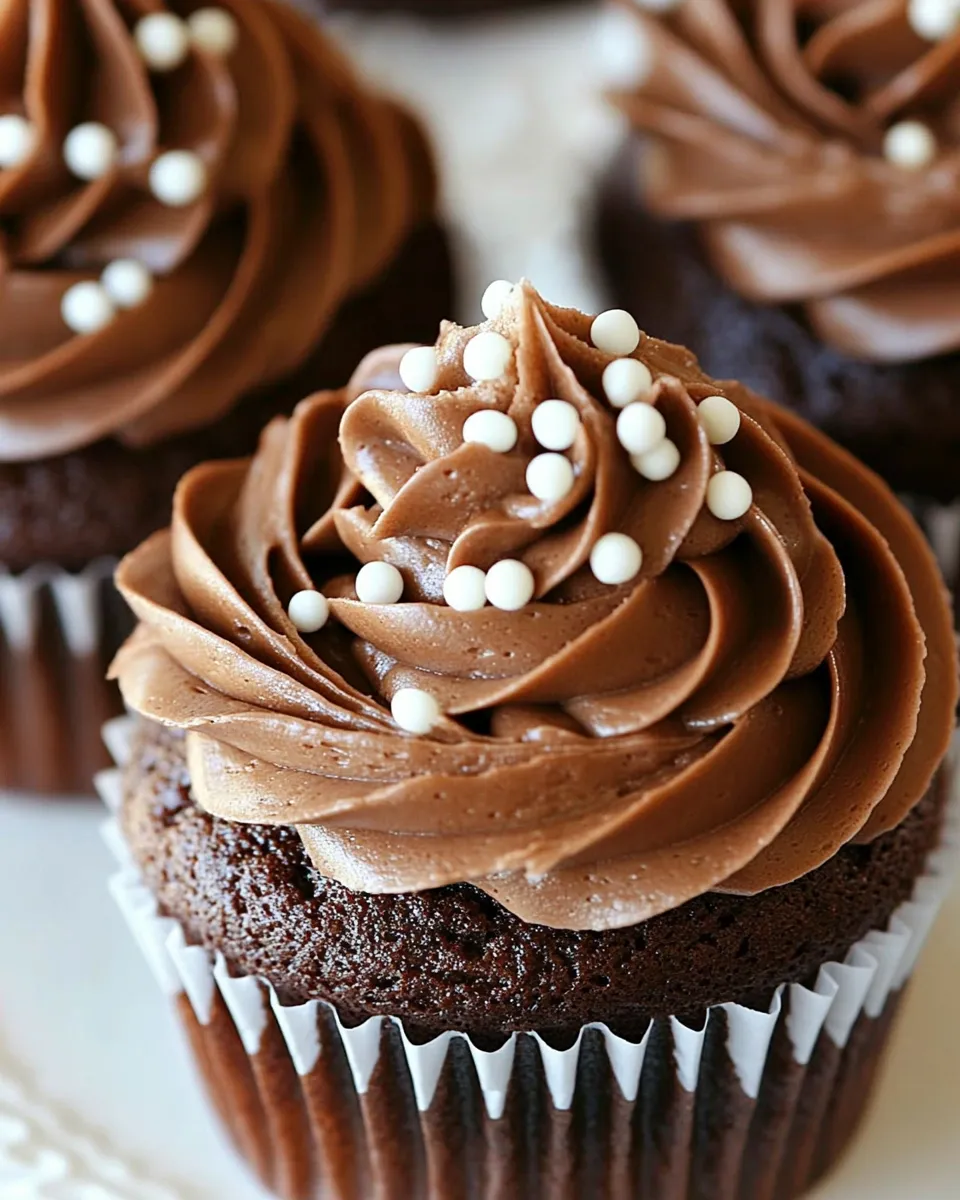
Chocolate Wedding Cupcakes
Chocolate Wedding Cupcakes are a delightful treat that perfectly marries elegance and flavor. Whether you’re celebrating a wedding, an anniversary, or simply want to indulge in a sweet moment, these cupcakes will steal the show. With rich chocolate flavor, a luscious cream cheese frosting, and a dash of love, they are sure to make any occasion feel special. Let’s dive into this simple yet decadent recipe that is bound to impress your guests and satisfy your sweet tooth.
What You’ll Love About This Recipe
– Decadent Chocolate Flavor: The combination of chocolate cake mix and dark chocolate chips creates a rich, chocolatey base that is irresistible.
– Moist and Tender Texture: The addition of sour cream and the right balance of wet ingredients ensures that each cupcake is moist and tender.
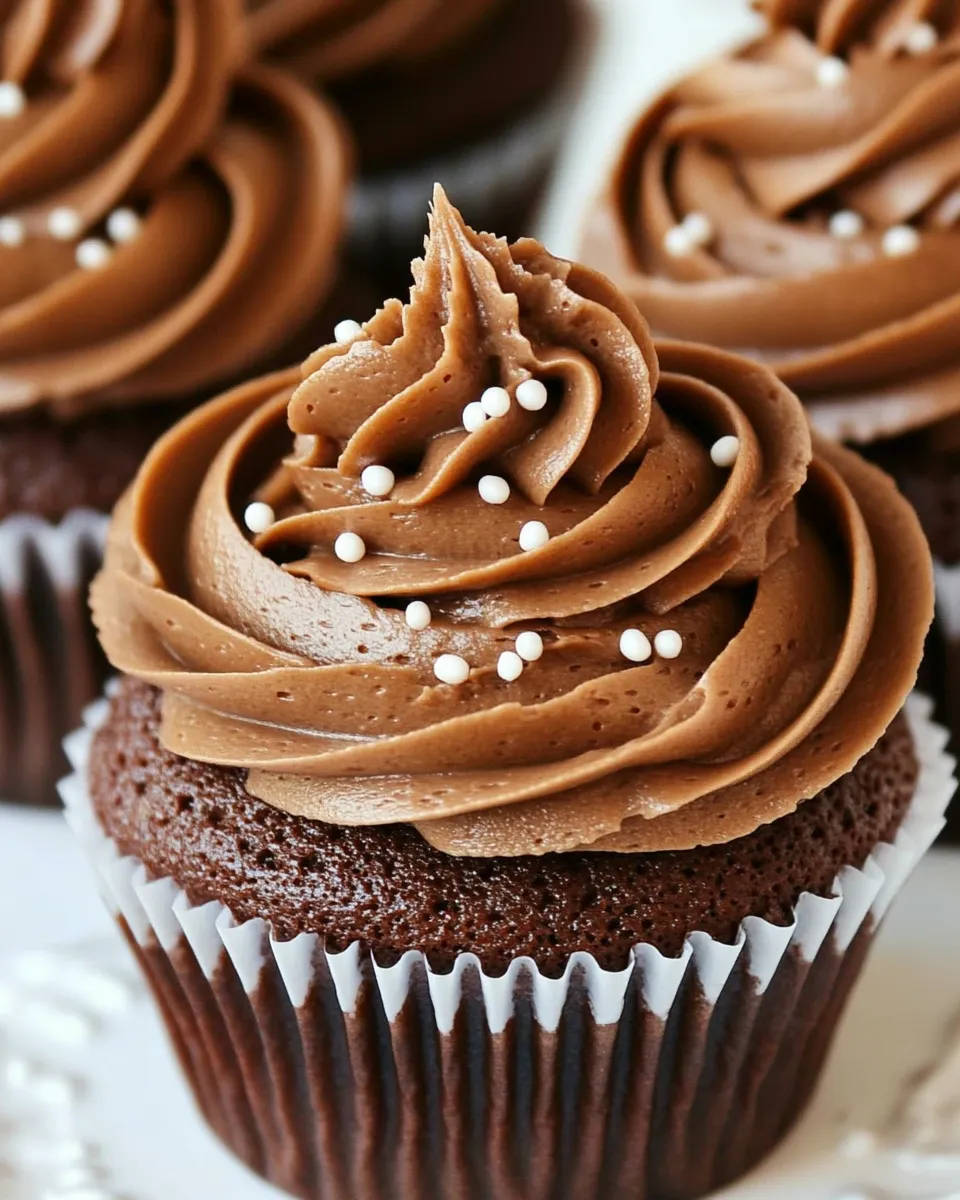
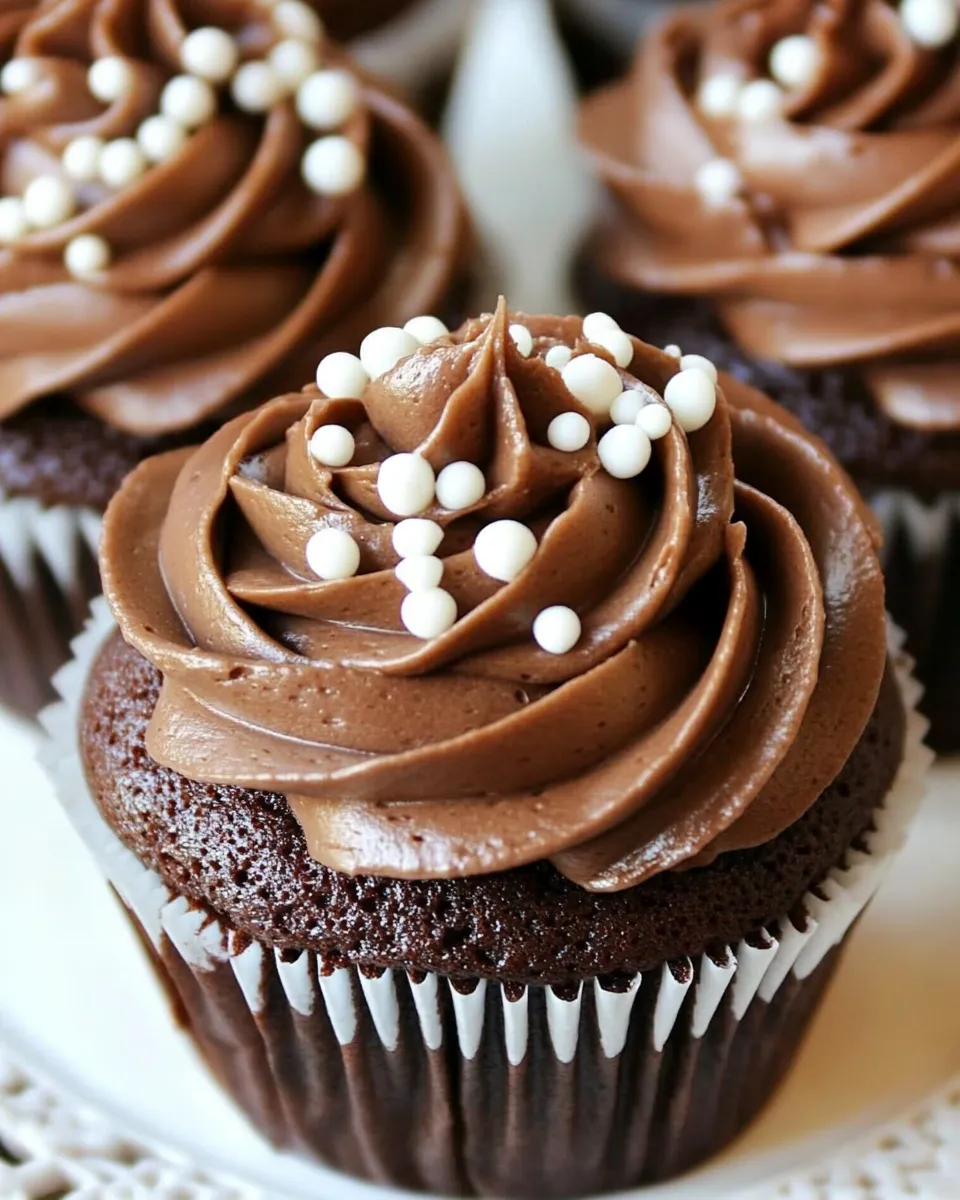
– Beautiful Presentation: Topped with a creamy frosting and dark chocolate chips, these cupcakes not only taste great but look stunning too.
– Easy to Make: Using a boxed cake mix as a base simplifies the process, making it accessible even for novice bakers.
Ingredient Breakdown
- 1 box chocolate cake mix (15.25-ounce): This forms the base of our cupcakes. Brands like Betty Crocker or Duncan Hines work perfectly.
- 1 cup all-purpose flour: This adds structure to the cupcakes, ensuring they rise beautifully.
- 1 cup granulated white sugar: Sweetens the cupcakes and enhances their texture.
- 1 teaspoon salt: Balances the sweetness and enhances the chocolate flavor.
- 1 cup water: Hydrates the dry ingredients and helps blend everything smoothly.
- 2 tablespoons vegetable or canola oil: Adds moisture and tenderness to the cupcakes.
- 1 teaspoon vanilla extract: A classic flavor enhancer that complements the chocolate.
- 1 cup sour cream: Ensures a rich, moist texture in every bite.
- 4 large eggs: These are essential for structure and richness.
- 1 cup (2 sticks) salted butter, at room temperature: Creates a creamy and flavorful frosting.
- 6 ounces cream cheese, at room temperature: Adds a tangy richness to the frosting.
- 2 pounds powdered sugar, sifted: Sweetens and thickens the frosting to a perfect consistency.
- 1/4 cup milk: Helps to achieve the right frosting consistency.
- 1 teaspoon vanilla extract: Enhances the flavor of the frosting.
- 2 cups dark chocolate chips (or chopped dark chocolate): Adds a delightful chocolatey bite to the cupcakes.
Gear Up: What to Grab
- Muffin pan: Essential for baking the cupcakes. Make sure to line it with cupcake liners.
- Mixing bowls: You’ll need a few for mixing the batter and frosting.
- Electric mixer: Makes it easier to achieve a smooth batter and creamy frosting.
- Measuring cups and spoons: Accurate measurements are key to baking success.
- Spatula: Perfect for scraping down the sides of bowls and spreading frosting.
How to Prepare Chocolate Wedding Cupcakes
Step 1: Preheat the Oven
Preheat your oven to 350°F (175°C). This ensures that your cupcakes bake evenly.
Step 2: Prepare the Muffin Pan
Line a muffin pan with cupcake liners. This will make it easier to remove the cupcakes after baking and keep them moist.
Step 3: Mix the Dry Ingredients
In a large mixing bowl, combine the chocolate cake mix, all-purpose flour, granulated sugar, and salt. Whisk together until everything is well blended.
Step 4: Combine the Wet Ingredients
In another bowl, whisk together the water, vegetable oil, vanilla extract, sour cream, and eggs. Make sure everything is well combined.
Step 5: Combine Wet and Dry Ingredients
Pour the wet mixture into the dry ingredients. Using an electric mixer, beat on medium speed for 2 minutes until the batter is smooth and well incorporated.
Step 6: Fold in the Chocolate Chips
Gently fold in the dark chocolate chips until evenly distributed throughout the batter.
Step 7: Fill the Muffin Pan
Scoop the batter into the prepared muffin pan, filling each liner about 2/3 full. This allows room for the cupcakes to rise.
Step 8: Bake
Bake in the preheated oven for 18-22 minutes, or until a toothpick inserted into the center comes out clean.
Step 9: Cool the Cupcakes
Once baked, remove the pan from the oven and let the cupcakes cool in the pan for 5 minutes. Then transfer them to a wire rack to cool completely.
Step 10: Prepare the Frosting
In a large mixing bowl, beat the salted butter and cream cheese together until creamy and smooth. Gradually add the sifted powdered sugar, mixing on low speed until combined. Add the milk and vanilla extract, then beat on high for about 2-3 minutes until fluffy.
Step 11: Frost the Cupcakes
Once the cupcakes have cooled completely, use a spatula or piping bag to frost each cupcake with the cream cheese frosting. Finish with a sprinkle of dark chocolate chips on top for that extra touch!
Substitutions by Category
- Flour: You can use gluten-free all-purpose flour for a gluten-free version.
- Sugar: Coconut sugar can be used as a healthier alternative.
- Oil: Melted coconut oil can replace vegetable or canola oil for a different flavor.
- Butter: For a dairy-free option, use a plant-based butter substitute.
Watch Outs & How to Fix
- Overmixing the Batter: This can lead to dense cupcakes. Mix just until combined.
- Underbaking: Ensure that the toothpick comes out clean. Adjust baking time if necessary.
- Cupcakes Sticking to Liners: Allow them to cool completely before removing from the pan.
- Frosting Too Runny: Add more powdered sugar to thicken it up if needed.
Storing Tips & Timelines
Chocolate Wedding Cupcakes can be stored at room temperature for up to 3 days. If you live in a warmer climate, it’s best to store them in the fridge to keep the frosting from melting. For longer storage, place them in an airtight container and freeze for up to 3 months. Just remember to thaw them in the fridge overnight before serving!
Ask & Learn
Can I make these cupcakes ahead of time?
Absolutely! You can bake the cupcakes a day or two in advance. Just keep them stored in an airtight container at room temperature. Frost them closer to serving time for the best texture.
What if I don’t have dark chocolate chips?
You can substitute with semi-sweet chocolate chips or even milk chocolate chips for a sweeter flavor, though it will alter the richness of the cupcakes.
Can I make these cupcakes without eggs?
Yes! You can replace each egg with 1/4 cup of unsweetened applesauce or a flax egg (1 tablespoon ground flaxseed mixed with 2.5 tablespoons of water, let sit for 5 minutes).
How can I decorate these cupcakes for a wedding?
Consider adding edible glitter, fresh berries, or even delicate sugar flowers on top of the frosting for a beautiful wedding touch!
More Recipes You’ll Love
Final Bite
Chocolate Wedding Cupcakes are not just a dessert; they are a celebration of life’s sweetest moments. With their rich chocolate flavor and creamy frosting, these delightful cupcakes will make any occasion feel special. Whether you’re serving them at a wedding or enjoying them at home, they are sure to bring joy to every bite. So, gather your ingredients, roll up your sleeves, and let’s bake some love into these cupcakes!
Chocolate Wedding Cupcakes
Ingredients
Equipment
Method
- Preheat your oven to 350°F (175°C). This ensures that your cupcakes bake evenly.
- Line a muffin pan with cupcake liners. This will make it easier to remove the cupcakes after baking and keep them moist.
- In a large mixing bowl, combine the chocolate cake mix, all-purpose flour, granulated sugar, and salt. Whisk together until everything is well blended.
- In another bowl, whisk together the water, vegetable oil, vanilla extract, sour cream, and eggs. Make sure everything is well combined.
- Pour the wet mixture into the dry ingredients. Using an electric mixer, beat on medium speed for 2 minutes until the batter is smooth and well incorporated.
- Gently fold in the dark chocolate chips until evenly distributed throughout the batter.
- Scoop the batter into the prepared muffin pan, filling each liner about 2/3 full. This allows room for the cupcakes to rise.
- Bake in the preheated oven for 18-22 minutes, or until a toothpick inserted into the center comes out clean.
- Once baked, remove the pan from the oven and let the cupcakes cool in the pan for 5 minutes. Then transfer them to a wire rack to cool completely.
- In a large mixing bowl, beat the salted butter and cream cheese together until creamy and smooth. Gradually add the sifted powdered sugar, mixing on low speed until combined. Add the milk and vanilla extract, then beat on high for about 2-3 minutes until fluffy.
- Once the cupcakes have cooled completely, use a spatula or piping bag to frost each cupcake with the cream cheese frosting. Finish with a sprinkle of dark chocolate chips on top for that extra touch!
Notes
- Store cupcakes at room temperature for up to 3 days.
- For longer storage, freeze in an airtight container for up to 3 months.
- Use gluten-free flour for a gluten-free version.