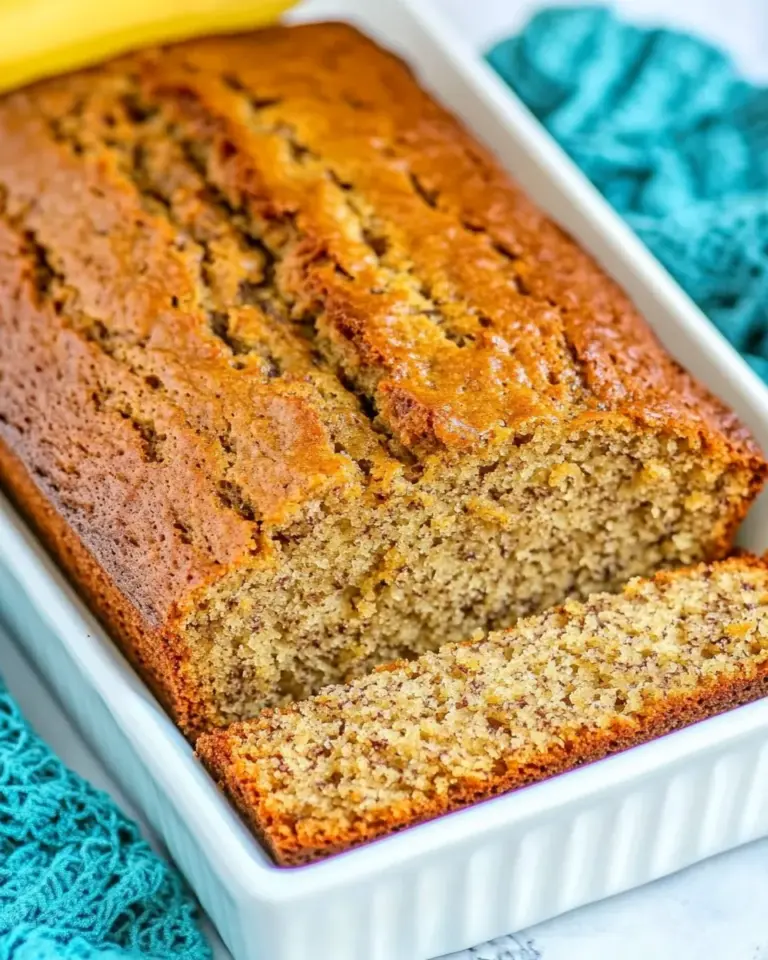
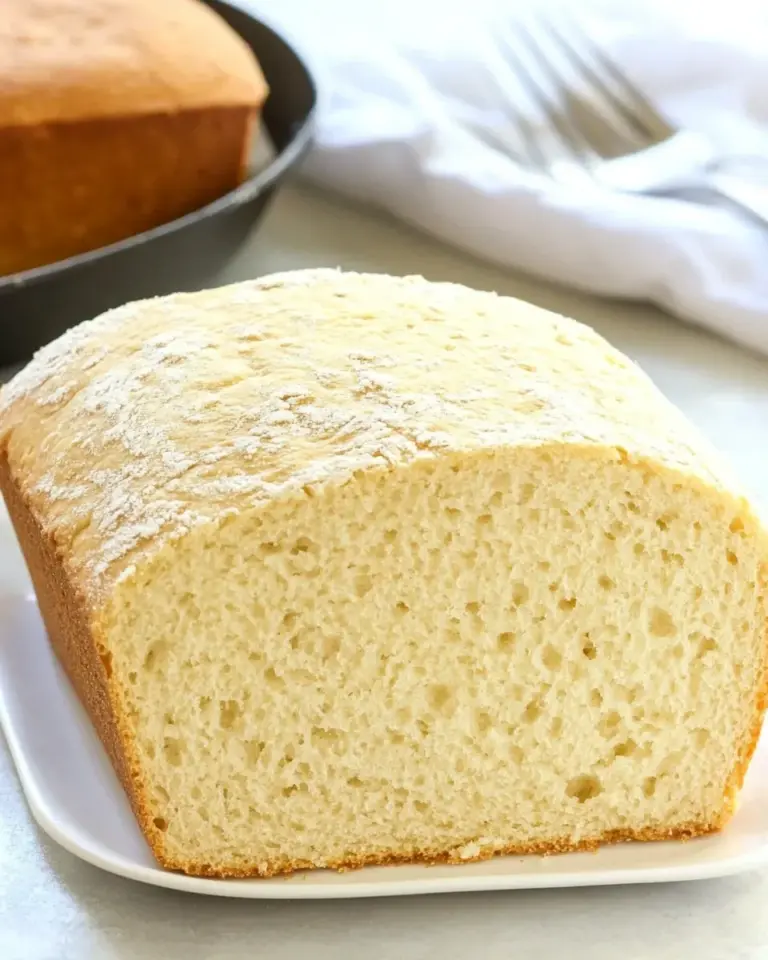
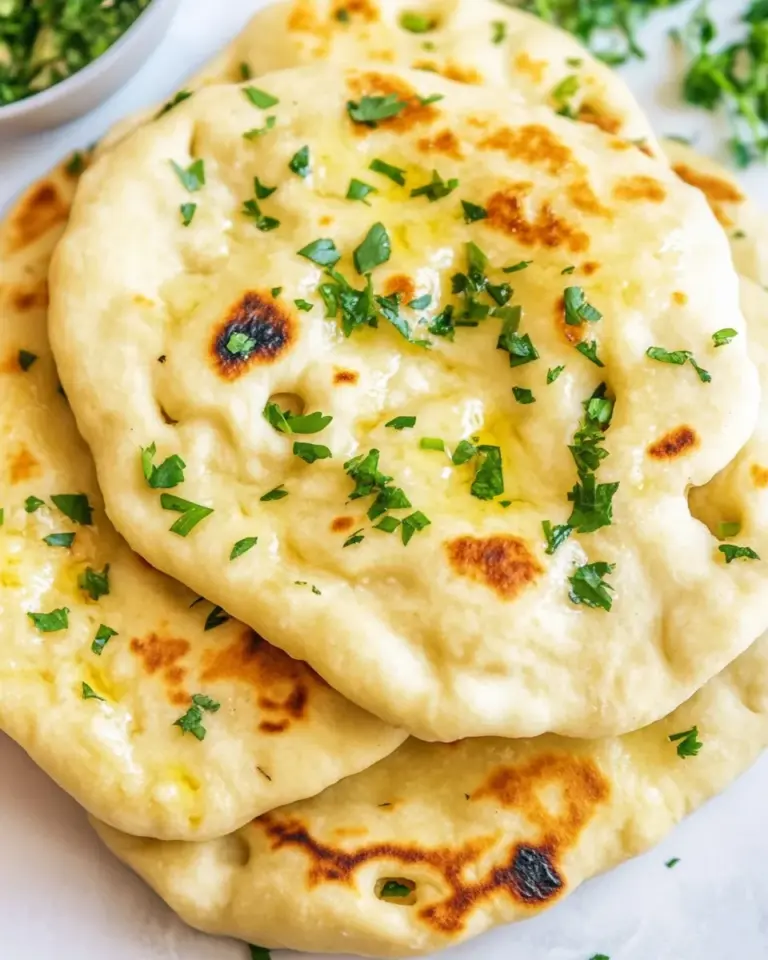
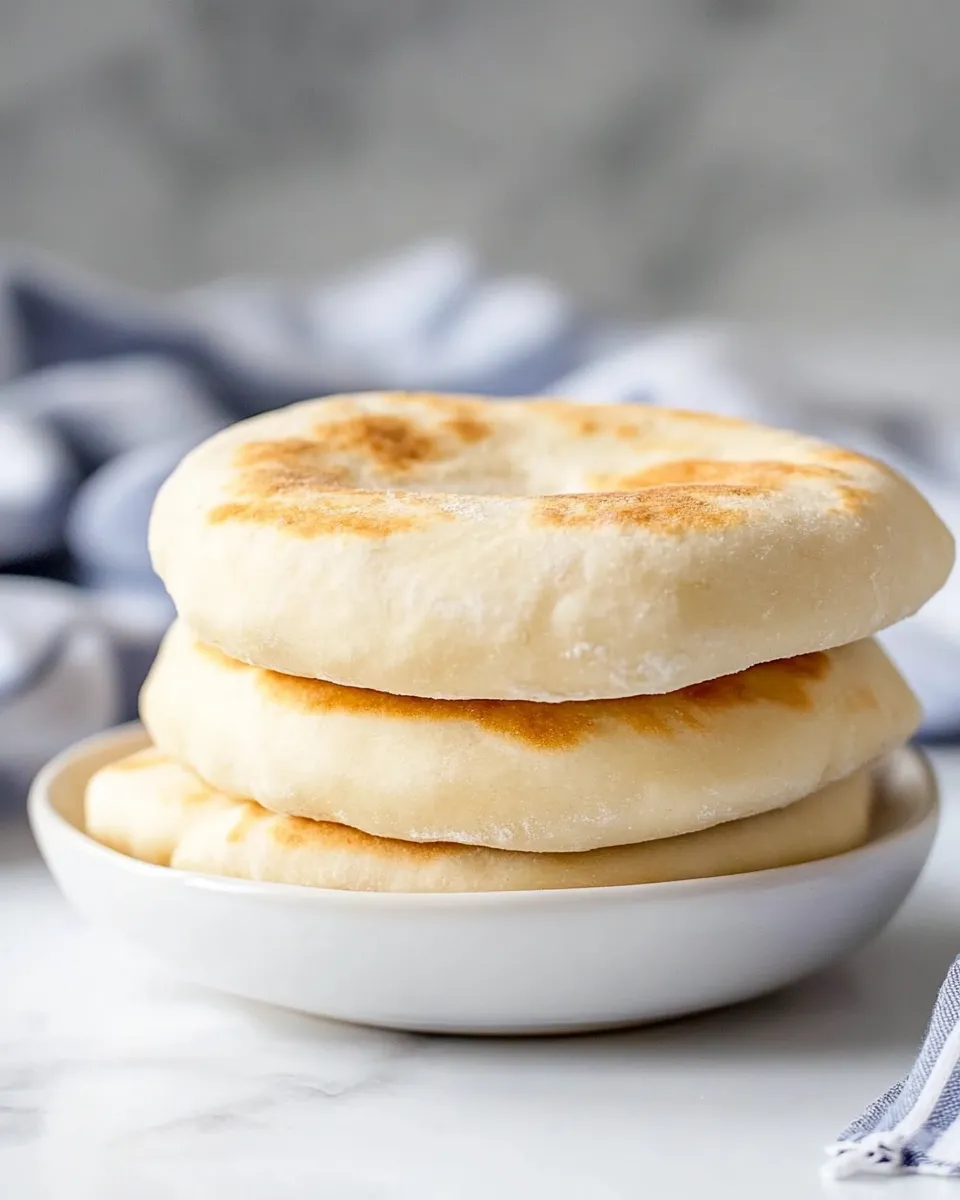
Homemade Pita Bread
If you’ve ever bitten into a warm, fluffy pita bread and marveled at its pocketed perfection, then you know just how satisfying it can be. The best part? Making Homemade Pita Bread is easier than you might think! With just a handful of ingredients, you can whip up these delicious rounds that are perfect for dipping, stuffing, or scooping. Whether you serve them with your favorite hummus or fill them with grilled veggies, this recipe will quickly become a staple in your kitchen.
Why It’s My Go-To
I can’t help but love Homemade Pita Bread because of its versatility. Not only is it incredibly simple to make, but it also elevates any meal. The warm, fluffy texture and the delightful puffing up in the oven are truly rewarding. Plus, there’s something magical about breaking bread with friends and family, and homemade pita brings everyone together.
What to Buy
To make the best Homemade Pita Bread, you’ll need to gather a few key ingredients. Here’s what you’ll need:
- 1 cup warm water
- 1 package active dry yeast (usually 2 ¼ teaspoons)
- 1 teaspoon plus 1 tablespoon sugar
- 3 cups bread flour (469 grams), plus more for dusting
- 1 teaspoon sea salt
- 3 tablespoons extra-virgin olive oil, plus more for the bowl
- ½ cup whole-milk Greek yogurt
Gear Up: What to Grab
Before you dive into making Homemade Pita Bread, let’s gather some essential gear:
- Mixing bowl – for combining your ingredients.
- Whisk – to mix the yeast and water.
- Dough scraper – for easy handling of the dough.
- Rolling pin – to shape your pita rounds.
- Baking stone or baking sheet – for baking the pitas.
- Kitchen towel – to cover the dough while it rises.
Homemade Pita Bread in Steps
Making Homemade Pita Bread is a straightforward process. Follow these simple steps to create your fluffy pockets of goodness.
Step 1: Activate the Yeast
In a small bowl, combine the warm water, active dry yeast, and 1 teaspoon of sugar. Let it sit for about 5-10 minutes until it becomes frothy. This means your yeast is activated and ready to work its magic.
Step 2: Prepare the Dough
In a large mixing bowl, combine the bread flour, sea salt, and the remaining tablespoon of sugar. Create a well in the center and add the frothy yeast mixture, olive oil, and Greek yogurt.
Step 3: Mix and Knead
Mix the ingredients together until they form a shaggy dough. Transfer the dough onto a floured surface and knead for about 8-10 minutes until it becomes smooth and elastic. If the dough is sticky, add a little more flour as needed.
Step 4: Let it Rise
Place the kneaded dough into a lightly oiled bowl, cover it with a kitchen towel, and let it rise in a warm place until it doubles in size, about 1-1.5 hours.
Step 5: Shape the Pitas
Once the dough has risen, punch it down to release the air. Divide the dough into 8 equal pieces and roll each piece into a ball. Let them rest for about 10 minutes. Then, using a rolling pin, flatten each ball into a circle about ¼ inch thick.
Step 6: Preheat the Oven
While you’re shaping the pitas, preheat your oven to 475°F (245°C). If you have a baking stone, place it in the oven to heat up. If not, a baking sheet will work just fine.
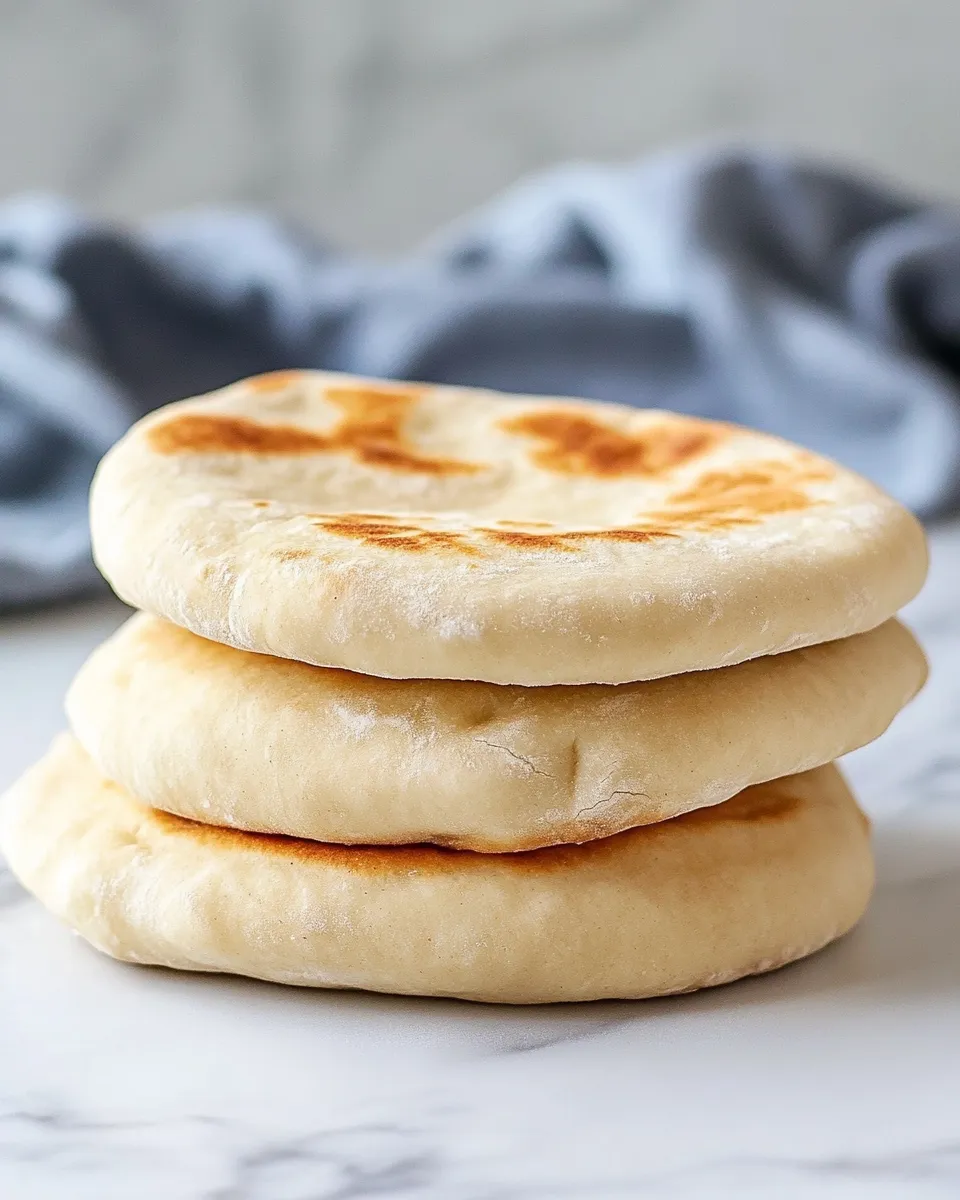
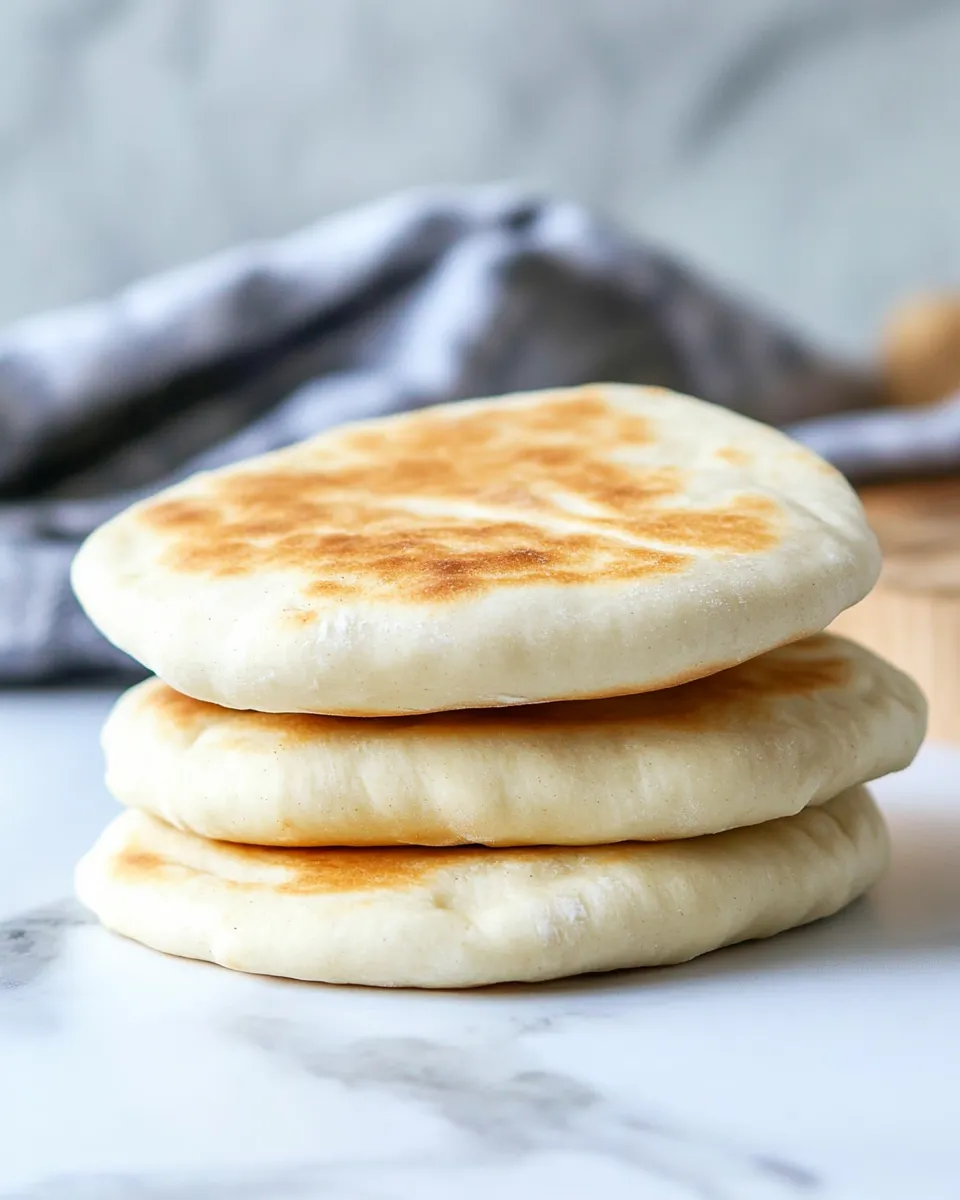
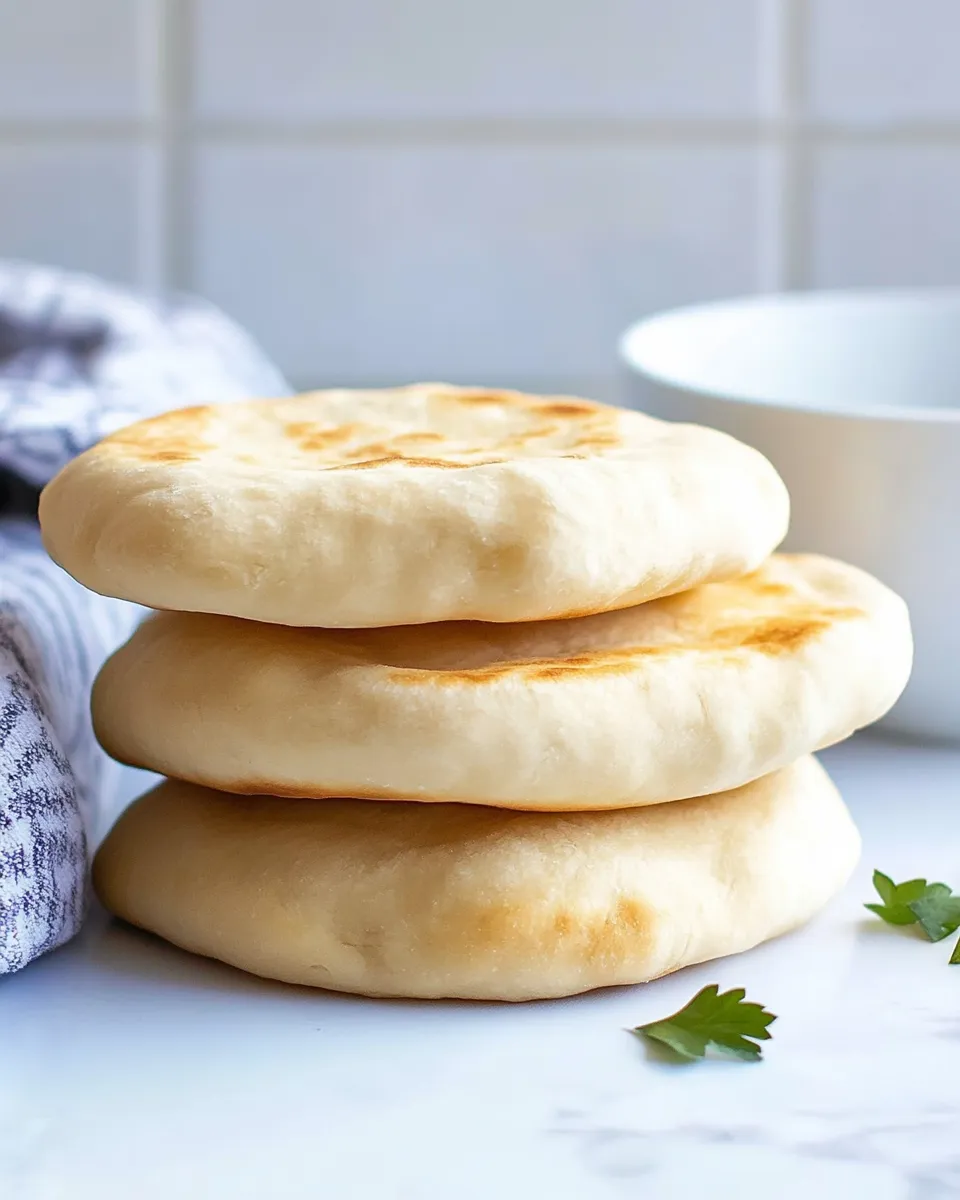
Step 7: Bake the Pitas
Carefully place the rolled-out pitas onto the hot baking stone or a baking sheet. Bake for about 5-7 minutes, or until they puff up and are lightly golden. Keep an eye on them to avoid over-baking.
Step 8: Cool and Enjoy
Once baked, remove the pitas from the oven and cover them with a kitchen towel to keep them warm and soft. Serve immediately or let them cool before storing.
Holiday & Seasonal Touches
Pita bread can easily be adapted for different holidays and seasons. Here are some ideas to inspire your creativity:
- For a festive touch, sprinkle za’atar or sesame seeds on top before baking.
- In the fall, add a pinch of cinnamon to the dough for a warm, spiced flavor.
- During summer, serve pitas with fresh, seasonal veggies and dips for a light, refreshing meal.
- For winter gatherings, stuff pitas with roasted meats and hearty vegetables.
Learn from These Mistakes
Making Homemade Pita Bread can be a trial-and-error process. Here are some common mistakes to avoid:
- Using water that is too hot can kill the yeast. Aim for warm, not hot.
- Not letting the dough rise long enough can lead to dense pitas. Patience is key!
- Rolling the dough too thin can prevent puffing. Aim for about ¼ inch thick.
- Overcrowding the baking sheet can lead to uneven cooking. Bake in batches if necessary.
Leftovers & Meal Prep
One of the best things about Homemade Pita Bread is that it stores well! Here are some tips for leftovers and meal prep:
- Store any leftover pitas in an airtight container at room temperature for up to three days.
- To freeze, wrap the pitas in plastic wrap and place them in a freezer-safe bag. They’ll last up to three months.
- Reheat pitas in a toaster or on a skillet for a few seconds before serving.
- Use leftover pitas to make mini pizzas or as a base for savory breakfast sandwiches.
Homemade Pita Bread FAQs
Can I use all-purpose flour instead of bread flour?
Yes, you can use all-purpose flour, but the texture may be slightly different. Bread flour has a higher protein content, which helps create a chewier pita.
How do I know when the pitas are done baking?
Look for the pitas to puff up and become lightly golden. They should feel soft to the touch, and be careful not to overbake them as they can become hard.
Can I add herbs or spices to the dough?
Absolutely! Adding herbs like rosemary or spices such as garlic powder can enhance the flavor of your Homemade Pita Bread and make it even more delicious.
What should I serve with my pitas?
Pitas are great with dips like hummus, tzatziki, or baba ganoush. They can also be stuffed with grilled meats, roasted vegetables, or fresh salads for a complete meal.
Because You Liked This
If you loved making Homemade Pita Bread, you might also enjoy these recipes:
Final Bite
Making Homemade Pita Bread is not just a cooking task; it’s an experience. You’re not just mixing ingredients; you’re creating something delicious that can bring people together. The joy of pulling a warm pita from the oven and watching it puff up is truly a delight. So, gather your loved ones, get your hands floury, and enjoy the rewarding process of making your own pita bread at home. It’s a simple pleasure that pays off in flavor and heartwarming moments shared over a meal. Happy baking!
Homemade Pita Bread
Ingredients
Equipment
Method
- In a small bowl, combine the warm water, active dry yeast, and 1 teaspoon of sugar. Let it sit for about 5-10 minutes until it becomes frothy.
- In a large mixing bowl, combine the bread flour, sea salt, and the remaining tablespoon of sugar. Create a well in the center and add the frothy yeast mixture, olive oil, and Greek yogurt.
- Mix the ingredients together until they form a shaggy dough. Transfer the dough onto a floured surface and knead for about 8-10 minutes until it becomes smooth and elastic.
- Place the kneaded dough into a lightly oiled bowl, cover it with a kitchen towel, and let it rise in a warm place until it doubles in size, about 1-1.5 hours.
- Once the dough has risen, punch it down to release the air. Divide the dough into 8 equal pieces and roll each piece into a ball. Let them rest for about 10 minutes.
- Preheat your oven to 475°F (245°C). If you have a baking stone, place it in the oven to heat up.
- Carefully place the rolled-out pitas onto the hot baking stone or a baking sheet. Bake for about 5-7 minutes, or until they puff up and are lightly golden.
- Once baked, remove the pitas from the oven and cover them with a kitchen towel to keep them warm and soft.
Notes
- Store leftover pitas in an airtight container at room temperature for up to three days.
- To freeze, wrap pitas in plastic wrap and place them in a freezer-safe bag for up to three months.
- Reheat pitas in a toaster or skillet before serving.