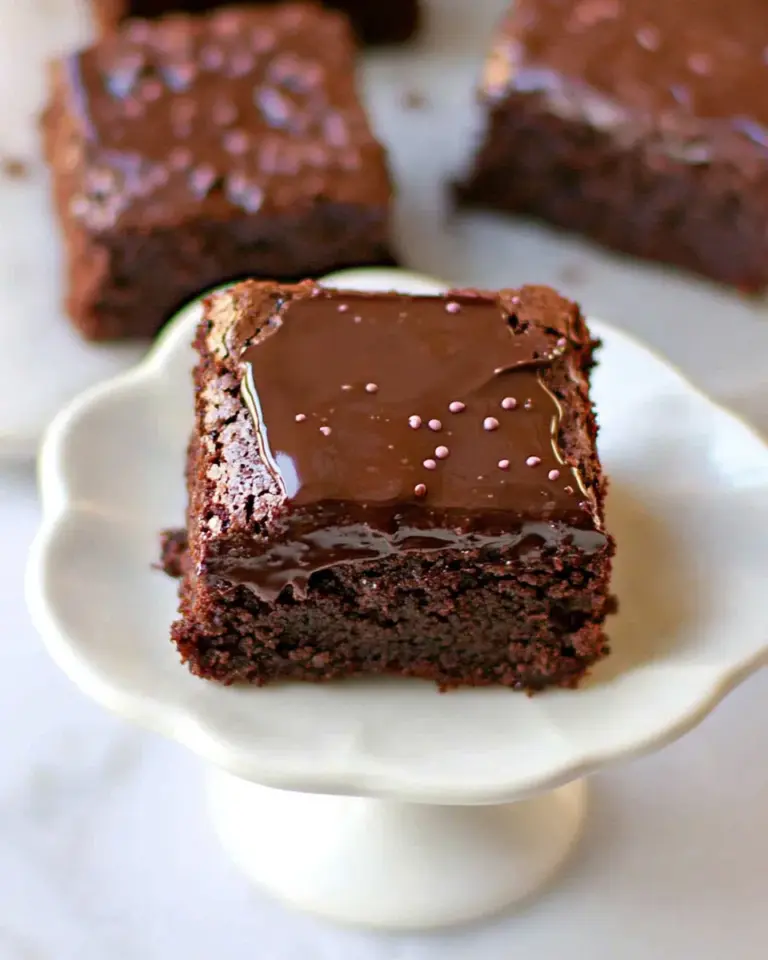
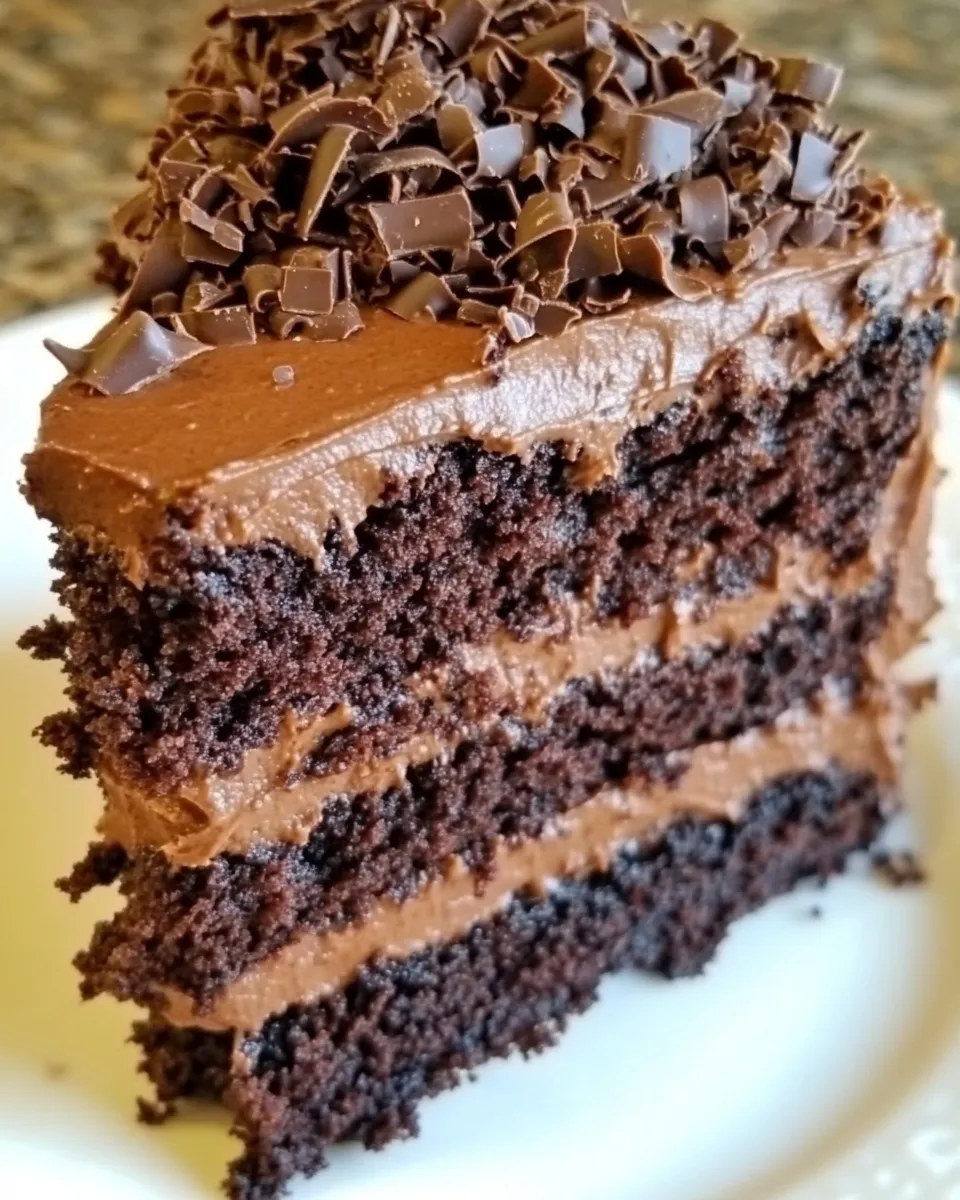
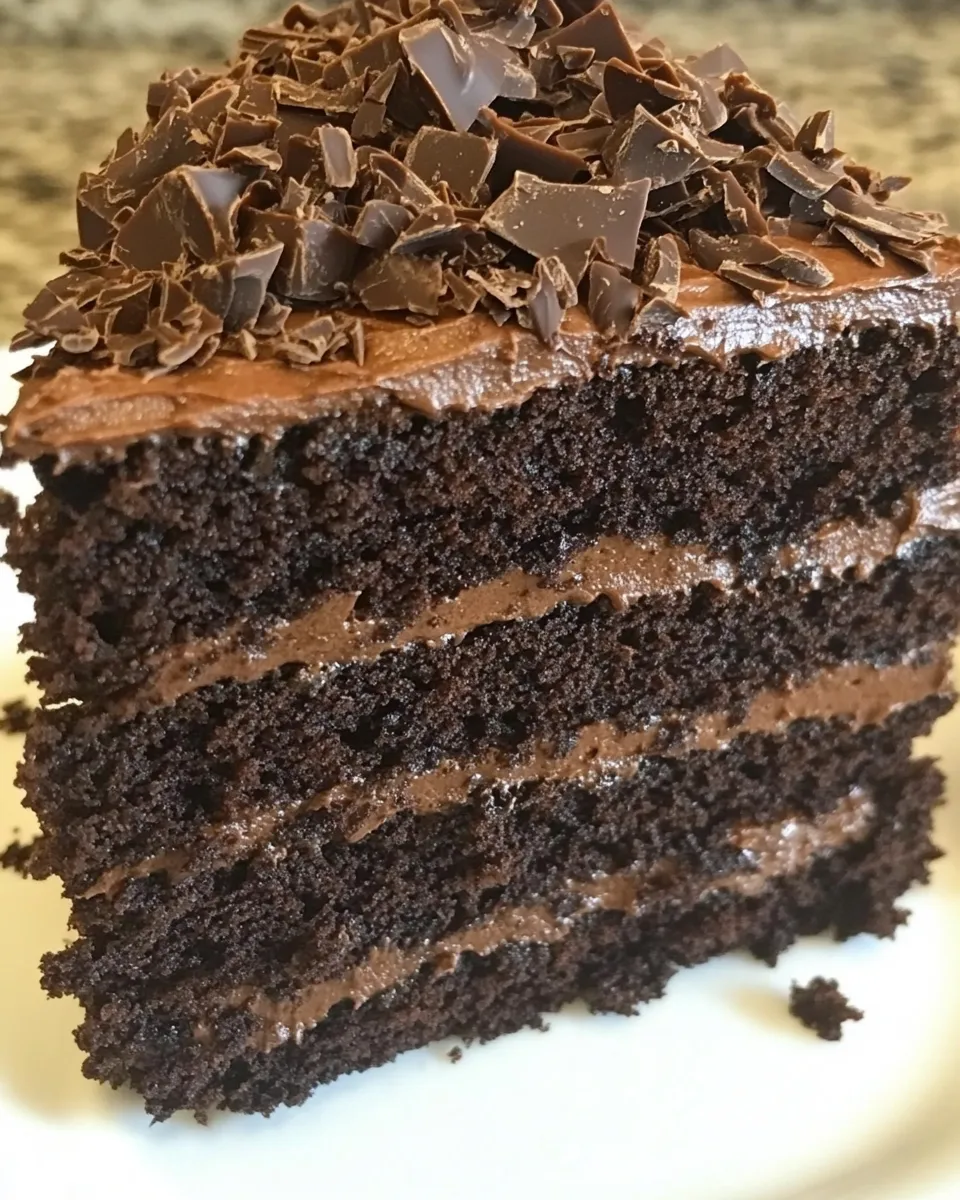
Chocolate Blackout Cake
Chocolate Blackout Cake is a true indulgence for any chocolate lover. This luxurious dessert is rich, moist, and is sure to impress at any gathering. With layers of decadent chocolate cake and a luscious chocolate ganache, it embodies everything we adore about dessert. Whether it’s a birthday, anniversary, or just a Friday evening treat, this cake is the perfect choice for satisfying your chocolate cravings. Let’s dive into the deliciousness that is Chocolate Blackout Cake!
Top Reasons to Make Chocolate Blackout Cake
- Decadent Flavor: The combination of rich chocolate and creamy textures creates a flavor explosion that is truly irresistible.
- Impressive Presentation: This cake not only tastes amazing but looks stunning, making it a showstopper at any event.
- Perfect for Any Occasion: From birthdays to holiday celebrations, Chocolate Blackout Cake fits seamlessly into any event.
- Easy to Customize: Add your twist with flavors like espresso or orange zest to make it your own.
- Chocolate Therapy: There’s something about chocolate that can uplift your mood; this cake is the ultimate comfort food.
What You’ll Gather
- 1 cup (250g) granulated sugar: This will sweeten your cake perfectly.
- 1 cup (32g) cornstarch: Helps in creating a soft, tender cake.
- 1/2 teaspoon salt: Enhances the flavors in the cake.
- 2 cups (473.18ml) half-and-half: Adds creaminess to your cake batter.
- 1 cup (244ml) whole milk: Keeps the cake moist and delicious.
- 6 ounces (170.1g) unsweetened chocolate, finely chopped: The star of the show for that rich chocolate flavor.
- 2 teaspoons vanilla extract: Adds depth to the flavor profile.
- 1 cup (113.5g) unsalted butter: For a rich, buttery texture.
- 1 cup (187.5g) all-purpose flour: The base of your cake.
- 2 teaspoons baking powder: Helps the cake rise beautifully.
- 1/2 teaspoon baking soda: Works with the baking powder for a light cake.
- 1/2 teaspoon salt: To balance the sweetness.
- 1 cup (64.5g) Dutch-processed cocoa powder: For that intense chocolate flavor.
- 1 cup (237ml) brewed coffee: Enhances the chocolate flavor.
- 1 cup (240ml) buttermilk: Contributes to a moist texture.
- 1 cup (200g) granulated sugar: Additional sweetness for the cake.
- 1 cup (220g) light brown sugar: Adds a hint of caramel flavor.
- 2 eggs: Binds the ingredients together.
- 1 teaspoon vanilla extract: Extra flavor boost.
Toolbox for This Recipe
- Mixing Bowls: For combining ingredients easily.
- Measuring Cups and Spoons: Precision is key in baking!
- Whisk: To mix your dry ingredients and incorporate air.
- Rubber Spatula: Great for folding in ingredients and scraping bowls.
- 9-inch Round Cake Pans: Essential for baking your layers.
- Cooling Rack: Helps to cool your cakes evenly.
- Double Boiler or Microwave: For melting chocolate smoothly.
- Offset Spatula: Perfect for spreading frosting evenly.
Build Chocolate Blackout Cake Step by Step
Step 1: Preheat the Oven
Preheat your oven to 350°F (175°C) and grease your 9-inch round cake pans with butter or non-stick spray. For added insurance, line the bottoms with parchment paper.
Step 2: Melt the Chocolate
In a double boiler or microwave, melt the 6 ounces of finely chopped unsweetened chocolate until smooth. Allow it to cool slightly before using.
Step 3: Mix Dry Ingredients
In a large mixing bowl, whisk together the all-purpose flour, baking powder, baking soda, Dutch-processed cocoa powder, cornstarch, and salt. Set aside.
Step 4: Cream the Butter and Sugars
In another bowl, beat the unsalted butter with the 1 cup of granulated sugar and 1 cup of light brown sugar until light and fluffy. This should take about 3-4 minutes.
Step 5: Add Eggs and Vanilla
Add the eggs, one at a time, mixing well after each addition. Stir in the 2 teaspoons of vanilla extract and melted chocolate until fully combined.
Step 6: Combine Wet and Dry Ingredients
To the butter-sugar mixture, alternate adding the dry ingredients and the half-and-half, whole milk, brewed coffee, and buttermilk. Start and end with the dry ingredients, mixing until just combined.
Step 7: Bake the Cakes
Divide the batter evenly between the prepared cake pans. Bake for 25-30 minutes, or until a toothpick inserted in the center comes out clean. Allow the cakes to cool in the pans for 10 minutes before transferring them to a cooling rack.
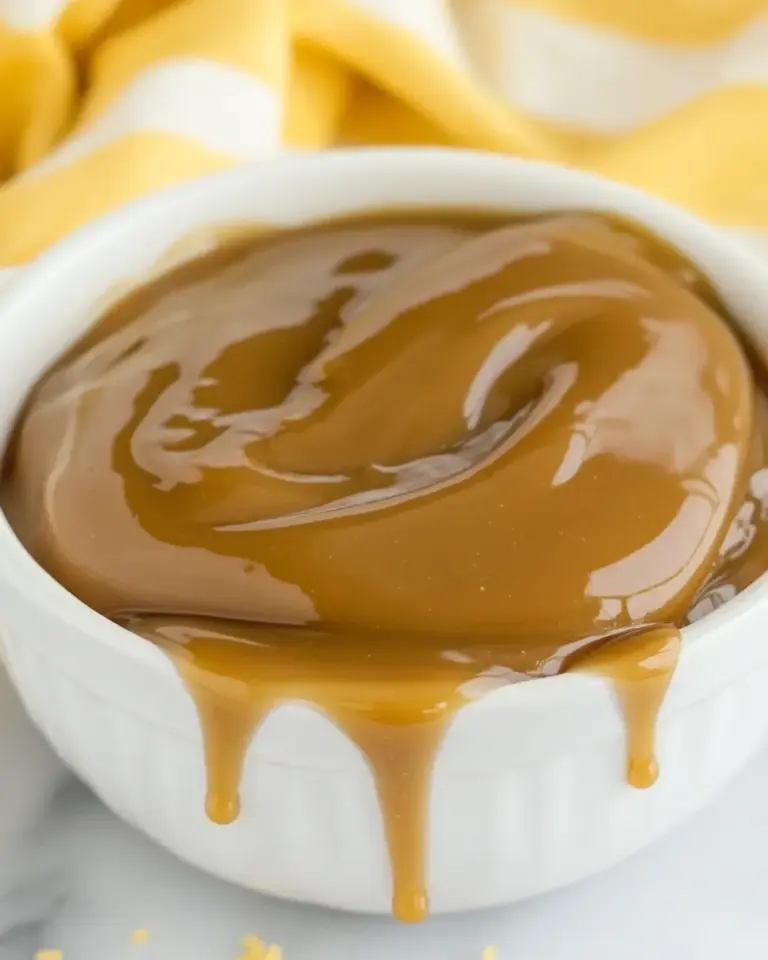
Step 8: Prepare the Ganache
For the ganache, heat 1 cup of heavy cream in a saucepan until just simmering. Pour over 8 ounces of finely chopped bittersweet chocolate and let sit for a few minutes. Stir until smooth and glossy.
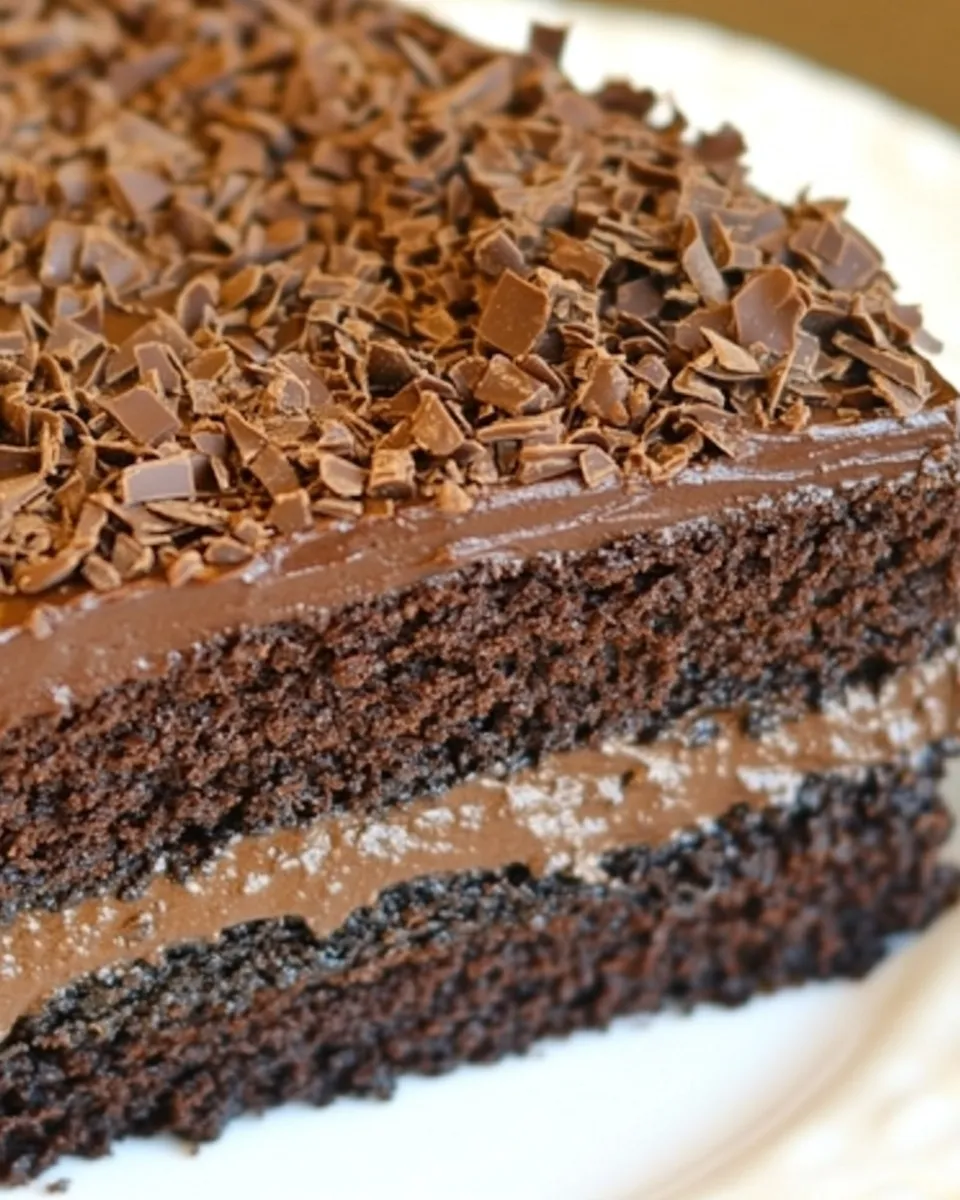
Step 9: Assemble the Cake
Once the cakes are completely cool, place one layer on your serving plate. Spread a layer of ganache over the top. Add the second layer and pour the remaining ganache over the top, allowing it to drip down the sides for a gorgeous effect.
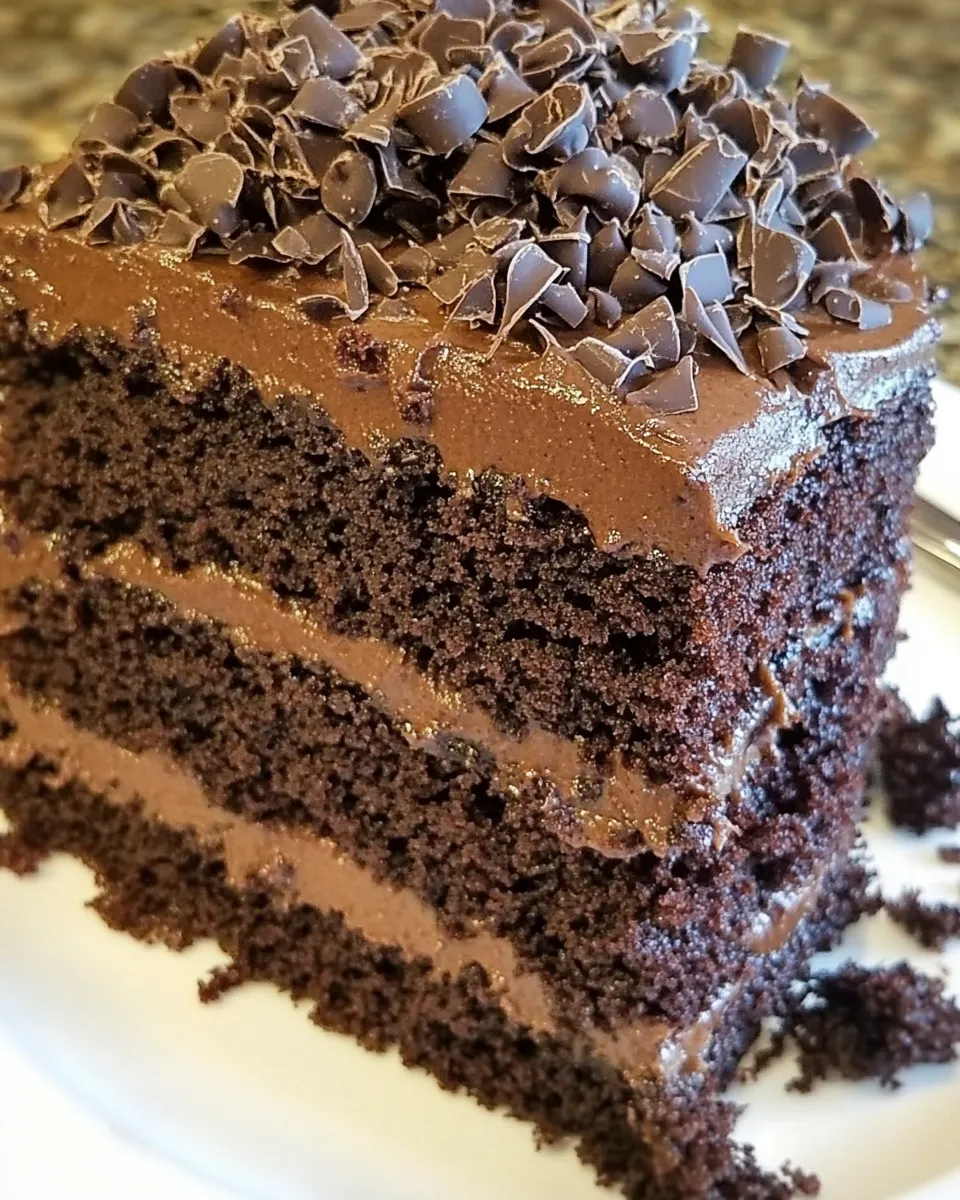
Step 10: Decorate
Feel free to add chocolate shavings, sprinkles, or fresh berries on top for an extra touch of elegance. Let the ganache set slightly before serving.
Spring–Summer–Fall–Winter Ideas
- Spring: Serve with fresh strawberries for a delightful contrast.
- Summer: Top with whipped cream and ice cream for a refreshing dessert.
- Fall: Incorporate spices like cinnamon or nutmeg into the cake for a seasonal twist.
- Winter: Pair with peppermint extract for a festive holiday version.
Recipe Notes & Chef’s Commentary
- For the best flavor, use high-quality cocoa powder and chocolate.
- If you prefer a less sweet cake, reduce the amount of granulated sugar slightly.
- Be careful not to overmix the batter; this can lead to a dense cake.
- Allow the cakes to cool completely before frosting to prevent melting the ganache.
Make Ahead Like a Pro
You can prepare the cake layers a day in advance. Cool them completely, wrap them tightly in plastic wrap, and store them in the refrigerator. The ganache can also be made ahead of time; just reheat gently before use. This way, all you have to do is assemble the cake on the day of your event!
Quick Q&A
Can I use a different type of chocolate?
Absolutely! You can use bittersweet or semisweet chocolate if you prefer a sweeter flavor.
What can I use instead of buttermilk?
You can make a quick substitute by mixing 1 cup of milk with 1 tablespoon of white vinegar or lemon juice. Let it sit for 5-10 minutes until it thickens slightly.
How do I store leftovers?
Store any leftover Chocolate Blackout Cake in an airtight container in the refrigerator for up to 5 days. You can also freeze it for longer storage.
Can I make this cake gluten-free?
Yes, you can use a gluten-free all-purpose flour blend in place of regular flour, and it should work just fine!
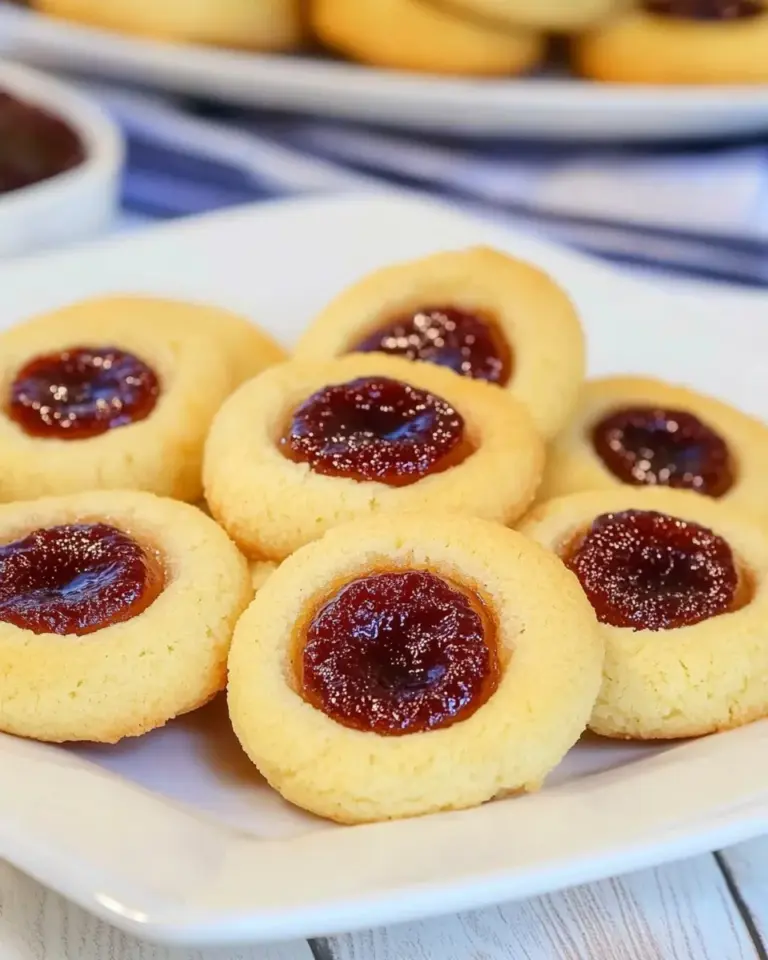
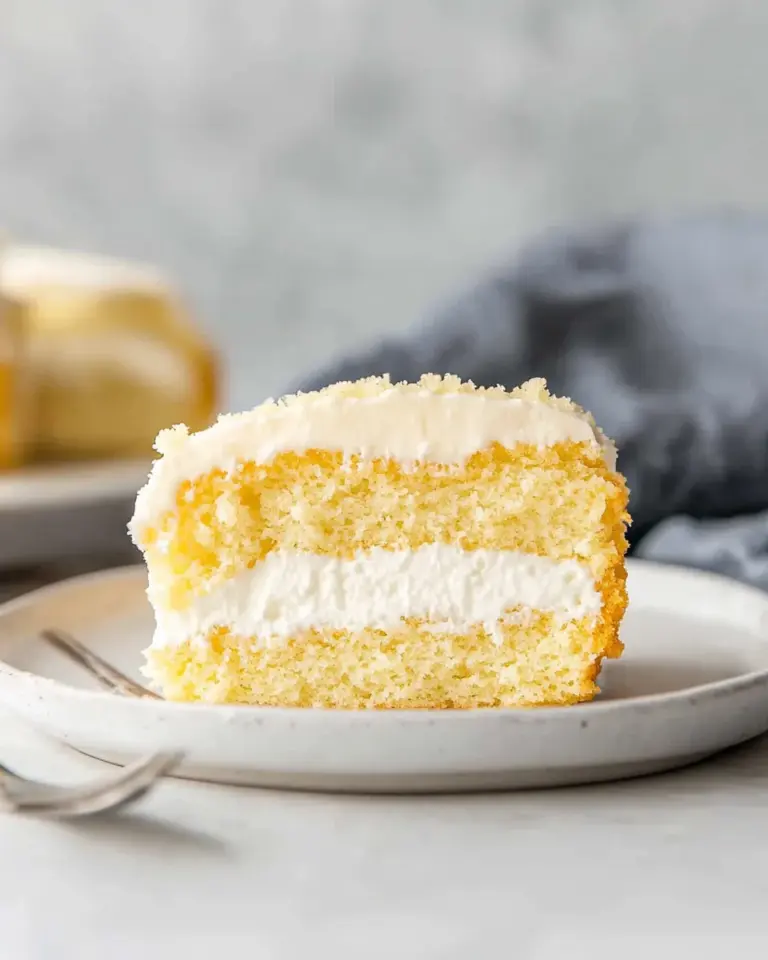
Because You Liked This
Let’s Eat
Indulging in a slice of Chocolate Blackout Cake is a moment to savor. Its rich layers and creamy ganache will have you coming back for more. So gather your ingredients, follow the steps, and let the delightful aroma of baking chocolate fill your kitchen. You won’t regret making this sumptuous cake that brings joy with every bite!
Chocolate Blackout Cake
Ingredients
Equipment
Method
- Preheat your oven to 350°F (175°C) and grease your 9-inch round cake pans with butter or non-stick spray. For added insurance, line the bottoms with parchment paper.
- In a double boiler or microwave, melt the 6 ounces of finely chopped unsweetened chocolate until smooth. Allow it to cool slightly before using.
- In a large mixing bowl, whisk together the all-purpose flour, baking powder, baking soda, Dutch-processed cocoa powder, cornstarch, and salt. Set aside.
- In another bowl, beat the unsalted butter with the 1 cup of granulated sugar and 1 cup of light brown sugar until light and fluffy. This should take about 3-4 minutes.
- Add the eggs, one at a time, mixing well after each addition. Stir in the 2 teaspoons of vanilla extract and melted chocolate until fully combined.
- To the butter-sugar mixture, alternate adding the dry ingredients and the half-and-half, whole milk, brewed coffee, and buttermilk. Start and end with the dry ingredients, mixing until just combined.
- Divide the batter evenly between the prepared cake pans. Bake for 25-30 minutes, or until a toothpick inserted in the center comes out clean. Allow the cakes to cool in the pans for 10 minutes before transferring them to a cooling rack.
- For the ganache, heat 1 cup of heavy cream in a saucepan until just simmering. Pour over 8 ounces of finely chopped bittersweet chocolate and let sit for a few minutes. Stir until smooth and glossy.
- Once the cakes are completely cool, place one layer on your serving plate. Spread a layer of ganache over the top. Add the second layer and pour the remaining ganache over the top, allowing it to drip down the sides for a gorgeous effect.
- Feel free to add chocolate shavings, sprinkles, or fresh berries on top for an extra touch of elegance. Let the ganache set slightly before serving.
Notes
- For the best flavor, use high-quality cocoa powder and chocolate.
- If you prefer a less sweet cake, reduce the amount of granulated sugar slightly.
- Be careful not to overmix the batter; this can lead to a dense cake.
- Allow the cakes to cool completely before frosting to prevent melting the ganache.