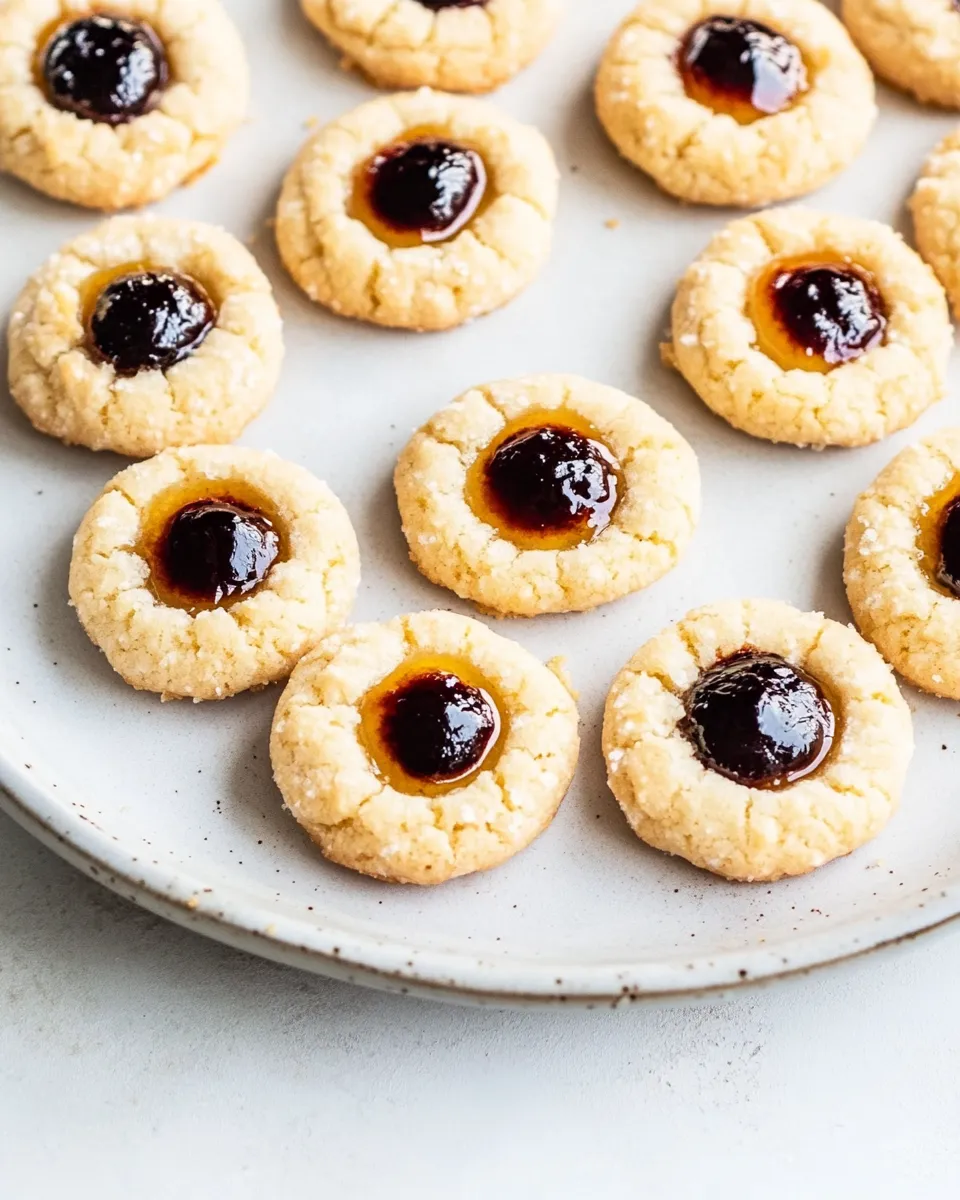
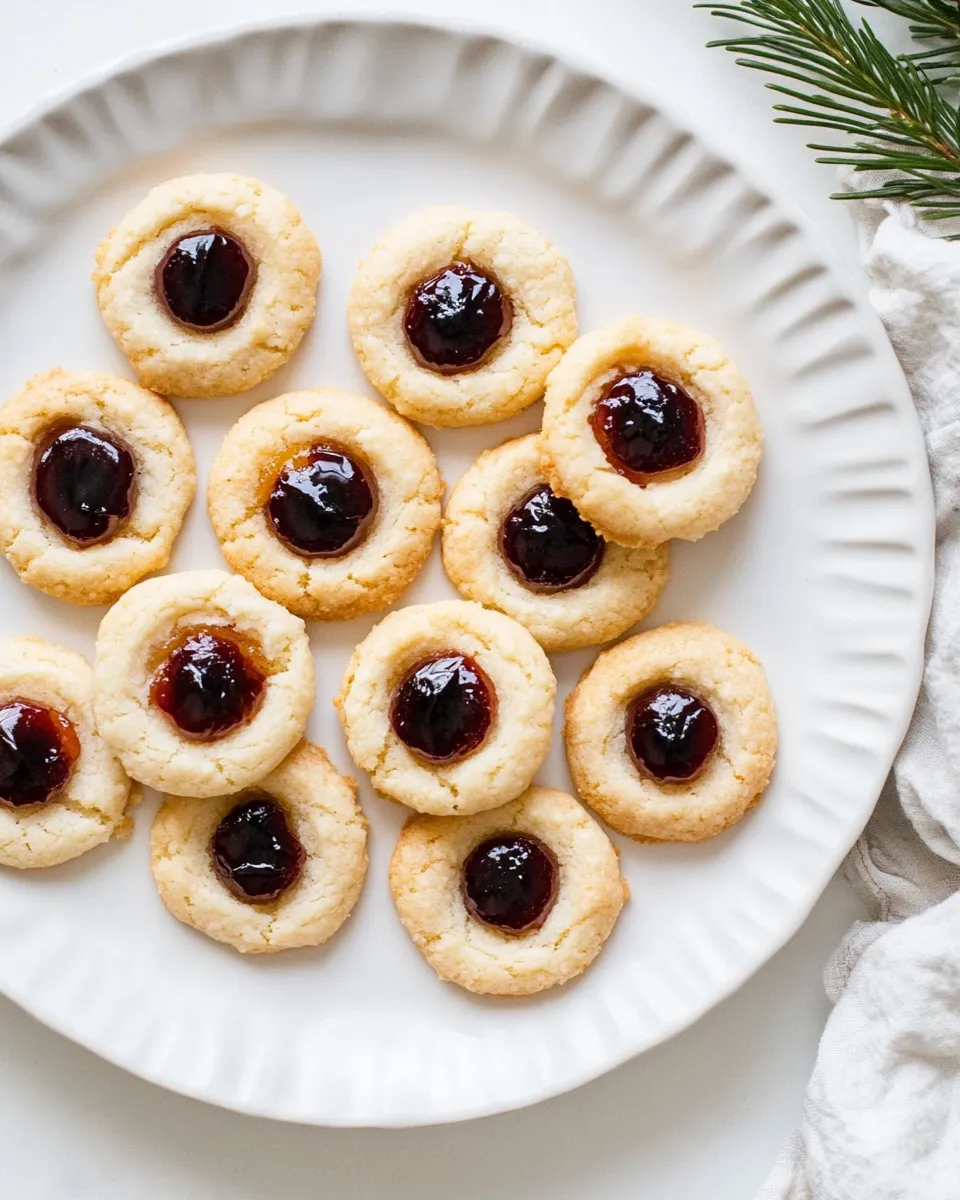
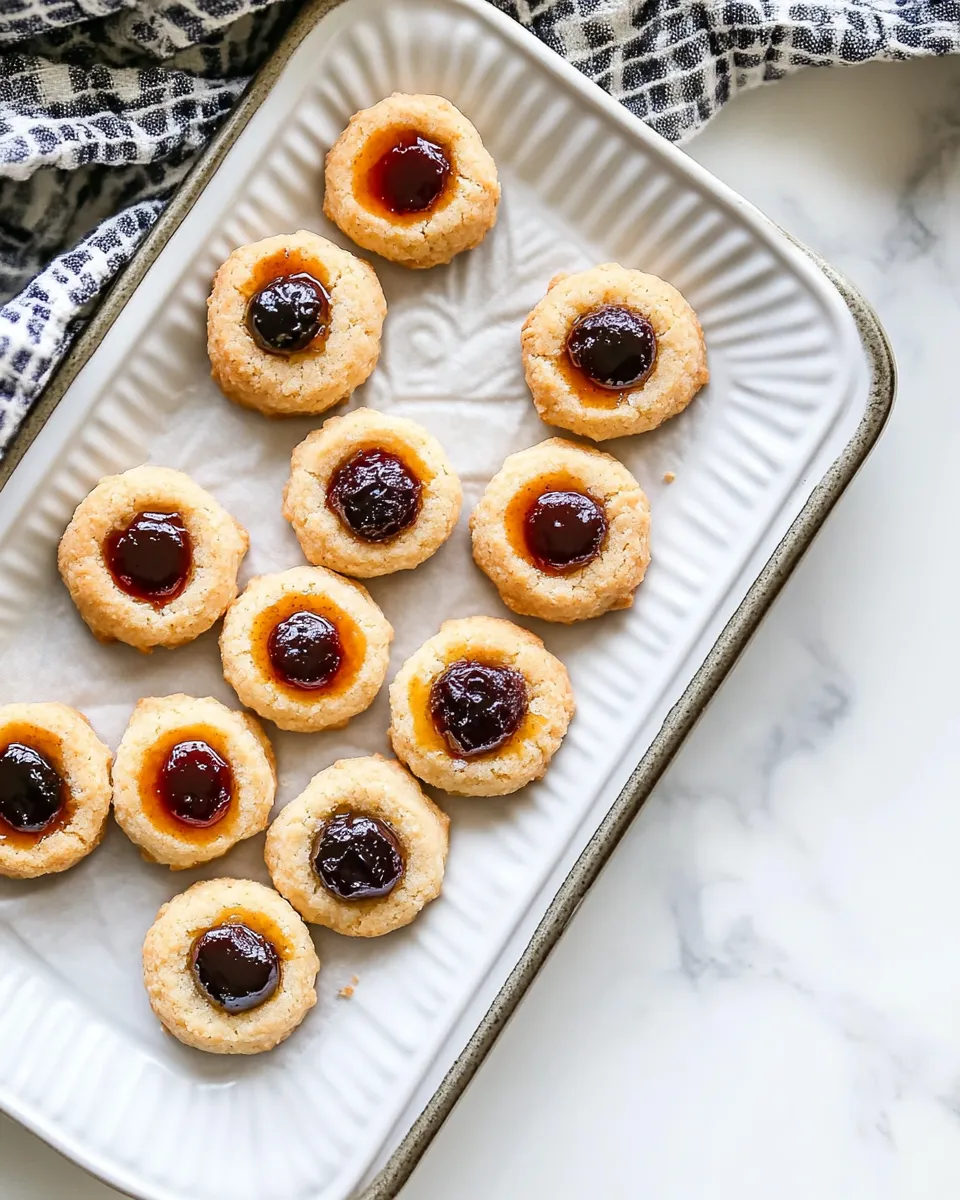
Vegan Thumbprint Cookies
If you’re looking for a delightful, sweet treat that’s both vegan and gluten-free, then look no further than these Vegan Thumbprint Cookies! They are not only a charming addition to any cookie platter, but they also allow for a creative twist with various fillings. Whether you choose to fill them with blueberry jam, apricot jam, or even a luscious chocolate or lemon curd, they are sure to impress. Let’s dive into this simple yet satisfying recipe!
Why Vegan Thumbprint Cookies is Worth Your Time
These Vegan Thumbprint Cookies are a fantastic option for anyone who loves cookies but wants to keep things plant-based. They are easy to make, require minimal ingredients, and can be adapted to your taste preferences. The combination of rice flour and buckwheat flour gives them a unique texture, while the dairy-free butter ensures they remain rich and buttery without any animal products. Plus, the versatility of fillings means you can enjoy a different flavor with every batch!
Gather These Ingredients
To make these delectable Vegan Thumbprint Cookies, gather the following ingredients:
- 1 cup white rice flour
- ½ cup buckwheat flour
- ½ cup corn starch or tapioca starch (for a chewier texture)
- ½ cup cane sugar
- 5 oz dairy-free butter (softened)
- 1 tsp vanilla extract
- ½ tsp salt
- 1 Tbsp water (optional, see instructions)
- Blueberry jam (for filling before baking)
- Apricot jam (for filling before baking)
- Chocolate (for filling after baking)
- Lemon curd (for filling after baking)
- Icing (optional)
Equipment & Tools
Make sure to have the following equipment on hand:
- Baking sheet – for placing your cookies while they bake.
- Parchment paper – to prevent the cookies from sticking.
- Mixing bowls – for combining your ingredients.
- Cookie scoop or spoon – for portioning out the cookie dough.
- Measuring cups and spoons – for accuracy in your measurements.
- Oven – to bake your delicious cookies.
Directions: Vegan Thumbprint Cookies
Step 1: Preheat the Oven
Start by preheating your oven to 350°F (175°C). Line a baking sheet with parchment paper to prepare for your cookies.
Step 2: Mix the Dry Ingredients
In a large mixing bowl, combine the white rice flour, buckwheat flour, corn starch (or tapioca starch), cane sugar, and salt. Whisk them together until well blended.
Step 3: Cream the Butter
In another bowl, use a hand mixer or stand mixer to cream the softened dairy-free butter and vanilla extract until the mixture is light and fluffy.
Step 4: Combine Wet and Dry Ingredients
Gradually add the dry ingredients to the creamed butter mixture. If the dough feels too crumbly, add the optional tablespoon of water to help it come together. Mix until a soft dough forms.
Step 5: Shape the Cookies
Using a cookie scoop or spoon, portion out small amounts of dough and roll them into balls. Place the balls on the prepared baking sheet, spacing them a couple of inches apart.
Step 6: Create the Thumbprint
Using your thumb or the back of a spoon, gently press down in the center of each dough ball to create an indentation. This is where your filling will go!
Step 7: Fill with Jam
Spoon a small amount of blueberry or apricot jam into each thumbprint. Be careful not to overfill, as the jam can bubble over while baking.
Step 8: Bake the Cookies
Place the baking sheet in the preheated oven and bake for 12-15 minutes, or until the edges are lightly golden. Keep an eye on them to prevent burning.
Step 9: Cool and Add Additional Fillings
Once baked, remove the cookies from the oven and let them cool on the baking sheet for a few minutes before transferring them to a wire rack to cool completely. After they have cooled, you can add chocolate or lemon curd into the thumbprints if desired.
Seasonal Spins

These cookies are versatile and can be customized for any season or occasion. Consider these variations:
- Use pumpkin puree and spice for a fall twist.
- Incorporate peppermint extract and crushed candy canes for a festive holiday version.
- Substitute raspberry jam for a tangy summer treat.
- Try out different nut butters in place of the jams for a unique flavor profile.
Troubleshooting Tips
- If your dough is too dry, add a little more water, one teaspoon at a time.
- For a more delicate cookie, chill the dough in the refrigerator for 30 minutes before baking.
- If the cookies spread too much, consider adding an extra tablespoon of cornstarch.
- Ensure your baking sheet is lined with parchment paper to prevent sticking.
How to Store & Reheat
To keep your Vegan Thumbprint Cookies fresh:
- Store them in an airtight container at room temperature for up to a week.
- If you want to keep them longer, freeze the cookies in a single layer and then transfer them to a freezer-safe container for up to three months.
- To reheat, pop them in the oven at 350°F (175°C) for 5-10 minutes.
Popular Questions
Can I make these cookies gluten-free?
Yes! This recipe is already gluten-free due to the use of rice flour and buckwheat flour. Just ensure all ingredients are certified gluten-free.
What can I use instead of dairy-free butter?
You can substitute coconut oil or any vegan buttery spread as an alternative to dairy-free butter in this recipe.
How can I make these cookies sweeter?
If you prefer a sweeter cookie, you can increase the cane sugar by 2 tablespoons or add a drizzle of maple syrup to the dough.
Can I make these cookies without sugar?
Yes! You can use natural sweeteners like agave syrup or maple syrup, but you may need to adjust the flour content to compensate for the added liquid.
Desserts to Finish
If you enjoyed these Vegan Thumbprint Cookies, you might also like:
Save & Share
If you loved this Vegan Thumbprint Cookies recipe, don’t forget to share it with your friends and family! Tag us on social media and let us know how your cookies turned out. Your feedback keeps us inspired to create more delicious recipes.
These Vegan Thumbprint Cookies are not just a treat; they are a testament to how versatile and delightful vegan baking can be. With their unique textures and flavorful fillings, they make for a perfect dessert or snack. Enjoy them fresh out of the oven, or take your time and experiment with different jams and toppings. The possibilities are endless, and the deliciousness is guaranteed!
Vegan Thumbprint Cookies
Ingredients
Equipment
Method
- Start by preheating your oven to 350°F (175°C). Line a baking sheet with parchment paper to prepare for your cookies.
- In a large mixing bowl, combine the white rice flour, buckwheat flour, corn starch (or tapioca starch), cane sugar, and salt. Whisk them together until well blended.
- In another bowl, use a hand mixer or stand mixer to cream the softened dairy-free butter and vanilla extract until the mixture is light and fluffy.
- Gradually add the dry ingredients to the creamed butter mixture. If the dough feels too crumbly, add the optional tablespoon of water to help it come together. Mix until a soft dough forms.
- Using a cookie scoop or spoon, portion out small amounts of dough and roll them into balls. Place the balls on the prepared baking sheet, spacing them a couple of inches apart.
- Using your thumb or the back of a spoon, gently press down in the center of each dough ball to create an indentation. This is where your filling will go!
- Spoon a small amount of blueberry or apricot jam into each thumbprint. Be careful not to overfill, as the jam can bubble over while baking.
- Place the baking sheet in the preheated oven and bake for 12-15 minutes, or until the edges are lightly golden. Keep an eye on them to prevent burning.
- Once baked, remove the cookies from the oven and let them cool on the baking sheet for a few minutes before transferring them to a wire rack to cool completely. After they have cooled, you can add chocolate or lemon curd into the thumbprints if desired.
Notes
- Store cookies in an airtight container at room temperature for up to a week.
- Freeze cookies in a single layer for up to three months for longer storage.
- Reheat in the oven at 350°F (175°C) for 5-10 minutes to enjoy warm.