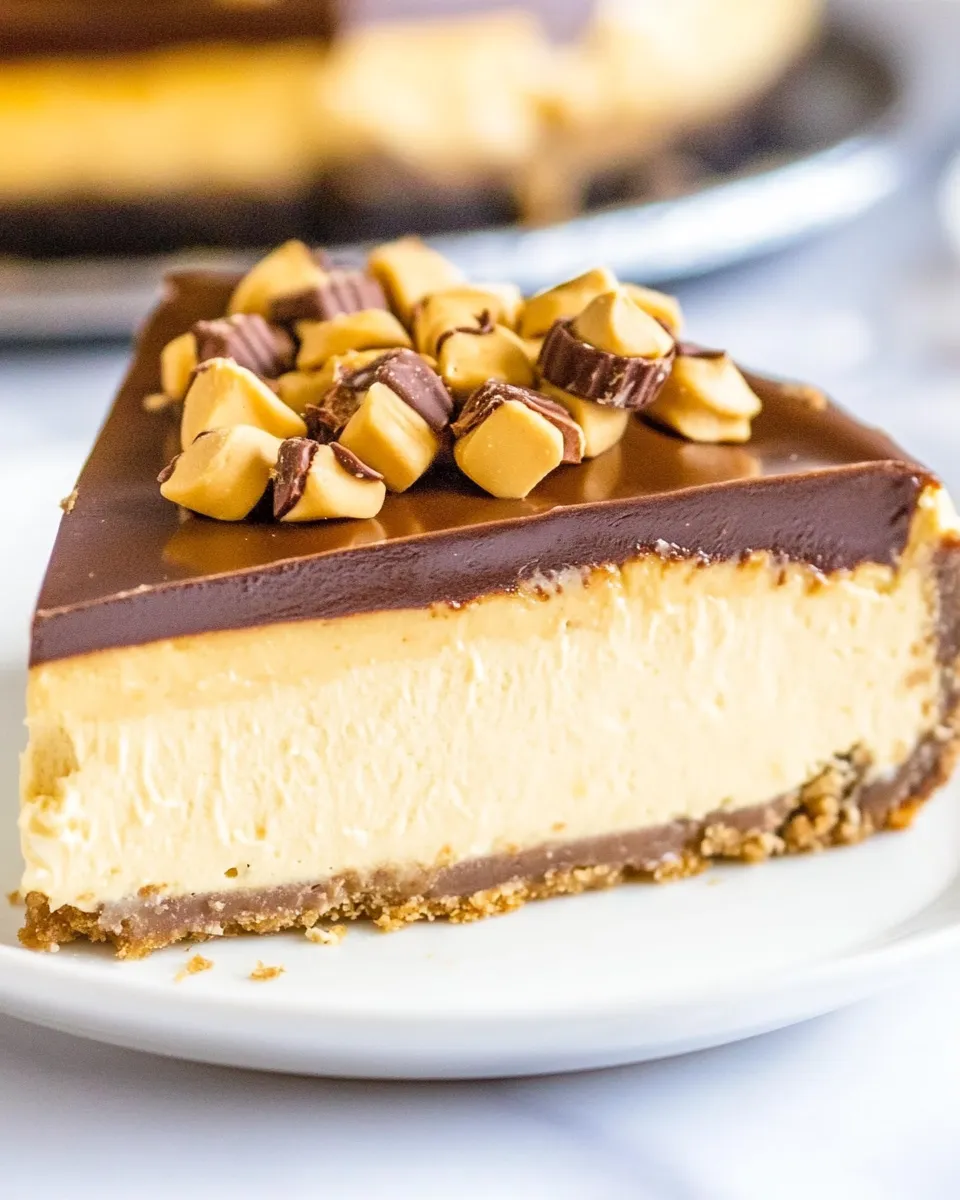
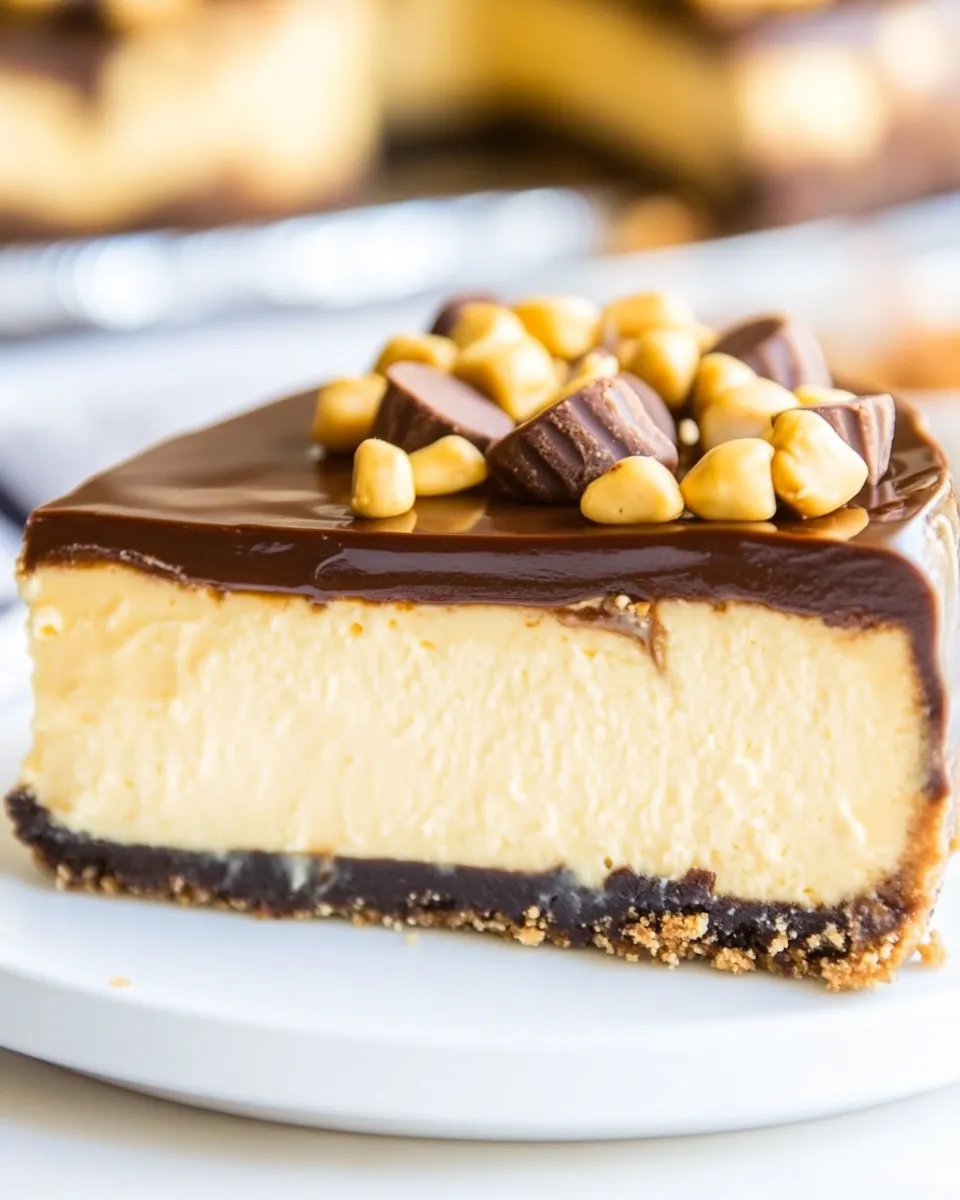
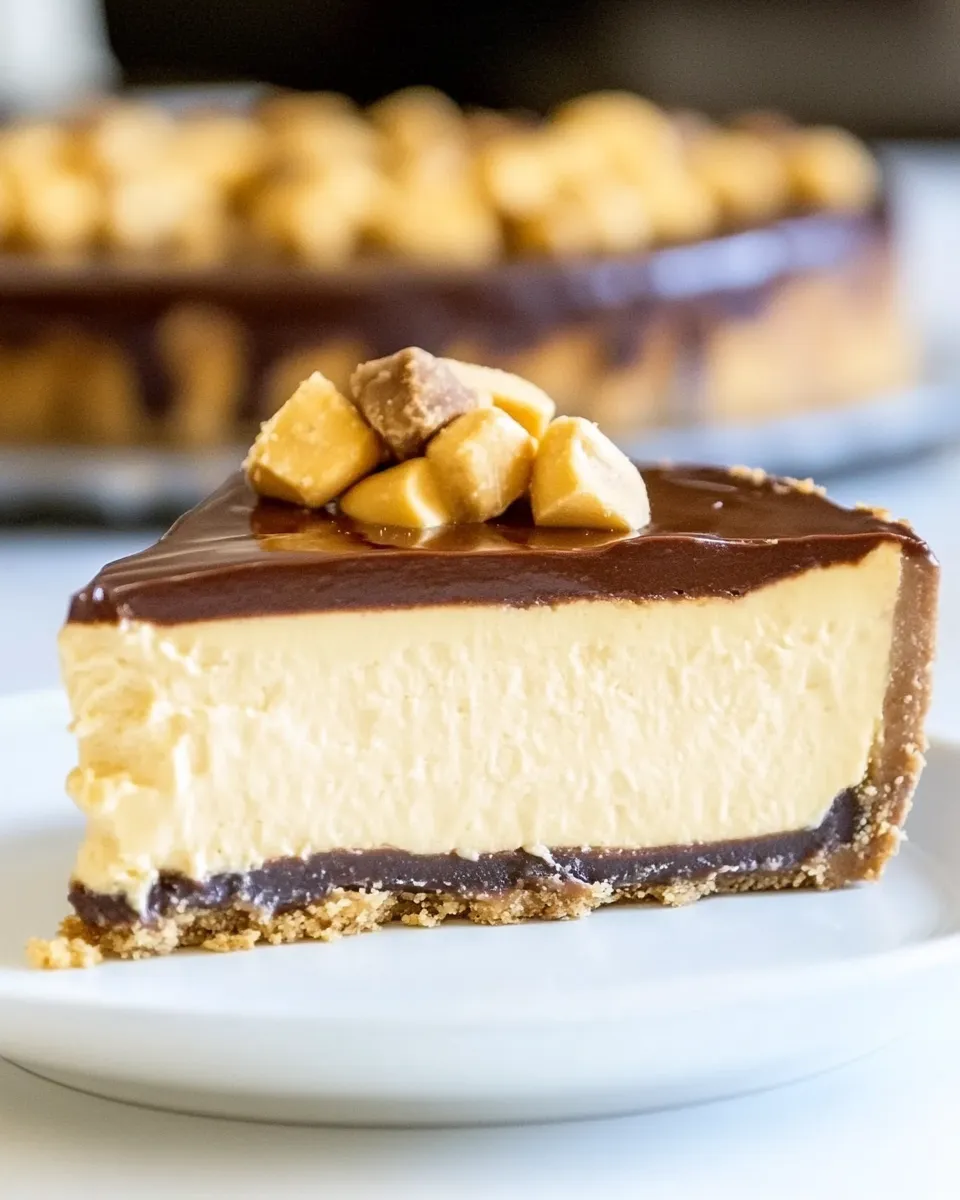
Peanut Butter Cup Cheesecake
If there’s one dessert that can make any gathering feel extra special, it’s the Peanut Butter Cup Cheesecake. This luscious dessert combines the rich creaminess of cheesecake with the nutty goodness of peanut butter, all atop a decadent crust made from Peanut Butter Pie Oreos. It’s the kind of dessert that’s sure to impress your friends and family, with its stunning layers and delightful flavors. Whether you’re celebrating a birthday, hosting a dinner party, or just craving something sweet, this Peanut Butter Cup Cheesecake is the perfect choice.
The Upside of Peanut Butter Cup Cheesecake
What’s not to love about Peanut Butter Cup Cheesecake? First, it’s a crowd-pleaser, appealing to both cheesecake lovers and peanut butter fanatics alike. The combination of creamy, rich cheesecake and crunchy, chocolatey Oreo crust creates a delightful texture contrast that keeps every bite interesting. Plus, it’s fully customizable! You can add toppings, adjust sweetness, or even switch up the crust ingredients. This cheesecake is not just a dessert; it’s a celebration of flavors that brings joy with every slice.
What You’ll Gather
- 35 Peanut Butter Pie Oreos (or regular Oreos)
- 1/2 cup butter (melted)
- 4 packages cream cheese (8 oz. each, softened)
- 1 cup granulated sugar
- 1 teaspoon vanilla extract
- 4 large eggs
- 1 cup peanut butter
- 1 cup semi-sweet chocolate chips
- 2 tablespoons butter
- Peanut butter chips (for decorating)
- Mini peanut butter cups (for decorating)
Equipment & Tools
- 9-inch springform pan – Ideal for cheesecakes, allowing for easy removal.
- Mixing bowls – For combining ingredients smoothly.
- Electric mixer – To achieve that perfectly creamy texture.
- Rubber spatula – For scraping down the sides of your mixing bowl.
- Oven and baking sheet – To bake your cheesecake evenly.
- Cooling rack – To cool your cheesecake down properly.
From Start to Finish: Peanut Butter Cup Cheesecake
Step 1: Make the Crust
Begin by preheating your oven to 350°F (175°C). In a food processor, crush the Peanut Butter Pie Oreos until they resemble fine crumbs. In a mixing bowl, combine the crushed Oreos with the melted butter. Stir until the mixture is well combined and resembles wet sand.
Step 2: Press the Crust
Transfer the Oreo mixture to your springform pan. Press the crumbs firmly into the bottom of the pan to create an even layer. Bake the crust in the preheated oven for about 10 minutes, then remove it and let it cool slightly while you prepare the cheesecake filling.
Step 3: Prepare the Filling
In a large mixing bowl, combine the softened cream cheese and granulated sugar. Using an electric mixer, beat on medium speed until smooth and creamy. Add the vanilla extract and peanut butter, mixing until fully incorporated.
Step 4: Add the Eggs
Add the eggs, one at a time, mixing well after each addition. Be careful not to overmix; you want to keep the mixture light and airy.
Step 5: Bake the Cheesecake
Pour the cheesecake filling over the cooled crust in the springform pan. Smooth the top with a spatula. Bake in the oven for 55-60 minutes, or until the edges are set and the center has a slight jiggle. Turn off the oven and leave the cheesecake inside for an additional hour to help it set without cracking.
Step 6: Cool and Chill
After the hour is up, remove the cheesecake from the oven and let it cool at room temperature. Once cooled, cover it and refrigerate for at least 4 hours, preferably overnight. This chilling time allows the flavors to meld beautifully.
Step 7: Make the Chocolate Topping
In a microwave-safe bowl, combine the semi-sweet chocolate chips and 2 tablespoons of butter. Heat in 30-second intervals, stirring until melted and smooth. Allow the chocolate to cool slightly before drizzling it over the chilled cheesecake.
Step 8: Decorate and Serve
Once the chocolate has set, it’s time to get creative! Decorate the top of your Peanut Butter Cup Cheesecake with peanut butter chips and mini peanut butter cups for that extra special touch. Slice, serve, and enjoy the delightful combination of flavors!
Budget & Availability Swaps

- Oreo Crust: If you can’t find Peanut Butter Pie Oreos, regular Oreos work just as well.
- Cream Cheese: For a lighter version, consider using low-fat cream cheese.
- Pudding Mix: For extra creaminess, you can add a package of instant vanilla pudding mix to the filling.
- Chocolate Chips: Feel free to swap semi-sweet chocolate chips with dark chocolate or milk chocolate based on your preference.
Behind the Recipe
This Peanut Butter Cup Cheesecake recipe is inspired by the classic flavors of a peanut butter cup candy. The idea was born out of a love for both cheesecake and peanut butter, and it has evolved into a decadent dessert that captures the essence of both. The combination of a crunchy Oreo crust, a creamy peanut butter filling, and a rich chocolate drizzle creates a dessert that is truly unforgettable.
Leftovers & Meal Prep
Leftovers of Peanut Butter Cup Cheesecake can be stored in the refrigerator for up to a week. Ensure that it is well covered to maintain freshness. This cheesecake is perfect for meal prep as it can be made ahead of time for gatherings or special occasions. Simply prepare it a day or two in advance, and you’ll have a show-stopping dessert ready to impress your guests!
Popular Questions
Can I make this cheesecake ahead of time?
Absolutely! In fact, making the cheesecake a day in advance allows the flavors to develop further. Just be sure to store it in the refrigerator until you’re ready to serve.
Can I freeze Peanut Butter Cup Cheesecake?
Yes, you can freeze the cheesecake! Wrap it tightly in plastic wrap and aluminum foil before freezing. To enjoy, thaw it in the refrigerator overnight before serving.
What can I substitute for cream cheese in this recipe?
If you’re looking for alternatives, mascarpone cheese or a vegan cream cheese can work well. Just keep in mind that it may alter the flavor slightly.
Can I add other toppings to the cheesecake?
Definitely! Feel free to get creative with toppings. Chopped nuts, whipped cream, or even a drizzle of caramel sauce can elevate your Peanut Butter Cup Cheesecake even further.
More Recipes You’ll Love
- Chocolate Chip Cookie Dough Cheesecake
- No-Bake Strawberry Cheesecake
- Nutella Swirl Brownies
- Classic New York Style Cheesecake
Hungry for More?
If you’re as passionate about baking as we are, don’t forget to keep exploring delightful recipes like this Peanut Butter Cup Cheesecake. Each recipe brings its unique flavor and joy, perfect for any gathering or simply to satisfy your sweet tooth. Happy baking!
Peanut Butter Cup Cheesecake
Ingredients
Equipment
Method
- Step 1: Make the Crust - Preheat your oven to 350°F (175°C). In a food processor, crush the Peanut Butter Pie Oreos until they resemble fine crumbs. In a mixing bowl, combine the crushed Oreos with the melted butter. Stir until the mixture is well combined and resembles wet sand.
- Step 2: Press the Crust - Transfer the Oreo mixture to your springform pan. Press the crumbs firmly into the bottom of the pan to create an even layer. Bake the crust in the preheated oven for about 10 minutes, then remove it and let it cool slightly while you prepare the cheesecake filling.
- Step 3: Prepare the Filling - In a large mixing bowl, combine the softened cream cheese and granulated sugar. Using an electric mixer, beat on medium speed until smooth and creamy. Add the vanilla extract and peanut butter, mixing until fully incorporated.
- Step 4: Add the Eggs - Add the eggs, one at a time, mixing well after each addition. Be careful not to overmix; you want to keep the mixture light and airy.
- Step 5: Bake the Cheesecake - Pour the cheesecake filling over the cooled crust in the springform pan. Smooth the top with a spatula. Bake in the oven for 55-60 minutes, or until the edges are set and the center has a slight jiggle. Turn off the oven and leave the cheesecake inside for an additional hour to help it set without cracking.
- Step 6: Cool and Chill - After the hour is up, remove the cheesecake from the oven and let it cool at room temperature. Once cooled, cover it and refrigerate for at least 4 hours, preferably overnight. This chilling time allows the flavors to meld beautifully.
- Step 7: Make the Chocolate Topping - In a microwave-safe bowl, combine the semi-sweet chocolate chips and 2 tablespoons of butter. Heat in 30-second intervals, stirring until melted and smooth. Allow the chocolate to cool slightly before drizzling it over the chilled cheesecake.
- Step 8: Decorate and Serve - Once the chocolate has set, it’s time to get creative! Decorate the top of your Peanut Butter Cup Cheesecake with peanut butter chips and mini peanut butter cups for that extra special touch. Slice, serve, and enjoy the delightful combination of flavors!
Notes
- For a lighter cheesecake, consider using low-fat cream cheese.
- Leftovers can be stored in the refrigerator for up to a week.
- This cheesecake can be made a day in advance for better flavor.