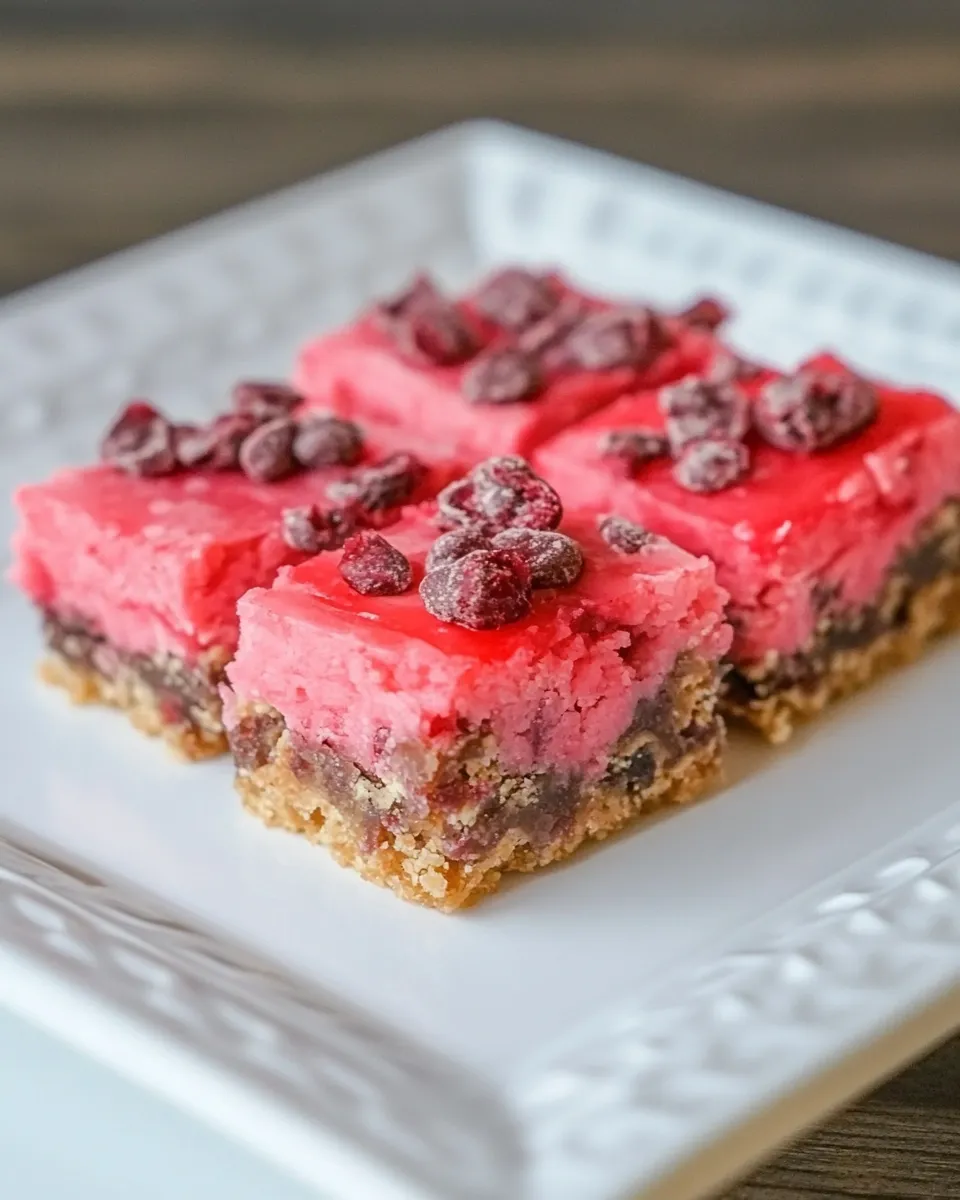
Cherry Mash Bars
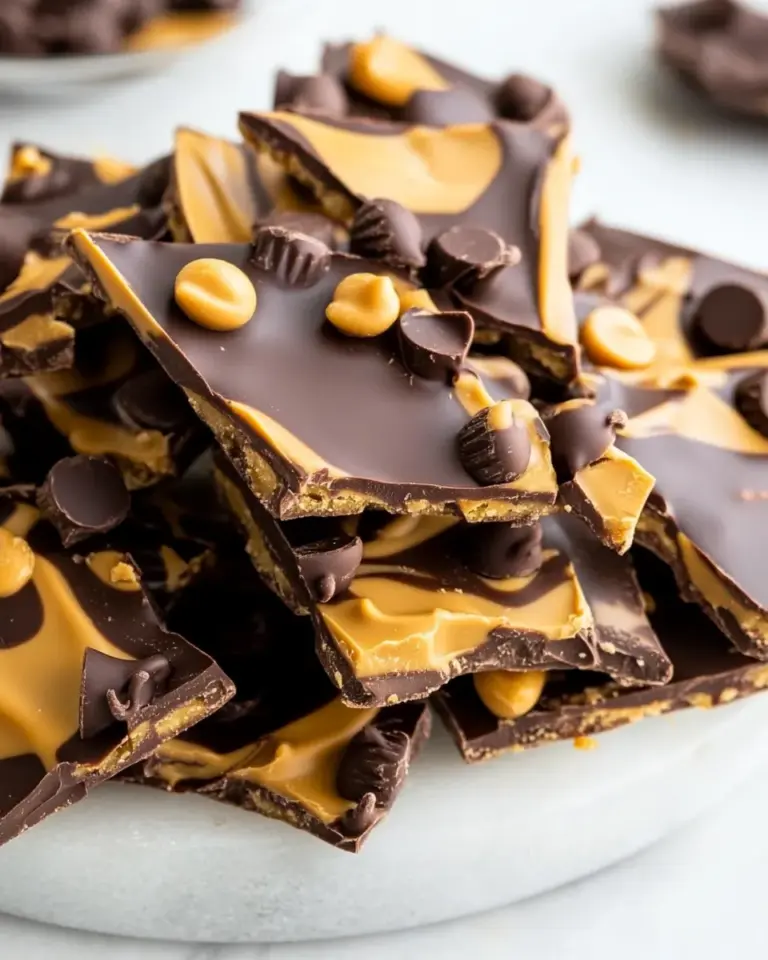
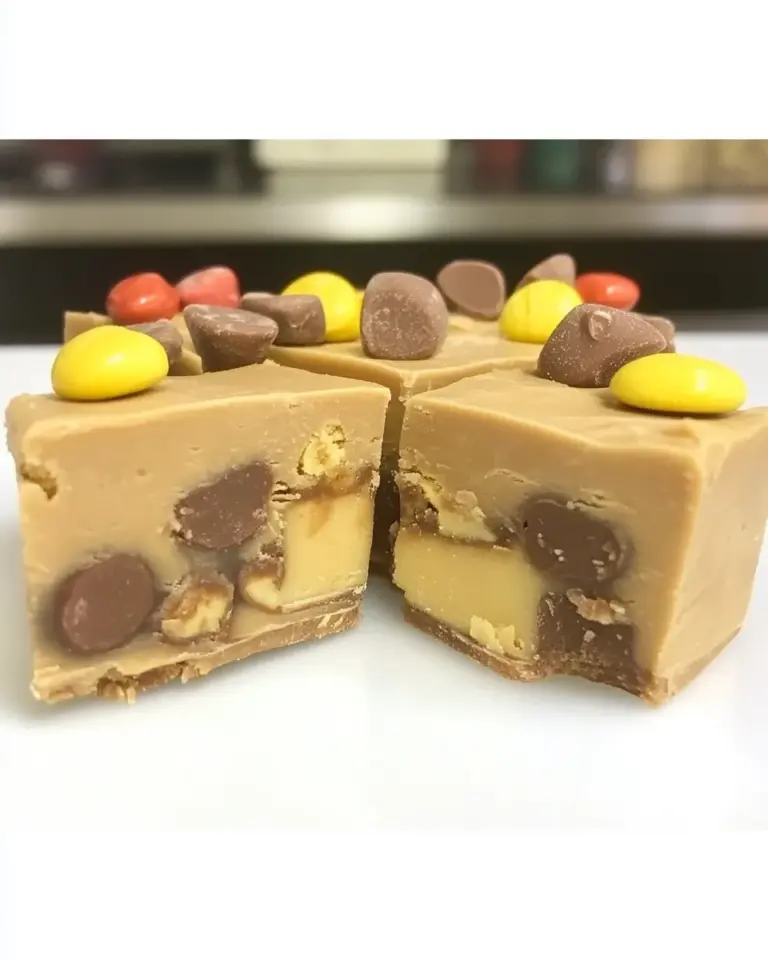
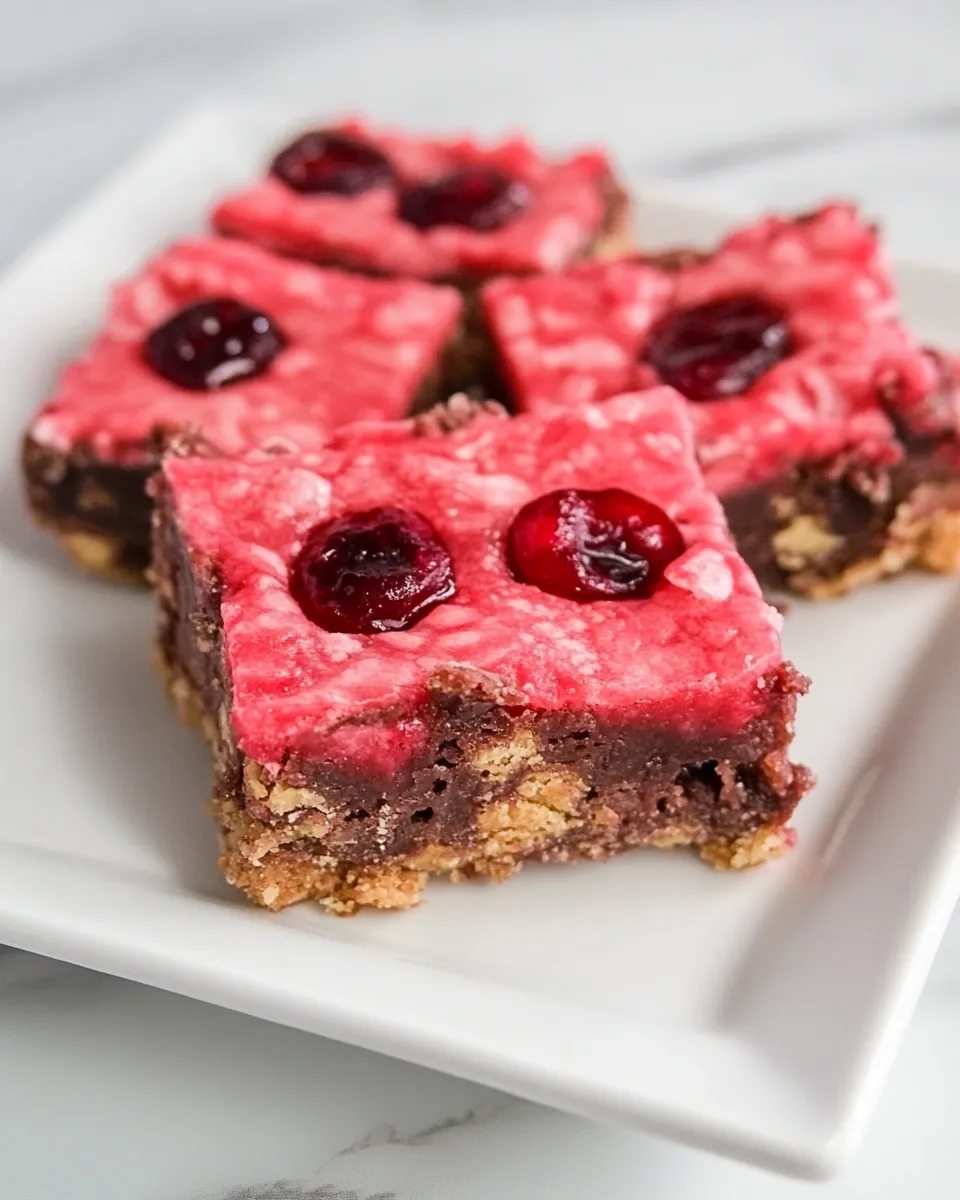
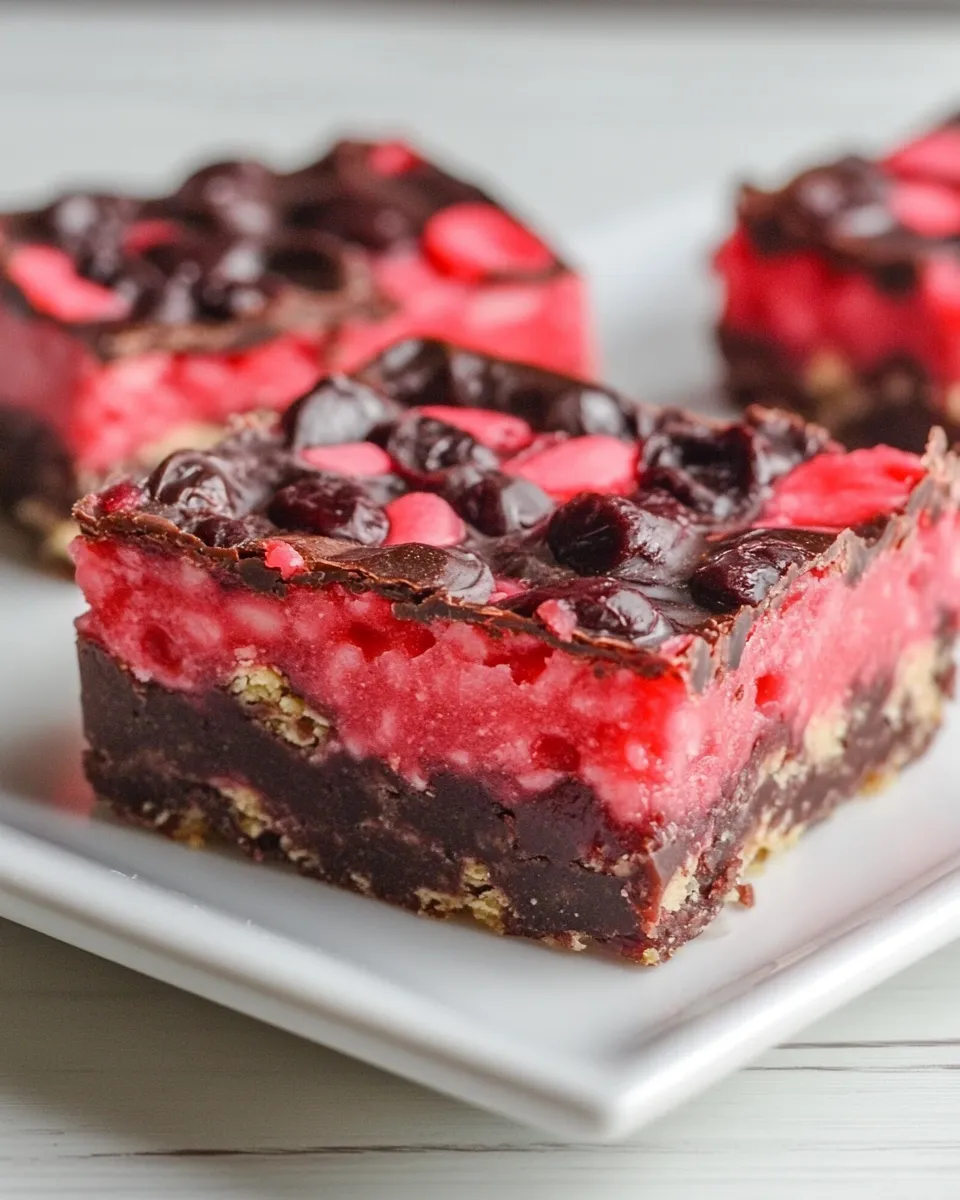
Indulging in a sweet treat can brighten any day, and these Cherry Mash Bars are the perfect blend of flavors and textures that will have your taste buds dancing. Imagine a creamy, rich layer topped with a sweet chocolate finish, all brought together with the delightful tartness of cherries. Whether you’re looking for the perfect dessert to bring to a gathering or just want to treat yourself, these bars are sure to impress.
Why This Recipe is a Keeper
Cherry Mash Bars are not only delicious but also incredibly easy to make. The combination of sweet cherry chips, creamy peanut butter, and crunchy salted peanuts creates a mouthwatering experience that you won’t soon forget. Plus, they’re a fun twist on traditional dessert bars that are perfect for any occasion. Whether it’s a family gathering, holiday party, or simply a cozy night in, these bars will be a hit.
Ingredient Checklist
To get started on your Cherry Mash Bars, you’ll need the following ingredients:
- 2 cups sugar
- 2/3 cup evaporated milk
- 1/8 teaspoon salt
- 12 marshmallows
- 1/2 cup margarine
- 6 ounces cherry chips or substitute with 6 ounces white almond bark, 1 teaspoon cherry extract, and red food coloring to the desired color
- 1 teaspoon vanilla extract (omit if cherry extract was used)
- 12 ounces semi-sweet chocolate chips
- 3/4 cup peanut butter
- 1 cup crushed salted peanuts
What You’ll Need (Gear)
Before diving into the recipe, gather the following gear to make your baking experience smooth:
- 9×13 inch baking pan: This will be the perfect size for your Cherry Mash Bars.
- Medium saucepan: For melting the marshmallows and other ingredients.
- Mixing spoon: A sturdy spoon will help combine all the ingredients effectively.
- Measuring cups and spoons: Precision in measuring your ingredients is key!
- Rubber spatula: Great for spreading the mixture evenly in the pan.
Cherry Mash Bars: How It’s Done
Follow these simple steps to create your Cherry Mash Bars:
Step 1: Prepare the Baking Pan
Start by greasing your 9×13 inch baking pan with a little margarine or lining it with parchment paper. This will ensure easy removal of the bars once they are set.
Step 2: Create the Base Layer
In a medium saucepan over medium heat, combine the sugar, evaporated milk, salt, and marshmallows. Stir continuously until the mixture is smooth and the marshmallows are fully melted.
Step 3: Add the Margarine
Once the marshmallows are melted, remove the saucepan from heat and stir in the margarine until fully incorporated. This will add richness to the base layer.
Step 4: Mix in Cherry Chips
Next, add the cherry chips (or your almond bark mixture) into the warm mixture. Stir until everything is combined and the cherry flavor is evenly distributed.
Step 5: Incorporate the Vanilla Extract
If you’re using vanilla extract, now is the time to add it in. Mix well to ensure the flavor is evenly mixed throughout.
Step 6: Pour and Spread
Carefully pour the mixture into your prepared baking pan. Use a rubber spatula to spread it evenly across the bottom.
Step 7: Prepare the Topping
In another saucepan, melt the semi-sweet chocolate chips over low heat. Once melted, remove from heat and stir in the peanut butter until smooth.
Step 8: Add the Topping to the Bars
Pour the chocolate-peanut butter mixture over the cherry base layer. Use your spatula to spread it evenly across the top.
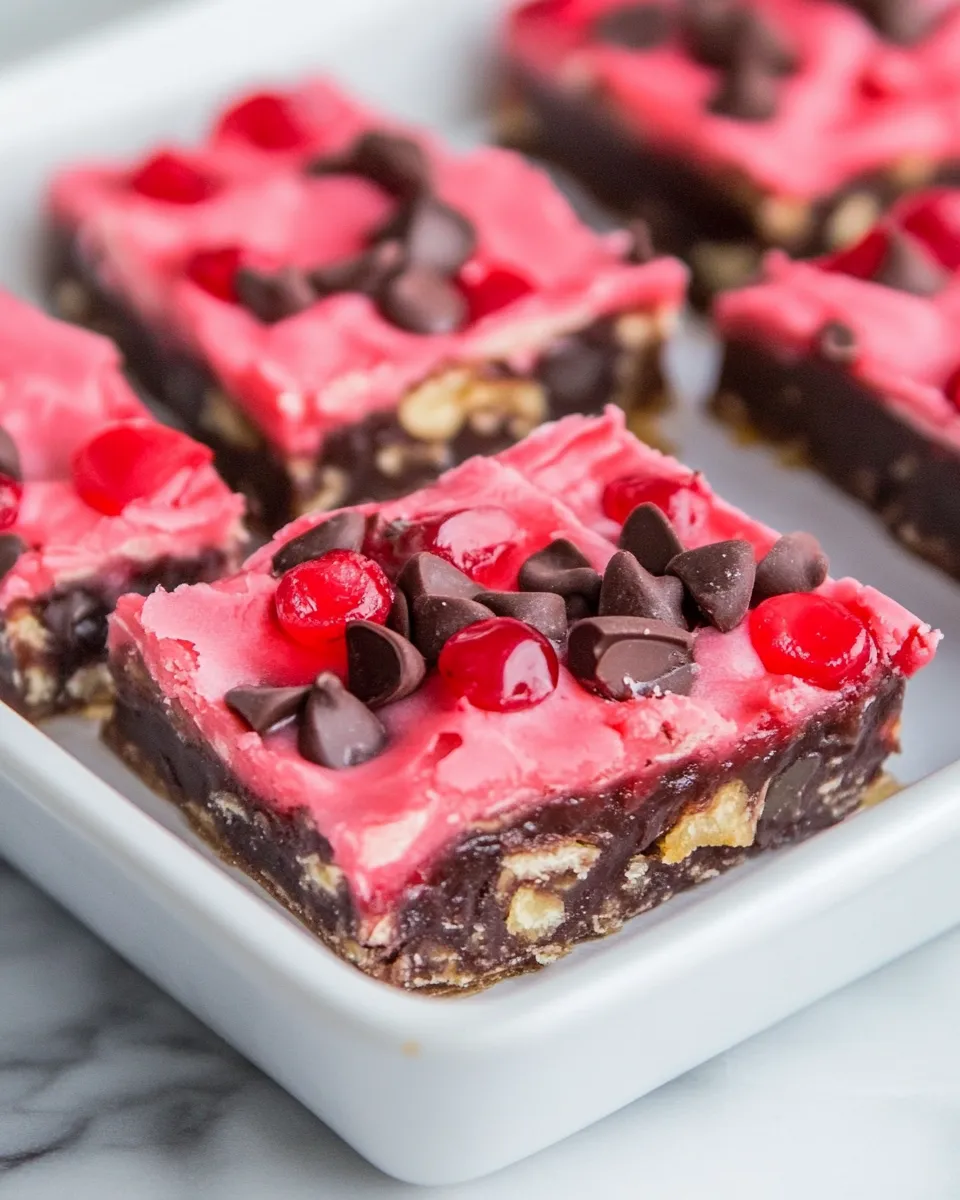
Step 9: Sprinkle with Peanuts
Finally, sprinkle the crushed salted peanuts over the top of the chocolate layer. Gently press them in to ensure they stick.
Step 10: Chill and Cut
Refrigerate the bars for at least 2-3 hours, or until set. Once firm, cut into squares and enjoy your delicious Cherry Mash Bars!
Holiday & Seasonal Touches
These Cherry Mash Bars are perfect for any season or holiday. Here are some fun ideas to elevate them:
- Christmas: Add festive sprinkles on top of the chocolate layer for a holiday touch.
- Valentine’s Day: Use heart-shaped cookie cutters to create fun shapes.
- Summer: Serve with fresh cherries on the side for a refreshing contrast.
- Birthday Parties: Customize the colors with food coloring for a themed celebration.
Steer Clear of These
When making your Cherry Mash Bars, avoid these common pitfalls:
- Using stale ingredients: Always check your pantry to ensure everything is fresh.
- Overheating the chocolate: Melt the chocolate on low heat to prevent burning.
- Skipping the chilling time: Letting the bars set properly is key to achieving the right texture.
- Using the wrong type of peanuts: Stick to salted peanuts for that perfect flavor balance.
Make-Ahead & Storage
Cherry Mash Bars are perfect for making ahead of time. Here’s how to store them:
Once the bars are set, keep them in an airtight container in the refrigerator for up to one week. You can also freeze them for longer storage. Just wrap individual bars in plastic wrap and then store them in a freezer bag for up to three months. When you’re ready to enjoy them, simply thaw in the refrigerator overnight.
Ask the Chef
Can I use fresh cherries instead of cherry chips?
While fresh cherries would add a delightful flavor, they may not provide the same sweetness and texture as cherry chips. It’s best to stick with the recipe for the best results.
What can I substitute for peanut butter?
If you need a nut-free option, try using sunflower seed butter or a soy-based alternative. Just be sure to check the labels for any allergens.
Can I make these bars gluten-free?
Yes! Ensure all your ingredients, particularly the chocolate chips and any toppings, are labeled gluten-free, and you’re good to go.
What’s the best way to cut the bars neatly?
For clean cuts, use a hot knife. Dip your knife in hot water, wipe it dry, and then slice through the bars. This helps to prevent the chocolate from cracking.
Try These Next
If you love Cherry Mash Bars, you might also enjoy:
Bring It to the Table
When it comes to serving Cherry Mash Bars, presentation is everything. Arrange them on a decorative platter, perhaps with some fresh cherries or a scoop of vanilla ice cream on the side. These bars are not only a treat for your taste buds but also a feast for the eyes.
In conclusion, Cherry Mash Bars are a delightful addition to any dessert repertoire. With their combination of flavors and textures, they are sure to impress your family and friends. So why wait? Gather your ingredients, roll up your sleeves, and get ready to indulge in these sweet treats!
Cherry Mash Bars
Ingredients
Equipment
Method
- Start by greasing your 9x13 inch baking pan with a little margarine or lining it with parchment paper. This will ensure easy removal of the bars once they are set.
- In a medium saucepan over medium heat, combine the sugar, evaporated milk, salt, and marshmallows. Stir continuously until the mixture is smooth and the marshmallows are fully melted.
- Once the marshmallows are melted, remove the saucepan from heat and stir in the margarine until fully incorporated. This will add richness to the base layer.
- Next, add the cherry chips (or your almond bark mixture) into the warm mixture. Stir until everything is combined and the cherry flavor is evenly distributed.
- If you’re using vanilla extract, now is the time to add it in. Mix well to ensure the flavor is evenly mixed throughout.
- Carefully pour the mixture into your prepared baking pan. Use a rubber spatula to spread it evenly across the bottom.
- In another saucepan, melt the semi-sweet chocolate chips over low heat. Once melted, remove from heat and stir in the peanut butter until smooth.
- Pour the chocolate-peanut butter mixture over the cherry base layer. Use your spatula to spread it evenly across the top.
- Finally, sprinkle the crushed salted peanuts over the top of the chocolate layer. Gently press them in to ensure they stick.
- Refrigerate the bars for at least 2-3 hours, or until set. Once firm, cut into squares and enjoy your delicious Cherry Mash Bars!
Notes
- Check your pantry for fresh ingredients to avoid stale flavors.
- Melt chocolate on low heat to prevent burning.
- Allow bars to chill completely for the best texture.
- Use salted peanuts for optimal flavor.