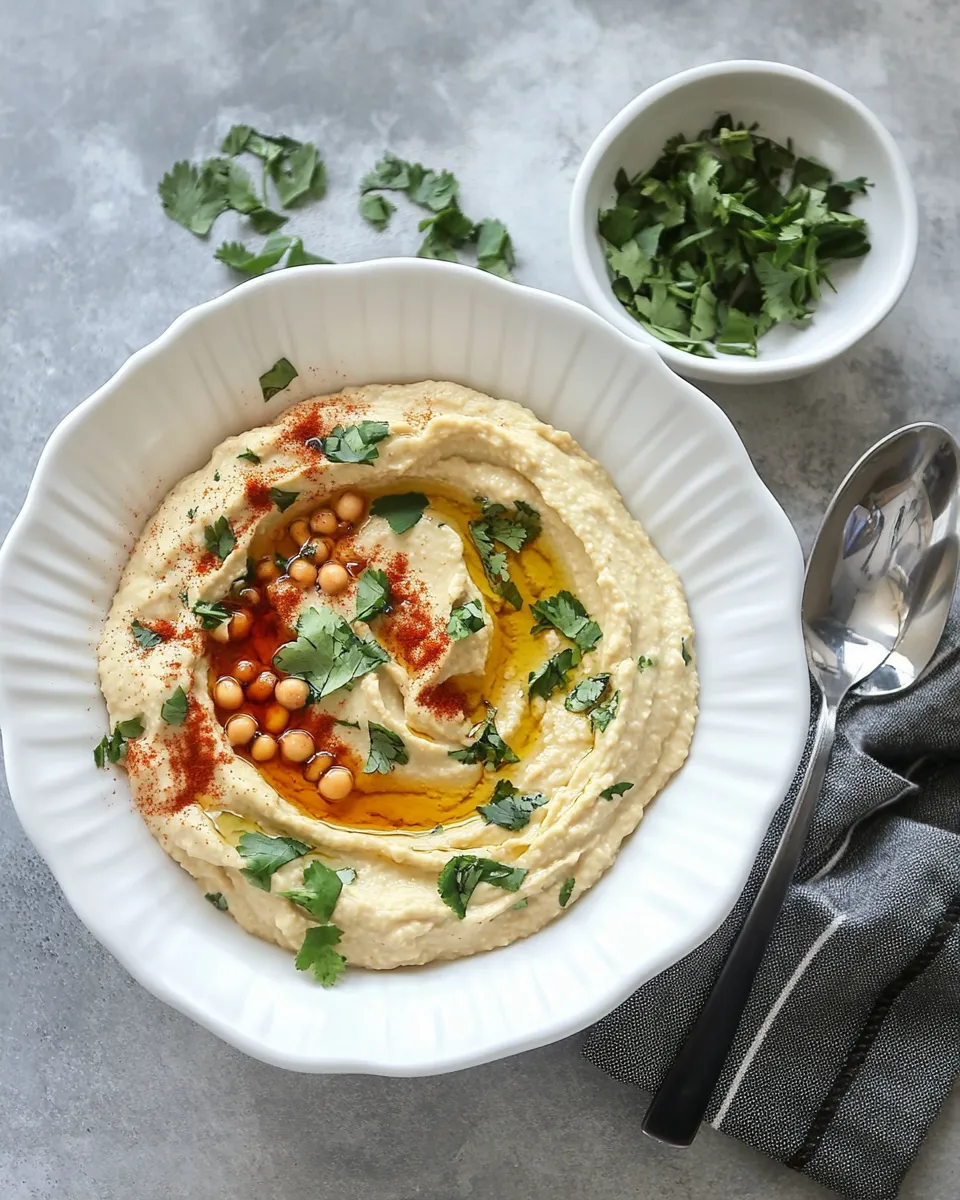
Creamy Oil-free Hummus
If you’ve ever found yourself craving a delicious, creamy dip that is both healthy and satisfying, look no further! This Creamy Oil-free Hummus recipe will not only tantalize your taste buds but will also impress your family and friends. Made with simple, wholesome ingredients, this hummus is perfect for dipping, spreading, or even as a salad dressing. Let’s dive into how to create this delightful dish that’s sure to become a staple in your kitchen.
Why This Recipe Is Reliable
One of the best aspects of this Creamy Oil-free Hummus recipe is its simplicity. Using pantry staples like canned chickpeas and aquafaba (the water from the chickpeas), you can whip up a creamy dip without the need for oil or complicated techniques. The combination of tahini, lemon juice, and garlic adds depth and flavor, making this hummus not only healthy but incredibly delicious. Plus, it’s adaptable, allowing you to add your favorite spices or toppings for a unique twist every time.
Shopping List
- 3 cups canned chickpeas
- 2 cups aquafaba (or water from the canned chickpeas)
- 1 cup tahini (or substitutes listed below)
- 4 tablespoons freshly squeezed lemon juice (about 1 lemon)
- 2 cloves garlic
- 1 teaspoon salt
Before You Start: Equipment
- Food Processor: Essential for achieving that smooth, creamy texture.
- Measuring Cups and Spoons: For accuracy in your ingredients.
- Spatula: Useful for scraping down the sides of the food processor.
- Storage Containers: To keep your hummus fresh for later use.
The Method for Creamy Oil-free Hummus
Step 1: Prepare Your Ingredients
Start by gathering all your ingredients in one place. Drain the canned chickpeas and reserve the aquafaba. Measure out your tahini, lemon juice, garlic, and salt.
Step 2: Blend the Base
In a food processor, combine the drained chickpeas, aquafaba, tahini, lemon juice, garlic, and salt. Blend on high until smooth. You may need to stop and scrape down the sides a few times to ensure everything is well incorporated.
Step 3: Adjust Consistency
If the hummus is too thick for your liking, gradually add more aquafaba or water, one tablespoon at a time, blending until you reach your desired creaminess.
Step 4: Taste and Adjust
Taste your hummus and adjust the seasoning if necessary. You might want to add a bit more salt or lemon juice depending on your preference.
Step 5: Serve or Store
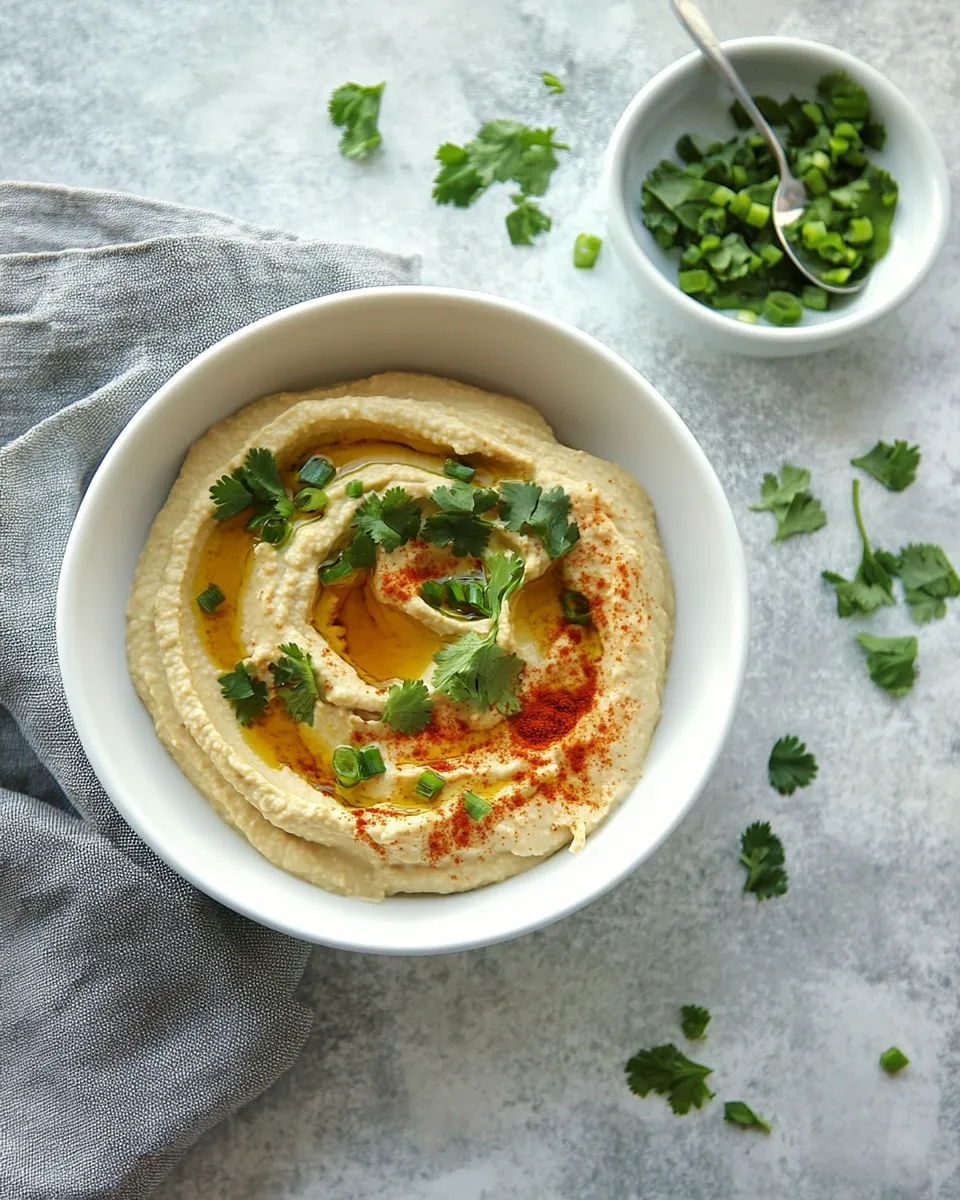
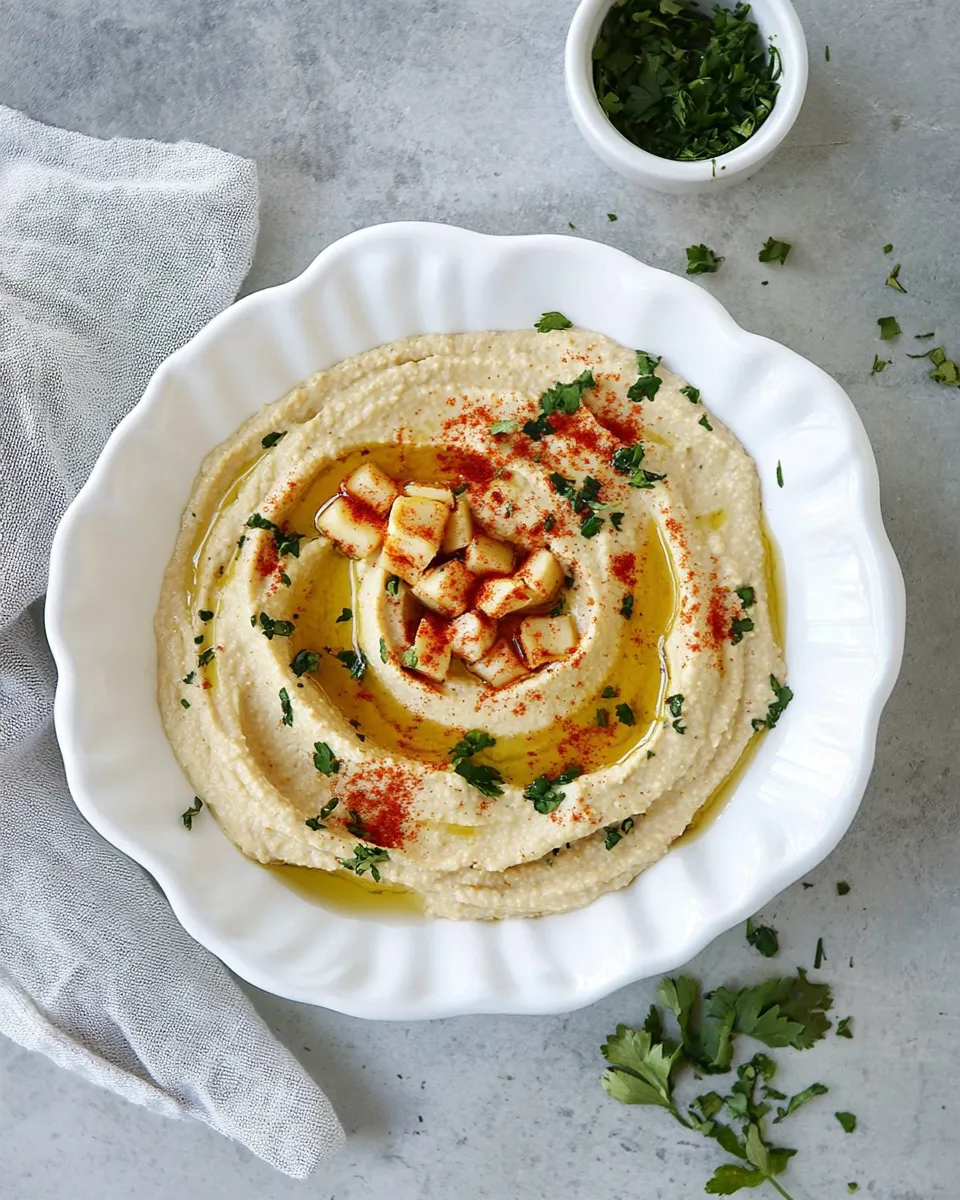
Transfer the hummus to a serving bowl. You can enjoy it immediately or store it in the fridge for later. If serving right away, feel free to drizzle a bit of aquafaba or a sprinkle of paprika on top for presentation.
In-Season Flavor Ideas
- Roasted Red Pepper: Add roasted red peppers for a sweet and smoky flavor.
- Spicy Jalapeño: Blend in some jalapeños for a spicy kick.
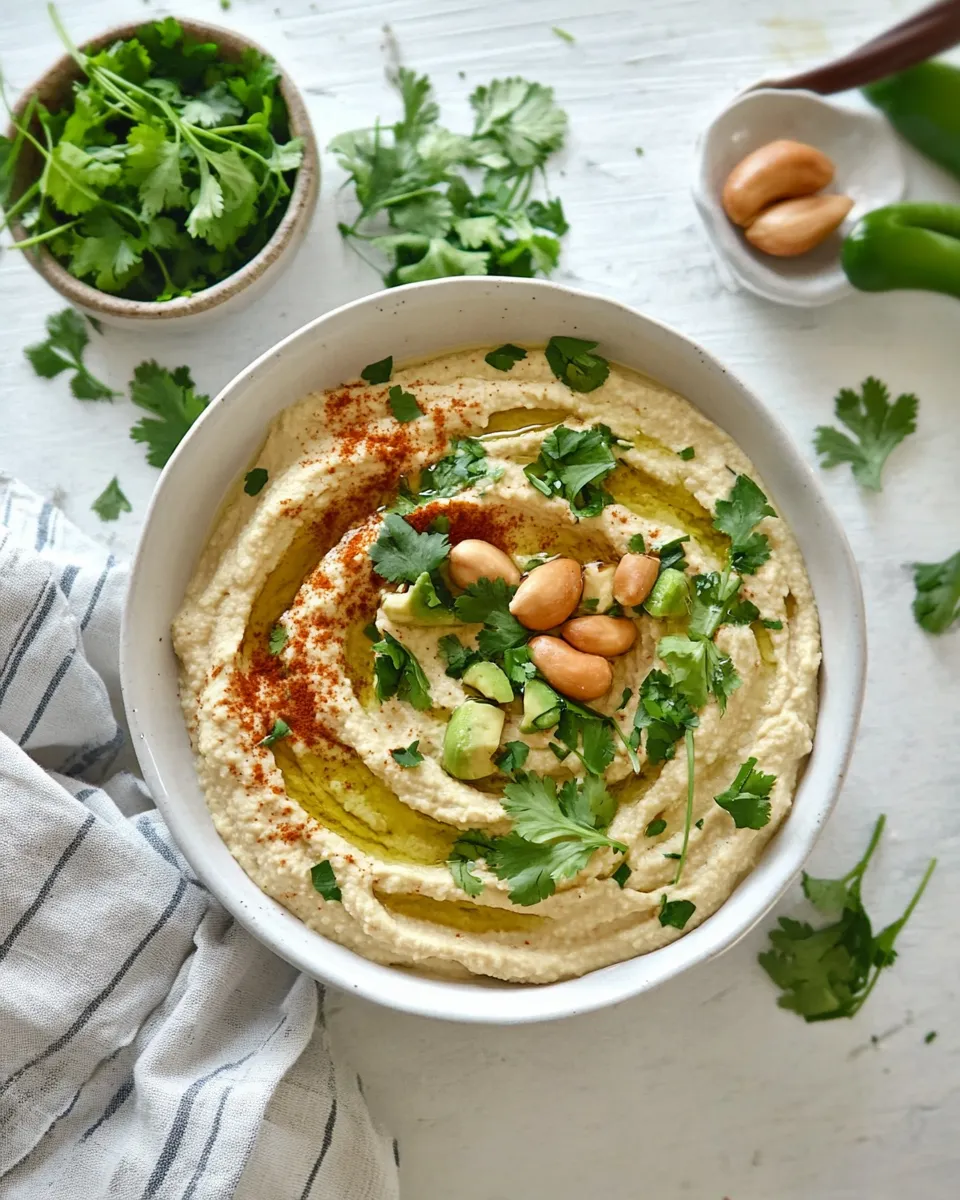
- Herb-Infused: Mix in fresh herbs like parsley or cilantro for a refreshing twist.
- Beet Hummus: Blend in cooked beets for a vibrant color and earthy flavor.
Slip-Ups to Skip
- Don’t skip the garlic! This ingredient is key for flavor.
- Avoid using too much water; it can make your hummus runny.
- Make sure to taste as you go to avoid over-seasoning.
- Don’t forget to scrape down the sides of the food processor for even blending.
Keep It Fresh: Storage Guide
Your Creamy Oil-free Hummus can be stored in an airtight container in the refrigerator for up to one week. If you want to keep it fresh longer, you can also freeze it for up to three months. Just thaw in the refrigerator overnight before serving, and give it a good stir to bring back the creaminess.
Common Questions
Can I use dry chickpeas instead of canned?
Yes, you can! Just make sure to soak and cook them according to package instructions, then use them in the same quantity as the canned chickpeas.
What can I substitute for tahini?
If you don’t have tahini on hand, you can use sunflower seed butter, almond butter, or even Greek yogurt as a substitute, keeping in mind that this will change the flavor slightly.
How do I make hummus smoother?
For a smoother hummus, blend the chickpeas longer and gradually add more liquid (aquafaba or water) until you reach your desired consistency.
Is hummus healthy?
Absolutely! Hummus is packed with protein, fiber, and healthy fats, making it a nutritious choice for snacking or as a part of a meal.
Our Most-Loved Recipes
- Sally’s Baking Addiction: Classic Hummus Recipe
- Pinch of Yum: Spicy Roasted Chickpea Hummus
- Minimalist Baker: Avocado Hummus
- Sally’s Baking Addiction: Lemon Garlic Hummus
That’s a Wrap
This Creamy Oil-free Hummus is not just a dip; it’s a versatile canvas for your culinary creativity. With its rich texture and vibrant flavor, it’s perfect for entertaining or simply enjoying as a snack. Serve it with fresh vegetables, whole grain pita, or use it as a spread in your sandwiches. The possibilities are endless, and you can feel good about what you’re eating. So gather your ingredients, follow the steps, and enjoy a homemade hummus that’s sure to impress!
Creamy Oil-free Hummus
Ingredients
Equipment
Method
- Start by gathering all your ingredients in one place. Drain the canned chickpeas and reserve the aquafaba. Measure out your tahini, lemon juice, garlic, and salt.
- In a food processor, combine the drained chickpeas, aquafaba, tahini, lemon juice, garlic, and salt. Blend on high until smooth. You may need to stop and scrape down the sides a few times to ensure everything is well incorporated.
- If the hummus is too thick for your liking, gradually add more aquafaba or water, one tablespoon at a time, blending until you reach your desired creaminess.
- Taste your hummus and adjust the seasoning if necessary. You might want to add a bit more salt or lemon juice depending on your preference.
- Transfer the hummus to a serving bowl. You can enjoy it immediately or store it in the fridge for later. If serving right away, feel free to drizzle a bit of aquafaba or a sprinkle of paprika on top for presentation.
Notes
- Store in an airtight container in the refrigerator for up to one week.
- For longer storage, freeze for up to three months.
- Thaw in the refrigerator overnight before serving, and stir well to restore creaminess.