Cheesecake Dessert Cups
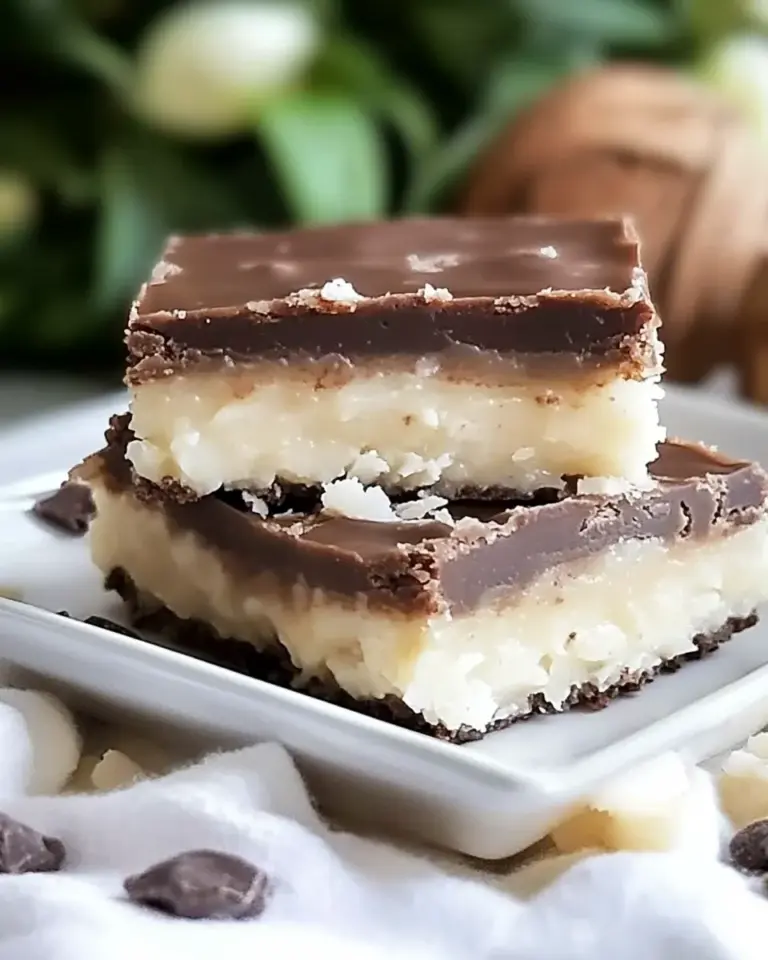
If you’re a cheesecake lover but dread the idea of baking a whole cake, you’re in for a treat! These Cheesecake Dessert Cups are the perfect solution. They combine all the creamy, dreamy goodness of traditional cheesecake into individual servings that are as delightful to look at as they are to eat. Ideal for parties, gatherings, or simply a sweet indulgence after dinner, these dessert cups are sure to become a new favorite in your dessert repertoire. Plus, they’re incredibly easy to make!
Why This Cheesecake Dessert Cups Stands Out
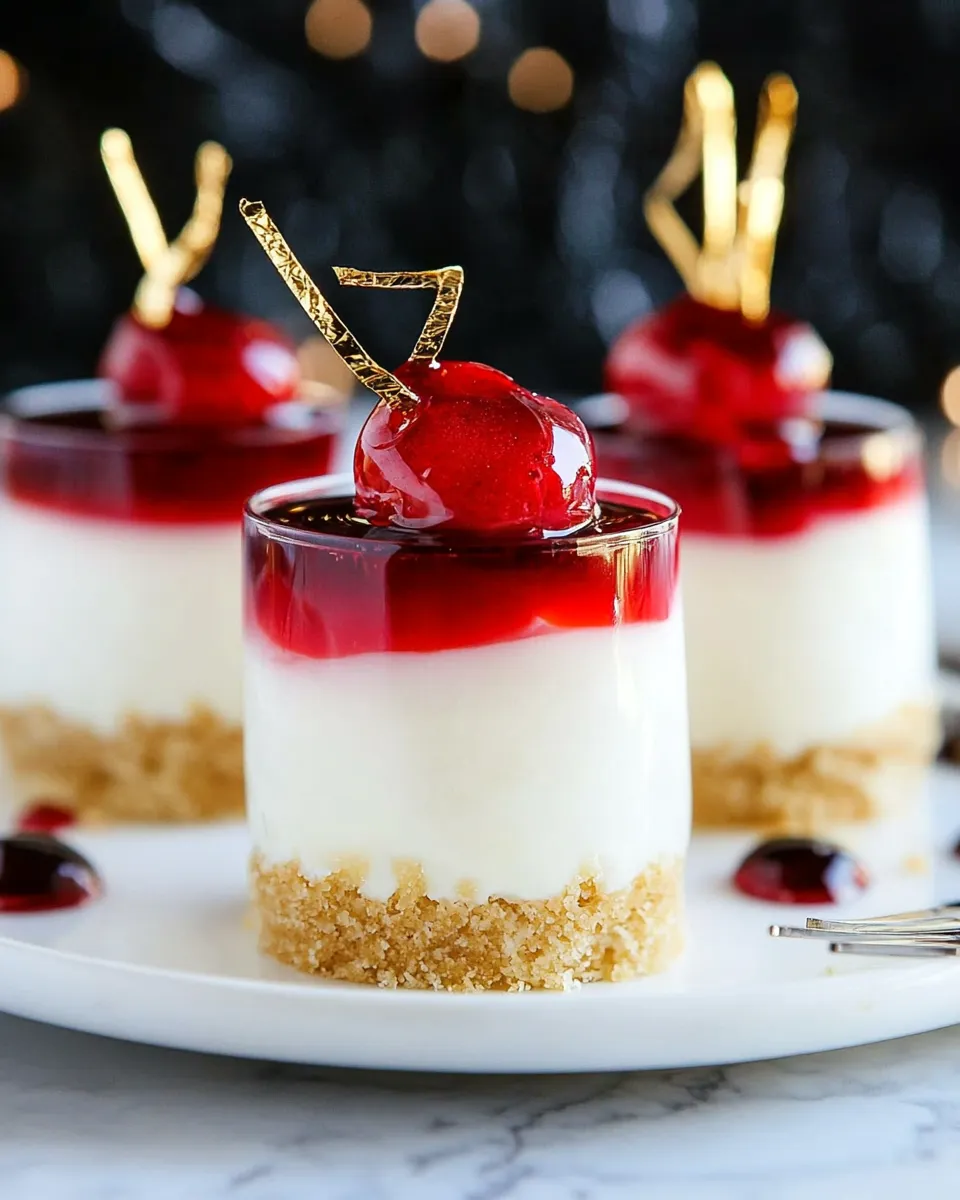
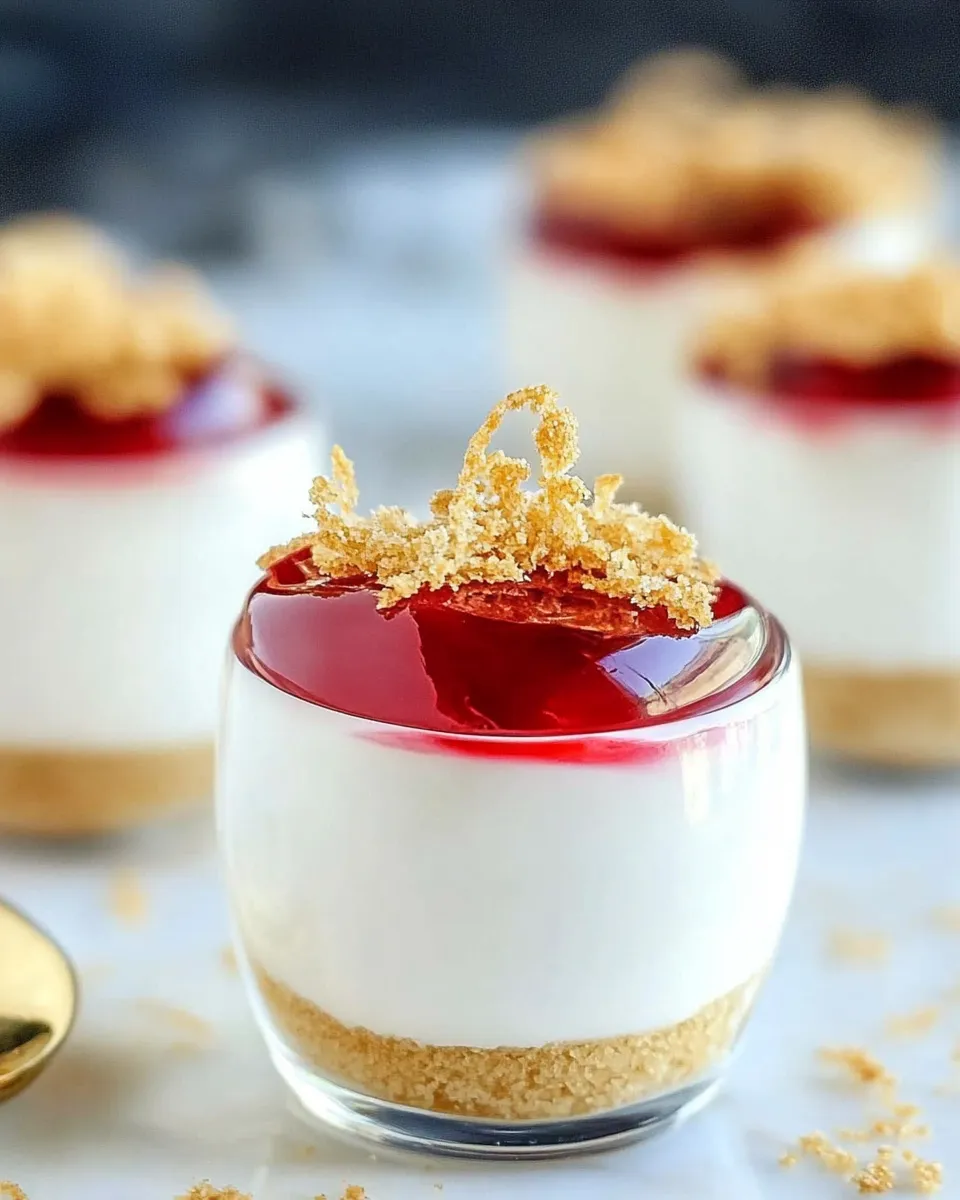
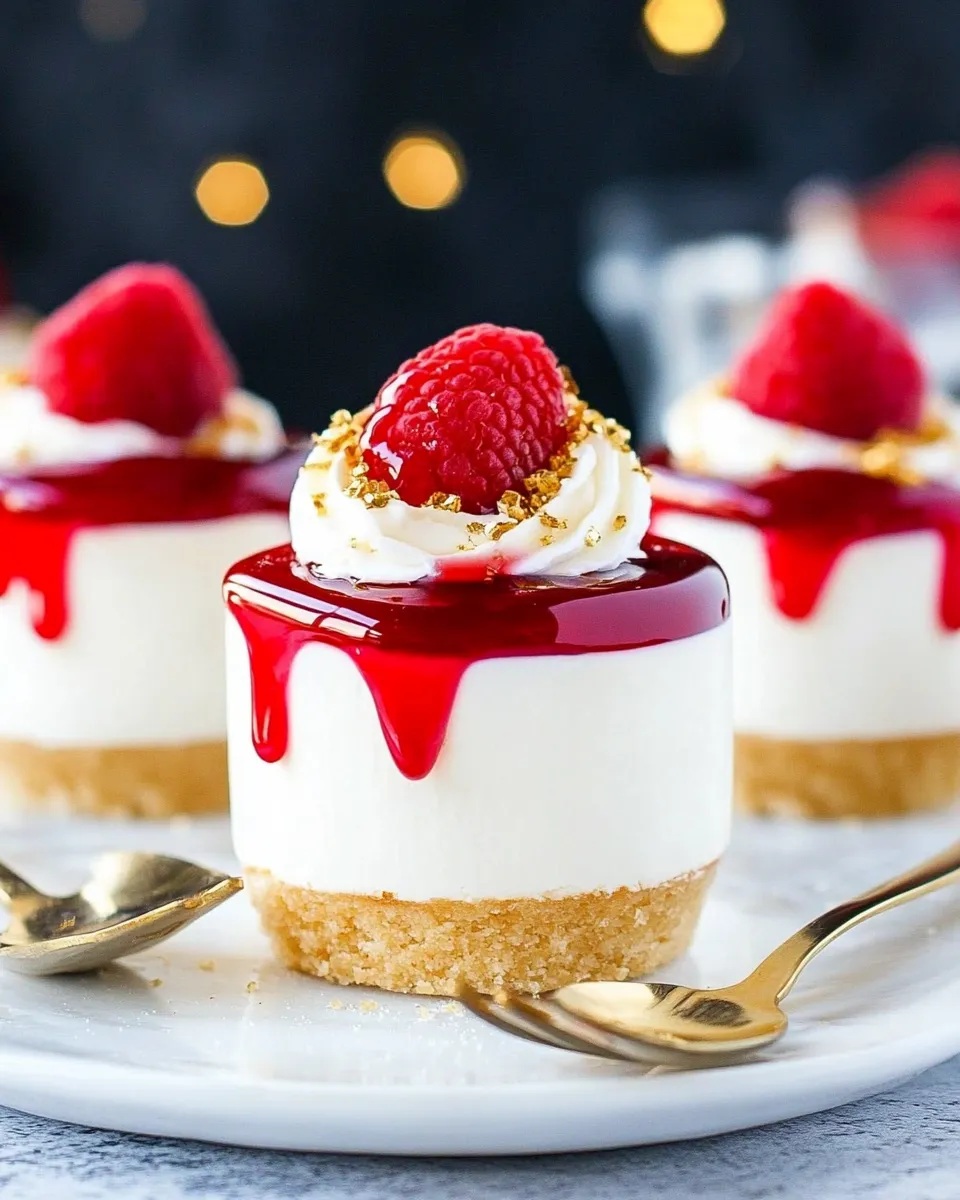
What makes these Cheesecake Dessert Cups stand out is their versatility and presentation. Served in cute 2-ounce shot glasses or plastic cups, they are not only easy to serve but also require no slicing and no mess. Each cup offers a perfectly portioned dessert that allows you to enjoy the rich, creamy filling and crunchy crust without the fuss of a traditional cheesecake. Whether you’re hosting a party or just enjoying a quiet night in, these little cups of joy will impress everyone.
What Goes In
To create these delightful Cheesecake Dessert Cups, you’ll need the following ingredients:
- 24 (2-ounce) shot glasses or plastic cups
- 1 cup graham cracker crumbs – for that classic cheesecake crust flavor
- 1 teaspoon granulated sugar – to sweeten the crust
- 2 tablespoons melted unsalted butter – to bind the crumbs
- 2 (8-ounce) packages softened cream cheese – the star of the show!
- 1 cup powdered sugar – for that perfect sweetness
- 1 teaspoon vanilla extract – adds warmth and depth
- 1 teaspoon lemon juice – a hint of acidity enhances the flavor
- 1 cup sour cream – for creaminess and tang
- 1 cup heavy cream – makes it luxuriously smooth
- Whipped cream – for topping
- Cherry pie filling, or any of your favorite toppings – to finish it off
Cook’s Kit
Before you dive into making your Cheesecake Dessert Cups, gather these essential tools:
- Mixing bowls – for combining ingredients
- Hand mixer or stand mixer – for whipping the cream cheese
- Rubber spatula – to scrape down the sides of the bowl
- Measuring cups and spoons – for precise measurements
- 24 shot glasses or plastic cups – the fun serving vessels
- Chilling space in your refrigerator – to set the cups
Mastering Cheesecake Dessert Cups: How-To
Creating your very own Cheesecake Dessert Cups is simple and straightforward. Follow these easy steps:
Step 1: Prepare the Crust
In a mixing bowl, combine the graham cracker crumbs, granulated sugar, and melted butter. Mix until the crumbs are evenly coated and resemble wet sand.
Step 2: Assemble the Crust
Spoon about a tablespoon of the crust mixture into each shot glass, pressing it down firmly to create an even layer. Set the glasses aside.
Step 3: Make the Cheesecake Filling
In a separate bowl, beat the softened cream cheese until smooth and creamy. Gradually add the powdered sugar, continuing to mix until fully incorporated.
Step 4: Add Flavorings
Mix in the vanilla extract, lemon juice, and sour cream until the mixture is smooth and well-combined.
Step 5: Whip the Heavy Cream
In another bowl, whip the heavy cream until stiff peaks form. Gently fold the whipped cream into the cream cheese mixture until no streaks remain.
Step 6: Fill the Cups
Spoon or pipe the cheesecake filling into each shot glass on top of the graham cracker crust. Fill them just below the rim for a beautiful presentation.
Step 7: Chill
Cover the filled cups with plastic wrap and refrigerate for at least 4 hours, or overnight if you can wait!
Step 8: Serve and Enjoy!
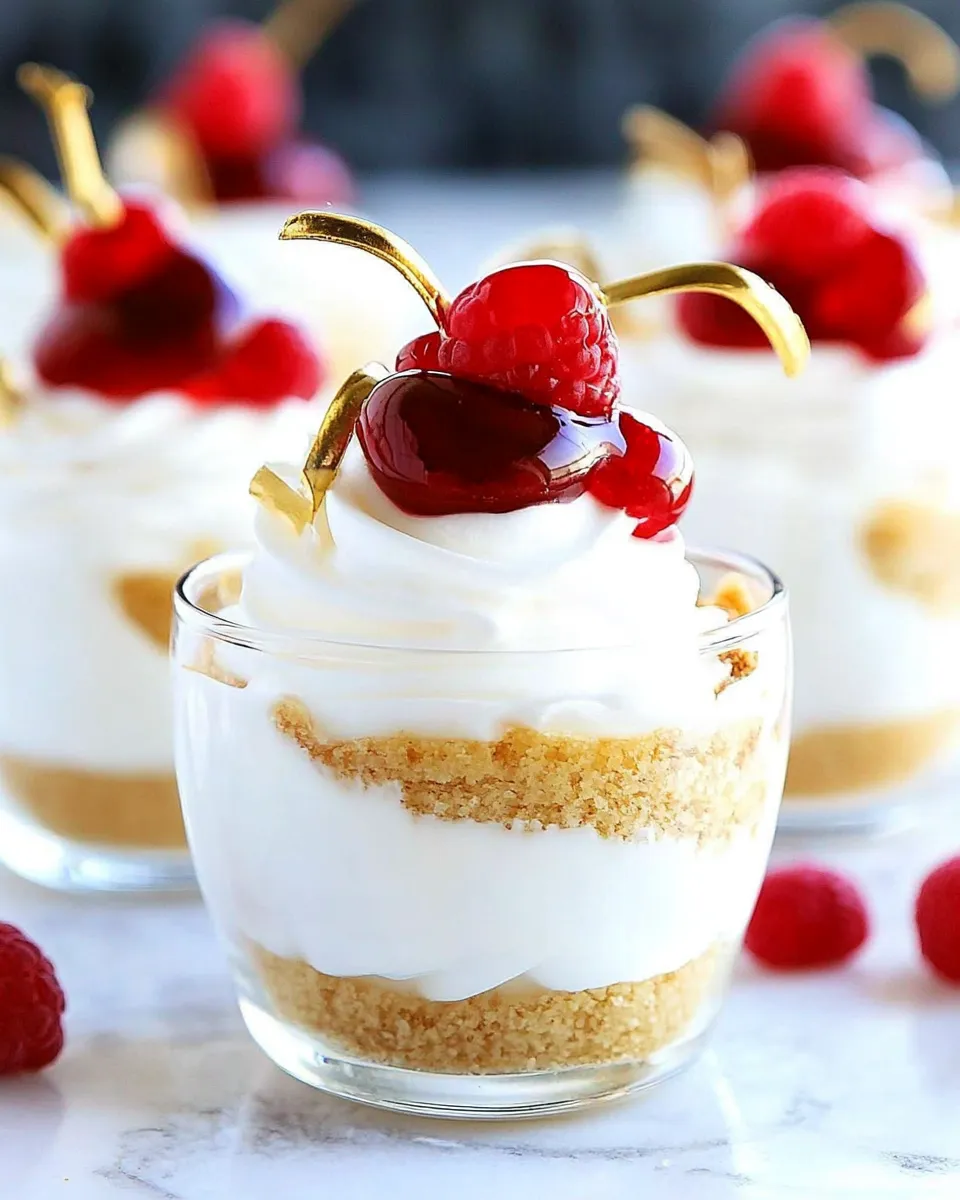
Before serving, top each dessert cup with a dollop of whipped cream and a spoonful of cherry pie filling or your favorite topping.
Fresh Takes Through the Year
These Cheesecake Dessert Cups can be customized for any occasion. Here are some fresh takes:
- Berry Bliss: Use fresh berries like strawberries or blueberries for a fruity variation.
- Chocolate Dream: Add melted chocolate to the filling for a chocolate cheesecake twist.
- Peanut Butter Delight: Mix in some peanut butter for a nutty flavor that pairs beautifully with chocolate toppings.
- Seasonal Spices: Add pumpkin puree and spices for a fall-inspired treat.
Insider Tips
- Make sure your cream cheese is at room temperature for easier mixing and a smoother filling.
- For a more stable whipped cream topping, consider using stabilized whipped cream.
- Adding a pinch of salt to the crust enhances the flavor of the sweet ingredients.
- Don’t rush the chilling process; the longer they chill, the better the flavors meld together.
Shelf Life & Storage
Your Cheesecake Dessert Cups can be stored in the refrigerator for up to 3 days. Just make sure to keep them covered to prevent them from absorbing any odors from the fridge. For longer storage, you can freeze the cups (without toppings) for up to a month. Just remember to let them thaw in the refrigerator before enjoying!
Common Questions
Can I make these cheesecake cups ahead of time?
Absolutely! These Cheesecake Dessert Cups are perfect for preparing in advance. Just make sure to add any toppings right before serving to keep them fresh.
Can I use low-fat cream cheese?
Yes, you can substitute low-fat cream cheese, but keep in mind that it may affect the creaminess of the filling.
What can I use instead of graham crackers?
If you want to switch it up, you can use crushed Oreos, shortbread cookies, or even gluten-free cookie options for the crust.
Are there any alternative toppings I can use?
Definitely! You can top your Cheesecake Dessert Cups with caramel sauce, chocolate ganache, or even fresh fruits like mangoes or peaches for a refreshing twist.
Because You Liked This
- No-Bake Cheesecake – A classic recipe for traditional cheesecake lovers.
- Mini Cheesecakes – Another delightful way to serve cheesecake.
- How to Make Cheesecake – A comprehensive guide to cheesecake perfection.
- Cheesecake-Stuffed Pumpkin – A creative fall-themed dessert.
Final Bite
Now that you have the recipe for these scrumptious Cheesecake Dessert Cups, it’s time to gather your ingredients and get started! Whether you’re celebrating a special occasion or simply treating yourself, these little cups of cheesecake goodness are sure to bring joy to your table. Enjoy every creamy, delicious bite, and don’t forget to share (if you want to)!
Cheesecake Dessert Cups
Ingredients
Equipment
Method
- Step 1: Prepare the Crust - In a mixing bowl, combine the graham cracker crumbs, granulated sugar, and melted butter. Mix until the crumbs are evenly coated and resemble wet sand.
- Step 2: Assemble the Crust - Spoon about a tablespoon of the crust mixture into each shot glass, pressing it down firmly to create an even layer. Set the glasses aside.
- Step 3: Make the Cheesecake Filling - In a separate bowl, beat the softened cream cheese until smooth and creamy. Gradually add the powdered sugar, continuing to mix until fully incorporated.
- Step 4: Add Flavorings - Mix in the vanilla extract, lemon juice, and sour cream until the mixture is smooth and well-combined.
- Step 5: Whip the Heavy Cream - In another bowl, whip the heavy cream until stiff peaks form. Gently fold the whipped cream into the cream cheese mixture until no streaks remain.
- Step 6: Fill the Cups - Spoon or pipe the cheesecake filling into each shot glass on top of the graham cracker crust. Fill them just below the rim for a beautiful presentation.
- Step 7: Chill - Cover the filled cups with plastic wrap and refrigerate for at least 4 hours, or overnight if you can wait!
- Step 8: Serve and Enjoy! - Before serving, top each dessert cup with a dollop of whipped cream and a spoonful of cherry pie filling or your favorite topping.
Notes
- Ensure cream cheese is at room temperature for easier mixing.
- Consider using stabilized whipped cream for a more stable topping.
- Add a pinch of salt to the crust to enhance flavor.
- Don’t rush the chilling process; longer chilling melds flavors beautifully.