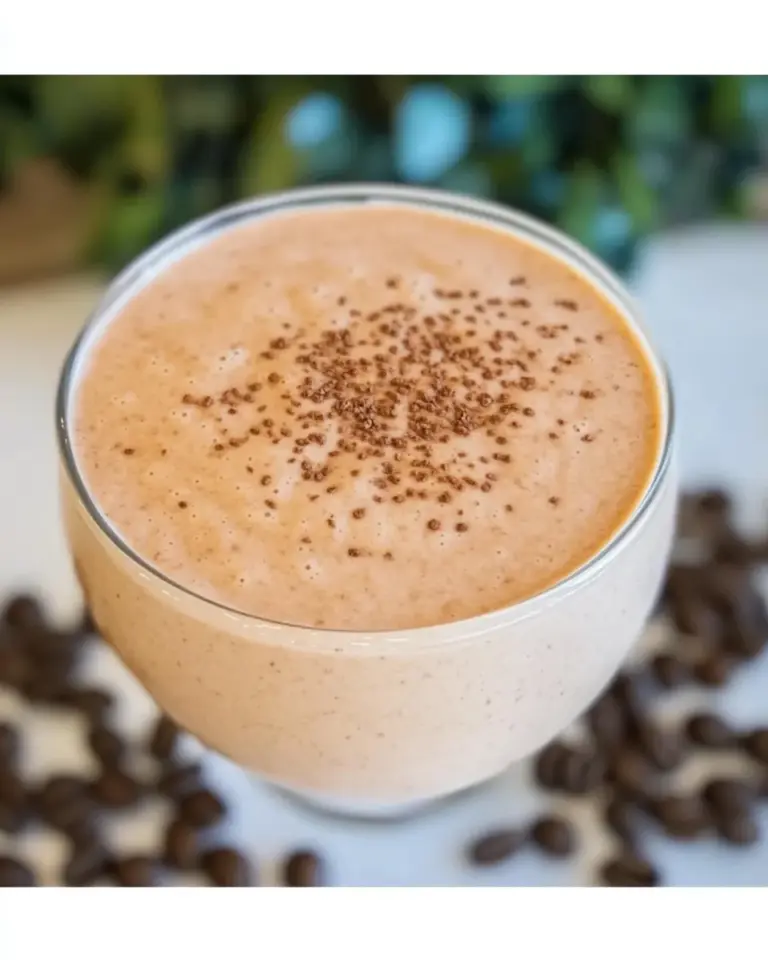
Berry Vanilla Ice Cream Float
There’s something undeniably joyful about a Berry Vanilla Ice Cream Float. It’s the kind of treat that takes you back to sunny afternoons and carefree moments, bursting with flavors that dance on your palate. As the warm weather approaches, nothing beats the refreshing combination of homemade berry syrup and fizzy soda, all topped off with a luscious scoop of vanilla ice cream. This delightful float is not just a drink; it’s a celebration in a glass!
Imagine sitting on your porch, sipping this delightful concoction while fresh berries float alongside creamy vanilla ice cream, all mingling with the effervescence of soda. Whether you’re hosting a summer gathering or simply treating yourself after a long day, this Berry Vanilla Ice Cream Float is sure to impress.
Why This Recipe Is Reliable

This recipe is reliable because it combines simple yet high-quality ingredients that are easy to find and prepare. The homemade berry syrup can be made with fresh or frozen berries, allowing for year-round enjoyment. By using heavy whipping cream and vanilla ice cream, you create a rich and creamy texture that complements the tartness of the syrup perfectly. Plus, the fizzy soda adds a refreshing lift, making this float an instant crowd-pleaser.
Ingredients at a Glance
- 1 cup heavy whipping cream (see notes for dairy-free substitute)
- 2 tablespoons sugar
- 2 cups homemade berry syrup (or use store-bought – see notes below)
- 6 cups soda water or seltzer
- 1 scoop vanilla ice cream (see notes for dairy substitute)
- Fresh berries for garnish
Appliances & Accessories
- Mixing bowl – for whipping the cream and mixing ingredients.
- Whisk or electric mixer – to whip the heavy cream to soft peaks.
- Measuring cups and spoons – for precise ingredient measurements.
- Large glass or float glasses – to serve your delicious creation.
- Strainer – if you prefer a smooth berry syrup without seeds.
Build Berry Vanilla Ice Cream Float Step by Step
Step 1: Make the Berry Syrup
Start by preparing the berry syrup. In a saucepan, combine 2 cups of fresh or frozen berries (like strawberries, raspberries, or blueberries) with 2 tablespoons of sugar. Cook over medium heat, stirring occasionally, until the berries break down and release their juices, about 5-7 minutes. If you prefer a smoother syrup, strain the mixture through a fine mesh strainer to remove seeds.
Step 2: Whip the Cream
In a mixing bowl, pour in 1 cup of heavy whipping cream and add 2 tablespoons of sugar. Using a whisk or electric mixer, whip the cream until soft peaks form. Be careful not to overwhip, as you want a light and fluffy texture.
Step 3: Prepare the Glasses
Gather your glasses and add a generous amount of the homemade berry syrup to the bottom of each glass. The vibrant color and aroma are sure to entice everyone!
Step 4: Add Soda
Slowly pour 1 cup of soda water or seltzer into each glass over the berry syrup. The fizz will create a beautiful swirl, mixing with the syrup to create a stunning visual.
Step 5: Add Vanilla Ice Cream
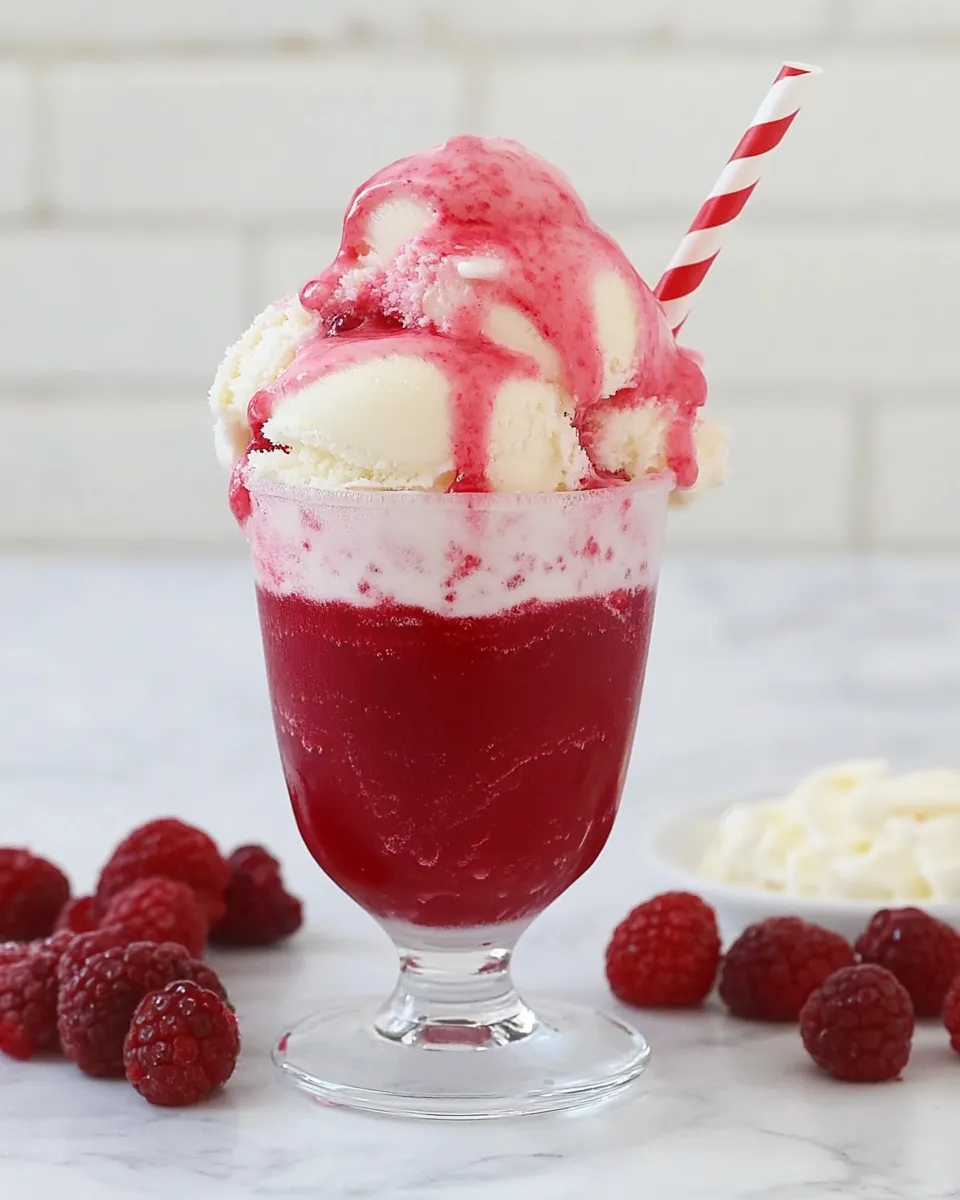
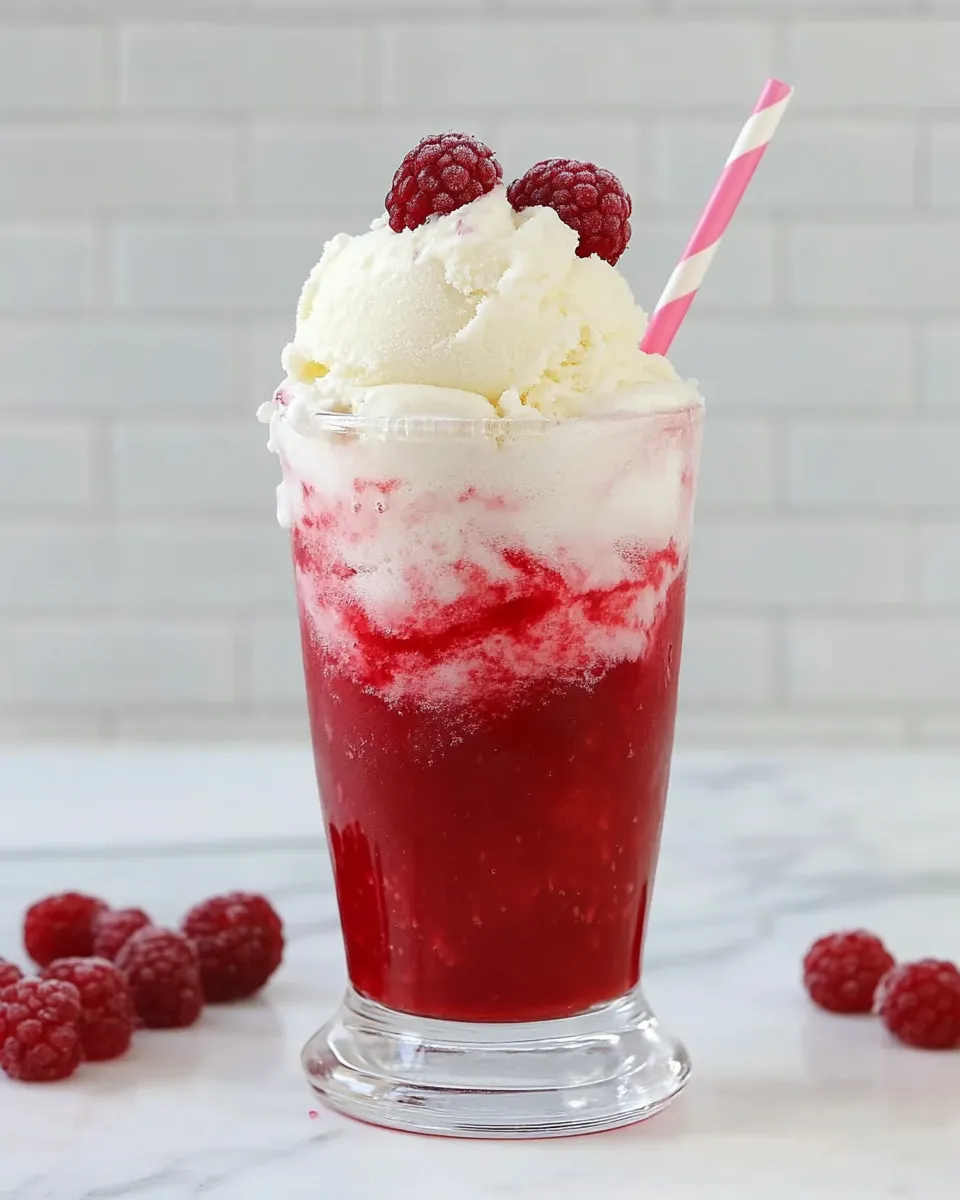
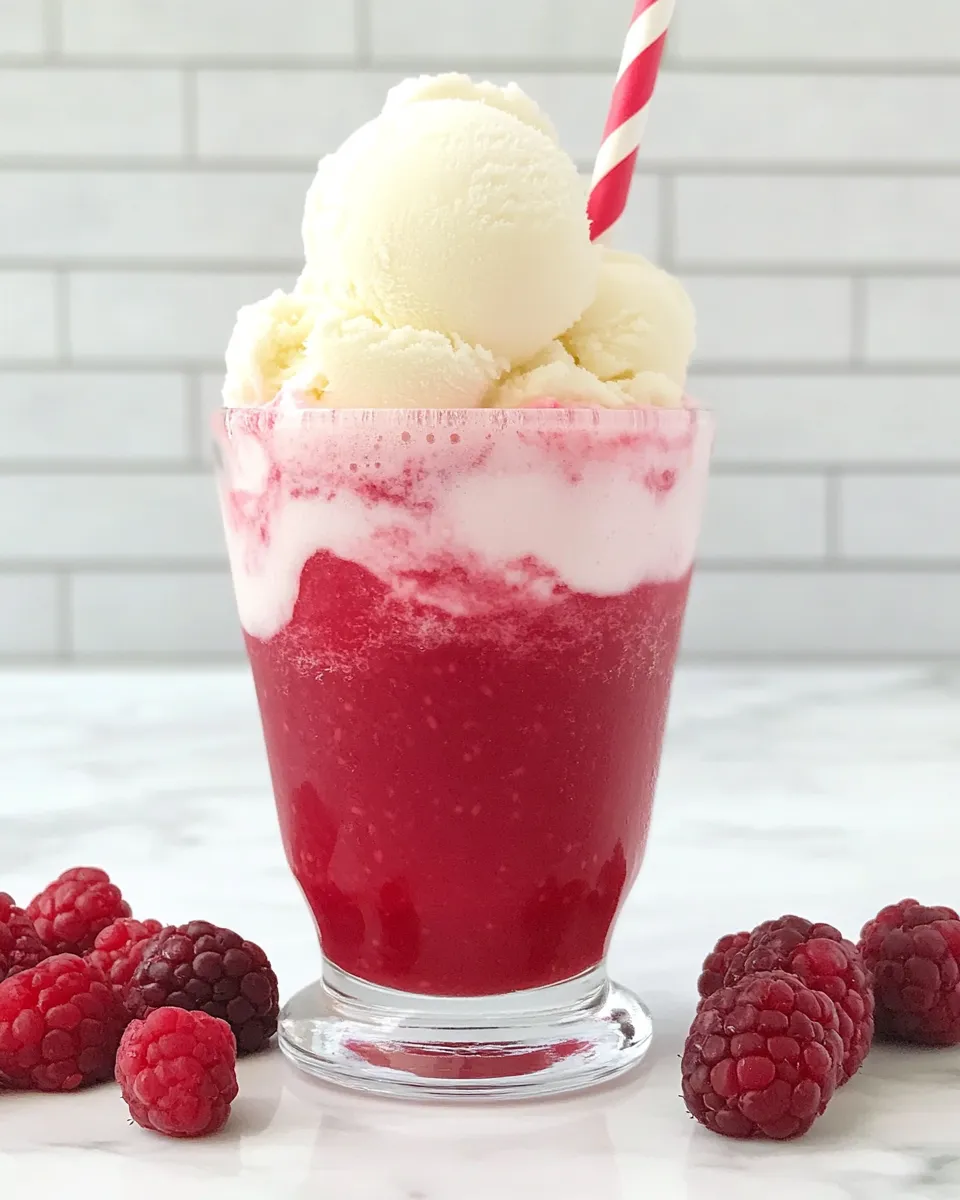
Carefully add a scoop of vanilla ice cream on top of the fizzy mixture. Watch as it floats on the surface, creating a delightful layer of creaminess.
Step 6: Top with Whipped Cream
Using a spoon, add a dollop of whipped cream on top of the ice cream. This adds an extra layer of indulgence to your float.
Step 7: Garnish and Serve
Finish off your Berry Vanilla Ice Cream Float with a handful of fresh berries for garnish. Serve immediately and enjoy the delightful combination of flavors and textures!
Dairy-Free/Gluten-Free Swaps
- For a dairy-free version, substitute heavy whipping cream with coconut cream or a dairy-free whipping cream alternative.
- Use dairy-free vanilla ice cream made from almond milk, coconut milk, or cashew milk.
- Ensure that the berry syrup is made with gluten-free ingredients, which it generally is.
Avoid These Mistakes
- Do not overwhip the cream; it should be light and fluffy, not grainy or butter-like.
- Ensure the soda is cold before pouring; warm soda can dilute the flavors and fizz.
- Don’t skip the straining step if you prefer a smoother syrup; it makes a big difference in texture.
- Use fresh ingredients whenever possible for the best flavor in your Berry Vanilla Ice Cream Float.
Storage & Reheat Guide
This Berry Vanilla Ice Cream Float is best enjoyed fresh, as the soda loses its fizz over time. If you have leftover berry syrup, store it in an airtight container in the refrigerator for up to one week. When ready to use, simply reheat the syrup slightly to loosen it up before adding to your float.
Helpful Q&A
Can I use store-bought berry syrup instead of homemade?
Yes, you can absolutely use store-bought berry syrup to save time. Just make sure to choose a brand that uses natural ingredients for the best flavor.
Is it possible to make this float ahead of time?
While the berry syrup can be made ahead of time and stored in the fridge, it’s best to assemble the float just before serving to maintain the fizz and texture of the ice cream.
What other flavors work well with this recipe?
Feel free to experiment with different flavors! Peach, mango, or even a citrus syrup can be delicious alternatives to berry syrup. Just adjust the sweetness to your liking.
Can I make this float without soda?
Yes! If you prefer a non-fizzy version, you can use lemonade or juice instead of soda. It will change the flavor profile but still be delicious!
You Might Also Like
- Refreshing Strawberry Lemonade
- Homemade Peach Sorbet
- Classic Root Beer Float
- Tropical Pineapple Coconut Smoothie
Save & Share
If you love this recipe for Berry Vanilla Ice Cream Float, don’t forget to share it with your friends and family! Whether it’s on social media or through a cozy gathering, let everyone enjoy this refreshing treat together. It’s the perfect way to celebrate summer, birthdays, or simply the joy of indulging in something sweet and bubbly.
In conclusion, the Berry Vanilla Ice Cream Float is more than just a dessert; it’s an experience filled with flavors that evoke happiness and nostalgia. With its vibrant colors and delightful textures, it’s a treat that everyone can enjoy, making it a perfect addition to any occasion. So gather your ingredients, get creative in the kitchen, and treat yourself to this delightful float that is sure to be a hit!
Berry Vanilla Ice Cream Float
Ingredients
Equipment
Method
- Step 1: Make the Berry Syrup - In a saucepan, combine 2 cups of fresh or frozen berries (like strawberries, raspberries, or blueberries) with 2 tablespoons of sugar. Cook over medium heat, stirring occasionally, until the berries break down and release their juices, about 5-7 minutes. If you prefer a smoother syrup, strain the mixture through a fine mesh strainer to remove seeds.
- Step 2: Whip the Cream - In a mixing bowl, pour in 1 cup of heavy whipping cream and add 2 tablespoons of sugar. Using a whisk or electric mixer, whip the cream until soft peaks form. Be careful not to overwhip, as you want a light and fluffy texture.
- Step 3: Prepare the Glasses - Gather your glasses and add a generous amount of the homemade berry syrup to the bottom of each glass.
- Step 4: Add Soda - Slowly pour 1 cup of soda water or seltzer into each glass over the berry syrup. The fizz will create a beautiful swirl.
- Step 5: Add Vanilla Ice Cream - Carefully add a scoop of vanilla ice cream on top of the fizzy mixture.
- Step 6: Top with Whipped Cream - Using a spoon, add a dollop of whipped cream on top of the ice cream.
- Step 7: Garnish and Serve - Finish off your Berry Vanilla Ice Cream Float with a handful of fresh berries for garnish. Serve immediately.
Notes
- For a dairy-free version, substitute heavy whipping cream with coconut cream.
- Use dairy-free vanilla ice cream made from almond milk or coconut milk.
- This float is best enjoyed fresh; make the berry syrup ahead of time to save on prep.