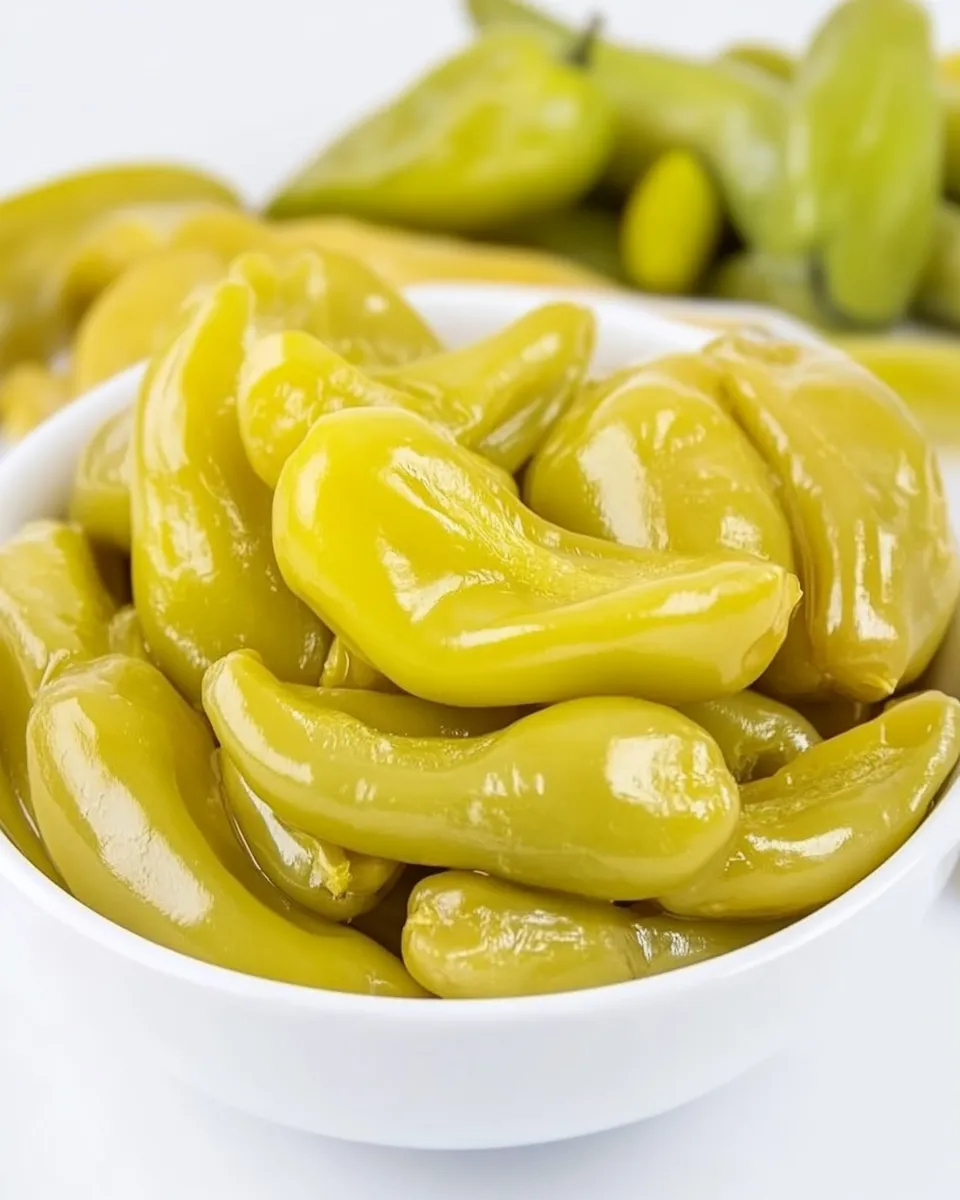
Pickled Pepperoncini Peppers
There’s something utterly delightful about the tangy crunch of pickled pepperoncini peppers. These vibrant little gems not only add a zesty kick to your dishes but also make an excellent snack on their own. Whether you want to elevate your salads, sandwiches, or charcuterie boards, pickled pepperoncini peppers are a crowd-pleaser that everyone will love. With a simple recipe using fresh ingredients, you can easily create your own jar of these flavorful treats at home. Let’s dive into the world of pickling and discover how to make the best Pickled Pepperoncini Peppers!
Why It’s Crowd-Pleasing
Pickled pepperoncini peppers are the secret weapon in any home cook’s arsenal. Their mild heat and tangy flavor make them versatile enough to pair with a variety of dishes. Here are a few reasons why they are a hit:
- Flavor Boost: The acidity from the pickling solution enhances the overall taste of your meals.
- Versatile Use: These peppers can be used in salads, sandwiches, pizzas, or enjoyed straight from the jar.
- Easy to Make: With just a handful of ingredients, you can whip up a batch in no time.
- Gift-Worthy: Homemade pickles make thoughtful gifts for friends and family.
Ingredient Notes
To create your own batch of Pickled Pepperoncini Peppers, here’s what you’ll need:
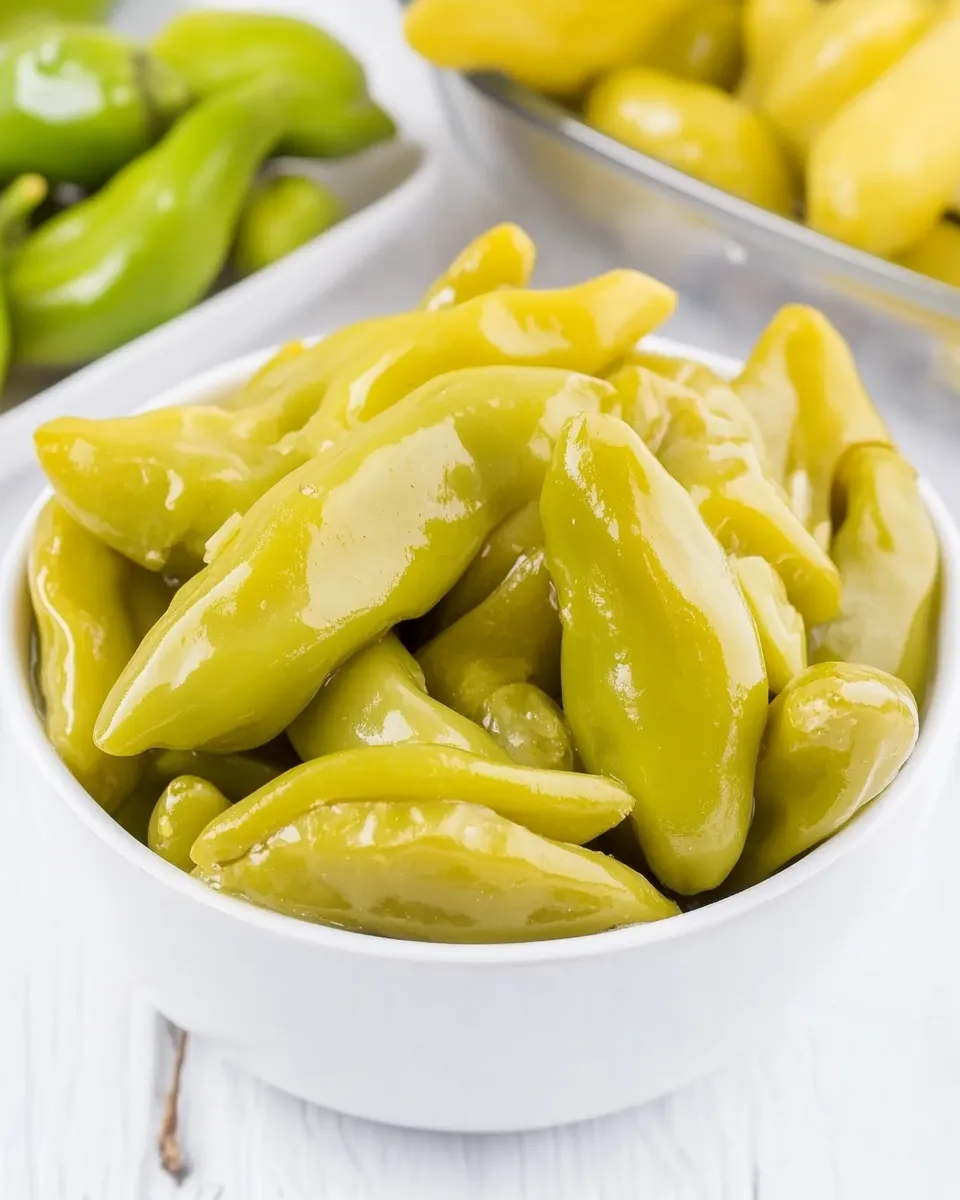
- 1 ½ pounds fresh pepperoncini or banana peppers: Choose firm, bright peppers for the best flavor.
- 2 cups white vinegar: This will give your pickles that sharp, tangy taste.
- 2 cups water: Balances the vinegar and helps to create the brine.
- 2 tablespoons kosher or pickling salt: Essential for flavor and preservation.
- 2 tablespoons granulated sugar: A touch of sweetness to balance the acidity.
- 3 cloves garlic, smashed: Adds a wonderful aromatic quality to the pickles.
- 2 teaspoons black peppercorns: For a hint of spice.
- 2 bay leaves: Infuses a subtle earthy flavor.
Kitchen Gear Checklist
Before you start, make sure you have the following kitchen tools handy:
- Large pot: For boiling the brine.
- Glass jars: Clean and sterilized jars for storing your pickles.
- Ladle: For pouring the brine into jars.
- Measuring cups and spoons: For accurate measurements of ingredients.
- Cutting board and knife: For preparing the peppers.
Method: Pickled Pepperoncini Peppers
Now that you’ve gathered your ingredients and tools, let’s get started on making those delicious Pickled Pepperoncini Peppers!
Step 1: Prepare the Peppers
Start by washing the pepperoncini or banana peppers thoroughly under cold water. Cut off the stems and, if desired, slice them in half lengthwise or leave them whole for whole pickles.
Step 2: Make the Brine
In a large pot, combine 2 cups of white vinegar, 2 cups of water, 2 tablespoons of kosher salt, and 2 tablespoons of granulated sugar. Stir the mixture over medium heat until the salt and sugar dissolve completely.
Step 3: Add Flavorings
Once the brine is ready, add the smashed garlic cloves, black peppercorns, and bay leaves to the pot. Allow it to simmer for about 5 minutes to infuse the flavors.
Step 4: Pack the Jars
While the brine is simmering, prepare your glass jars. Pack the cleaned and cut peppers into the jars, leaving some space at the top.
Step 5: Pour the Brine
Carefully ladle the hot brine over the packed peppers in the jars, ensuring they are fully submerged. Leave about half an inch of headspace at the top of each jar.
Step 6: Seal the Jars
Wipe the rims of the jars with a clean cloth to remove any residue. Seal the jars tightly with their lids.
Step 7: Cool and Store
Let the jars cool to room temperature before transferring them to the refrigerator. For the best flavor, allow the peppers to pickle for at least 24 hours before tasting!
How to Make It Lighter
If you’re looking to lighten up your pickled pepperoncini peppers, consider these tips:
- Use apple cider vinegar instead of white vinegar for a slightly different flavor profile and added health benefits.
- Reduce the amount of granulated sugar or substitute it with a sugar alternative.
- Incorporate fresh herbs like dill or cilantro for added flavor without extra calories.
Cook’s Notes
- Feel free to adjust the spice level by adding more or fewer whole peppercorns.
- Experiment with additional spices such as red pepper flakes or mustard seeds for a unique twist.
- These pickles can last for several months in the refrigerator, but they are best enjoyed within the first month.
Refrigerate, Freeze, Reheat
Pickled pepperoncini peppers are best stored in the refrigerator. They do not freeze well due to their high water content, which can affect the texture. Simply enjoy them cold straight from the fridge or incorporate them into your meals as needed. No reheating is necessary!
Common Questions
Can I use other types of peppers for this recipe?
Absolutely! While pepperoncini and banana peppers are ideal, you can use other mild peppers like jalapeños or even sweet bell peppers for a different flavor.
How long do pickled pepperoncini peppers last?
When stored in the refrigerator, pickled pepperoncini peppers can last for up to 3 months. However, they are best enjoyed within the first month for optimal flavor and crunch.
Do I need to sterilize my jars?
Yes! Sterilizing your jars is essential to prevent contamination. You can sterilize them by boiling them in water for 10 minutes or running them through a hot dishwasher cycle.
Can I make this recipe without sugar?
Yes, you can omit the sugar if you prefer a more sour taste. Alternatively, you can use a sugar substitute if you’re looking to reduce sugar intake.
Healthy-ish Favorites
Here are some delicious recipes that pair perfectly with your homemade pickled pepperoncini peppers:
Serve & Enjoy
Now that you’ve made your own batch of Pickled Pepperoncini Peppers, it’s time to enjoy them! Serve them as a zesty side or incorporate them into your favorite dishes. They’re perfect for topping sandwiches, adding to salads, or snacking straight from the jar. The possibilities are endless, and your taste buds will thank you for it!
The journey of creating Pickled Pepperoncini Peppers is not just about the process; it’s about savoring the flavors and sharing them with friends and family. So grab a jar, pour yourself a drink, and celebrate the delightful tang of these pickled wonders!

Pickled Pepperoncini Peppers
Ingredients
Equipment
Method
- Step 1: Prepare the Peppers - Wash the pepperoncini or banana peppers thoroughly under cold water. Cut off the stems and, if desired, slice them in half lengthwise or leave them whole.
- Step 2: Make the Brine - In a large pot, combine 2 cups of white vinegar, 2 cups of water, 2 tablespoons of kosher salt, and 2 tablespoons of granulated sugar. Stir over medium heat until dissolved.
- Step 3: Add Flavorings - Add smashed garlic, black peppercorns, and bay leaves to the pot. Simmer for about 5 minutes to infuse flavors.
- Step 4: Pack the Jars - While the brine simmers, pack the cleaned and cut peppers into jars, leaving some space at the top.
- Step 5: Pour the Brine - Ladle the hot brine over the packed peppers, ensuring they are fully submerged. Leave half an inch of headspace.
- Step 6: Seal the Jars - Wipe the rims of the jars and seal tightly with lids.
- Step 7: Cool and Store - Let jars cool to room temperature before refrigerating. For best flavor, allow to pickle for at least 24 hours before tasting!
Notes
- Adjust the spice level by adding more or fewer whole peppercorns.
- Experiment with spices such as red pepper flakes for a unique twist.
- These pickles can last for several months in the fridge, but are best enjoyed within the first month.