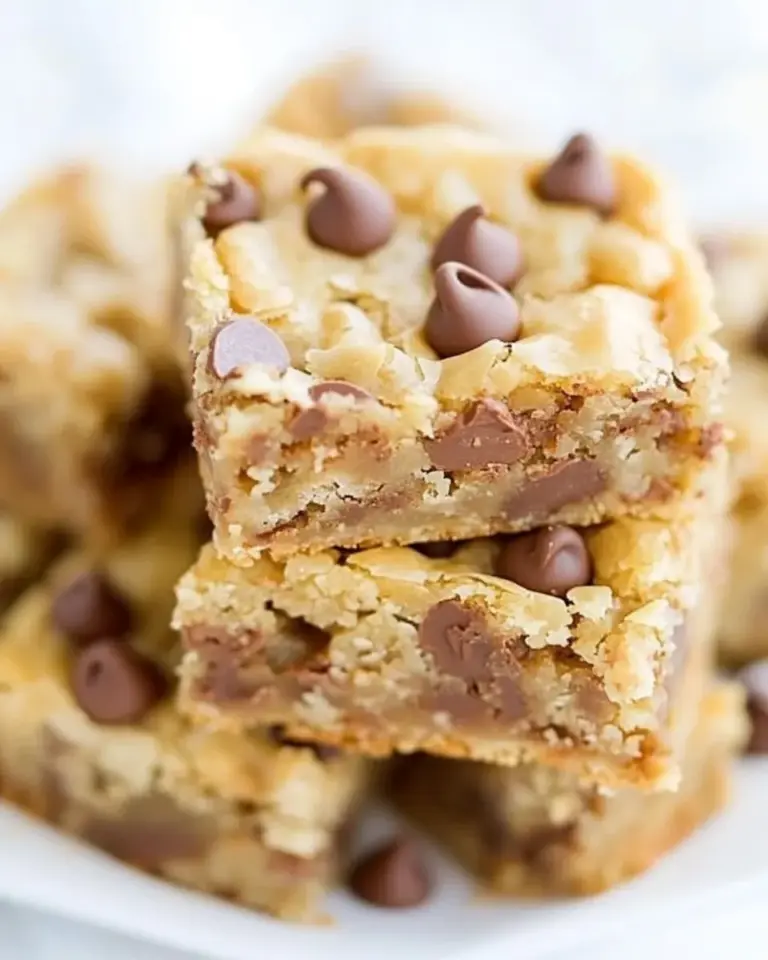
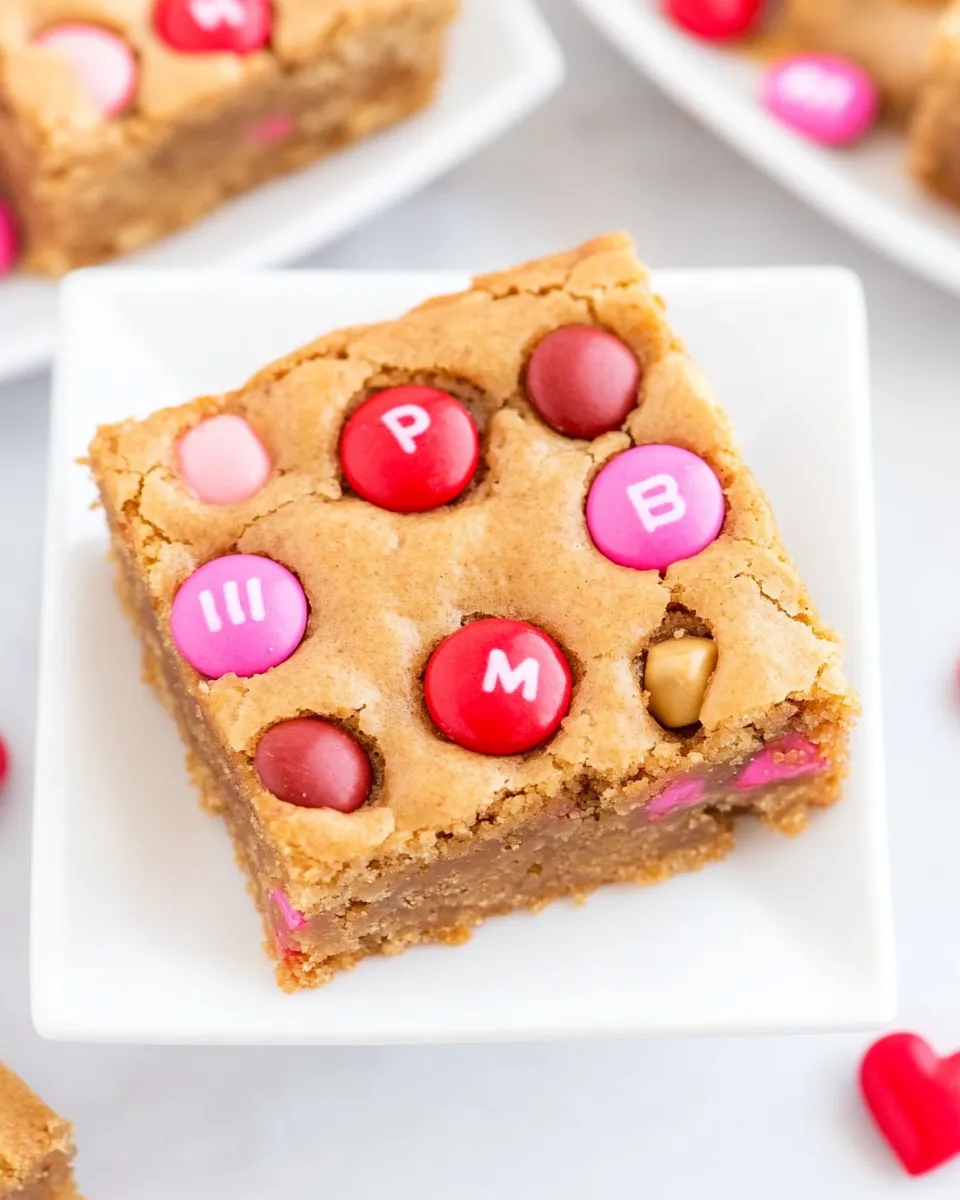
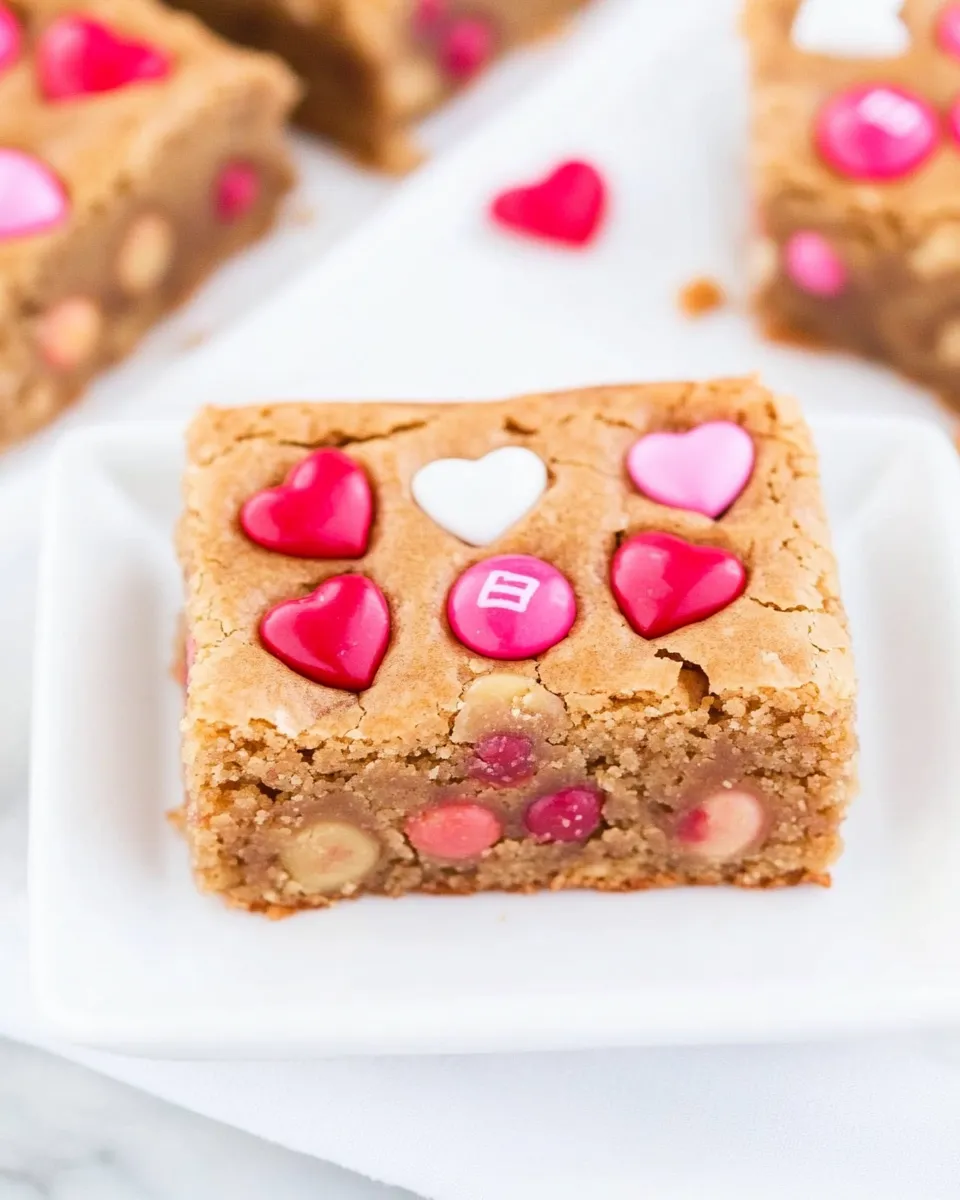
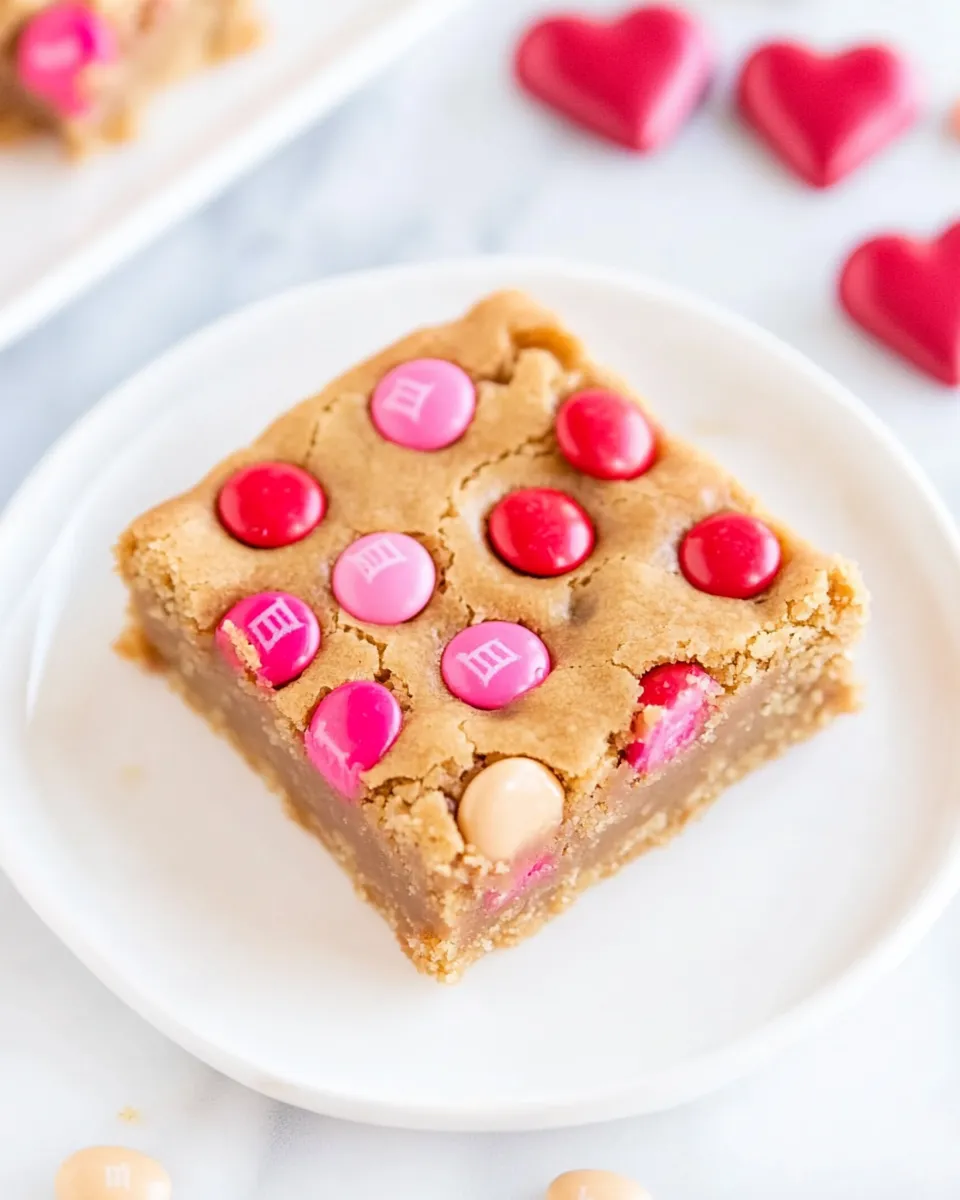
Valentine Peanut Butter M&M Blondies
Valentine’s Day is just around the corner, and what better way to celebrate love than with a batch of gooey, delicious blondies? These Valentine Peanut Butter M&M Blondies will not only satisfy your sweet tooth but also bring a smile to your loved ones’ faces. With the perfect combination of creamy peanut butter, rich brown sugar, and colorful M&M’s, these blondies are a delightful treat that embodies the spirit of the holiday. Let’s dive into this simple yet indulgent recipe that’s perfect for sharing with your favorite people.
Why It Deserves a Spot
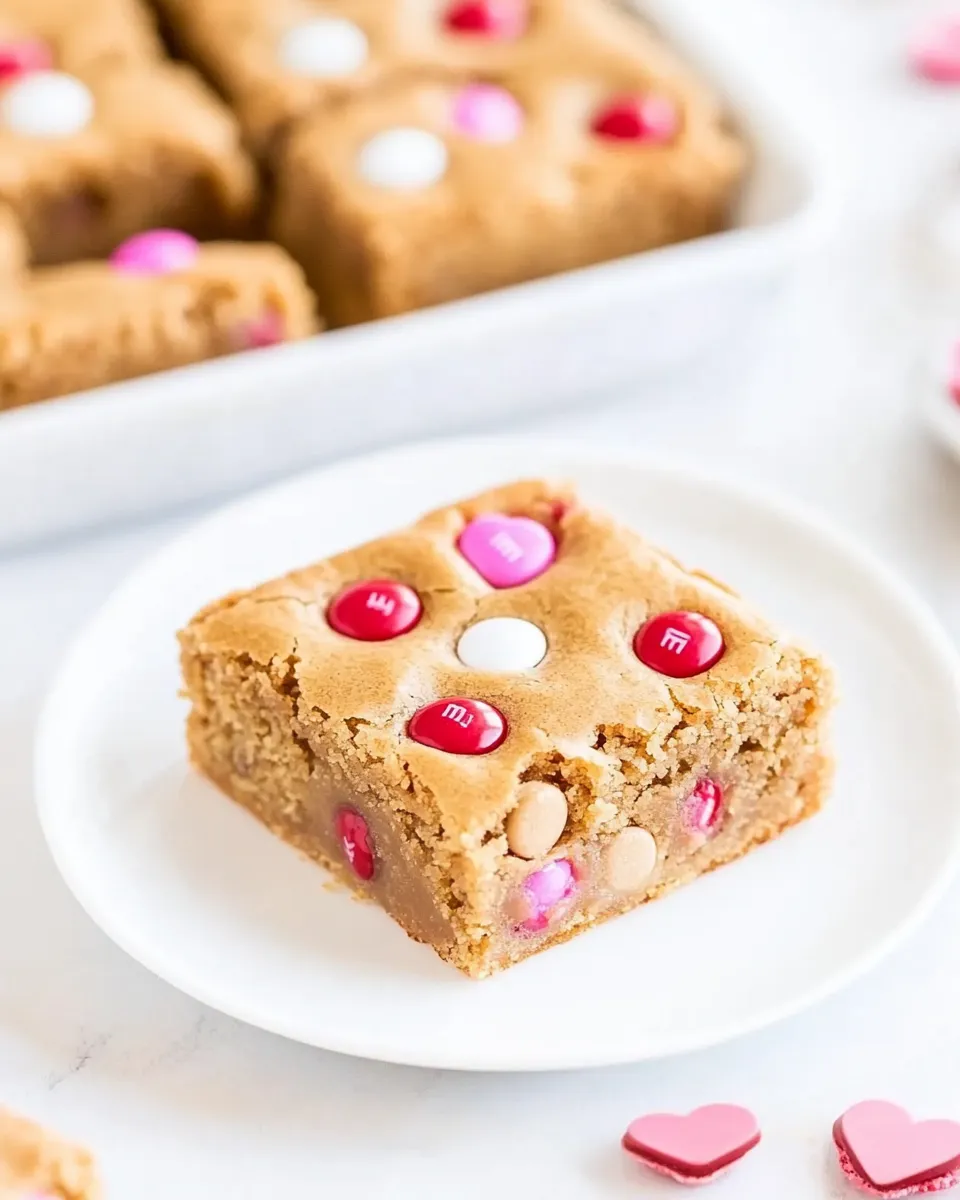
These Valentine Peanut Butter M&M Blondies deserve a spot in your baking repertoire for several reasons. First, they are incredibly easy to whip up, making them perfect for both novice bakers and seasoned pros. The addition of peanut butter adds a creamy richness that pairs perfectly with the sweetness of the M&M’s. Plus, their vibrant colors make them an eye-catching dessert for any Valentine’s Day celebration. Whether you’re hosting a gathering or simply treating yourself, these blondies are a must-try!
Gather These Ingredients
To create these delightful blondies, gather the following ingredients:
- 1 cup unsalted butter, melted
- 1 cup peanut butter
- 1 large egg
- 1 cup light brown sugar, packed
- 1 tablespoon vanilla extract
- 1 cup all-purpose flour
- 1 cup M&M’s, divided into two portions
Kitchen Gear Checklist
Before you get started, make sure you have the following kitchen gear:
- Mixing bowl: For combining your ingredients.
- Whisk or spatula: To mix everything together smoothly.
- 9×9 inch baking pan: Perfect for baking your blondies.
- Parchment paper: For easy removal of your blondies.
- Oven mitts: To safely handle hot pans.
Valentine Peanut Butter M&M Blondies Cooking Guide
Now that you have everything ready, let’s bake these delicious blondies!
Step 1: Preheat the Oven
Preheat your oven to 350°F (175°C). This will ensure your blondies bake evenly.
Step 2: Prepare Your Baking Pan
Line a 9×9 inch baking pan with parchment paper, allowing some overhang for easy removal later. This will help keep your blondies intact and make cleanup a breeze.
Step 3: Mix the Wet Ingredients
In a large mixing bowl, combine the melted butter, peanut butter, and brown sugar. Whisk until smooth and creamy. Add the egg and vanilla extract, mixing well until fully incorporated.
Step 4: Add the Dry Ingredients
Gently fold in the all-purpose flour until just combined. Be careful not to overmix, as this can lead to tougher blondies.
Step 5: Fold in the M&M’s
Reserve about 1/4 cup of M&M’s for topping and fold the rest into the batter. This will give your blondies a delightful crunch and bursts of color.
Step 6: Pour into the Baking Pan
Pour the batter into the prepared baking pan, spreading it evenly. Sprinkle the reserved M&M’s on top for a festive touch.
Step 7: Bake
Bake in the preheated oven for about 25-30 minutes, or until the edges are golden and a toothpick inserted in the center comes out with a few moist crumbs.
Step 8: Cool and Slice
Allow the blondies to cool in the pan for about 10 minutes before lifting them out using the parchment paper. Let them cool completely on a wire rack before slicing into squares.
Seasonal Flavor Boosts
If you want to elevate your Valentine Peanut Butter M&M Blondies even further, consider these flavor enhancements:
- Add a pinch of sea salt for a delightful sweet-salty contrast.
- Mix in some chopped nuts, like peanuts or pecans, for added crunch.
- Incorporate mini chocolate chips for an extra chocolatey flavor.
- Swirl in some raspberry or strawberry jam before baking for a fruity surprise.
Common Errors (and Fixes)
Baking is all about precision, but mistakes can happen. Here are some common errors and how to fix them:
- Blondies are too dry: This can happen if you overbake them. Keep an eye on the timer and check for doneness a few minutes early.
- Blondies are too gooey: If your blondies are underbaked, return them to the oven for a few extra minutes until they set up.
- Uneven baking: Make sure your oven is properly preheated and consider rotating the pan halfway through baking for even results.
Prep Ahead & Store
These blondies are perfect for prep-ahead baking. Here are some tips:
You can prepare the batter in advance and store it in the refrigerator for up to 2 days. When you’re ready, simply pour it into the baking pan and bake as directed. Once baked, store any leftovers in an airtight container at room temperature for up to 5 days. For longer storage, you can freeze them for up to 2 months. Just thaw at room temperature before serving.
Frequently Asked Questions
Can I use crunchy peanut butter instead of smooth?
Absolutely! Crunchy peanut butter will add extra texture to your blondies, making them even more delightful.
Can I use a different type of chocolate candy?
Yes, feel free to swap out M&M’s for your favorite chocolate-covered candies, like Reese’s Pieces or chocolate chips.
Are these blondies suitable for gluten-free diets?
You can substitute the all-purpose flour with a 1:1 gluten-free flour blend to make these blondies gluten-free.
What should I do if my blondies stick to the baking pan?
Ensure you line your pan with parchment paper and grease it lightly. If they do stick, gently run a knife around the edges to loosen them before lifting out.
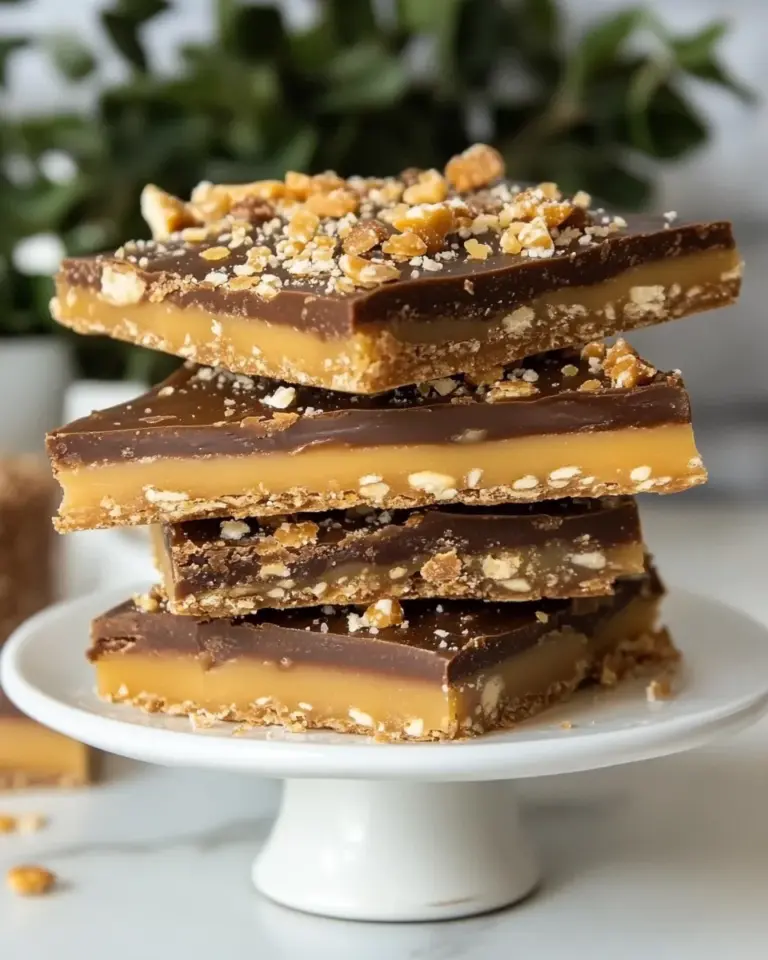
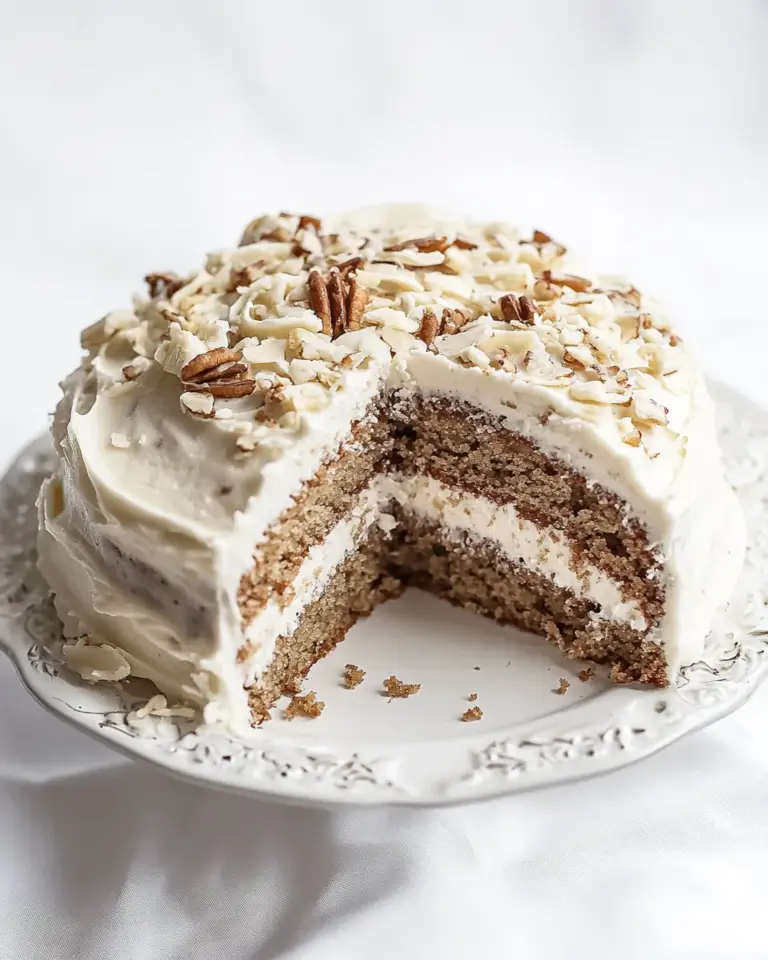
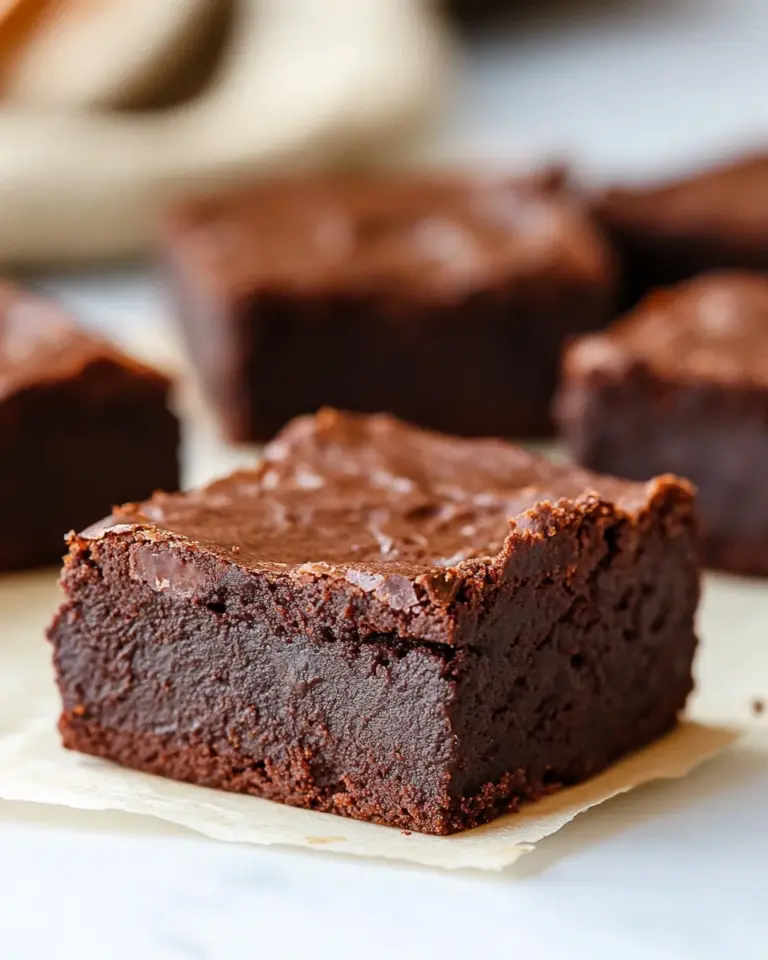
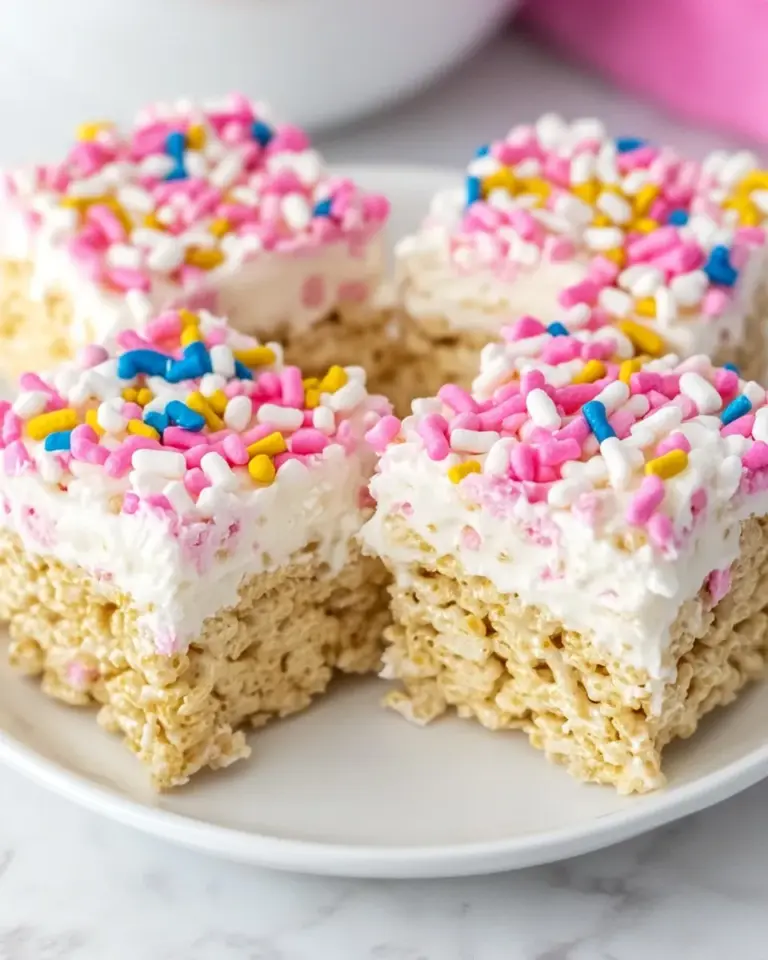
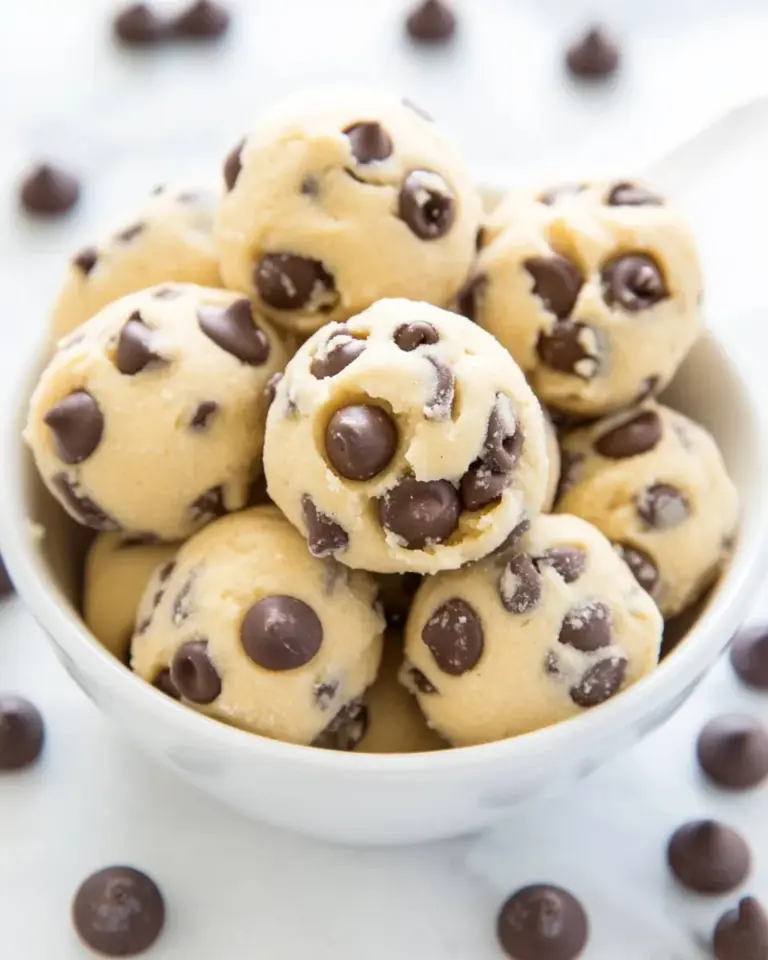
Don’t Miss These
For more delightful recipes, check out these must-try treats:
Time to Try It
Now that you have all the tips and tricks to make the perfect Valentine Peanut Butter M&M Blondies, it’s time to get baking! Whether you’re preparing for a romantic dinner or a fun gathering with friends, these blondies will steal the show. Their rich flavor, chewy texture, and colorful appearance make them the ultimate Valentine’s Day dessert. Don’t forget to share with your loved ones—or keep them all to yourself. Happy baking!
Valentine Peanut Butter M&M Blondies
Ingredients
Equipment
Method
- Preheat your oven to 350°F (175°C). This will ensure your blondies bake evenly.
- Line a 9x9 inch baking pan with parchment paper, allowing some overhang for easy removal later.
- In a large mixing bowl, combine the melted butter, peanut butter, and brown sugar. Whisk until smooth and creamy. Add the egg and vanilla extract, mixing well until fully incorporated.
- Gently fold in the all-purpose flour until just combined. Be careful not to overmix.
- Reserve about 1/4 cup of M&M's for topping and fold the rest into the batter.
- Pour the batter into the prepared baking pan, spreading it evenly. Sprinkle the reserved M&M's on top.
- Bake in the preheated oven for about 25-30 minutes, or until the edges are golden and a toothpick inserted in the center comes out with a few moist crumbs.
- Allow the blondies to cool in the pan for about 10 minutes before lifting them out using the parchment paper. Let them cool completely on a wire rack before slicing into squares.
Notes
- For a sweet-salty contrast, add a pinch of sea salt.
- Mix in chopped nuts like peanuts for added crunch.
- Store leftovers in an airtight container at room temperature for up to 5 days.