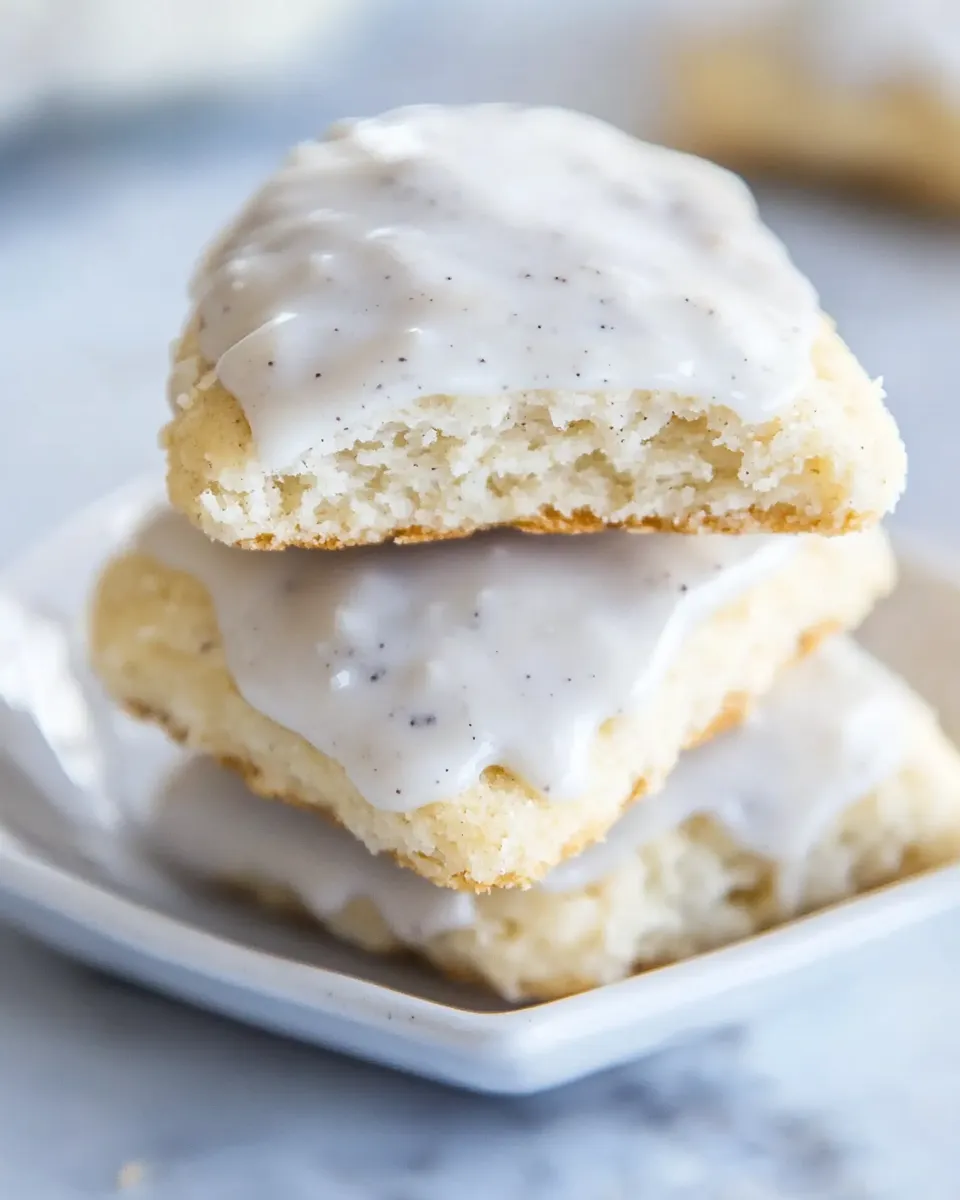
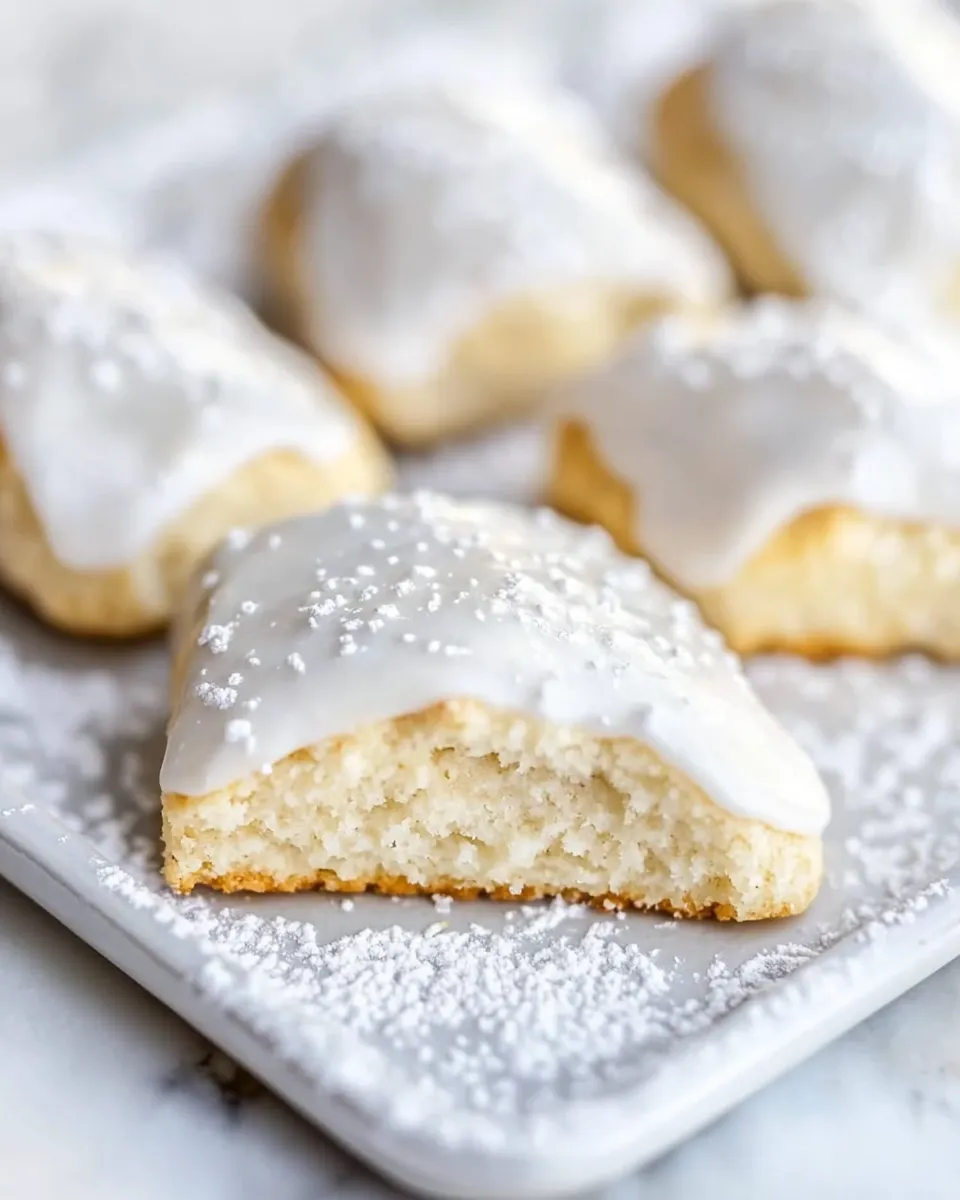
Copycat Starbucks Vanilla Bean Scones
If you’ve ever stepped into a Starbucks and been greeted by the heavenly aroma of freshly baked goods, then you know the allure of their Vanilla Bean Scones. These tender, flaky treats are perfect for pairing with your morning coffee or tea. The good news? You can recreate this beloved pastry right in your own kitchen! With a few simple ingredients, you can whip up a batch of Copycat Starbucks Vanilla Bean Scones that are just as delightful as the originals. Let’s dive into the world of scone-making and discover how to bring this café favorite home.
Why Cooks Rave About It
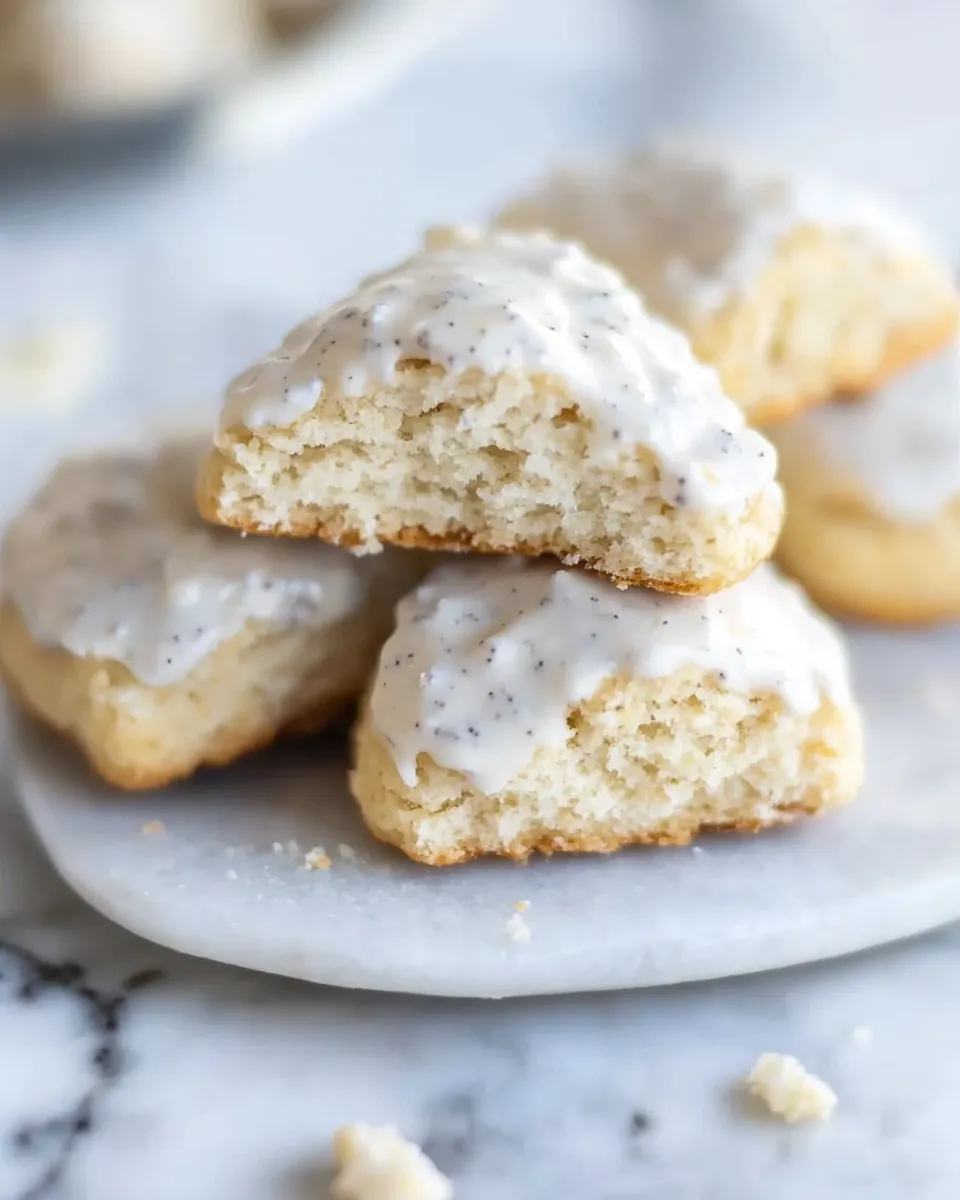
The beauty of Copycat Starbucks Vanilla Bean Scones lies in their rich, buttery flavor and the delightful crunch of their exterior, contrasted with a soft, tender interior. These scones are not overly sweet, allowing the pure essence of vanilla to shine through. The addition of real vanilla bean seeds elevates the flavor profile, making each bite a luxurious experience. Perfect for breakfast, brunch, or an afternoon snack, these scones are sure to impress your family and friends. Plus, they are easy to make, requiring minimal equipment and effort!
Ingredient List
- 2 cups all-purpose flour
- ½ cup granulated white sugar
- 1 teaspoon baking powder
- ½ teaspoon kosher salt
- ½ cup (1 stick) cold unsalted butter, cut into pieces
- ½ cup cold heavy whipping cream
- 2 teaspoons vanilla extract
- 1 cup powdered sugar
- Seeds scraped from one vanilla bean
- 1 tablespoon milk
Hardware & Gadgets
- Mixing bowls: You’ll need a large bowl for combining dry ingredients and a medium bowl for wet ingredients.
- Pastry cutter or fork: Perfect for cutting butter into the flour mixture.
- Baking sheet: Use a parchment-lined baking sheet to prevent sticking.
- Oven thermometer: Ensures your oven is at the right temperature for baking.
- Measuring cups and spoons: Accurate measurements are key to successful scones.
Make Copycat Starbucks Vanilla Bean Scones: A Simple Method

Step 1: Preheat the Oven
Begin by preheating your oven to 400°F (200°C). This ensures that your scones will bake evenly and develop that lovely golden color.
Step 2: Combine Dry Ingredients
In a large mixing bowl, whisk together the all-purpose flour, granulated sugar, baking powder, and kosher salt until well combined. This step is crucial for ensuring even distribution of the leavening agent and sweetness.
Step 3: Cut in the Butter
Add the cold, cut-up butter to the flour mixture. Using a pastry cutter or a fork, work the butter into the flour until the mixture resembles coarse crumbs. You want to see small bits of butter throughout, as this will create flaky layers in your scones.
Step 4: Mix Wet Ingredients
In a separate medium bowl, combine the cold heavy whipping cream, vanilla extract, and the seeds scraped from the vanilla bean. Stir gently until well mixed.
Step 5: Combine Wet and Dry Ingredients
Pour the wet ingredients into the dry mixture. Stir gently with a spatula or wooden spoon until just combined. Be careful not to overmix; a few lumps are okay!
Step 6: Shape the Dough
Turn the dough out onto a lightly floured surface. Gently knead it a few times until it comes together. Pat the dough into a circle about 1-inch thick. Cut the circle into wedges, like a pizza, or use a round cutter for traditional scone shapes.
Step 7: Bake the Scones
Place the scone wedges on a parchment-lined baking sheet, leaving space between each piece. Bake in your preheated oven for 15-20 minutes, or until the tops are lightly golden and a toothpick inserted into the center comes out clean.
Step 8: Prepare the Glaze
While the scones are baking, prepare the glaze. In a medium bowl, whisk together the powdered sugar, seeds from the vanilla bean, and milk until smooth. Adjust the consistency with more milk or sugar if needed.
Step 9: Glaze the Scones
Once baked, remove the scones from the oven and let them cool for a few minutes. Drizzle or spread the glaze over the warm scones. Allow the glaze to set before serving.
Holiday-Friendly Variations
- Add dried cranberries or cherries for a festive touch during the holidays.
- Incorporate chopped nuts, such as walnuts or pecans, for added texture and flavor.
- Substitute the vanilla extract with almond extract for a different flavor profile.
- Top with a sprinkle of festive colored sugar before baking for a pop of color.
Pitfalls & How to Prevent Them
- Overmixing the dough can lead to tough scones. Mix just until combined for a tender texture.
- Using warm butter can affect the flakiness. Be sure to keep the butter cold until it’s time to mix.
- Not chilling the dough before baking may result in flat scones. If your kitchen is warm, consider refrigerating the dough for 15 minutes before baking.
- Make sure your baking powder is fresh to ensure proper rising.
Shelf Life & Storage
Copycat Starbucks Vanilla Bean Scones are best enjoyed fresh, but they can be stored for up to 3 days in an airtight container at room temperature. If you want to keep them longer, freeze the unbaked scones on a baking sheet until solid, then transfer them to a freezer bag. They can be baked straight from the freezer, adding a few extra minutes to the baking time.
Handy Q&A
Can I use whole wheat flour instead of all-purpose flour?
Yes, you can substitute whole wheat flour, but keep in mind that the texture may be denser. You might want to use a mix of all-purpose and whole wheat flour for a lighter scone.
What can I use instead of heavy whipping cream?
You can use half-and-half or whole milk, but the scones will be less rich. For a lighter option, consider using coconut cream for a dairy-free version.
How can I make these scones dairy-free?
Substitute the butter with a dairy-free margarine and use coconut cream or a non-dairy milk alternative in place of heavy cream.
Can I make the dough ahead of time?
Absolutely! You can prepare the dough ahead of time and keep it in the refrigerator for up to 24 hours before baking. Just remember to let it sit at room temperature for about 10 minutes before shaping.
What to Make After This
Next Steps
Now that you’ve mastered the art of making Copycat Starbucks Vanilla Bean Scones, it’s time to get baking! Gather your ingredients and hardware, and don’t hesitate to experiment with flavors and variations. Whether you enjoy them plain or with a glaze, these scones are sure to become a favorite in your home.
With each bite, you’ll savor the sweet, buttery goodness that can brighten any day. So, preheat that oven, and let the deliciousness unfold!
Copycat Starbucks Vanilla Bean Scones
Ingredients
Equipment
Method
- Preheat your oven to 400°F (200°C).
- In a large mixing bowl, whisk together the all-purpose flour, granulated sugar, baking powder, and kosher salt until well combined.
- Add the cold, cut-up butter to the flour mixture. Using a pastry cutter or a fork, work the butter into the flour until the mixture resembles coarse crumbs.
- In a separate medium bowl, combine the cold heavy whipping cream, vanilla extract, and the seeds scraped from the vanilla bean. Stir gently until well mixed.
- Pour the wet ingredients into the dry mixture. Stir gently with a spatula or wooden spoon until just combined. Be careful not to overmix.
- Turn the dough out onto a lightly floured surface. Gently knead it a few times until it comes together. Pat the dough into a circle about 1-inch thick. Cut the circle into wedges, or use a round cutter.
- Place the scone wedges on a parchment-lined baking sheet, leaving space between each piece. Bake for 15-20 minutes, or until the tops are lightly golden.
- While the scones are baking, prepare the glaze. Whisk together the powdered sugar, seeds from the vanilla bean, and milk until smooth.
- Once baked, remove the scones from the oven and let them cool for a few minutes. Drizzle or spread the glaze over the warm scones. Allow the glaze to set before serving.
Notes
- For a festive touch, add dried cranberries or cherries to the dough.
- Keep the butter cold to ensure flaky scones.
- These scones are best enjoyed fresh but can be stored for up to 3 days in an airtight container.